

You open the lid expecting clean, ready-to-dry laundry—and instead find clothes submerged in murky, lukewarm water. It’s one of those household problems that feels more urgent than it probably is. The good news? You almost certainly don’t need a plumber.
Draining a washing machine full of water is something most homeowners can handle themselves. This guide on how to drain a washing machine full of water walks you through the entire process step by step, clearly and safely, so you can get your machine back in working order without unnecessary expense or stress. You’ll also learn what likely caused the problem in the first place—because fixing it once is far more satisfying than fixing it twice.
Why Would a Washing Machine Stop Draining?
Before reaching for your tools, it’s worth taking a moment to understand what went wrong. A washing machine typically fails to drain for one of a handful of reasons: a clogged drain hose, a blocked pump filter, a malfunctioning lid switch, or a failing drain pump motor.
Top-loading machines are particularly susceptible to lid switch issues. If the machine detects (accurately or not) that the lid is open, it may refuse to spin or drain entirely. Front-loaders, on the other hand, tend to point toward a blocked pump filter as the first suspect. Checking the display panel for error codes before you start can give you a useful head start—many modern machines will tell you exactly what’s wrong, if you know how to read them.
What Tools and Materials Do You Need to Drain a Washing Machine?
Getting everything together before you start makes the whole process considerably less chaotic. Water drains fast once you release the hose, and scrambling for a bucket mid-flow is not ideal.
Here’s what you’ll need:
- Bucket or Large Basin — A 5-gallon capacity is ideal. Consider having two ready; washing machines hold more water than most people expect.
- Old Towels or Absorbent Rags — Lay these around the base of the machine before you begin. They’re your insurance against floor damage.
- Flathead Screwdriver — Needed to open the access panel on front-loaders and to loosen hose clamps or covers.
- Pliers — Needle-nose pliers work particularly well when you’re working in tight spaces around hose clamps.
- Flashlight — The area behind and beneath a washing machine is rarely well-lit. Don’t guess at what you’re touching.
- Rubber Gloves — The standing water in a stalled machine can contain detergent residue, lint, and bacteria. Gloves are non-negotiable.
7 Simple Steps on How to Drain a Washing Machine Full of Water
Step 1: Turn Off and Unplug the Machine
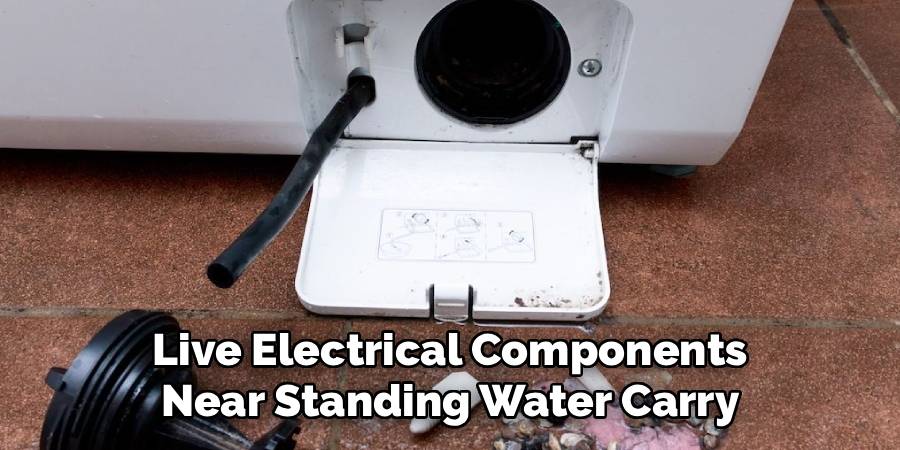
Start here, every time, without exception. Switch the machine off at the power button, then unplug it from the wall outlet entirely. Even when a machine appears off, live electrical components near standing water carry a serious risk of shock. This step takes ten seconds and could spare you a trip to the emergency room.
Step 2: Locate the Drain Hose
The drain hose typically runs from the back of the machine to either a standpipe or a utility sink. It’s usually gray or black, corrugated in texture, and secured with a hose clamp. Pull the machine slightly away from the wall—just enough to give yourself comfortable working room—before you do anything else.
Step 3: Prepare Your Space for Water Collection
Lay towels across the floor around the machine’s base, then position your bucket directly below the end of the drain hose. This step is tempting to skip. Don’t. Once water starts moving, it moves quickly, and you won’t have time to react before it’s already spreading across your floor.
Step 4: Lower the Drain Hose Into the Bucket
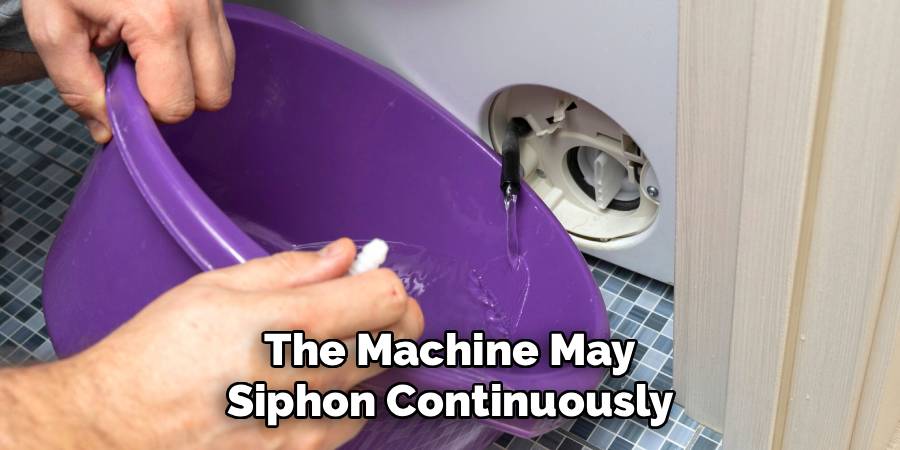
Carefully disconnect the drain hose from the standpipe or wall outlet. Hold the hose end above the bucket at first, then slowly lower it below the water level inside the machine. Gravity handles the rest. Watch the fill level closely—when the bucket is nearly full, lift the hose upward to pause the flow, swap in your second bucket, and continue until the water stops.
Step 5: Check and Clean the Pump Filter
With the bulk of the water removed, it’s time to address what may well be the root cause. On front-loading machines, the pump filter sits behind a small access panel at the bottom front. Place a shallow tray or folded towel directly underneath it before you open anything—residual water will spill out regardless of how careful you are.
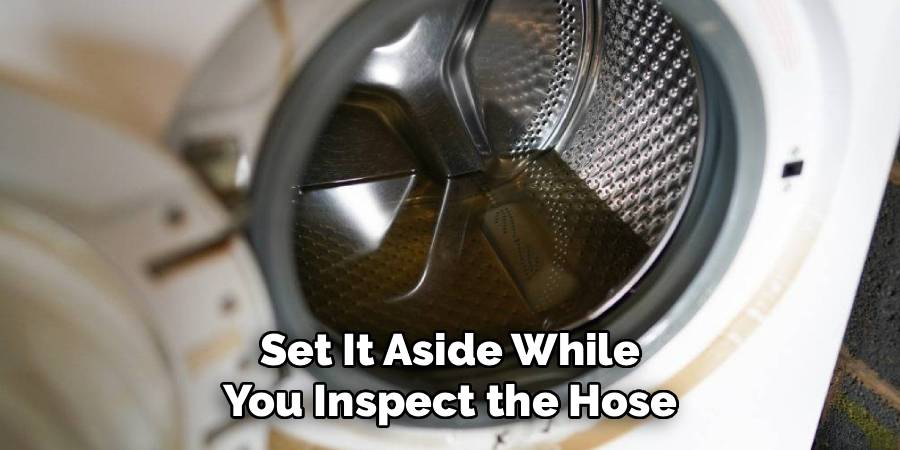
Slowly unscrew the filter cap counterclockwise, let any remaining water drain into your container, then pull the filter free. What you find inside may surprise you: compacted lint, coins, hairpins, hair ties, small socks. Clean the filter thoroughly under running water, check the filter housing for any remaining debris, and set it aside while you inspect the hose.
Step 6: Inspect the Drain Hose for Blockages
Kinks in the drain hose are surprisingly easy to overlook and surprisingly effective at preventing drainage. Run your hands along the full length of the hose, feeling for sharp bends or compressed sections. If you suspect an internal blockage, a long flexible brush or a straightened wire hanger can help dislodge buildup from inside.
When you reconnect the hose, take a moment to ensure it’s positioned without tight bends. A hose that’s been kinked for months may need some gentle reshaping to hold a clean line.
Step 7: Reassemble, Reconnect, and Test
Screw the pump filter back in firmly—counterclockwise to tighten—and close the access panel. Reconnect the drain hose to the standpipe or wall outlet, checking that the hose clamp is secure. Push the machine back into position, plug it in, and run a short rinse-and-spin cycle with no laundry inside. Stand nearby and watch. If water drains freely without backing up, the problem appears to be resolved.
Following these steps on how to drain a washing machine full of water can save you from expensive repairs or replacements.
Common Mistakes That Make the Problem Worse
The most consequential mistake is also the most avoidable: skipping the unplugging step. Working near standing water with a powered appliance is genuinely dangerous. No amount of impatience justifies it.
A close second is neglecting the pump filter between drainage failures. Most manufacturers suggest cleaning it every one to three months—yet many homeowners only discover it exists when something goes wrong. Adding a quick filter check to your regular laundry routine may seem tedious, but it’s the kind of small habit that prevents the large inconvenience you’re currently dealing with.
One more thing worth mentioning: don’t overtighten the filter cap when reinstalling it. Hand-tight is sufficient. Cross-threading a plastic filter cap is an easy mistake to make, and replacing the housing is a far bigger job than cleaning the filter ever was.
How to Prevent Future Washing Machine Drainage Problems?
The most effective drainage fix is the one you never have to make. A monthly maintenance cycle—run with a washing machine cleaner tablet, or simply a cup of white vinegar—can break down detergent buildup and keep internal components clear over time.
Checking pockets before loading laundry is genuinely one of the most effective preventive measures available. Coins, hair ties, tissues, and small children’s toys are among the leading causes of pump filter blockages. It takes fifteen seconds per load and saves hours of cleanup.
Drain hose height also matters more than most people realize. Most manufacturers recommend positioning the hose outlet between 30 and 90 centimeters (roughly 12 to 35 inches) from the floor. Too low, and the machine may siphon continuously, draining water as fast as it fills. Too high, and drainage becomes sluggish or incomplete. Your machine’s manual will specify the recommended range—checking it takes less than five minutes.
Frequently Asked Questions
How Do I Know If My Washing Machine Has a Clogged Pump Filter?
The most common signs are water pooling after a cycle ends, a faint burning smell during operation, or an error code on the display panel related to drainage. Removing and inspecting the filter will confirm the cause—if it’s packed with lint, hair, or debris, you’ve found your problem.
Can I Drain a Washing Machine Without Turning It Off?
No. Always unplug the machine before attempting any manual drainage. Water and live electrical components are a dangerous combination, and there are no circumstances where the time saved is worth the risk involved.
How Long Does It Take to Drain a Washing Machine Manually?
Most people complete the process in 20 to 45 minutes, depending on how much water is present and whether the pump filter needs attention. Having tools ready before you start is the single most effective way to keep things moving without interruption.
What If the Machine Still Won’t Drain After I’ve Cleaned the Filter and Hose?
If the machine fails to drain after you’ve cleared the filter and confirmed the hose is unobstructed, the drain pump motor itself may be failing. This is less of a DIY repair and more of a job for a certified appliance technician. At that point, calling for professional help is the right call.
How Often Should I Clean the Pump Filter?
Most manufacturers recommend every one to three months under regular use. If you run your machine frequently or tend to wash items with significant lint or hair (pet bedding, for example), monthly cleaning may be more appropriate.
Getting Laundry Day Back on Track
A washing machine full of standing water is an inconvenience, not a crisis. Following these seven steps on how to drain a washing machine full of water should resolve the problem in under an hour for the vast majority of households—and more importantly, the process gives you a much clearer picture of how your machine works and what it needs to keep working.
Most drainage failures trace back to simple maintenance oversights: a filter that hasn’t been cleaned in months, a hose quietly developing a kink behind the machine. If you’ve worked through every step here and the machine still won’t drain after reassembly, a faulty drain pump may be the underlying cause—and at that point, a certified appliance technician is your next call. For everything else, a methodical approach and a couple of old towels are genuinely all it takes.

About
Ethan Wrenford is a dedicated home appliance specialist with years of hands-on experience in appliance troubleshooting, maintenance, repair, and DIY diagnostics. His professional focus lies in combining practical repair knowledge with simple, easy-to-follow solutions, helping homeowners understand common appliance problems and confidently identify potential causes at home. As an author at ApplianceWhy, Ethan shares practical knowledge on home appliance repair, DIY appliance diagnostics, maintenance, troubleshooting, appliance care, and everyday solutions for common household appliance issues.
Education
Portland Community College (Portland, USA)
Associate Degree in Appliance Technology & Residential Systems
- Focused on residential appliance systems, electrical fundamentals, mechanical components, and appliance troubleshooting.
- Developed practical skills in appliance diagnostics, component testing, electrical safety, and repair procedures.
- Gained hands-on experience working with refrigerators, washing machines, dryers, dishwashers, ovens, ranges, and other household appliances.
Oregon Institute of Technology (Klamath Falls, USA)
Bachelor’s in Applied Electronics & Technology
- Specialized in electrical systems, electronic controls, sensors, motors, and residential equipment.
- Studied diagnostic techniques for identifying electrical, mechanical, and component-related appliance problems.
- Completed practical projects involving appliance control systems, troubleshooting methods, preventive maintenance, and repair fundamentals.
Publications and Impact
Through ApplianceWhy, Ethan shares practical insights into home appliance repair, DIY diagnostics, maintenance, troubleshooting, and appliance care. His writing focuses on turning confusing appliance problems into simple, understandable steps that homeowners can follow safely.
Ethan covers everything from diagnosing a refrigerator that is not cooling and a washing machine that will not drain to troubleshooting dryers, dishwashers, ovens, microwaves, and other common household appliances. His content helps readers understand appliance symptoms, identify possible causes, perform basic diagnostic checks, and determine when professional repair may be necessary.
Through his work, Ethan aims to bridge the gap between professional appliance repair knowledge and everyday homeowners—making appliance troubleshooting more approachable, practical, and accessible to everyone who wants to diagnose smarter, maintain better, and keep their appliances running longer.
3 thoughts on “How to Drain a Washing Machine Full of Water”