

A dishwasher that stops cleaning properly is usually caused by a clogged filter, blocked spray arms, hard water buildup, or low water temperature. Most of these issues can be fixed at home in under an hour with basic tools like a sponge, vinegar, and a soft brush. No professional needed.
You loaded the dishwasher, hit start, and pictured plates you could see your reflection in. Then you opened the door. Greasy glasses. Bits of last night’s dinner still stuck to the bowls. It stings a little, doesn’t it? A dishwasher that quits doing its one job wastes water and power, and it eats up the time you thought you’d just saved.
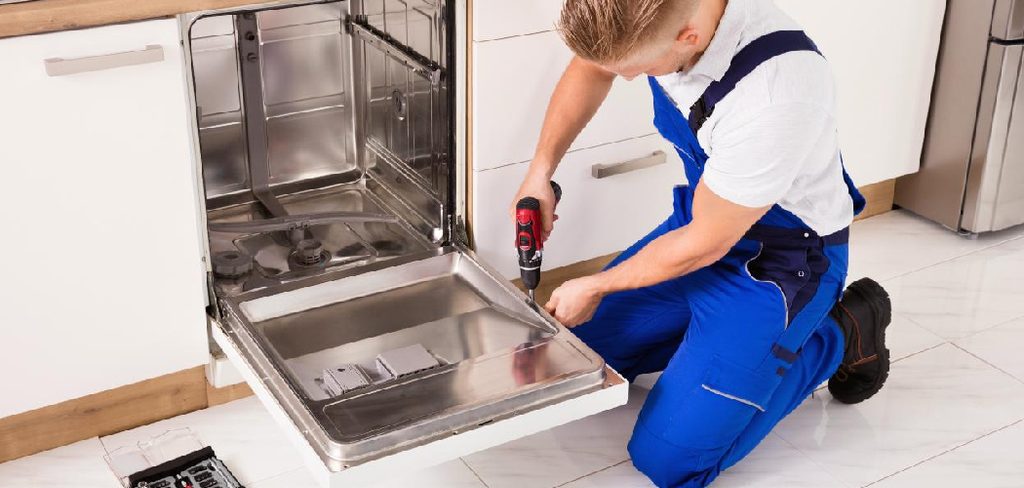
Here’s the part that should ease your mind. Most cleaning trouble traces back to a short list of ordinary causes. Before you book a repair call or start eyeing shiny new models in the appliance aisle, poke around inside your own machine first. A good number of these fixes take minutes, and they lean on stuff already sitting under your sink. In this guide on how to fix a dishwasher not cleaning, we’ll walk you through the most common causes of dishwasher troubles and show you how to fix them.
Understanding Why Your Dishwasher Isn’t Cleaning
Three things have to line up for a dishwasher to do its work: clean water, decent pressure, and heat. Knock out any one of them and your dishes suffer. Food scraps clog the filter. Spray arms get plugged. Minerals from hard water settle in slowly, quietly, until one day the machine just seems tired.
Knowing which piece failed makes the rest easy. You stop guessing and start checking, part by part, in a sensible order. And here’s the encouraging bit: a weak cleaning cycle usually points to a maintenance lapse rather than a broken component. That distinction matters, because it often means you can sort things out without buying a single replacement part.
Tools and Materials Needed
Round everything up before you begin. A little prep keeps the whole job from turning into a series of frustrating trips across the kitchen.
Soft Cleaning Brush or Old Toothbrush
A small brush gets into the cramped spots—filter mesh, spray arm holes—where trapped food likes to hide.
White Vinegar
Vinegar loosens mineral crust and cuts grease. It’s cheap, it’s gentle on the machine, and it spares you the harsher chemical cleaners.
Baking Soda
Baking soda handles odors and lifts away light stains and residue without scratching anything.
Sponge and Microfiber Cloth
These are for wiping down the interior walls, the door seals, and the little ledges where gunk collects.
Screwdriver
Certain filters and spray arms need to be unscrewed before they’ll come free. A basic screwdriver set covers most models you’ll run into.
Toothpick or Thin Wire
Nothing clears a plugged spray arm hole quite like a toothpick. Keep one within reach.
8 Simple Steps on How to Fix a Dishwasher Not Cleaning
Work through these in order. Your problem might vanish somewhere in the middle—but running the full sequence means nothing slips past you.
Step 1: Clean the Filter
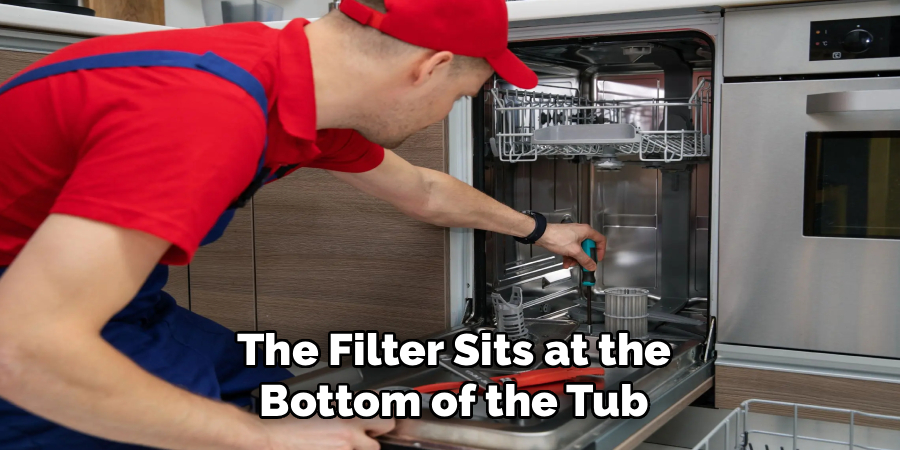
The filter sits at the bottom of the tub, catching food particles so they don’t cycle back onto your dishes. It clogs eventually. Everyone’s does. Lift it out, rinse it under warm running water, and work the brush into the mesh to shift anything stubborn. Once a month is a reasonable habit.
Step 2: Check and Clear the Spray Arms
Spray arms fling water up at your dishes through a row of tiny holes. Block those holes with food or mineral scale, and whole sections of the load go untouched. Pull the arms off and run a toothpick or thin wire through each opening. Give them a solid rinse before you snap them back in place.
Step 3: Run a Vinegar Cycle
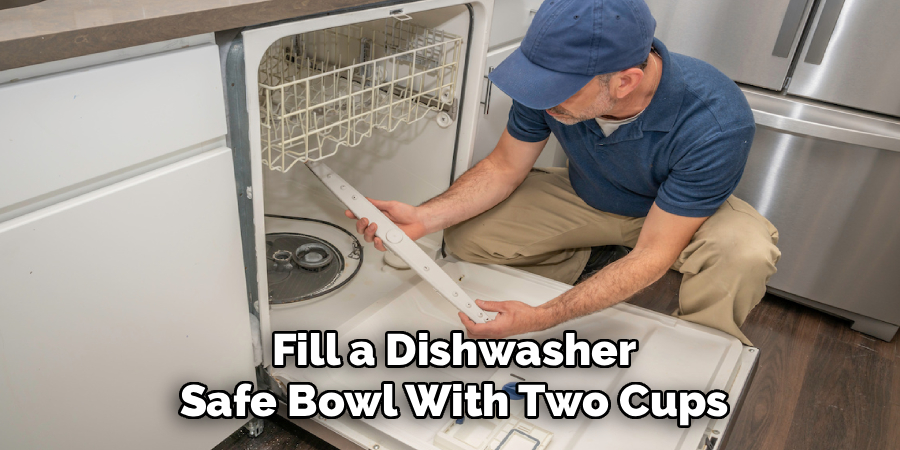
Fill a dishwasher-safe bowl with two cups of white vinegar and stand it on the top rack. Run a hot cycle, with nothing else inside. As the water circulates, the vinegar breaks down grease and mineral film across the machine’s inner workings, and the cleaning power tends to bounce right back.
Step 4: Wipe Down the Interior and Seals
Grime and the occasional patch of mold gather along the door seals and around the edges. A cloth dampened with vinegar solution takes care of it. Clean seals also close tighter, which keeps water sealed inside the tub where it can actually do some good.
Step 5: Check the Water Temperature
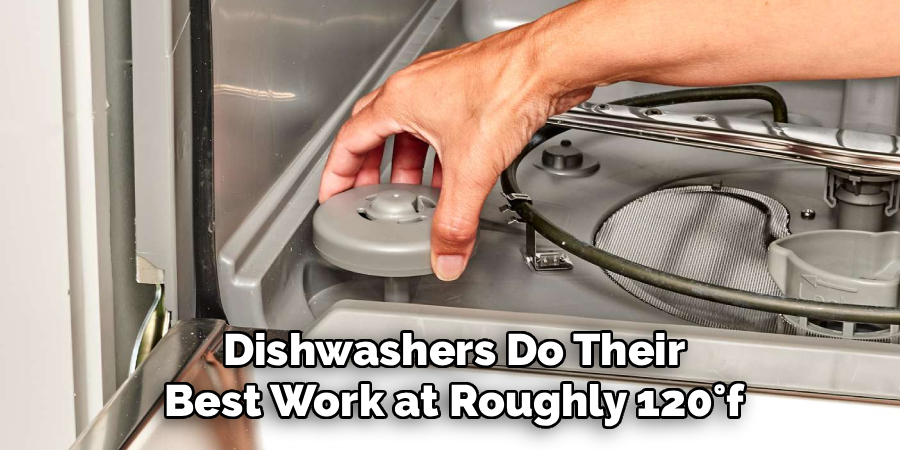
Dishwashers do their best work at roughly 120°F (49°C). Set your water heater too low, and the dishes just won’t come clean. A simple trick: run the kitchen tap hot for a few seconds before you start a cycle. That way the machine pulls in hot water from the very first fill rather than warming up halfway through.
Step 6: Use the Right Detergent and Amount
Detergent that’s gone old or clumpy loses its punch. Reach for a fresh box, and measure the amount to suit your water hardness. Skimp and the dishes stay dirty; overdo it, and you may find a chalky film left behind instead.
Step 7: Load Dishes Correctly
Cram the racks full, and water can’t wind its way to every surface. Spread things out, angle the dirty faces toward the spray arms, and resist the urge to nest bowls or bundle utensils together. Loading technique moves the needle more than most people would ever guess.
Step 8: Run a Hot Rinse Cycle to Test
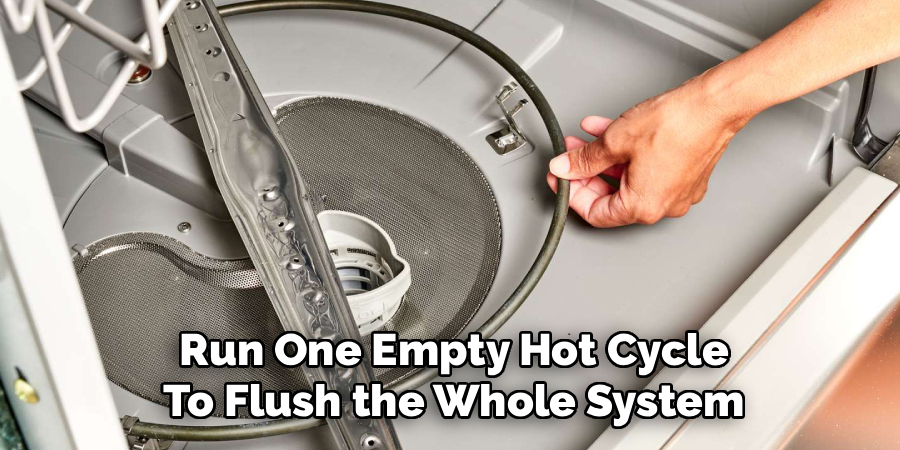
With the earlier steps behind you, run one empty hot cycle to flush the whole system through. Then load a normal batch and see how it turns out. Spotless plates mean you’ve cracked it.
Following these steps on how to fix a dishwasher not cleaning dishes properly, you should be able to enjoy clean and spotless dishes after every wash.
Common Mistakes to Avoid
The filter is where most people slip up. Plenty of folks don’t even know their dishwasher has one, so it sits untouched for years, slowly strangling the machine’s performance. Overloading ranks a close second. Jam the racks and no detergent on earth will rescue the dishes buried in the back.
Then there’s the soap myth. More detergent seems like it should mean cleaner dishes, yet the extra suds just leave a cloudy haze behind. One last thing worth flagging: keep harsh chemicals and steel wool away from the interior. They scratch surfaces and chew up seals. Vinegar and baking soda may seem old-fashioned, but they clean well and won’t cost you a repair down the line.
When to Call a Professional?
Most cleaning gripes are quick fixes. A few, though, hint at something deeper. If you’ve run every step above and the dishes still come out grimy, the fault could sit with the water inlet valve, the drain pump, or the heating element. Those parts call for technical know-how, and sometimes tools the average kitchen drawer doesn’t hold.
Certain warning signs skip the DIY stage entirely. Leaks. Odd grinding noises. Water pooling at the bottom that refuses to drain. Anything electrical. Prying into complex repairs without the right experience can hurt you or turn a small problem into an expensive one. When you’re unsure, a qualified technician can pinpoint the issue fast and spare you the slow grind of trial and error.
Frequently Asked Questions
Q1: Why Is My Dishwasher Leaving a White Film on Dishes?
A1: That cloudy white film almost always comes from hard water and the minerals it leaves behind. A vinegar cycle dissolves most of the buildup. Adding a rinse aid helps too, since it discourages spots and film from settling on glasses and plates in the first place.
Q2: How Often Should I Clean My Dishwasher Filter?
A2: For the average household, a monthly clean keeps the filter in good shape. Run your machine every day, or regularly load it with heavily soiled pans, and you may want to shorten that to every couple of weeks to head off clogs before they sap your cleaning power.
Q3: Can I Use Bleach to Clean My Dishwasher?
A3: Bleach and stainless steel interiors don’t mix well; the bleach may damage the surface. White vinegar and baking soda clean and freshen without that risk. Before you use any product, though, it’s worth a quick glance at your manufacturer’s guidelines.
Get Your Dishes Sparkling Again
A dishwasher that stops pulling its weight is rarely beyond saving. Nine times out of ten, the culprit is a clogged filter, a blocked spray arm, or a slow creep of hard water minerals, and each one you can handle at home inside an hour. Work down the eight steps on how to fix a dishwasher not cleaning above, and there’s a good chance your machine ends up running like it did the day you bought it.
Turn maintenance into a routine, and you sidestep a lot of this trouble before it starts. Clean the filter each month. Send a vinegar cycle through now and then. Load with a bit of thought rather than shoving everything in. And if the problem digs in its heels after all that, don’t wrestle with it. Some faults genuinely need expert hands. For nearly everyone else, though, a modest bit of DIY is the whole difference between grimy plates and dishes that gleam.

About
Ethan Wrenford is a dedicated home appliance specialist with years of hands-on experience in appliance troubleshooting, maintenance, repair, and DIY diagnostics. His professional focus lies in combining practical repair knowledge with simple, easy-to-follow solutions, helping homeowners understand common appliance problems and confidently identify potential causes at home. As an author at ApplianceWhy, Ethan shares practical knowledge on home appliance repair, DIY appliance diagnostics, maintenance, troubleshooting, appliance care, and everyday solutions for common household appliance issues.
Education
Portland Community College (Portland, USA)
Associate Degree in Appliance Technology & Residential Systems
- Focused on residential appliance systems, electrical fundamentals, mechanical components, and appliance troubleshooting.
- Developed practical skills in appliance diagnostics, component testing, electrical safety, and repair procedures.
- Gained hands-on experience working with refrigerators, washing machines, dryers, dishwashers, ovens, ranges, and other household appliances.
Oregon Institute of Technology (Klamath Falls, USA)
Bachelor’s in Applied Electronics & Technology
- Specialized in electrical systems, electronic controls, sensors, motors, and residential equipment.
- Studied diagnostic techniques for identifying electrical, mechanical, and component-related appliance problems.
- Completed practical projects involving appliance control systems, troubleshooting methods, preventive maintenance, and repair fundamentals.
Publications and Impact
Through ApplianceWhy, Ethan shares practical insights into home appliance repair, DIY diagnostics, maintenance, troubleshooting, and appliance care. His writing focuses on turning confusing appliance problems into simple, understandable steps that homeowners can follow safely.
Ethan covers everything from diagnosing a refrigerator that is not cooling and a washing machine that will not drain to troubleshooting dryers, dishwashers, ovens, microwaves, and other common household appliances. His content helps readers understand appliance symptoms, identify possible causes, perform basic diagnostic checks, and determine when professional repair may be necessary.
Through his work, Ethan aims to bridge the gap between professional appliance repair knowledge and everyday homeowners—making appliance troubleshooting more approachable, practical, and accessible to everyone who wants to diagnose smarter, maintain better, and keep their appliances running longer.