

Few things sour a morning quite like reaching into the dryer and pulling out a tangle of clothes that are still cold and damp. The machine hummed along for forty minutes. It tumbled. It just never warmed up.
When a dryer runs but refuses to heat, the heating element is usually where the trouble hides. And here’s the part most people don’t expect: fixing it is often something you can do yourself, no repair background required.
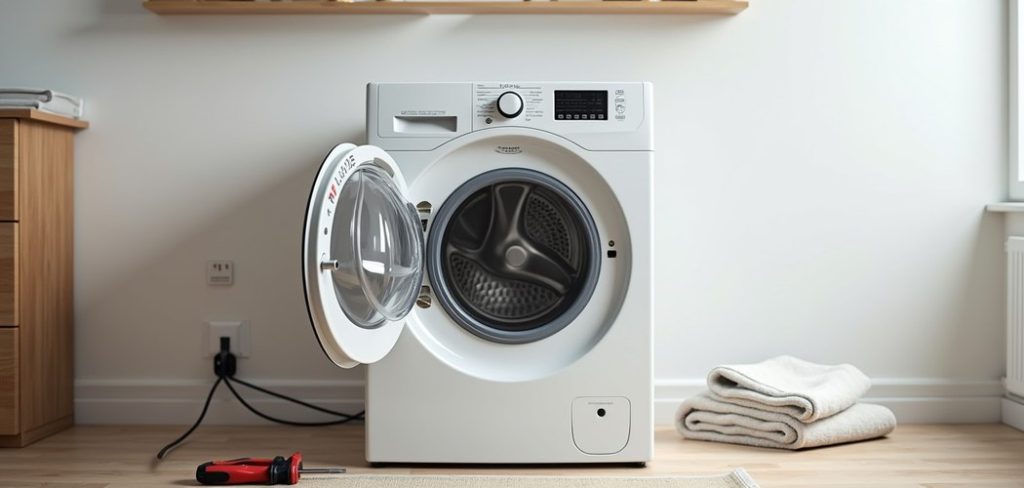
This guide on how to fix a dryer heating element covers the whole process, from what the heating element actually does to swapping it out step by step.
Along the way, you’ll pick up the mistakes worth dodging, a sense of when a professional should really take over, and a realistic idea of what the repair will set you back.
By the last section, you should know whether this is a screwdriver situation or a phone-call situation.
Understanding the Dryer Heating Element
The heating element is what generates the warm air your clothes rely on to dry. Inside most electric dryers, it takes the form of a coiled metal wire tucked into a metal chamber.
Electricity flows through the coil, the coil heats, and a blower fan pushes that warm air into the drum. Simple enough. But coils don’t last forever.
After years of heating and cooling, one can burn out, snap, or short, and suddenly you’ve got a dryer that spins beautifully and dries nothing.
Understanding this helps you diagnose accurately rather than guess. A dryer that tumbles normally but leaves clothes wet points fairly strongly toward the element. Still, don’t order a replacement on a hunch.
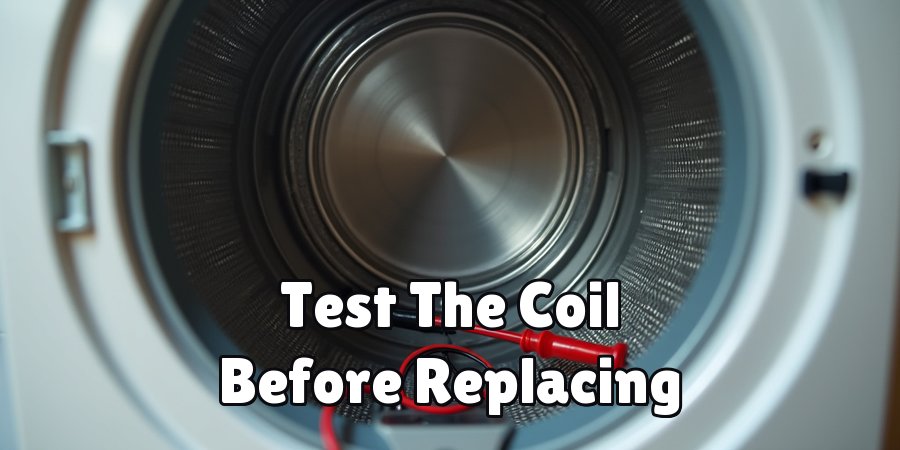
Testing the element with a multimeter first tells you whether it has genuinely failed. That one small step can save you from replacing a healthy part and missing the actual fault.
Tools and Materials Needed
Gather your supplies before you touch a single screw. Hunting for a nut driver halfway through, with the dryer half-open, is how small parts go missing, and patience runs thin.
Basic Hand Tools
A screwdriver set with both Phillips and flathead heads will handle most of what you meet inside the cabinet. Add a nut driver or socket set for the bolts, and keep a pair of needle-nose pliers nearby for the tighter clips and connectors.
Testing Equipment
A digital multimeter does the diagnostic heavy lifting. It checks for continuity, which tells you whether the coil is intact or broken before you spend a cent on parts. Skipping this is the single most common way people waste money on this repair.
Replacement Parts
You’ll need a heating element that matches your dryer’s exact make and model. The model number usually sits on the inside of the door or across the back panel.
Find it, write it down, and order the precise replacement rather than something that looks close enough.
A work light and a soft cloth round things out, useful for spotting small components and keeping track of screws.
7 Simple Steps on How to Fix a Dryer Heating Element
Step 1: Unplug and Disconnect Power
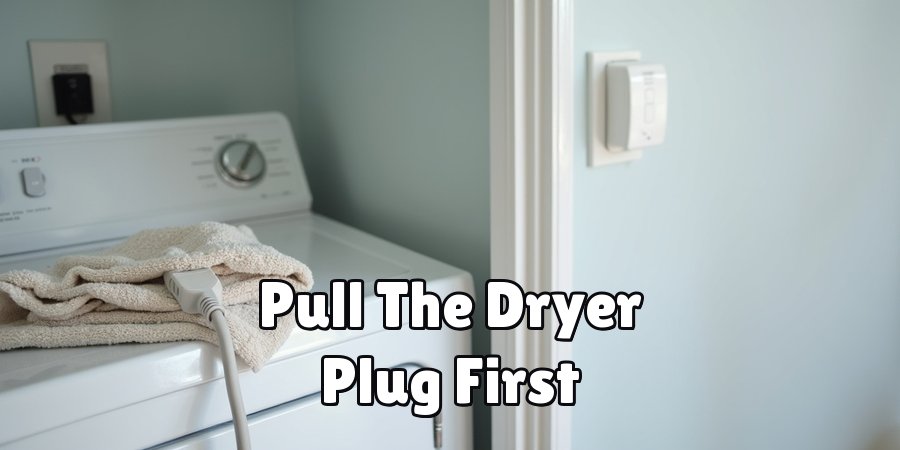
Start with safety, always. Pull the dryer’s plug from the wall outlet before you touch anything else. If the unit is hardwired, flip off the matching breaker instead. Working on a live appliance is a genuine electric-shock risk, not a theoretical one.
Step 2: Access the Heating Element
Where the element lives depends on your model. Some sit behind the rear panel; others tuck beneath the drum. Your owner’s manual will point you to the right spot. Remove the screws holding the panel, then set them somewhere they won’t roll away, because they always seem to roll away.
Step 3: Locate and Inspect the Element
With the panel off, find the element inside its metal housing. Look it over closely. A broken coil, dark burn marks, or blistering on the metal all suggest the part has given out. Sometimes the damage is obvious; sometimes it takes a second look under decent light.
Step 4: Test the Element with a Multimeter
Switch your multimeter to the continuity setting and press the probes against the element’s terminals. A healthy element reads continuity, something close to zero ohms. No reading at all means the coil has broken somewhere along its length, and the element needs to go.
Step 5: Remove the Old Element
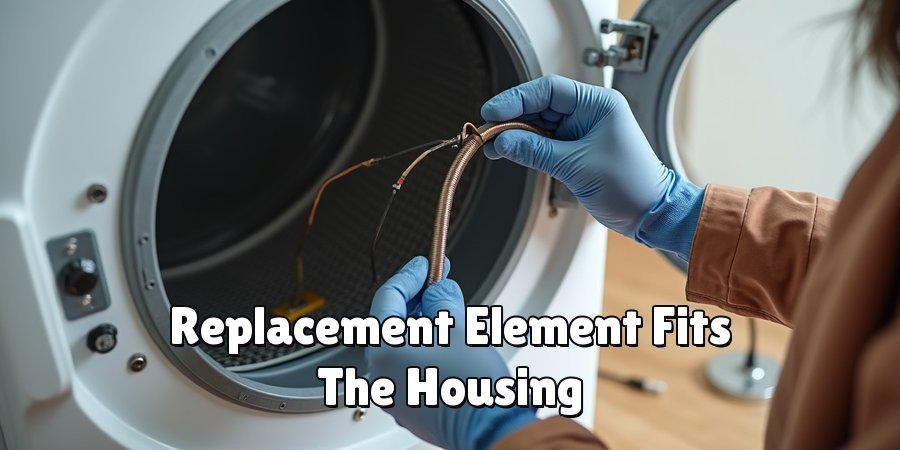
Before you disconnect anything, snap a photo of the wiring. You’ll thank yourself later. Then detach the wires, unscrew the element from its housing, and ease it out. Go gently around the surrounding parts, since a bent bracket or fitting can complicate the reinstall.
Step 6: Install the New Element
Slide the replacement into the housing and fasten it with the same screws you removed. Reconnect the wires exactly as they were, using your photo as the reference. Every connection should feel snug. A loose wire may work today and fail next week, so it’s worth double-checking each one now.
Step 7: Reassemble and Test
Put the rear panel back and screw it down. Plug the dryer in, switch it on, and run a short heat cycle. If the drum warms as it should, you’re done. That first wave of hot air is oddly satisfying after all that.
Work through these steps on how to fix a dryer heating element carefully. There’s no prize for speed here, and rushing is reliably the quickest way to damage a part or hurt yourself.
Common Mistakes to Avoid
The biggest one? Skipping the multimeter test and assuming the element is guilty.
A dryer that won’t heat can also trace back to a blown thermal fuse, a failing thermostat, or something as simple as a tripped breaker.
Replace the element without confirming the diagnosis, and you may end up with the same cold clothes and a lighter wallet.
The other frequent stumble is forgetting to photograph the wiring before pulling it apart. Reconnect the wires wrong, and the dryer might not run at all, or worse, it could become a fire hazard.
So take your time. Label connections if it helps.
And never muscle a part into a spot it doesn’t want to go, because when something refuses to fit, the model number is usually the thing to check first.
Do You Need To Use Professionals?
Plenty of people handle this repair on their own, particularly with a clear guide and a few basic tools in the drawer. If unplugging an appliance and following instructions sits within your comfort zone, this counts as a manageable DIY job, and the labor savings are real.
Some cases, though, tip the scale toward calling someone. A gas-powered dryer is one. Uncertainty about the wiring is another.
And if the dryer still won’t heat after you’ve replaced the element, that lingering problem suggests something else is at play, worth a licensed technician’s eyes.
Gas connections especially carry risks that just aren’t worth improvising around without training.
How Much Will It Cost?
A replacement heating element generally runs between $25 and $60, with the exact figure depending on your dryer’s brand and model. If you already own a screwdriver set and a multimeter, the DIY path keeps your total within that band, which looks like a bargain next to the price of a brand-new dryer.
Bring in a professional, and you add labor, typically somewhere from $100 to $200 or more, pushing the whole job into the $150 to $300 range. That’s a heavier outlay, no question.
What it buys, though, is peace of mind and often a service warranty. Weigh your budget against your comfort level, and the right choice tends to become clear.
Frequently Asked Questions
Q1: How Do I Know if My Heating Element Is Broken?
A1: The clearest sign is a dryer that runs but gives off no heat, leaving your clothes damp after a full cycle. To be sure, test the element with a multimeter set to continuity. No reading means the coil has broken somewhere and the element needs replacing.
Q2: Can I Use My Dryer With a Faulty Heating Element?
A2: The dryer will still run, but it won’t heat, so your clothes won’t dry. Keeping it going wastes electricity and puts avoidable strain on the machine’s other parts. Repairing the element before further use is the smarter move.
Q3: How Long Does It Take To Replace a Heating Element?
A3: For most people, the job lands somewhere between 30 minutes and an hour. A first attempt, or a model that’s awkward to open up, may stretch that a bit. Since rushing tends to invite mistakes, a steady pace usually serves you better than a fast one.
Conclusion
Replacing a dryer heating element sits among the friendlier appliance repairs, and with the right tools it’s well within reach for most homeowners.
Test before you replace, move through each step with a little care, respect the basic safety rules, and you can bring the heat back without paying for a new machine or a service visit.
And if you ever feel out of your depth, gas dryers and stubborn wiring being the usual culprits, there’s genuinely no shame in handing it to a professional. What matters is a dryer that runs safely and dries reliably.
However you get there, whether by your own hand or an expert’s, you now have enough to make the right call for your home and your budget.
Thanks for reading this guide on how to fix a dryer heating element.

About
Ethan Wrenford is a dedicated home appliance specialist with years of hands-on experience in appliance troubleshooting, maintenance, repair, and DIY diagnostics. His professional focus lies in combining practical repair knowledge with simple, easy-to-follow solutions, helping homeowners understand common appliance problems and confidently identify potential causes at home. As an author at ApplianceWhy, Ethan shares practical knowledge on home appliance repair, DIY appliance diagnostics, maintenance, troubleshooting, appliance care, and everyday solutions for common household appliance issues.
Education
Portland Community College (Portland, USA)
Associate Degree in Appliance Technology & Residential Systems
- Focused on residential appliance systems, electrical fundamentals, mechanical components, and appliance troubleshooting.
- Developed practical skills in appliance diagnostics, component testing, electrical safety, and repair procedures.
- Gained hands-on experience working with refrigerators, washing machines, dryers, dishwashers, ovens, ranges, and other household appliances.
Oregon Institute of Technology (Klamath Falls, USA)
Bachelor’s in Applied Electronics & Technology
- Specialized in electrical systems, electronic controls, sensors, motors, and residential equipment.
- Studied diagnostic techniques for identifying electrical, mechanical, and component-related appliance problems.
- Completed practical projects involving appliance control systems, troubleshooting methods, preventive maintenance, and repair fundamentals.
Publications and Impact
Through ApplianceWhy, Ethan shares practical insights into home appliance repair, DIY diagnostics, maintenance, troubleshooting, and appliance care. His writing focuses on turning confusing appliance problems into simple, understandable steps that homeowners can follow safely.
Ethan covers everything from diagnosing a refrigerator that is not cooling and a washing machine that will not drain to troubleshooting dryers, dishwashers, ovens, microwaves, and other common household appliances. His content helps readers understand appliance symptoms, identify possible causes, perform basic diagnostic checks, and determine when professional repair may be necessary.
Through his work, Ethan aims to bridge the gap between professional appliance repair knowledge and everyday homeowners—making appliance troubleshooting more approachable, practical, and accessible to everyone who wants to diagnose smarter, maintain better, and keep their appliances running longer.