

The electric oven does more work than almost anything else in your kitchen. Yet how many of us actually think about it? You dial in a temperature, wait for the beep, slide the tray in.
Done. Behind that closed door, though, a surprising amount of engineering is quietly turning wall current into browned cookies and a properly roasted chicken.
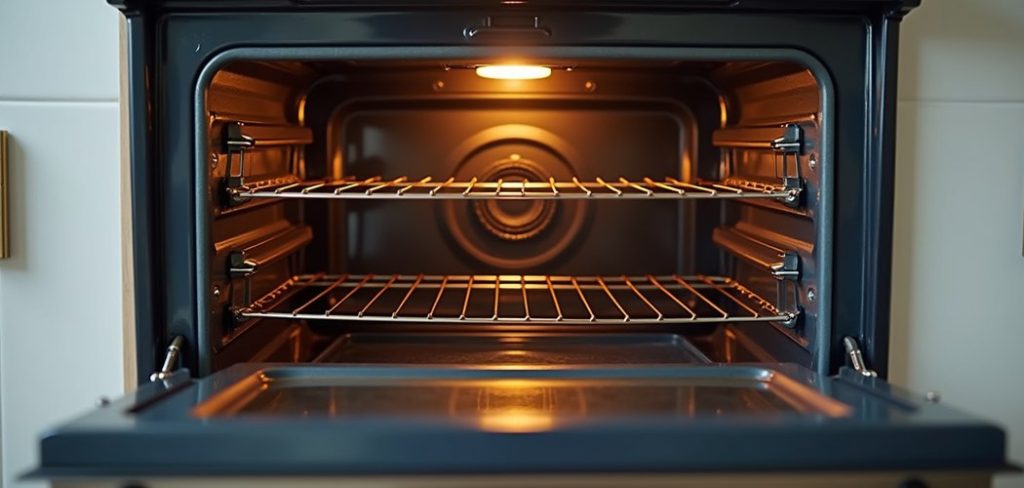
Knowing how the thing works pays off in ways you might not expect. Spot a failing part before it dies completely. Cook a little smarter. Avoid the repair bill that comes from ignoring a small problem until it becomes a big one.
This guide on how a electric oven works takes apart the electric oven in plain terms, follows the heat from switch to finished plate, and passes along a few habits that keep the appliance safe and running for a good long while.
How Does an Electric Oven Work?
Strip it back to basics and an electric oven does one thing: it turns electricity into heat. Flip it on, choose a temperature, and current starts moving through metal heating elements set inside the cavity.
Those elements push back against the flow of electricity, and that resistance is what generates heat. The warmth spreads out from there, heating the trapped air until the cavity hits the number you asked for.
Keeping it all steady is the thermostat. It reads the internal temperature without pause and clicks the elements on and off to hold a consistent level of heat.
That on-off rhythm runs the whole time you’re cooking, which explains those faint clicks and the shifting oven light you may have noticed. The payoff is even, predictable cooking—something an open flame struggles to deliver.
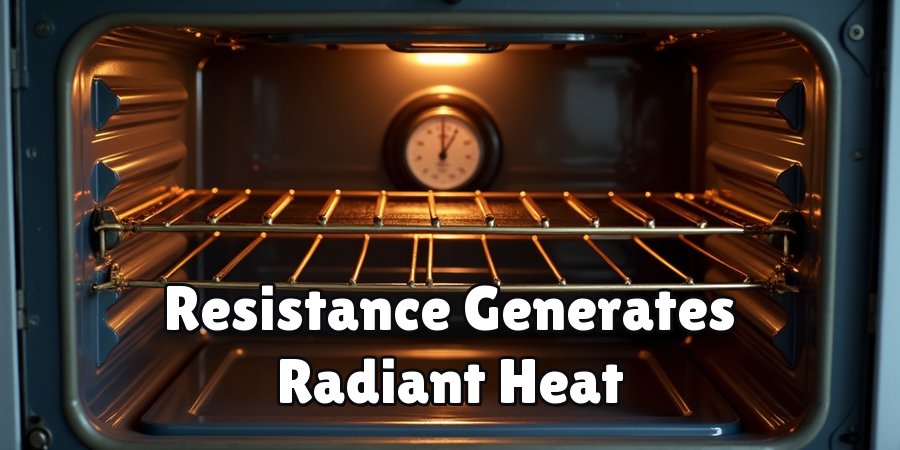
7 Simple Steps on How a Electric Oven Works
Step 1: You Set the Temperature
It all kicks off when you twist the dial or tap the panel to pick a temperature. That input travels to the oven’s control system and tells it precisely how hot the cavity should get.
Step 2: Electricity Reaches the Heating Elements
With the temperature locked in, current flows to the heating elements. On most ovens, the lower bake element does the everyday cooking. The upper broil element sits in reserve for grilling and browning.
Step 3: The Elements Heat Up
Current passes through the metal, the metal resists, and the elements glow red-hot. That resistance is the moment electrical energy becomes the radiant heat your food actually needs.
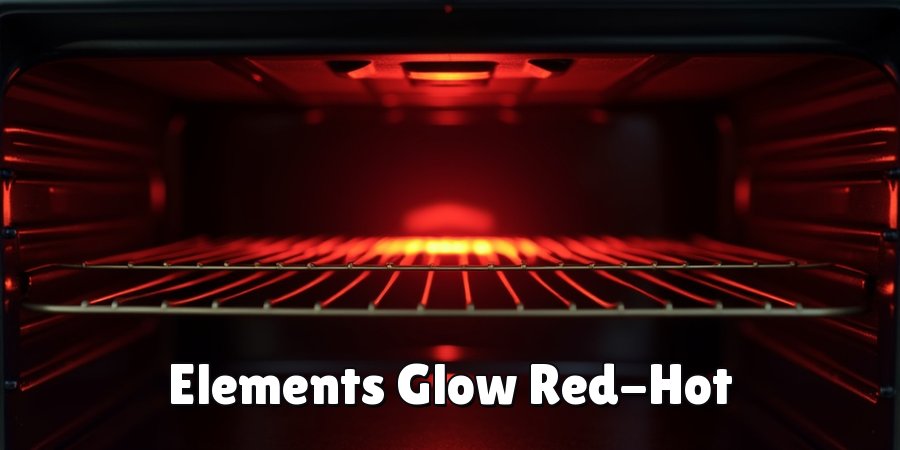
Step 4: Heat Fills the Oven Cavity
Warmth radiates off the elements and heats the air inside the sealed cavity. Insulated walls and a snug door seal hold that warmth in place, so the temperature can climb steadily rather than bleeding away.
Step 5: The Thermostat Monitors Temperature
The thermostat keeps checking the internal temperature. Hit your set point,t and it signals the elements to shut off. Should the temperature slip, it fires them back up—which is how the oven maintains a steady heat rather than swinging hot and cold.
Step 6: Air Circulates (In Convection Ovens)
Got a convection setting? A fan switches on and pushes the hot air around your food. That movement clears out cold spots, trims cooking time, and tends to give you more even results across the tray.
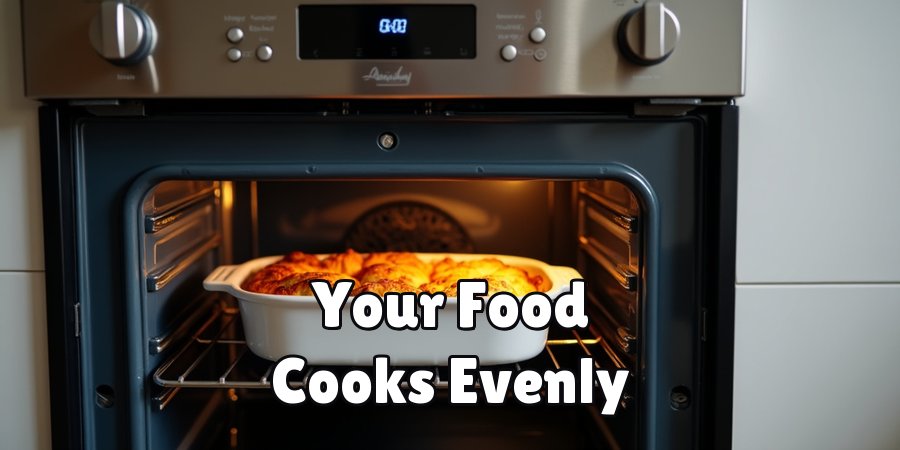
Step 7: Your Food Cooks Evenly. The temperature holds steady, heat wraps around your dish, and your food cooks through. The oven keeps cycling the elements on and off until you shut it down or the timer runs out.
Ever wondered about the full trip from flipped switch to finished meal? Here’s the sequence, broken into seven plain steps on how a electric oven works.
Common Electric Oven Problems
Even a dependable oven picks up faults over time. Uneven cooking tends to top the list—one side of the tray browns nicely while the other stays pale.
That pattern may point to a heating element on its way out, or a thermostat that’s lost its accuracy.
Then there’s the oven that won’t heat at all, which usually traces back to a burnt-out element or a tripped connection.Other signs are quieter.
Maybe the oven drags during preheat, or it runs hotter or cooler than the display claims. Maybe the door no longer seals the way it should.
A tired gasket lets heat slip out, and the elements have to work harder to compensate, which nudges your energy bills upward. Catching these small warnings early can spare you a costlier breakdown later on.
How to Tell Which Oven Component Is Faulty?
Sorting out an oven fault usually starts with looking closely. If nothing’s heating, watch the elements while the oven runs. A healthy bake or broil element glows bright orange, evenly, along its whole length. Stays dark?
Shows blisters? Has a visible break in the coil? The element is probably your problem. And if only part of it glows while the rest sits dull, that’s another fairly reliable sign it needs swapping out.
Now, suppose the elements look perfectly fine, but your food still cooks unevenly, or the temperature feels off. In that case, the thermostat or temperature sensor tends to be the suspect.
Test it simply: set the oven to a known temperature and compare the display against a standalone oven thermometer. A wide gap between the two could indicate a calibration drift or a sensor going bad.
Anything that involves wiring or electrical parts, though, is best left to a qualified appliance technician rather than a DIY attempt.
Electric Oven Safety Tips
Used properly, an electric oven is a safe appliance. A handful of habits keep it that way. Keep the space around it clear of anything that catches fire easily—tea towels, paper, stray bits of plastic.
Skip the trick of lining the oven floor with foil, too; it can block heat flow and, in the wrong conditions, cause damage or even a fire.
And reach for oven mitts every single time, because the elements and interior surfaces stay dangerously hot well after you’ve finished cooking.Cleaning matters more than people assume.
Grease and dropped food can smoke or catch alight at high temperatures, so wipe up spills once the oven has cooled.
Before any cleaning or maintenance, cut the power at the wall or the breaker to rule out a shock. Smell burning plastic, spot sparks, or notice damaged wiring? Stop using the oven right away and call a professional.
Where there’s any real doubt, a delayed dinner beats an accident.

Frequently Asked Questions
Q1: How Long Does an Electric Oven Take to Preheat?
A1: Most electric ovens need somewhere between 10 and 15 minutes to reach a standard baking temperature of around 350°F (175°C). Higher settings take a bit longer. If yours suddenly takes far more time than it used to, a failing heating element or a worn door seal may be behind it.
Q2: Do Electric Ovens Use a Lot of Electricity?
A2: An electric oven generally draws between 2,000 and 5,000 watts, depending on its size and the temperature you’ve chosen. It’s one of the thirstiest appliances in the kitchen, no question. Using it well—cooking a few dishes at once, resisting the urge to open the door constantly—helps keep those energy costs in check.
Q3: Can I Replace an Electric Oven Element Myself?
A3: For many homeowners, swapping an element is a manageable job, since elements often plug in or fasten with a couple of screws. Disconnect the power first, always. And if the wiring looks unfamiliar or you’re unsure about your particular model, hiring a qualified technician buys you some peace of mind.
Q4: What Are Some Potential Hazards of Using an Electric Oven?
A4: Like any appliance that uses electricity, there are potential hazards associated with using an electric oven. The most common hazard is burning yourself on the hot surfaces or from steam when opening the door.
Additionally, there is a risk of electrical shock if the oven is not properly maintained or if there is damage to the wiring.
It’s important to always follow safety precautions and regularly inspect your oven for any potential issues. If you notice any problems or abnormalities, it’s best to have a professional technician assess and repair the issue.
Conclusion
An electric oven can look like a plain metal box. Underneath, it’s a fairly clever arrangement of heating elements, a thermostat, and insulation all cooperating to cook your food evenly.
Once you understand what each part does—and how they hand off to one another across those seven steps on how a electric oven works—you’re in a much stronger position to get real value from the appliance and to figure out what’s wrong when something slips.
So the next time your oven sulks or browns one side of a tray more than the other, you’ll have a sense of where to look and what to ask.
Stay on top of the cleaning, keep the safety habits above in mind, and bring in a professional for anything electrical.
A bit of knowledge really does carry you a long way toward a kitchen that runs smoothly and meals that land the way you hoped.

About
Ethan Wrenford is a dedicated home appliance specialist with years of hands-on experience in appliance troubleshooting, maintenance, repair, and DIY diagnostics. His professional focus lies in combining practical repair knowledge with simple, easy-to-follow solutions, helping homeowners understand common appliance problems and confidently identify potential causes at home. As an author at ApplianceWhy, Ethan shares practical knowledge on home appliance repair, DIY appliance diagnostics, maintenance, troubleshooting, appliance care, and everyday solutions for common household appliance issues.
Education
Portland Community College (Portland, USA)
Associate Degree in Appliance Technology & Residential Systems
- Focused on residential appliance systems, electrical fundamentals, mechanical components, and appliance troubleshooting.
- Developed practical skills in appliance diagnostics, component testing, electrical safety, and repair procedures.
- Gained hands-on experience working with refrigerators, washing machines, dryers, dishwashers, ovens, ranges, and other household appliances.
Oregon Institute of Technology (Klamath Falls, USA)
Bachelor’s in Applied Electronics & Technology
- Specialized in electrical systems, electronic controls, sensors, motors, and residential equipment.
- Studied diagnostic techniques for identifying electrical, mechanical, and component-related appliance problems.
- Completed practical projects involving appliance control systems, troubleshooting methods, preventive maintenance, and repair fundamentals.
Publications and Impact
Through ApplianceWhy, Ethan shares practical insights into home appliance repair, DIY diagnostics, maintenance, troubleshooting, and appliance care. His writing focuses on turning confusing appliance problems into simple, understandable steps that homeowners can follow safely.
Ethan covers everything from diagnosing a refrigerator that is not cooling and a washing machine that will not drain to troubleshooting dryers, dishwashers, ovens, microwaves, and other common household appliances. His content helps readers understand appliance symptoms, identify possible causes, perform basic diagnostic checks, and determine when professional repair may be necessary.
Through his work, Ethan aims to bridge the gap between professional appliance repair knowledge and everyday homeowners—making appliance troubleshooting more approachable, practical, and accessible to everyone who wants to diagnose smarter, maintain better, and keep their appliances running longer.