

Have you ever pulled out a new oven, set what you thought was the perfect temperature, and ended up with a burnt casserole or a cake that never quite baked? Chances are the culprit wasn’t your recipe. It was the temperature unit your oven uses.
Temperature settings sit at the heart of good cooking. A few degrees off can mean the difference between a golden roast and a dry one.
When your oven speaks Celsius but your recipe speaks Fahrenheit, you either scramble for a conversion chart or risk ruining your meal. Switching your oven to display Fahrenheit removes that hassle entirely.
In this guide on how to change oven from Celsius to Fahrenheit, we’ll walk you through everything you need to know. By the end, you’ll feel confident adjusting your oven to match the way you cook.
What are the Benefits?
Switching your oven to Fahrenheit isn’t just about personal preference. It brings real, practical advantages that make everyday cooking smoother and more enjoyable.
- You cook with confidence. When your oven matches the units in your recipes, you no longer second-guess yourself. You set the number you see on the page and trust that it’s correct. That confidence leads to better results and less stress in the kitchen.
- You save time. Converting Celsius to Fahrenheit in your head takes effort, and it’s easy to make errors under pressure. When your oven already displays the right unit, you skip the calculations. That saved time adds up, especially when you’re juggling multiple dishes.
- You reduce waste. Wrong temperatures ruin food. An overheated oven burns your dinner, while an underheated one leaves it undercooked. Both outcomes mean wasted ingredients and money. Setting the correct unit helps you get it right the first time.
- You follow recipes accurately. Most American cookbooks, food blogs, and packaged food instructions use Fahrenheit. When your oven speaks the same language, you can follow directions exactly as written. This is especially helpful for baking, where precision matters most.
- You share your kitchen with ease. If family members or guests use your oven, a familiar unit means fewer mix-ups. Everyone understands the numbers, so there’s no confusion when someone else helps with cooking.
- You gain peace of mind. Knowing your oven is set up the way you like removes a small but constant frustration. Cooking becomes more pleasant when the tools cooperate with you.
What Will You Need?
Before you start, gather a few things. The process is quick, but a little preparation makes it even easier.
That’s it. You don’t need any special tools. The change happens entirely through your oven’s settings.
- Your oven’s user manual. Every oven model is a little different. The manual shows the exact button sequence for your machine. If you’ve lost the paper copy, you can usually find a digital version on the manufacturer’s website.
- Access to the oven’s control panel. Whether your oven has physical buttons, a dial, or a digital touchscreen, you’ll need to reach and read the controls clearly. Good lighting helps.
- A few minutes of uninterrupted time. You don’t need long, but it helps to focus. Rushing can lead to pressing the wrong buttons.
- Your reading glasses, if you use them. Some control panels have small text or symbols. Being able to see clearly prevents mistakes.
- A pen and paper or your phone. Jot down the steps as you go, especially if the menu is complex. This helps if you ever need to switch back.
- Patience and a calm mindset. Most switches take seconds, but older or unfamiliar models may take a bit of exploring. Staying relaxed makes the task easier.
10 Easy Steps on How to Change Oven from Celsius to Fahrenheit
Step 1: Read Your Oven Manual
Start by finding your oven’s manual. This is the single most helpful resource because it lists the exact steps for your specific model.
Look for a section labeled “temperature units,” “settings,” or “unit selection.” If you can’t find the physical booklet, search the manufacturer’s website using your oven’s model number.
That number usually sits on a sticker inside the oven door or on the back of the appliance. The manual saves you from guessing and points you straight to the right buttons.
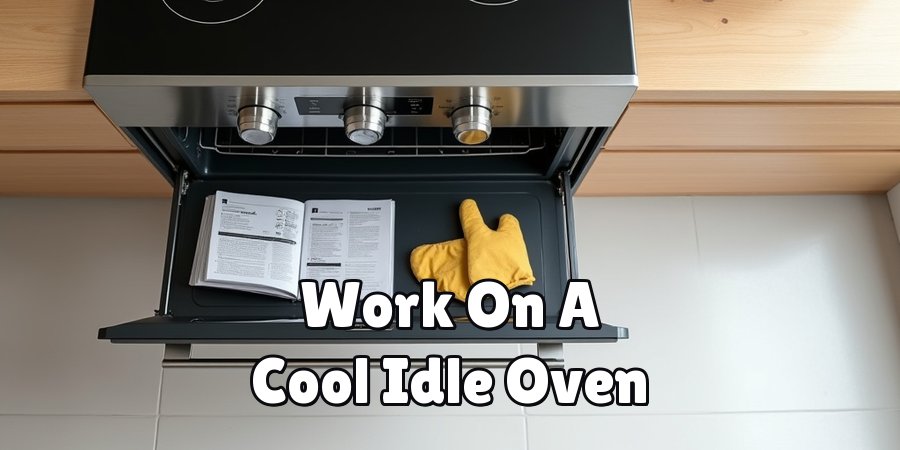
Step 2: Make Sure the Oven Is Off and Cool
Before you touch any settings, confirm the oven is turned off and cool to the touch. Changing the unit setting works best when the oven isn’t actively heating.
Working on a cool oven also keeps you safe from burns. If you just finished cooking, give the appliance time to cool down.
This step protects both you and the machine while you adjust the controls.
Step 3: Locate the Control Panel
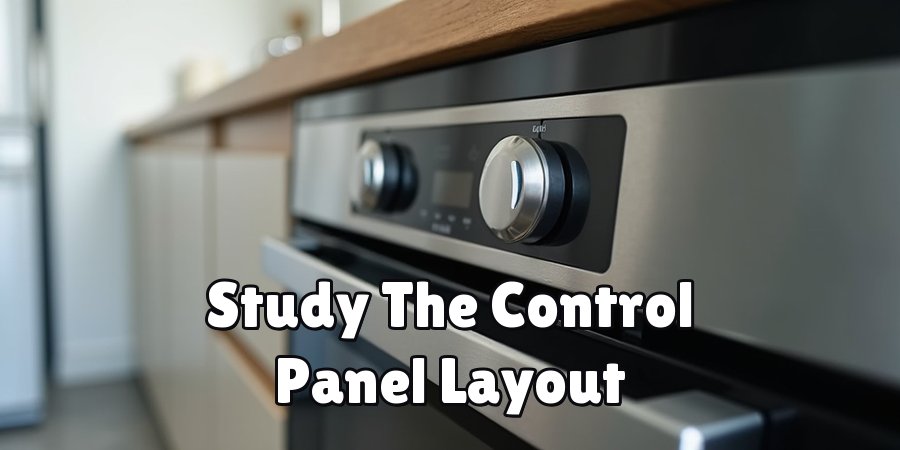
Find the main control panel on your oven. On modern models, this is often a digital display with buttons or a touchscreen.
On older ovens, you might see a set of physical dials or a small keypad. Take a moment to study the layout. Identify buttons labeled “Settings,” “Menu,” “Options,” or a gear icon.
Knowing where these controls are makes the next steps flow smoothly.
Step 4: Access the Settings Menu
Press the button that opens the settings or menu. This might be a dedicated “Settings” button, a gear symbol, or a combination of buttons held together.
Some ovens require you to press and hold a button for a few seconds to enter the menu. Watch the display for a change that shows you’ve entered the settings area.
If nothing happens, check your manual for the exact entry method.
Step 5: Find the Temperature Unit Option
Once inside the menu, scroll or navigate until you find the temperature unit option. It may appear as “°C/°F,” “Unit,” “Temperature Units,” or something similar.
Use the arrow buttons, dial, or touchscreen to move through the choices. Take your time here. Menus can have several options, so read each one carefully until you spot the temperature unit setting.
Step 6: Select Fahrenheit
Highlight or select the temperature unit option, then choose Fahrenheit. On many ovens, you simply toggle between °C and °F by pressing a button. On others, you select °F from a short list.
Make sure the display clearly shows Fahrenheit as your choice. This is the key moment where the actual switch happens, so double-check that you picked the correct unit.
Step 7: Confirm Your Choice
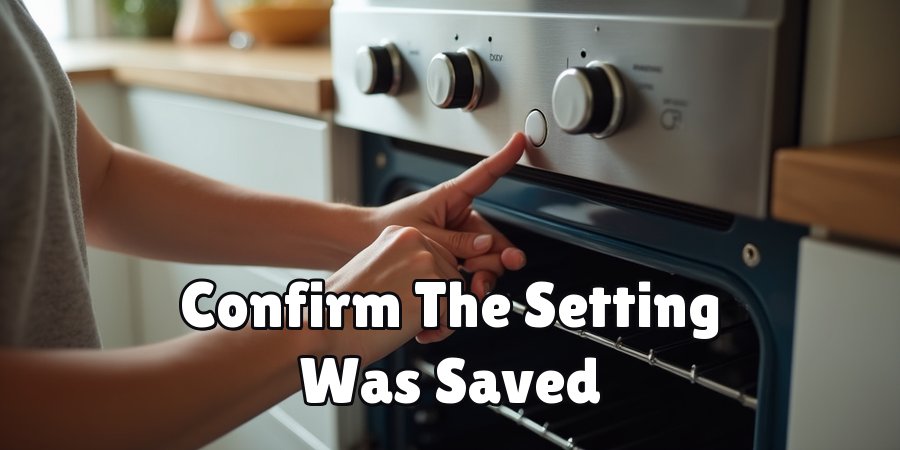
After selecting Fahrenheit, confirm or save the change. Look for an “OK,” “Enter,” “Save,” or checkmark button. Some ovens save automatically once you make a selection, while others need a confirmation press.
If you skip this step, your change might not stick. Watch the screen for a message or signal that confirms the setting has been saved.
Step 8: Exit the Settings Menu
Now leave the settings menu. Press “Back,” “Exit,” or the same button you used to enter, depending on your model. Some ovens exit automatically after a few seconds of inactivity. Returning to the main screen tells you the process is nearly complete. Make sure you don’t accidentally change other settings on your way out.
Step 9: Test the New Setting
Turn your oven on and set a temperature. Watch the display to confirm it now shows Fahrenheit. For example, set it to 350°F and check that the number appears correctly.
If the oven still shows Celsius, repeat the earlier steps and make sure you saved the change. Testing gives you proof that everything worked as intended before your next cooking session.
Step 10: Note the Change for Future Reference
Finally, make a quick note of what you did. Write down the button sequence or take a photo of the settings screen.
This helps if you ever need to switch back to Celsius or reset your oven after a power outage. Keeping this information handy means you’ll never have to relearn the process.
With this final step, your oven is ready to cook in Fahrenheit.
5 Things You Should Avoid
Even though switching units is simple, a few common mistakes can trip you up. Keep these in mind to avoid frustration.
1. Skipping the manual. Guessing your way through the menu often leads to pressing the wrong buttons. The manual gives you the exact steps for your model. Ignoring it wastes time and can accidentally change other settings.
2. Changing settings while the oven is hot or in use. Adjusting controls during cooking can interrupt your dish or confuse. Always work on a cool, idle oven for the smoothest experience.
3. Forgetting to save your choice. Many people select Fahrenheit but forget to confirm it. Without saving, the oven reverts to its old setting. Always look for a confirmation step.
4. Rushing through the menu. Moving too fast can cause you to skip the temperature unit option or select the wrong item. Slow down and read each menu choice carefully.
5. Ignoring the test step. Assuming the change worked without checking can lead to surprises later. Always test the setting by turning the oven on and confirming the display shows Fahrenheit.
Conclusion
How to change oven from Celsius to Fahrenheit is a small adjustment that makes a big difference in your kitchen.
When your oven displays the unit you know best, cooking becomes easier, faster, and far less stressful.
You stop converting numbers in your head, follow recipes with confidence, and get better results from every dish you make.
We’ve covered the full process in this guide. You learned the real benefits of making the switch, from saving time to reducing food waste.
You gathered the few simple things you need, like your manual and a few quiet minutes. Then you walked through ten clear steps, from reading the manual to testing and noting your new setting.
So go ahead and make the switch. Your future self, standing over a perfectly cooked meal, will thank you. Happy cooking, and enjoy the confidence that comes with an oven set up just the way you like it.

About
Ethan Wrenford is a dedicated home appliance specialist with years of hands-on experience in appliance troubleshooting, maintenance, repair, and DIY diagnostics. His professional focus lies in combining practical repair knowledge with simple, easy-to-follow solutions, helping homeowners understand common appliance problems and confidently identify potential causes at home. As an author at ApplianceWhy, Ethan shares practical knowledge on home appliance repair, DIY appliance diagnostics, maintenance, troubleshooting, appliance care, and everyday solutions for common household appliance issues.
Education
Portland Community College (Portland, USA)
Associate Degree in Appliance Technology & Residential Systems
- Focused on residential appliance systems, electrical fundamentals, mechanical components, and appliance troubleshooting.
- Developed practical skills in appliance diagnostics, component testing, electrical safety, and repair procedures.
- Gained hands-on experience working with refrigerators, washing machines, dryers, dishwashers, ovens, ranges, and other household appliances.
Oregon Institute of Technology (Klamath Falls, USA)
Bachelor’s in Applied Electronics & Technology
- Specialized in electrical systems, electronic controls, sensors, motors, and residential equipment.
- Studied diagnostic techniques for identifying electrical, mechanical, and component-related appliance problems.
- Completed practical projects involving appliance control systems, troubleshooting methods, preventive maintenance, and repair fundamentals.
Publications and Impact
Through ApplianceWhy, Ethan shares practical insights into home appliance repair, DIY diagnostics, maintenance, troubleshooting, and appliance care. His writing focuses on turning confusing appliance problems into simple, understandable steps that homeowners can follow safely.
Ethan covers everything from diagnosing a refrigerator that is not cooling and a washing machine that will not drain to troubleshooting dryers, dishwashers, ovens, microwaves, and other common household appliances. His content helps readers understand appliance symptoms, identify possible causes, perform basic diagnostic checks, and determine when professional repair may be necessary.
Through his work, Ethan aims to bridge the gap between professional appliance repair knowledge and everyday homeowners—making appliance troubleshooting more approachable, practical, and accessible to everyone who wants to diagnose smarter, maintain better, and keep their appliances running longer.