

Your garbage disposal does a lot without ever asking for much. Day after day, it grinds through leftover food scraps and keeps your sink from backing up. Yet somewhere behind that steady hum, trouble is brewing. Grease clings to the walls. Food particles settle into corners you can’t see. Grime accumulates slowly, and before long you’re dealing with a smell that no amount of dish soap seems to fix.
Left alone, that buildup does more than stink. It slows the unit down, and in some cases it leads to clogs that turn a five-minute chore into a genuine plumbing headache. Regular cleaning solves most of this before it starts.
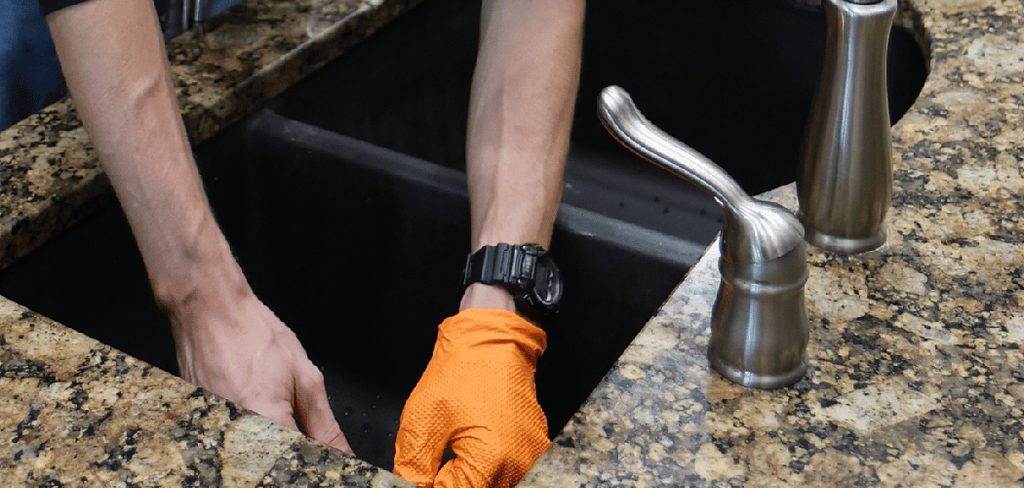
Here’s the reassuring part. Cleaning a garbage disposal doesn’t take special skills or expensive tools. With the right cleaner and a handful of steps, you can knock it out in a few minutes. This guide on how to use garbage disposal cleaner covers what you actually need to know—which cleaner suits your situation, how to clean safely, and the small mistakes that quietly shorten your unit’s life.
When Should You Clean a Garbage Disposal?
Once a week works for most kitchens. Cleaning on that schedule stops food particles from rotting inside the chamber, and rotting food is usually the real culprit behind those stubborn kitchen odors. If you cook often or run your disposal hard, though, weekly may not cut it. Every few days can make a noticeable difference.
Your disposal tends to tell you when it needs help, if you’re paying attention. A smell that won’t quit, water that drains slower than it should, an odd noise mid-grind—each of these could point to buildup somewhere in the chamber. Acting early tends to pay off. Waiting rarely does.
Types of Garbage Disposal Cleaners
You have a few directions to go here. Commercial cleaners show up as pods, foams, and liquids made specifically for disposals. They’re convenient, and they’re formulated to cut through grease that ordinary cleaning misses.
Natural cleaners appeal to anyone watching their budget. Baking soda paired with vinegar produces a fizzing reaction that appears to loosen debris fairly well, while citrus peels—lemon or orange, usually—leave behind a fresh scent. Rock salt and ice cubes work differently again, scrubbing the grinding components as they tumble around.
What You Need Before Cleaning?
A little preparation saves you from stopping halfway through. Depending on the method you pick, you may want:
- A commercial garbage disposal cleaner (pods or foam)
- Baking soda and white vinegar
- Ice cubes and rock salt
- Citrus peels (lemon, lime, or orange)
- Dish soap
- A scrub brush or old toothbrush
- A flashlight
Lay everything out first. The whole job goes faster when you’re not rummaging through cupboards mid-clean.
Safety Precautions
Safety isn’t optional here. Cut the power at the wall switch or unplug the unit before your hands go anywhere near it. Flipping the circuit breaker off adds one more layer of protection, and it removes any chance of accidental activation.
Never put your hand directly into the disposal. Not once. Reach for tongs or pliers to fish out large debris instead. Keep your fingers well clear of the grinding blades—even with the power off, it’s a habit worth keeping.
7 Simple Steps on How to Use Garbage Disposal Cleaner
Step 1: Turn Off the Power
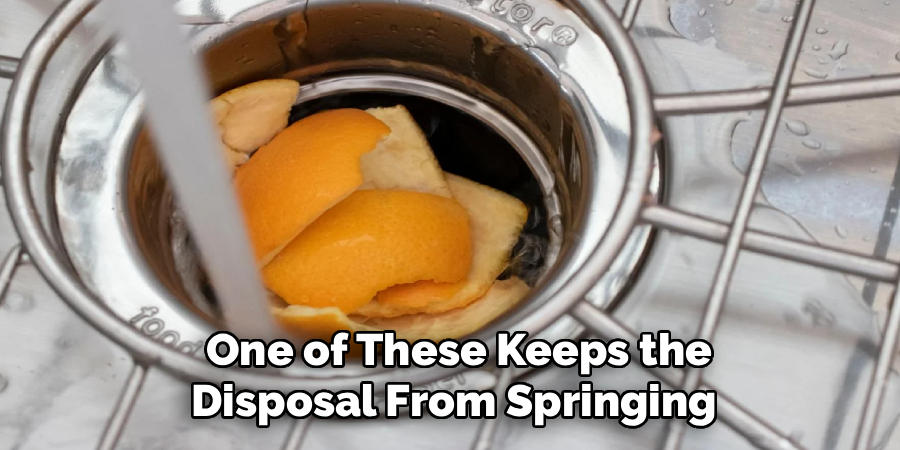
Start by cutting the power. Flip the switch, pull the plug, or shut off the breaker. Any one of these keeps the disposal from springing to life while your hands are busy.
Step 2: Remove Visible Debris
Shine a flashlight down into the chamber and look for anything stuck—food, a stray bottle cap, whatever’s found its way in. Pull it out with tongs or pliers. Hands stay out; power on or off.
Step 3: Scrub the Rubber Splash Guard
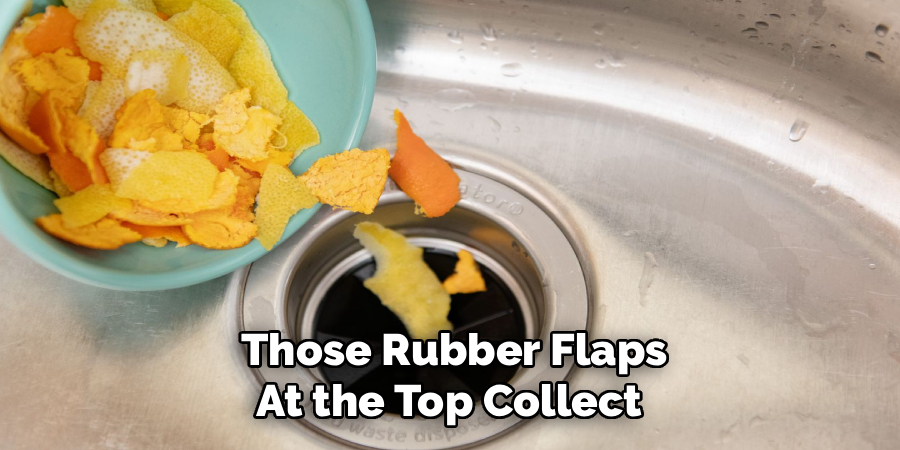
Those rubber flaps at the top collect more grime than most people expect. Lift them gently and scrub both sides with a brush dipped in warm, soapy water. This spot, hidden as it is, often turns out to be where the smell has been hiding.
Step 4: Apply the Cleaner
Going commercial? Drop in a pod or squeeze the foam according to the label. Prefer the natural route? Pour half a cup of baking soda into the disposal, then follow it with a cup of white vinegar.
Step 5: Let It Fizz and Sit
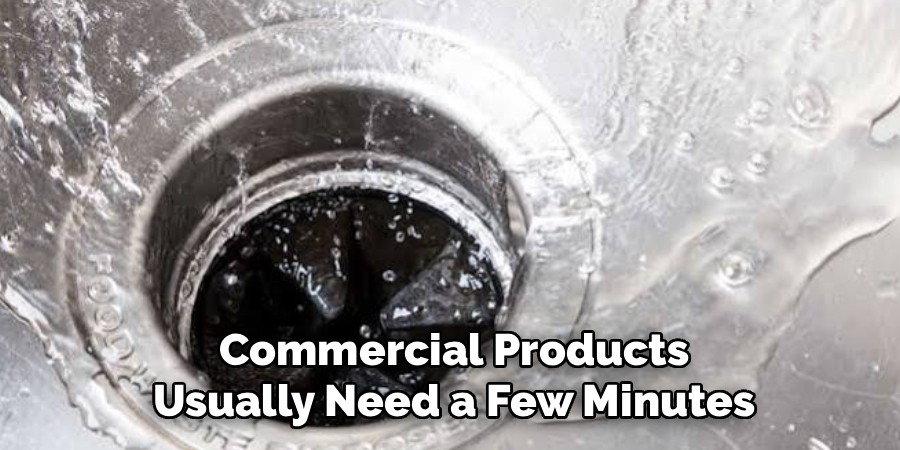
Now give it time. Commercial products usually need a few minutes, while the baking soda and vinegar mix should fizz and sit for roughly 10 minutes. This is where grease breaks down, and odors get neutralized, so resist the urge to rush it.
Step 6: Rinse With Hot Water
Turn the power back on and run hot water down the drain with the disposal going. Let it flush for 30 to 60 seconds. That clears out the loosened debris along with any leftover cleaner.
Step 7: Freshen With Citrus
One last touch. Drop a few citrus peels into the running disposal with cold water. The peels leave a clean scent behind and help polish the grinding components as they go.
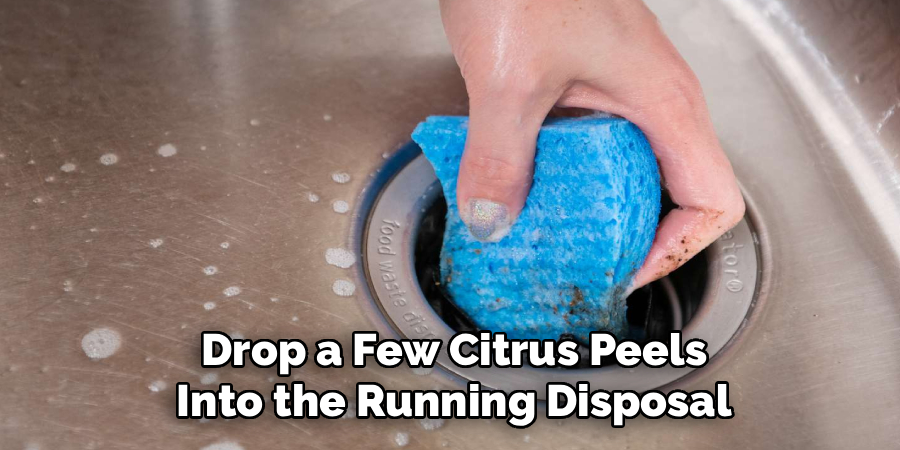
These steps on how to use garbage disposal cleaner walk you through a thorough, safe clean from start to finish.
What Not to Put in a Garbage Disposal?
Half of keeping a disposal healthy is knowing what never belongs in it. Keep these out:
- Grease, oil, and fat – they solidify and coat the pipes
- Coffee grounds – they clump together and cause clogs
- Fibrous vegetables – celery, corn husks, and onion skins tangle the blades
- Starchy foods – pasta and rice expand into a sludge
- Bones and fruit pits – simply too hard for the blades
- Eggshells – the membranes can wrap around components
- Non-food items – plastic, glass, and metal will wreck the unit
When you’re unsure, the trash or compost bin is the safer bet.
Common Mistakes to Avoid
The mistake I see most often? Running hot water while grinding food. It sounds sensible, but hot water melts grease, and that melted grease then coats the inside of your pipes and hardens there. Use cold water when the disposal is grinding. Save the hot water for cleaning afterward.
Skipping regular maintenance ranks close behind, as does cramming too much in at once. Feed scraps in small batches and let the unit finish each load before you add more. And steer clear of harsh chemical drain cleaners—they can corrode the metal parts and eat away at the seals inside.
When to Call a Professional?
Cleaning fixes a lot, but not everything. If your disposal keeps jamming, leaks water from underneath, or hums without actually grinding, those signs may point to mechanical failure or a worn-out part. That’s professional territory.
The same goes for electrical trouble. A disposal that won’t switch on at all is worth a call to a plumber or electrician rather than an afternoon of guesswork. Complex repairs attempted at home can lead to injury or to a bigger repair bill than you started with. A pro can usually diagnose the problem quickly and get things running again safely.
What to Do If the Garbage Disposal Is Still Smelly or Clogged?
Say the smell hangs around even after a full clean. Try going deeper. Repeat the baking soda and vinegar treatment, but let it sit longer—up to 30 minutes this time. Then flush with ice cubes and rock salt while the disposal runs, which scrubs at buildup clinging to spots you can’t reach.
For a stubborn clog, skip the chemical drain cleaners. A plunger over the drain often does the trick, or you can manually rotate the blades with the hex key that came with your unit—it fits into the bottom center of the disposal. If neither the smell nor the clog gives way, the problem may sit deeper in your plumbing, and that’s a job for a professional.
Frequently Asked Questions
Q1: How Often Should I Clean My Garbage Disposal?
A1: Once a week suits most kitchens. Heavy use, or a smell that shows up sooner, means cleaning every few days instead. Staying on top of it prevents food buildup, keeps odors down, and helps the disposal last longer.
Q2: Can I Use Bleach to Clean My Garbage Disposal?
A2: A small amount of diluted bleach now and then won’t ruin anything, though it isn’t ideal. Bleach can harden grease and, over time, damage the rubber and metal parts. Baking soda, vinegar, and citrus peels tend to be safer for routine cleaning and work just as well.
Q3: Why Does My Garbage Disposal Smell Bad Even After Cleaning?
A3: Usually the culprit is food trapped under the rubber splash guard or stuck to the blades. Scrub that splash guard properly and give the ice and rock salt method a try. If the odor holds on, the issue may lie further down in your plumbing.
Keep Your Disposal Fresh and Functional
A clean disposal is quietly responsible for a fresh-smelling kitchen and a sink that behaves. Clean it weekly, follow the steps on how to use garbage disposal cleaner above, and you’ll head off odors, dodge most clogs, and stretch the life of the appliance.
A few minutes now spares you a much larger problem later.
Pick the right cleaner, keep the wrong items out, and recognize when a tough issue calls for a professional. That’s really all it takes. A little steady care, and your garbage disposal keeps humming along for years. Start your routine today—your kitchen will thank you for it.

The Appliance Why team — a small group who would rather take the back panel off than pay a call-out fee. We write the repair guides we wish we had found ourselves, test the fixes on our own machines, and say plainly when something is not worth repairing.