

Your favorite hat has seen better days.
Sweat has darkened the brim, there’s a faint musty smell you’d rather not think about, and now you’re standing at the laundry machine wondering if you can just chuck it in.
Here’s the short version: yes, often you can. But some hats will survive the spin cycle, and others will come out looking like they lost a fight.
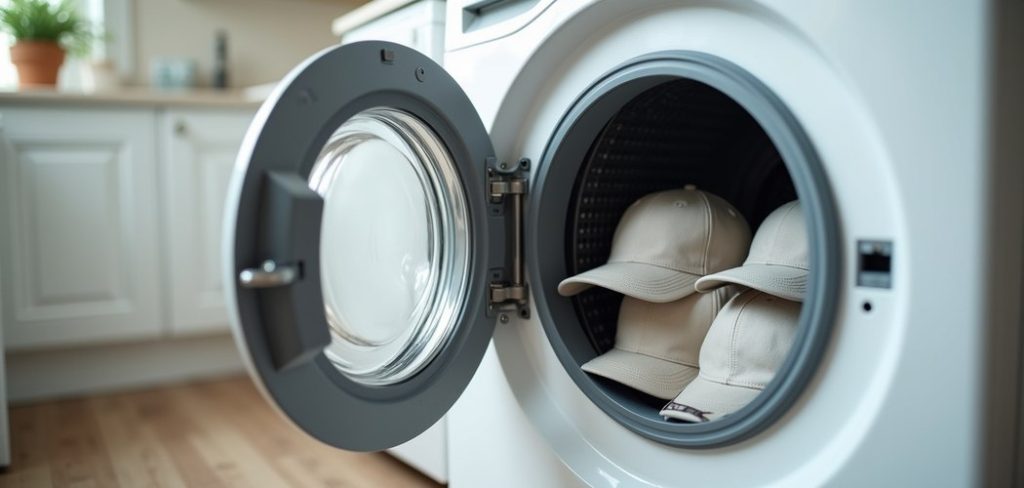
Machine washing beats hand-scrubbing on speed, no argument there. It does ask for a little judgment, though. This guide on how to wash hats in the washing machine takes you through the whole thing—reading the care label, protecting the cap’s shape, drying it right—so your hats come back clean without warping into something unrecognizable.
Understanding When You Can Machine Wash a Hat
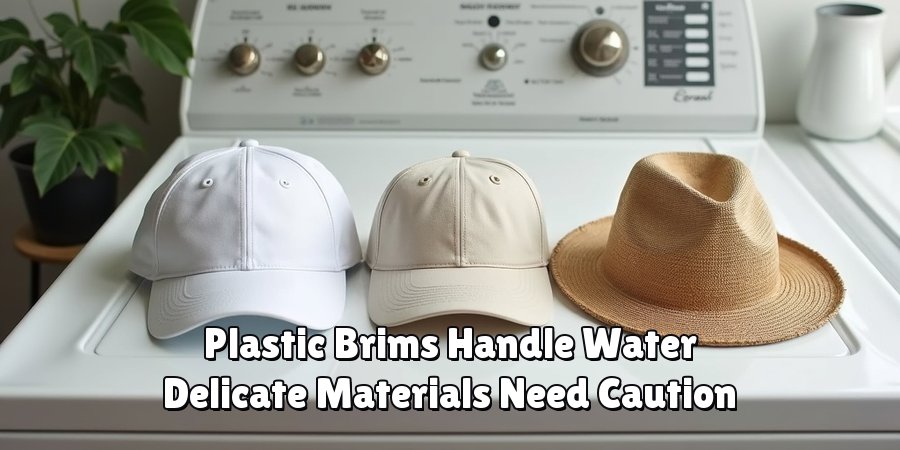
Hats vary more than people expect, and the differences really matter once water enters the picture. Cotton and polyester baseball caps with plastic brims tend to handle a machine cycle without complaint.
Those materials are tough, and they shrug off water and gentle tumbling.
If your cap came off a shelf sometime in the last twenty years or so, odds are good the bill is plastic, which means it won’t crack or lose its curve.
Older hats need more caution. Caps made before the 1980s sometimes have cardboard brims, and cardboard, predictably, disintegrates the second it gets soaked. Wool, felt, straw, leather—none of these belong in a machine.
Water and agitation may shrink them, twist them, or wreck them outright. If you’re not certain, read the care label.
And when the label tells you nothing useful, hand washing is the safer bet for anything delicate or worth keeping.
Materials Needed
A few basic supplies will protect your hat before you start.
Tools and Materials
- Hat Cage or Cap Washer Frame – A plastic frame that holds the cap’s shape during the cycle
- Mild Laundry Detergent – A gentle, dye-free formula works best
- Stain Remover or Spot Cleaner – For pre-treating sweat marks and grime
- Soft-Bristled Brush or Old Toothbrush – To scrub stubborn stains
- Cold Water – Hot water can shrink fabric and fade colors
- Clean Towels – For drying and reshaping afterward
9 Steps on How to Wash Hats in the Washing Machine
Step 1: Check the Care Label
Look inside the hat for a care tag. It should tell you whether the cap is machine washable and what water temperature to use. No label and no idea what the hat is made of? Play it safe and wash by hand.
Step 2: Pre-Treat Stains and Spots
Dab a little stain remover, or a small amount of detergent, straight onto sweat stains and dirty patches. Give it roughly 10 minutes to loosen the grime before the wash starts.
Step 3: Scrub Stubborn Areas Gently
Work the stain remover into the fabric with a soft-bristled brush or an old toothbrush. The sweatband and brim collect the most buildup, so focus your effort there. Go easy, though—too much pressure can fray the material.
Step 4: Place the Hat in a Protective Frame
Slip the cap into a hat cage or cap washer frame. This holds the brim’s curve and stops the hat from getting crushed mid-cycle. No frame on hand? A pillowcase gives you at least some cushioning.
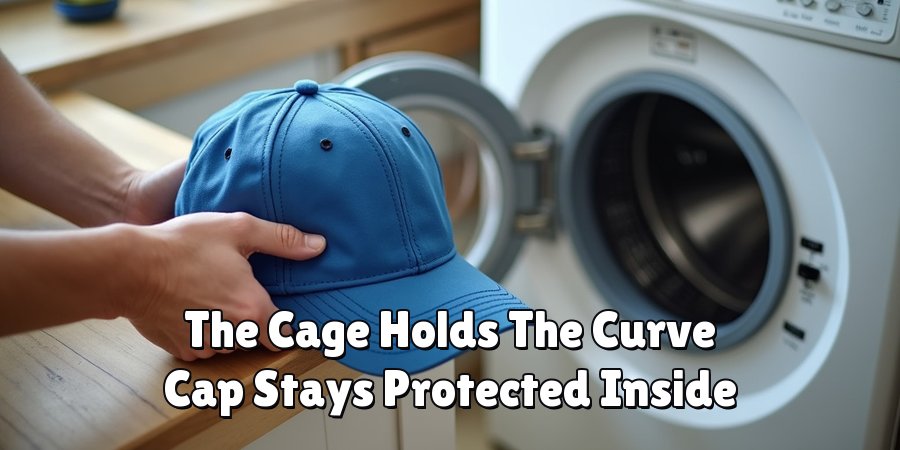
Step 5: Add a Few Towels for Balance
Throw two or three clean towels into the drum with the hat. They pad the cap and keep the load balanced, which softens the tumbling. Pick towels in a similar color so you don’t end up with accidental dye transfer.
Step 6: Use Cold Water and Mild Detergent
Add a small amount of gentle detergent. Set the machine to cold—heat is what shrinks fabric and pushes colors to bleed or fade.
Step 7: Select a Gentle or Delicate Cycle
Pick the most delicate setting the machine offers. A slow, low-agitation cycle cleans the hat while sparing the seams and stitching from unnecessary stress.

Step 8: Remove the Hat Promptly
Pull the hat out the moment the cycle finishes. Left sitting in a wet drum, it may pick up mildew, odors, and creases you’ll struggle to smooth out later.
Step 9: Reshape and Air Dry
Reshape the hat by hand while it’s still damp. Stuff the crown with a clean towel or a wad of paper so it keeps its form, then let it air dry somewhere out of direct heat. Skip the dryer entirely—the heat and tumbling can ruin the shape in minutes.
Once you’ve confirmed the hat is machine-safe and your supplies are ready, these nine steps on how to wash hats in the washing machine will get you the best results.
Common Mistakes to Avoid
Hot water is the classic blunder. Heat shrinks fabric and drains color fast, so it works against everything you’re trying to do.
Another frequent slip-up is tossing the cap in with a normal laundry load, where zippers, buttons, and heavy agitation can snag or bend it out of shape.
Skipping the protective frame carries its own risk too, since an unshielded hat may come out flat or lopsided.Overdoing the detergent causes a subtler issue.
Leftover soap stiffens the fabric and, oddly enough, attracts more dirt down the line. And that dryer temptation? Resist it.
The heat and endless tumbling warp the brim and shrink the material, undoing all the care you just put in.
Tips for Keeping Your Hats Fresh Longer
A bit of upkeep stretches the time between washes considerably. Let the hat breathe after each wear, particularly on sweaty days, so moisture doesn’t linger in the fabric.
Wiping the sweatband with a damp cloth clears away oils and salt before they harden into stains.If you wear caps every day, rotate through a few so each one gets time to dry out and recover.
Store them on a shelf, hook, or rack instead of jamming them into a drawer. And the moment you spot a small mark, treat it—catching stains early saves you from full washes later on.
Frequently Asked Questions
Q1: Can I Wash a Baseball Cap in the Dishwasher?
Some people do run plastic-brimmed caps through the top rack of a dishwasher, but it isn’t a great idea. Dishwasher detergents are harsh enough to fade colors, and the heat from the drying cycle may warp the brim. A gentle machine wash or a hand wash is the safer route.
Q2: How Often Should I Wash My Hat?
It comes down to how much you wear it.
A cap that goes out daily for workouts or in the heat probably needs a wash every few weeks to stay on top of sweat and odor.
One you reach for only now and then might need cleaning just a few times a year, or whenever a stain shows up.
Q3: Will Washing Fade My Hat’s Colors?
Some fading over time is likely, and hot water or harsh detergents speed it up. To keep colors looking sharp, stick with cold water, a mild dye-free detergent, and a gentle cycle. Air drying rather than machine drying helps preserve them too.
Q4: How Can I Protect My Hat From Fading?
One way to protect your hat from fading is to wash it in cold water with a mild dye-free detergent on a gentle cycle. Another way is to air-dry it instead of using a machine dryer.
Additionally, wearing a hat protector or storing it out of direct sunlight can also help prevent fading.
It’s also important to follow the care instructions provided by the manufacturer and avoid exposing your hat to harsh chemicals or extreme temperatures.
Regularly washing and caring for your hat will not only help maintain its color but also prolong its lifespan. So, make sure to give your hats some TLC (tender loving care) every now and then!
Q5: What Other Tips Can Help Maintain the Color of Hats?
- Avoid wearing hats in harsh weather conditions such as heavy rain or extreme heat.
- Use a hat brush to gently remove any dirt or debris before washing.
- Consider using a color-safe detergent specifically designed for maintaining colors.
- Store your hats in a cool, dry place to prevent mold or mildew growth, which can cause discoloration.
- Rotate the use of your hats so they don’t get worn out in one specific spot too quickly.
- If possible, purchase hats made from high-quality materials that are less likely to fade.
Conclusion
Machine washing a hat doesn’t have to feel like a gamble.
Confirm the material can take it, use a protective frame, and hold to cold water on a gentle cycle—do that, and your caps come out clean with their shape intact.
A few minutes of prep and some patience during air drying is really all it asks.Give your hats a little care, and they’ll pay you back with years of wear.
Keep these steps on how to wash hats in the washing machine somewhere handy for the next refresh, and lean on regular maintenance to space out the washes.
A clean hat simply looks better, sits better, and outlasts a neglected one by a wide margin.

About
Ethan Wrenford is a dedicated home appliance specialist with years of hands-on experience in appliance troubleshooting, maintenance, repair, and DIY diagnostics. His professional focus lies in combining practical repair knowledge with simple, easy-to-follow solutions, helping homeowners understand common appliance problems and confidently identify potential causes at home. As an author at ApplianceWhy, Ethan shares practical knowledge on home appliance repair, DIY appliance diagnostics, maintenance, troubleshooting, appliance care, and everyday solutions for common household appliance issues.
Education
Portland Community College (Portland, USA)
Associate Degree in Appliance Technology & Residential Systems
- Focused on residential appliance systems, electrical fundamentals, mechanical components, and appliance troubleshooting.
- Developed practical skills in appliance diagnostics, component testing, electrical safety, and repair procedures.
- Gained hands-on experience working with refrigerators, washing machines, dryers, dishwashers, ovens, ranges, and other household appliances.
Oregon Institute of Technology (Klamath Falls, USA)
Bachelor’s in Applied Electronics & Technology
- Specialized in electrical systems, electronic controls, sensors, motors, and residential equipment.
- Studied diagnostic techniques for identifying electrical, mechanical, and component-related appliance problems.
- Completed practical projects involving appliance control systems, troubleshooting methods, preventive maintenance, and repair fundamentals.
Publications and Impact
Through ApplianceWhy, Ethan shares practical insights into home appliance repair, DIY diagnostics, maintenance, troubleshooting, and appliance care. His writing focuses on turning confusing appliance problems into simple, understandable steps that homeowners can follow safely.
Ethan covers everything from diagnosing a refrigerator that is not cooling and a washing machine that will not drain to troubleshooting dryers, dishwashers, ovens, microwaves, and other common household appliances. His content helps readers understand appliance symptoms, identify possible causes, perform basic diagnostic checks, and determine when professional repair may be necessary.
Through his work, Ethan aims to bridge the gap between professional appliance repair knowledge and everyday homeowners—making appliance troubleshooting more approachable, practical, and accessible to everyone who wants to diagnose smarter, maintain better, and keep their appliances running longer.