

Using an oven safely and effectively comes down to understanding your appliance, preheating correctly, choosing the right rack position, and using appropriate cookware. Follow the 7 steps in this guide to go from oven-anxious to confident home cook—without burning dinner.
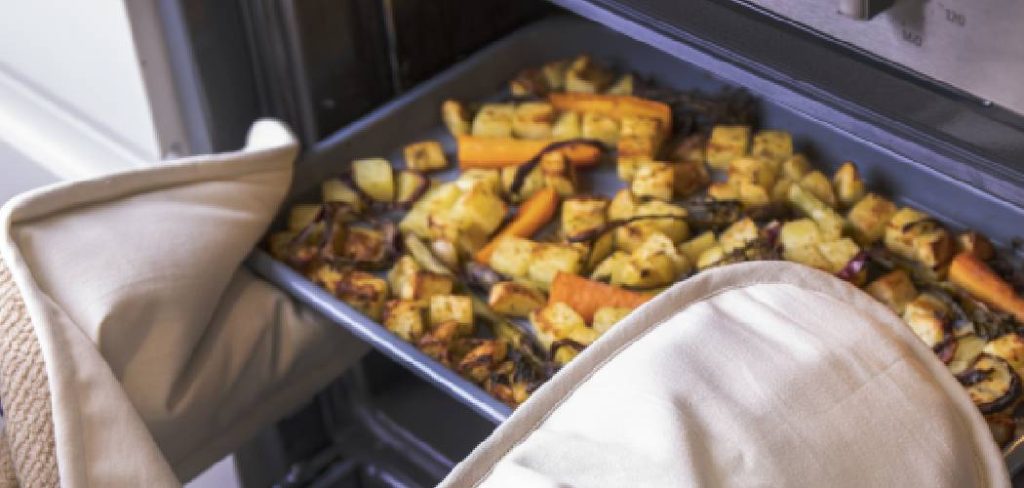
You moved into your first apartment. You’ve stared at the oven a few times. Maybe you’ve even turned it on once, smelled something strange, and quietly closed the kitchen door. It happens more than people admit.How to Use Oven
Learning to use an oven is one of those skills that feels intimidating until it suddenly doesn’t. The mechanics are straightforward once you understand them, and the payoff—actual home-cooked meals, golden roast vegetables, cookies that taste as you made them because you did—is hard to overstate.
This guide on how to use oven covers everything a beginner needs: how your oven actually works, the safety habits worth building early, seven clear steps for using it correctly, the most common mistakes home cooks make, and how to troubleshoot when things go sideways. By the end, you’ll have enough confidence to fire it up for something real.
Understanding Your Oven and How It Works
Before preheating anything, it helps to know what you’re actually working with.
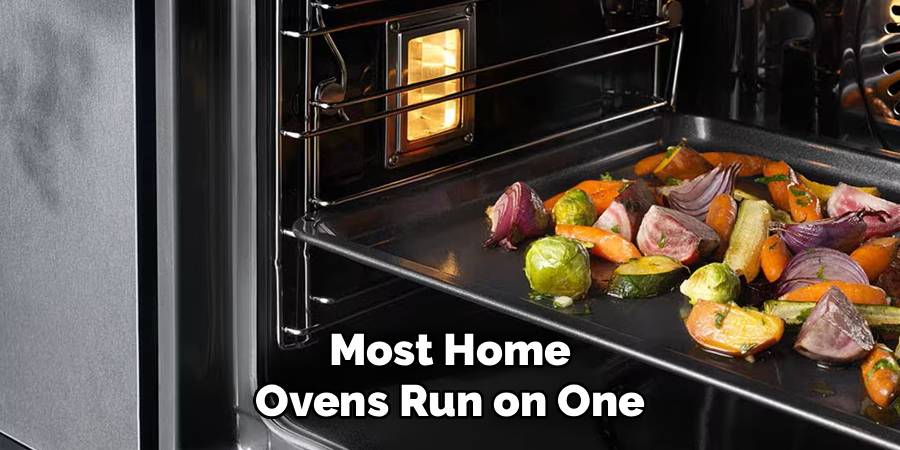
Most home ovens run on one of two heat sources. Gas ovens heat up fast and tend to produce moist, slightly humid heat—good for roasting meats. Electric ovens distribute heat more evenly across the cavity, which makes them a better fit for baking where consistency matters. Many modern ovens add a convection setting on top of either, using a built-in fan to circulate hot air throughout the interior. Convection typically cuts cooking time and produces crispier results, especially for roasted vegetables and pastries.
Inside the oven, a few components do most of the work. The heating elements, located at the top and bottom of the cavity, generate the heat. The thermostat monitors and regulates internal temperature. The broiler—almost always positioned at the top—delivers concentrated, direct heat for browning cheese, caramelizing surfaces, or finishing dishes that need a quick burst of high heat. Knowing these parts helps you make smarter decisions: which rack to use, which mode to select, and why one approach might produce better results than another.
Essential Oven Safety Rules Every Beginner Should Know
Safety is worth addressing before anything else—not because ovens are especially dangerous, but because a few habits prevent almost every common accident.
Keep the area around your oven clear of flammable materials. Dish towels draped over the handle, paper bags left on the stovetop, plastic containers nearby—all of these become risks at high temperatures. Never leave the oven running unattended for long stretches, particularly when using the broiler setting, which works fast and can scorch food in minutes.
Always use proper oven mitts when handling hot trays or dishes. A folded kitchen towel offers limited protection and can slip at the wrong moment. Once you’ve switched the oven off, remember that the exterior surfaces—including the door—can stay dangerously hot for up to 30 minutes. Keep children and pets at a safe distance throughout.
7 Simple Steps on How to Use Oven
Step 1: Read the Manufacturer’s Manual
Every oven has its quirks. Before the first use, spend 10 minutes with the manual that came with your appliance. It’ll outline specific settings, recommended rack positions, and model-specific details you won’t find in a general guide. Misplaced the manual? Most manufacturers post digital versions on their websites.
Step 2: Clean the Oven Before First Use
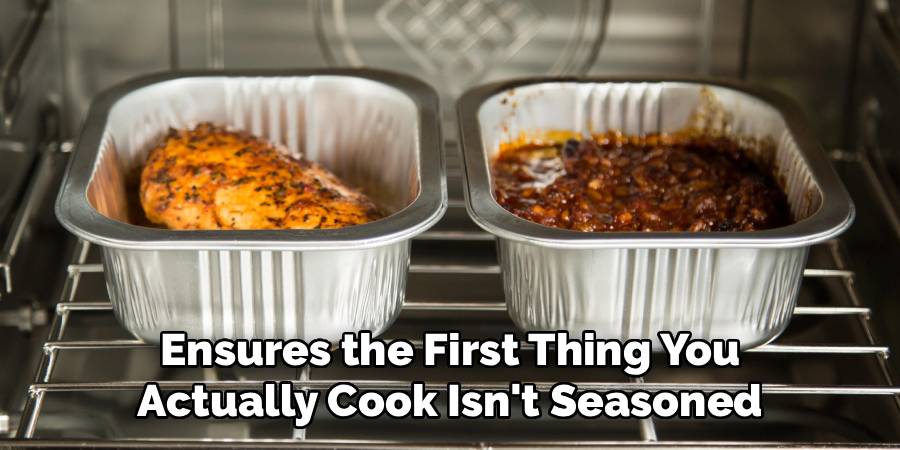
New ovens often contain protective coatings or packaging residue that can produce unpleasant odors—sometimes even light smoke—when first heated. Wipe down the interior with a damp cloth, then run the oven empty at around 400°F (200°C) for 30 minutes. Open a nearby window to ventilate the space. This “burn-in” process clears manufacturing residue safely and ensures the first thing you actually cook isn’t seasoned with factory chemicals.
Step 3: Choose the Right Rack Position
Rack position changes how your food cooks, often more than people expect.
The center rack is the most versatile starting point and works well for most baking tasks. The upper rack places food closer to the top heating element—ideal for browning or broiling. The lower rack suits items that benefit from a crispier bottom, like pizza or artisan bread. As a general rule, default to center unless your recipe says otherwise.
Step 4: Preheat the Oven to the Correct Temperature
This step gets skipped more than any other, and it causes more cooking failures than almost anything else. Placing food into a cold or partially heated oven throws off cooking times and often produces uneven results—dense middles, pale surfaces, textures that don’t quite work.
Set the oven to the temperature your recipe specifies, then wait. Most ovens take between 10 and 20 minutes to fully preheat. Many have an indicator light or an audible signal that confirms they’ve reached the set temperature. Use it. Don’t guess.
Step 5: Use the Right Bakeware and Cookware
The pan you choose affects the outcome significantly. Dark metal pans absorb more heat and accelerate browning—sometimes faster than you want. Light-colored or glass bakeware heats more gently and evenly, making it a better fit for cakes and casseroles. Before placing anything in the oven, confirm it’s oven-safe. Plastic containers, non-heat-resistant glass, and certain non-stick pans can warp or release harmful compounds at high temperatures.
Step 6: Monitor the Cooking Process
Once the food is inside, resist the urge to constantly open the door to check on it. Each time the door opens, the oven loses heat—sometimes dropping the internal temperature by as much as 25°F (14°C). That loss extends your cooking time and disrupts the baking environment. Use the oven light and window instead. For longer cooks, check in at the halfway point to rotate the pan, which helps even out any hot spots and promotes consistent browning.
Step 7: Turn Off the Oven and Let Food Rest
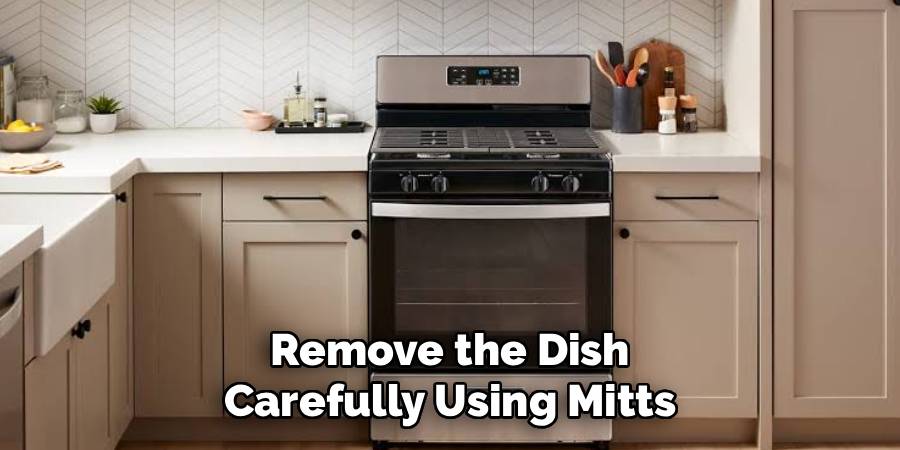
When the cook time is up, switch off the oven and remove the dish carefully using mitts. Set it on a heat-safe surface—a wire rack or trivet works well. For meats, allow at least 5 to 10 minutes of resting time before cutting in. Resting lets the internal juices redistribute, which keeps the meat moist rather than bleeding out onto the cutting board. For baked goods, cooling on a wire rack prevents the bottom from turning soggy as steam escapes.
Following these steps on how to use oven safely and effectively will ensure that your food is cooked to perfection.
Common Oven Mistakes to Avoid
Even people who’ve been cooking for years fall into patterns that quietly undermine their results.
Skipping the preheat is the most widespread. Tied closely to that: overcrowding the oven. When multiple dishes are packed in too tightly, air can’t circulate freely. Food ends up steaming in its own moisture rather than roasting, which produces soft, limp textures instead of crispy ones. If you’re cooking a large batch, consider two separate rounds rather than cramming everything in at once.
Trusting the oven dial completely is another mistake worth flagging. Oven thermostats can run hot or cold by anywhere from 25 to 50°F (14 to 28°C)—a margin that matters in baking especially. A basic oven thermometer, available for under $15 at most kitchen stores, gives you an accurate reading of what’s actually happening inside. It’s a small investment that solves a lot of unexplained baking failures.
How to Troubleshoot Basic Oven Problems
Why Is My Oven Not Heating Up Properly?
The most likely causes are a faulty heating element or a broken thermostat. For electric ovens, visually inspect the heating elements for cracks, blistering, or visible damage. Gas ovens that won’t ignite may have a clogged burner or a malfunctioning igniter—both of which are best handled by a qualified technician rather than a first-time oven user.
Why Is My Food Cooking Unevenly?
Uneven cooking often points to a faulty convection fan or a warped oven rack. Rotating the pan halfway through cooking addresses the issue in most cases. If the problem recurs consistently, contact your oven’s manufacturer—most appliances come with at least a one-year warranty covering defects in heating components.
Frequently Asked Questions
How Long Should I Preheat My Oven Before Cooking?
Most ovens take between 10 and 20 minutes to fully preheat, depending on the target temperature and your specific model. Higher temperatures naturally require more time. Wait for your oven’s preheat indicator—whether a light or a beep—before placing food inside. Skipping this step frequently results in uneven cooking and longer-than-expected bake times.
What Is the Difference Between the Bake and Broil Settings?
The bake setting draws heat from both the top and bottom elements to cook food evenly throughout—best for casseroles, cakes, and most roasted dishes. The broil setting uses only the top element, delivering intense direct heat suited for browning the surface of dishes, melting cheese, or caramelizing finishes. Broiling works quickly, so food should never be left unattended when using this setting.
Can I Use Aluminum Foil Inside the Oven?
Yes, with one important caveat. Foil placed on the rack beneath a dish can catch drips and simplify cleanup. However, lining the bottom of the oven cavity with foil can trap heat, interfere with airflow, and damage the oven floor over time. Check your oven’s manual for specific guidance before using foil regularly.
Does Rack Position Really Matter That Much?
More than most beginners expect. The center rack is the safest default for most cooking. The upper rack increases exposure to top-element heat, which speeds browning. The lower rack drives more heat into the underside of food, which helps with crust formation in bread and pizza. Recipes that specify a rack position do so for good reason—it’s worth following.
Is a Convection Setting Worth Using?
It depends on what you’re cooking. Convection works well for roasting vegetables, baking multiple trays of cookies, or anything you want crispier and faster. For delicate baked goods like soufflés or custards, standard bake is usually safer—convection’s circulating air can cause uneven rising or surface cracking. When in doubt, start with conventional bake, then experiment.
Start Cooking with Confidence
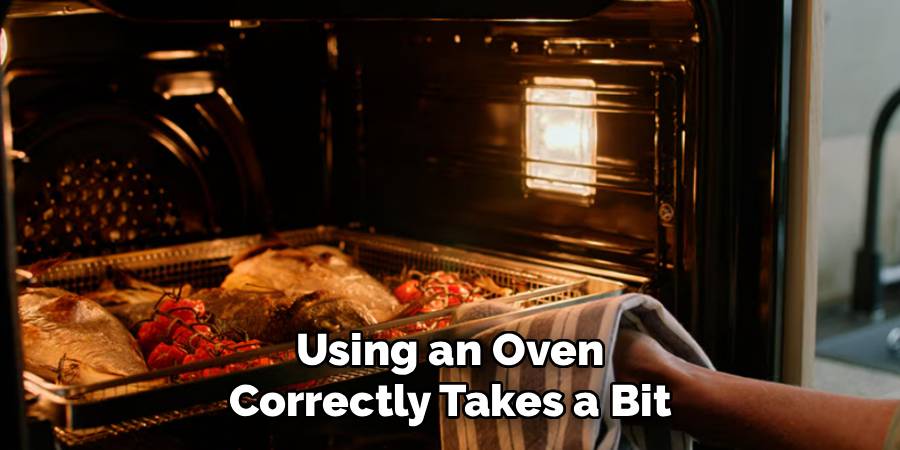
Using an oven correctly takes a bit of patience up front. Once you understand how heat moves inside the cavity, why preheating matters, and what rack position actually does, the whole process becomes less mysterious—and more consistent.
Start simple. Pick a recipe with a short ingredient list and a reasonable cook time. Follow the steps above. Expect one or two things to go slightly wrong at first; that’s normal, and it’s how the learning actually happens. Every competent home cook has pulled something underdone or overdone out of the oven at some point. The difference is they kept going.
Your oven is one of the most versatile tools in any kitchen. The sooner you get comfortable with it, the more useful it becomes. Thanks for reading this guide on how to use oven.

About
Ethan Wrenford is a dedicated home appliance specialist with years of hands-on experience in appliance troubleshooting, maintenance, repair, and DIY diagnostics. His professional focus lies in combining practical repair knowledge with simple, easy-to-follow solutions, helping homeowners understand common appliance problems and confidently identify potential causes at home. As an author at ApplianceWhy, Ethan shares practical knowledge on home appliance repair, DIY appliance diagnostics, maintenance, troubleshooting, appliance care, and everyday solutions for common household appliance issues.
Education
Portland Community College (Portland, USA)
Associate Degree in Appliance Technology & Residential Systems
- Focused on residential appliance systems, electrical fundamentals, mechanical components, and appliance troubleshooting.
- Developed practical skills in appliance diagnostics, component testing, electrical safety, and repair procedures.
- Gained hands-on experience working with refrigerators, washing machines, dryers, dishwashers, ovens, ranges, and other household appliances.
Oregon Institute of Technology (Klamath Falls, USA)
Bachelor’s in Applied Electronics & Technology
- Specialized in electrical systems, electronic controls, sensors, motors, and residential equipment.
- Studied diagnostic techniques for identifying electrical, mechanical, and component-related appliance problems.
- Completed practical projects involving appliance control systems, troubleshooting methods, preventive maintenance, and repair fundamentals.
Publications and Impact
Through ApplianceWhy, Ethan shares practical insights into home appliance repair, DIY diagnostics, maintenance, troubleshooting, and appliance care. His writing focuses on turning confusing appliance problems into simple, understandable steps that homeowners can follow safely.
Ethan covers everything from diagnosing a refrigerator that is not cooling and a washing machine that will not drain to troubleshooting dryers, dishwashers, ovens, microwaves, and other common household appliances. His content helps readers understand appliance symptoms, identify possible causes, perform basic diagnostic checks, and determine when professional repair may be necessary.
Through his work, Ethan aims to bridge the gap between professional appliance repair knowledge and everyday homeowners—making appliance troubleshooting more approachable, practical, and accessible to everyone who wants to diagnose smarter, maintain better, and keep their appliances running longer.