

A washing machine that won’t drain always picks the worst moment to quit—mid-cycle, full load, soaking wet clothes going nowhere. Before you call a repair technician, here’s something worth knowing: the fix is usually simpler than it looks.
Manually draining a washer requires no special skills, no fancy tools, and in most cases, less than an hour of your time. This guide on how to manually drain a washer walks you through each step clearly, including what to check, what to avoid, and when it actually makes sense to call a professional.
Understanding Why Your Washer Won’t Drain
Not all drainage problems are created equal, and the cause shapes how you approach the fix.
The most common culprit is a clogged drain hose or pump filter. Lint, coins, hair ties, and other small debris build up gradually until water has nowhere to go. A kinked or poorly positioned drain hose can cause the same problem without any blockage at all—just a bend in the wrong place.
Mechanical failures do happen. A faulty lid switch on a top-loader, or a broken pump impeller, can both stop drainage. That said, before assuming you’re dealing with a component failure, rule out a simple clog first. Most drainage issues are blockages, and most blockages clear without professional involvement.
Tools and Materials You’ll Need Before You Start
Gathering everything upfront saves you from scrambling mid-task with water already on the floor.
Shallow Pan or Bucket
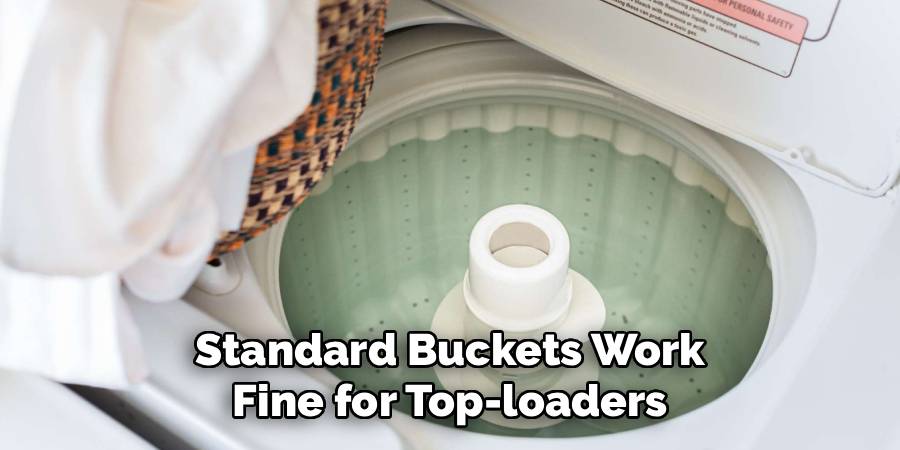
A wide, flat container works best for front-loaders, where the drain access sits close to the ground. Standard buckets work fine for top-loaders.
Old Towels
Water spills during this process—even when you’re prepared. Lay towels around the base of the machine before you start.
Pliers
Useful for loosening stubborn hose clamps or gripping components that don’t want to cooperate.
Flathead and Phillips Screwdrivers
Front-loading machines typically require these to remove the access panel. Keep both types within reach.
Rubber Gloves
Water sitting in a stalled drum has been in contact with dirty laundry. Gloves are a simple precaution worth taking.
Flashlight
Helpful for checking behind or beneath the machine, particularly when you’re tracing the drain hose for kinks.
7 Simple Steps on How to Manually Drain a Washer
Step 1: Turn Off and Unplug the Washing Machine
Switch the machine off and unplug it from the wall before touching anything else. Working on a washing machine while it’s connected to power is a genuine safety risk—not one worth taking. If your machine runs on gas, shut off the gas supply valve as well.
Step 2: Prepare the Area for Water Spillage
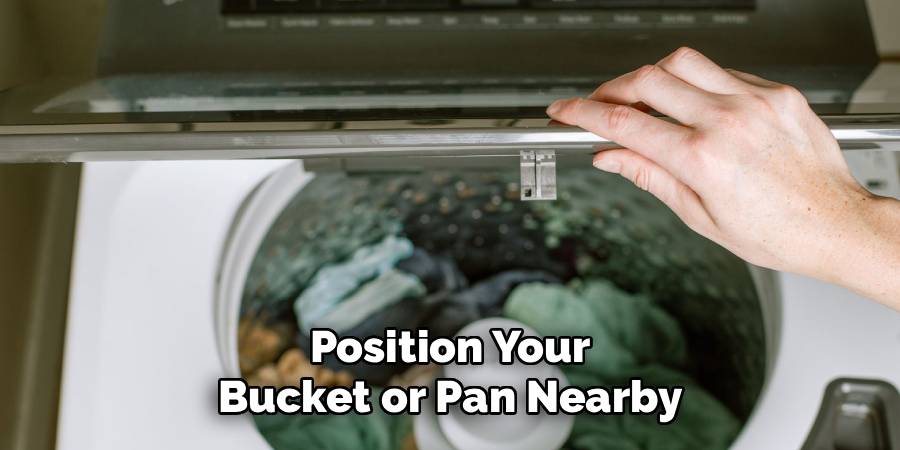
Lay towels around the machine’s base and position your bucket or pan nearby. The volume of water inside the drum can surprise people—anywhere from a few liters to a full drum’s worth, depending on where the cycle stopped. Better to over-prepare here than to deal with a flooded laundry room.
Step 3: Locate the Drain Hose
The drain hose sits at the back of the machine, near the bottom. It’s a ribbed, flexible tube connecting the washer to your standpipe or laundry tub. Pull the machine slightly away from the wall to get proper access, and use a flashlight if the space is dim.
Step 4: Detach and Lower the Drain Hose
Carefully disconnect the hose from the standpipe or wall connection. Keep the open end elevated as you reposition it—lower it too quickly and water spills before your bucket is in place. Once the hose end is sitting in the bucket, gravity handles the rest. Move the bucket as it fills.
Step 5: Check for and Clear Any Blockages
After the water has drained, inspect the hose for debris. Run your fingers through it or shine a flashlight inside to check. If there’s a clog, remove it manually or flush the hose with clean water from a tap.
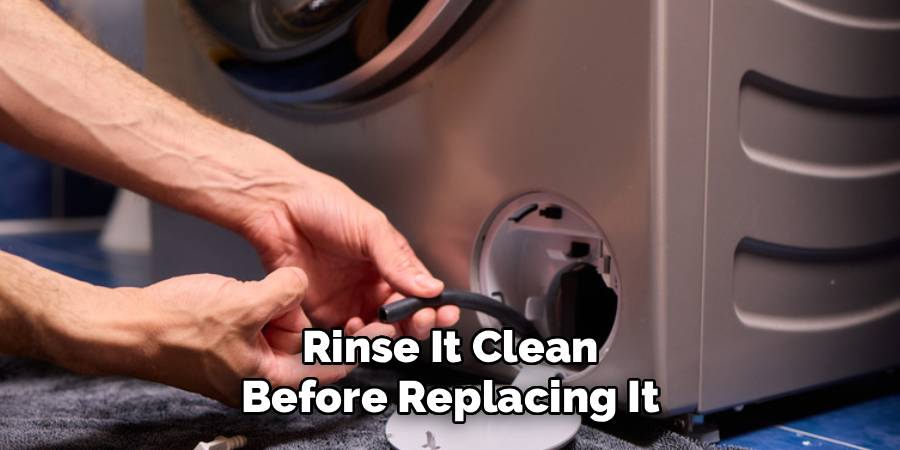
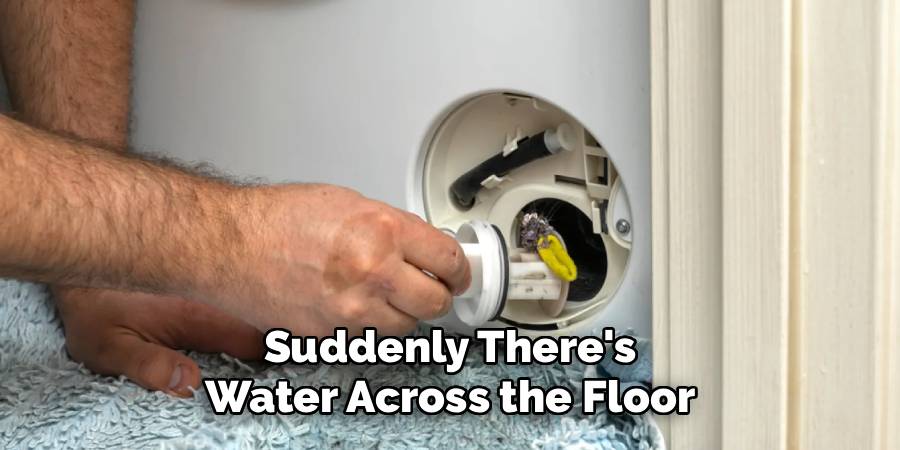
For front-loaders specifically, also check the pump filter—usually located behind a small access panel at the bottom front of the machine. Unscrew the filter cap slowly (bucket ready underneath), pull out any debris, and rinse it clean before replacing it. This step gets skipped more often than it should, and it matters.
Step 6: Remove Wet Clothes From the Drum
With the water out, the wet laundry is yours to deal with. Wring clothes out over the bucket or laundry tub before moving them—this keeps the floor dry and makes handling them less unpleasant.
Step 7: Reassemble and Test the Machine
Reattach the drain hose securely to the standpipe. If you removed the pump filter, replace it and hand-tighten the cap—don’t overtighten, as cracked fittings cause leaks. Slide the machine back into position, plug it in, and run a short rinse-and-spin cycle with no laundry inside. Watch the full cycle to confirm water exits cleanly.
Following these steps on how to manually drain a washer should have your machine running smoothly and efficiently once again. However, it’s important to regularly clean and maintain your washer to prevent future clogs and draining issues. If your washer continues to have draining problems, it may be a sign of a larger issue that requires professional assistance.
Common Mistakes to Avoid
A few errors come up repeatedly, and most are avoidable.
Forgetting to unplug the machine before starting is the most serious one. It’s easy to skip in the rush of dealing with a flooded drum, but it’s a genuine electrical hazard.
Underestimating the water volume is the second most common issue. People grab a small bowl, fill it in thirty seconds, and suddenly there’s water across the floor. Use a wide, low container and have towels ready regardless.
Checking the hose but skipping the pump filter is another frequent oversight. Both components matter. A clear hose won’t help if the filter is packed with lint and debris.
Finally, overtightening filter caps or hose connections after reassembly tends to crack the fittings. Hand-tight is usually sufficient.
When Is It Worth Calling a Professional?
Clearing the hose and filter resolves the drainage problem in most cases. When it doesn’t, the pump itself may need replacing—a repair that typically requires a qualified technician with access to the right parts.
A few other signs suggest you’re past DIY territory: strange noises during the drain cycle, visible damage to internal components, or error codes that persist after you’ve already cleared the blockage. Pushing further without the right expertise can turn a manageable repair into a more expensive one. A licensed appliance technician can diagnose the actual problem accurately, rather than guessing.
Frequently Asked Questions
Q1: How Do I Know If My Washer Has a Clogged Drain Hose?
The clearest sign is standing water in the drum after a cycle ends. You may also notice cycles running longer than usual, or hear a faint humming as the pump works against a blockage. Inspecting the drain hose and filter for debris is the fastest way to confirm what’s happening. If the hose isn’t clogged, you’ll need to explore other possible causes like a malfunctioning pump or control board.
Q2: Can I Manually Drain Both Top-Loading and Front-Loading Washers?
Yes. The process is largely the same for both types, with some variation in component placement. Front-loaders typically have a pump filter behind an access panel at the front of the machine. Top-loaders usually have a drain hose accessible from the back. The steps in this guide apply to both.
Q3: How Often Should I Clean My Washer’s Drain Filter?
Most appliance manufacturers recommend cleaning the pump filter every one to three months, depending on how often the machine runs. Regular cleaning prevents gradual buildup from becoming a full blockage and may extend the life of the pump over time.
Q4: What If the Machine Still Won’t Drain After I’ve Cleared the Hose and Filter?
At that point, the issue is likely mechanical—a faulty pump, a broken impeller, or an electrical fault. These repairs go beyond what manual draining can fix. A licensed technician should assess the machine before you attempt anything further.
Q5: Is It Safe to Leave Wet Laundry in a Stalled Machine Overnight?
It’s not ideal. Wet laundry sitting in a closed drum for extended periods can develop mildew and unpleasant odors fairly quickly—sometimes within 12 hours. If you can’t drain the machine immediately, at least open the lid or door to allow some airflow.
A Fix That’s Usually Simpler Than It Seems
Manually draining a washing machine is something most homeowners can handle with a bucket, a few towels, and a bit of patience. Work through the seven steps on how to manually drain a washer methodically—unplug first, prepare for the water, clear both the hose and the filter—and most drainage problems resolve without a service call.
If the problem persists after all of that, the machine likely has a mechanical fault that needs professional attention. There’s no shame in drawing that line. Some repairs are straightforward; others genuinely aren’t. And a DIY gone wrong can sometimes make things worse. Knowing when to call for help is an important skill to have and can save you time, money, and frustration in the long run.

The Appliance Why team — a small group who would rather take the back panel off than pay a call-out fee. We write the repair guides we wish we had found ourselves, test the fixes on our own machines, and say plainly when something is not worth repairing.