

Installing a dryer exhaust vent sounds like something you’d hand off to a contractor. It isn’t. This is one of the more approachable weekend projects around the house, and most homeowners finish it in a single afternoon. What you really need is the right kit, a little patience, and directions that don’t skip steps on how to install dryer exhaust.
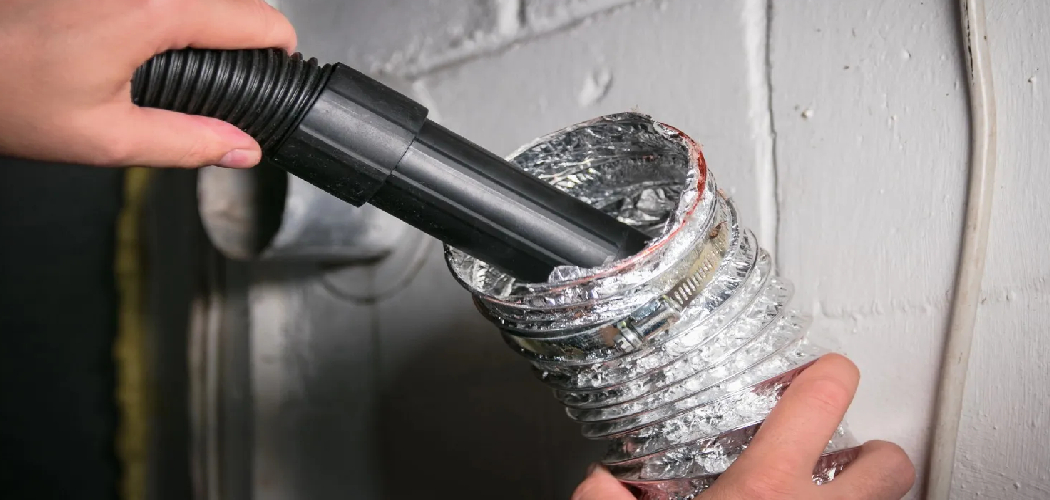
The payoff goes well beyond pushing warm air outside. A vent that’s done cuts drying times properly, helps your dryer run more efficiently, and—this is the part people forget—lowers the odds of a lint fire. Below, you’ll find what to buy, how to work safely, and the moments when picking up the phone beats picking up a saw.
Why Should You Install a Dryer Exhaust Vent?
There are several important reasons why homeowners should install a dryer exhaust vent. The first and most obvious reason is to properly remove the hot, moist air that is produced during the drying process. Without a vent, this air will remain trapped in your home, which can lead to mold growth and other potential health hazards.
Secondly, installing a dryer exhaust vent helps your dryer run more efficiently by allowing it to expel the hot air outside. When this hot air is not able to escape, it can cause your dryer to work harder and longer than necessary, resulting in higher energy bills.
Additionally, a properly installed dryer exhaust vent can significantly reduce the risk of lint fires. Lint buildup in the exhaust duct and vent can easily ignite, causing a dangerous fire hazard. By regularly cleaning and maintaining your dryer exhaust vent, you can prevent these potential disasters.
Moreover, keeping the air flowing through your dryer exhaust vent helps to reduce moisture levels in your home. This is particularly beneficial during humid months when excess moisture can lead to mold growth and damage to your walls and ceilings.
Tools and Materials Needed
Vent Hood:
This is the vent cover that goes on the outside of your house.
Elbow Joints and Ducting:
These connect the dryer to the vent hood. Make sure to measure the distance between your dryer and where you want to place the vent hood before purchasing these materials.
Screwdriver:
You’ll need this to remove any existing vent covers and to attach the new one.
Drill:
A drill will be necessary if you need to create new holes for your vent hood.
Caulk:
Use caulk around the edges and seams of the vent hood and elbow joints for a more secure seal.
8 Simple Steps on How to Install Dryer Exhaust
Step 1: Choose the Best Location
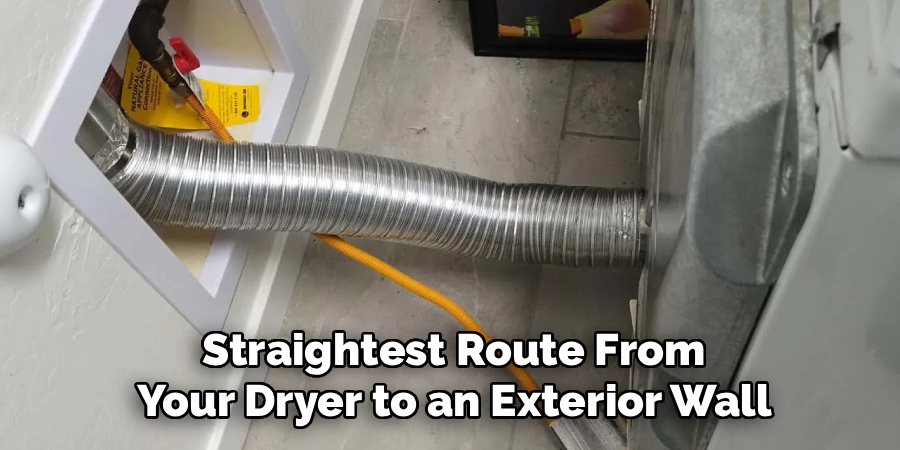
Find the shortest, straightest route from your dryer to an exterior wall. Fewer bends and a shorter run mean better performance. As a rule, keep the total length under 25 feet, and knock off 5 feet for every 90-degree turn you add.
Step 2: Mark the Exit Point
With your route settled, mark where the vent will punch through the exterior wall. Measure twice. Before you cut anything, check for hidden pipes, wires, or studs behind the drywall—a stud finder here may spare you an expensive repair.
Step 3: Cut the Exit Hole
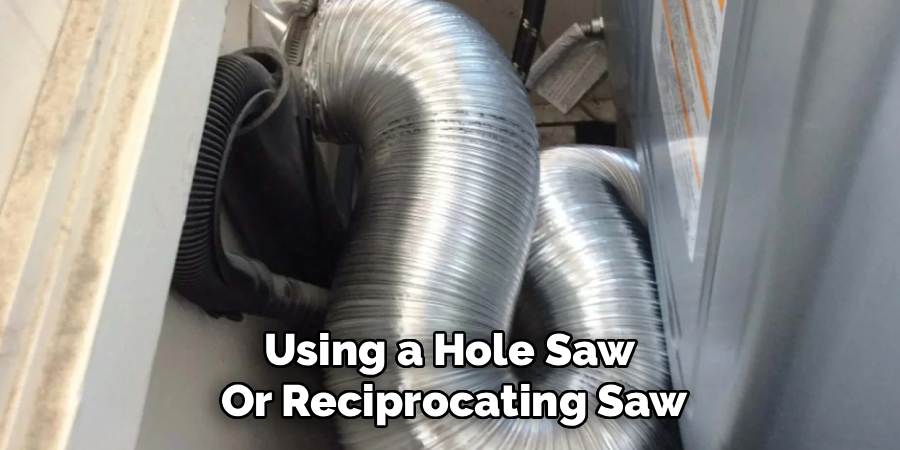
Using a hole saw or reciprocating saw, cut a hole slightly larger than your ducting, roughly 4.25 inches for a standard 4-inch vent. Work from the inside out. Put on safety glasses and a dust mask first; the debris gets everywhere.
Step 4: Install the Vent Hood
Fit the vent hood or wall cap into the exterior hole. Run a bead of exterior-grade caulk around the edges for a weatherproof seal, then fasten the hood with screws. Check that the flap or louvers swing open without sticking.
Step 5: Connect the Ducting
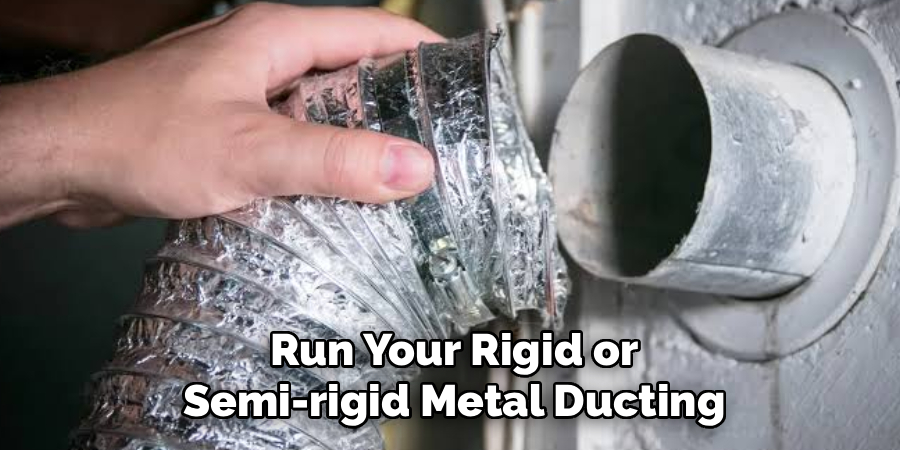
Run your rigid or semi-rigid metal ducting from the dryer’s exhaust outlet to the vent hood. Minimize the bends, and make sure each section seats snugly into the next. Angle the ducting so it slopes gently downward toward the exterior, which keeps moisture from pooling inside.
Step 6: Seal the Joints
Wrap every connection with aluminum foil tape for an airtight seal. Regular cloth duct tape may seem fine now, but it dries out and lets go over time. Good sealing keeps warm, damp air and lint from sneaking into your walls.
Step 7: Secure the Ducting
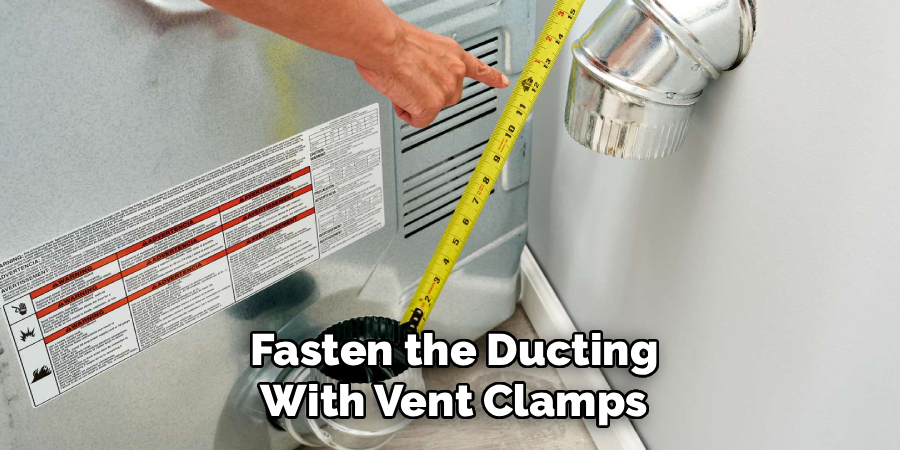
Fasten the ducting with vent clamps at each joint and along its length. Loose ducting sags. Sagging collects lint and, given enough time, can pull the whole run apart. Confirm the entire line feels stable and well supported.
Step 8: Test the System
Reconnect your dryer, plug it in, and run a heat cycle for a few minutes. Head outside and watch for warm air moving freely through the vent hood. Run your hand over the connections to catch any leaks, and check that the exterior flap opens the way it should.
Work through these steps on how to install dryer exhaust in order. Slow down. Rushing any single stage tends to show up later as a leak, weak airflow, or a genuine safety problem.
Common Mistakes to Avoid
The one that trips up most people is reaching for flexible foil or plastic ducting instead of rigid metal. Those flimsy materials sag, hold onto lint, and turn into a real fire risk. Right behind it: a vent run that’s too long or packed with bends, which chokes airflow and makes the dryer labor harder than it should.
Sealing gets skipped a lot, too. When joints aren’t wrapped with foil tape, lint and moisture leak into the walls, and that’s how mold and structural trouble start. One more, and it’s non-negotiable—never end a dryer vent in an attic, crawl space, or garage. It has to discharge straight outdoors.
When to Call a Professional?
Plenty of homeowners can manage a basic installation. Some jobs, though, earn a call to someone with more experience. If the run has to cover a long distance, cross several walls, or head up through the roof, a pro is better positioned to get it right and keep it up to code.
The same goes for a few other situations.
Working with a gas dryer, unsure about your local building codes, or uneasy about cutting into exterior walls? Bring in help. What you’d pay an expert is small against the downside of a badly vented dryer, which can mean fire risk and a voided appliance warranty.
How Much Will It Cost?
Doing it yourself, materials tend to land somewhere between $30 and $150, and the spread mostly comes down to the grade of ducting and the vent hood you pick. For a budget-minded homeowner who already owns the basic tools, that’s an easy call.
Hiring out usually runs $150 to $500 with labor and materials included. Where you fall in that range depends on how involved the job is, the length of the run, and what labor costs in your area. A few quotes will tell you fairly quickly what’s reasonable for your situation.
Frequently Asked Questions
Q1: Can I Use Flexible Plastic Ducting for My Dryer Vent?
A1: No. Flexible plastic and foil ducting are fire hazards—they sag, trap lint, and can melt or ignite. Stick with rigid or semi-rigid metal ducting, which is safer, lasts longer, and moves air more freely.
Q2: How Often Should I Clean My Dryer Vent?
A2: At least once a year. If you’ve got a large household or the dryer rarely gets a rest, every six months is the safer interval for keeping lint down and fire risk low.
Q3: How Long Can a Dryer Vent Run Be?
A3: A standard run shouldn’t top 25 feet total. Subtract 5 feet for each 90-degree bend. The shorter and straighter it stays, the better your airflow and drying efficiency. If you have a long vent run, consider hiring a professional to properly route and clean it.
Q4: What Materials Should I Use for My Dryer Vent?
A4: Rigid or semi-rigid metal is safest, most durable, and code-compliant. These materials won’t sag, kink, hold moisture, or burn as readily as plastic flex ducting. They’re also less likely to let lint cling inside the walls.
Q5: Any Tips For Keeping My Dryer Running Smoothly?
A5: Regularly clean the lint trap between loads and periodically inspect the back of your dryer and vent opening outside for obstructions or build-up. Make sure your dryer is properly installed and that the vent pipe is not crushed or damaged. Ensure proper airflow by avoiding using too many turns in the vent system and keeping the vent pipe as short as possible. Consider having a professional clean your dryer vent every one to two years to prevent buildup and potential fire hazards.
Final Thoughts
Putting in a dryer exhaust vent is a satisfying job that makes your home safer and your dryer noticeably more effective. Choose the right materials, take the steps one at a time, sidestep the usual mistakes, and you can wrap it up with confidence while keeping the installation cost in your own pocket.
Safety leads, always. If any piece of the work sits past your comfort zone—gas dryers and tricky routing especially—there’s no shame in calling a professional. A vent that’s installed well keeps your laundry moving and your house protected for a long time. Thanks for reading this guide on how to install dryer exhaust.

About
Ethan Wrenford is a dedicated home appliance specialist with years of hands-on experience in appliance troubleshooting, maintenance, repair, and DIY diagnostics. His professional focus lies in combining practical repair knowledge with simple, easy-to-follow solutions, helping homeowners understand common appliance problems and confidently identify potential causes at home. As an author at ApplianceWhy, Ethan shares practical knowledge on home appliance repair, DIY appliance diagnostics, maintenance, troubleshooting, appliance care, and everyday solutions for common household appliance issues.
Education
Portland Community College (Portland, USA)
Associate Degree in Appliance Technology & Residential Systems
- Focused on residential appliance systems, electrical fundamentals, mechanical components, and appliance troubleshooting.
- Developed practical skills in appliance diagnostics, component testing, electrical safety, and repair procedures.
- Gained hands-on experience working with refrigerators, washing machines, dryers, dishwashers, ovens, ranges, and other household appliances.
Oregon Institute of Technology (Klamath Falls, USA)
Bachelor’s in Applied Electronics & Technology
- Specialized in electrical systems, electronic controls, sensors, motors, and residential equipment.
- Studied diagnostic techniques for identifying electrical, mechanical, and component-related appliance problems.
- Completed practical projects involving appliance control systems, troubleshooting methods, preventive maintenance, and repair fundamentals.
Publications and Impact
Through ApplianceWhy, Ethan shares practical insights into home appliance repair, DIY diagnostics, maintenance, troubleshooting, and appliance care. His writing focuses on turning confusing appliance problems into simple, understandable steps that homeowners can follow safely.
Ethan covers everything from diagnosing a refrigerator that is not cooling and a washing machine that will not drain to troubleshooting dryers, dishwashers, ovens, microwaves, and other common household appliances. His content helps readers understand appliance symptoms, identify possible causes, perform basic diagnostic checks, and determine when professional repair may be necessary.
Through his work, Ethan aims to bridge the gap between professional appliance repair knowledge and everyday homeowners—making appliance troubleshooting more approachable, practical, and accessible to everyone who wants to diagnose smarter, maintain better, and keep their appliances running longer.