

Disconnecting a washing machine sounds simple enough—until you’re standing in a puddle of water wondering where it all went wrong. For most homeowners, it’s a perfectly manageable job. But “manageable” and “foolproof” aren’t the same thing, and skipping even one step can mean a flooded laundry room, a damaged machine, or worse.
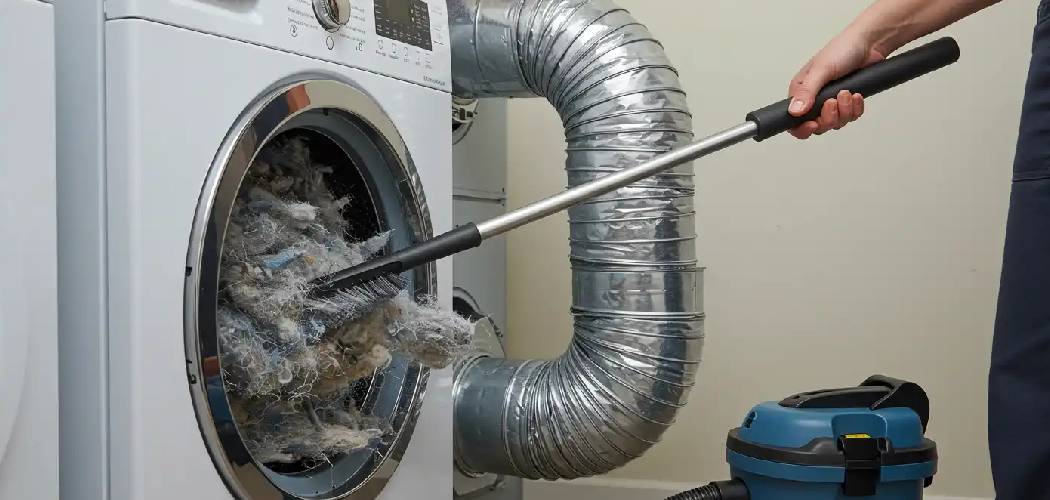
This guide on how to disconnect a washing machine walks you through the full process: from cutting the power to pulling the drain hose free. It covers what to do, what not to do, and the small details that tend to trip people up. Follow these steps in order, and you’ll get the job done cleanly, safely, and without needing to call a plumber.
Understanding Your Washing Machine Setup
Before you touch a single hose, take stock of how the machine is connected. Most standard units hook up to three things: a water supply (hot and cold, sometimes just cold), a drain hose, and a power source. Gas-powered washing machines exist but are rare—if yours is one, stop here and call a licensed technician.
Front-loaders and top-loaders disconnect roughly the same way, though hose placement can vary. Your user manual is worth a quick scan before you start. It may flag model-specific quirks that aren’t immediately obvious, and that two minutes of reading could save you twenty minutes of troubleshooting.
Why Proper Disconnection Matters?
A loose hose or an open valve left unattended can cause more damage than most people expect. Water moves fast, spreads far, and tends to find every gap in your flooring. Beyond the mess, there’s the machine itself—internal components can be damaged by improper handling, which may void your warranty or create faults that are expensive to diagnose later.
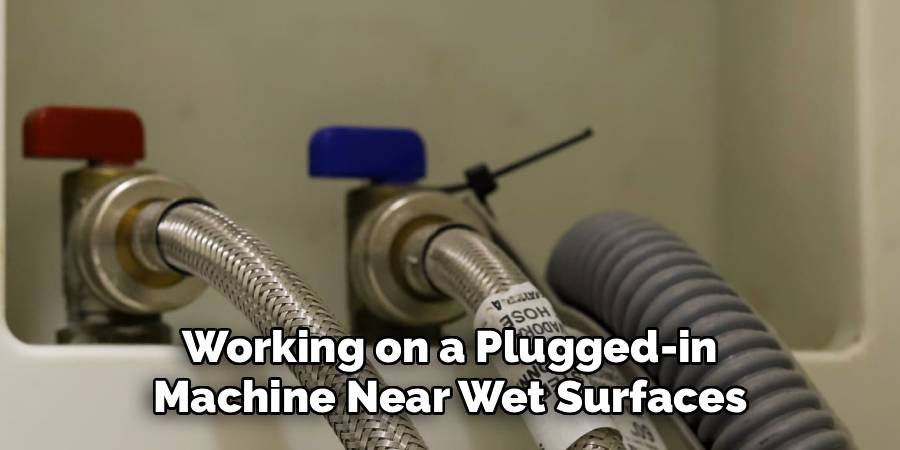
There’s also a more basic concern: water and electricity don’t mix. Working on a plugged-in machine near wet surfaces carries real risk. A careful, sequential approach addresses both the plumbing and the electrical side of things, and it’s what separates a clean disconnection from a chaotic one.
7 Simple Steps on How to Disconnect a Washing Machine
Step 1: Gather Your Tools and Supplies
Get everything together before you start. Mid-task interruptions break your focus and increase the chance of missing something. You’ll need:
- A bucket or large towel
- Adjustable pliers or a wrench
- A flat-head screwdriver
- Zip-lock bags or tape (for labeling hoses, if you’re reinstalling)
- A dry cloth for cleanup
Nothing on that list is hard to find. The point is simply to have it ready.
Step 2: Turn Off the Washing Machine and Unplug It
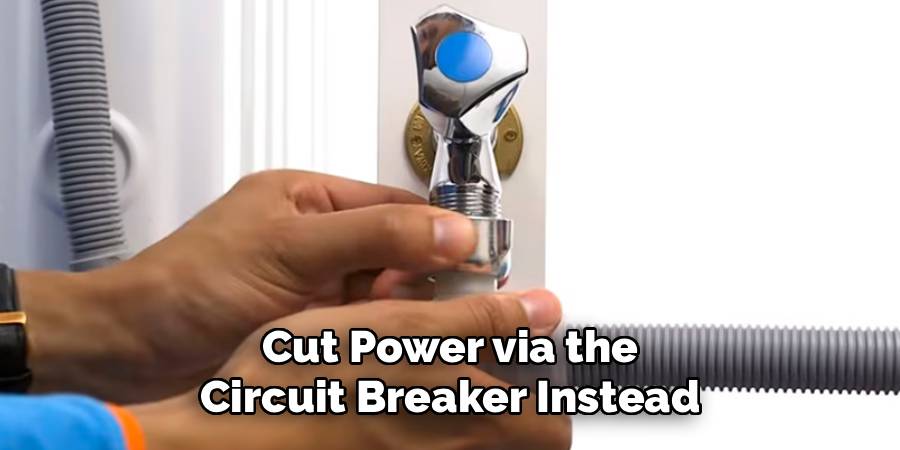
Switch the machine off using its control panel, then pull the plug from the wall. If the outlet is tucked behind the machine and difficult to access, cut power via the circuit breaker instead. This step is non-negotiable. A machine that appears off may still have live current running to the outlet—physically removing the plug is the only way to be certain.
Step 3: Shut Off the Water Supply Valves
Look behind or beside the machine for two valves—typically red for hot, blue for cold. Turn each one clockwise until it stops moving. That cuts the water supply to the machine. If individual valves aren’t present, or if they look corroded and difficult to turn, shut off the main water supply to the house instead.
Skipping this step has predictable consequences. The moment a hose comes loose with the water still running, you’ll know.
Step 4: Run a Short Drain Cycle to Empty the Drum
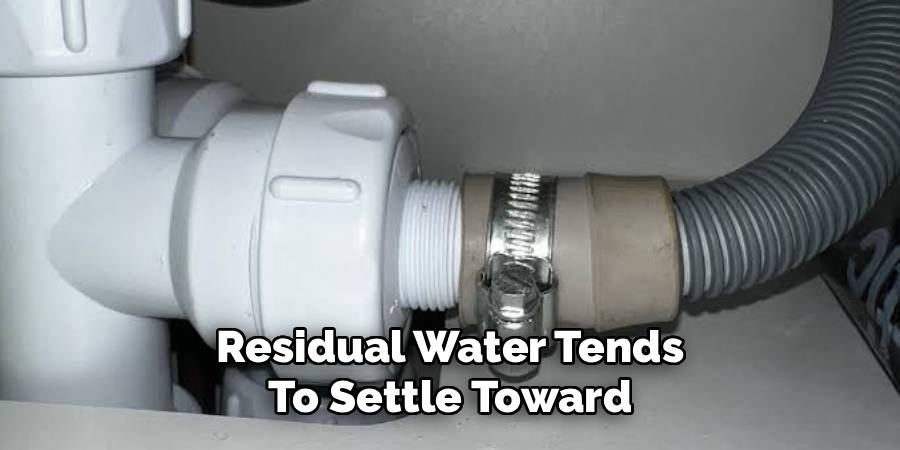
If water is sitting in the drum, run a quick spin or drain cycle before disconnecting anything. This clears most of the water from the drum and internal hoses, which significantly reduces the mess during the next steps. Once the cycle finishes, give the machine a few minutes—residual water tends to settle toward the drain hose and needs time to do so.
Step 5: Disconnect the Water Supply Hoses
Place a bucket or folded towel under the hose connections at the back of the machine. Using adjustable pliers, grip the connector and turn counterclockwise to loosen it. Work through both the hot and cold supply hoses, directing each one into the bucket as it comes free. There will likely be some residual dripping—that’s normal.
If you’re planning to reinstall the same machine elsewhere, label each hose now. It takes ten seconds and saves confusion later.
Step 6: Detach the Drain Hose
The drain hose runs from the back of the machine into a standpipe, wall drain, or laundry sink. Pull it free from the outlet carefully, keeping the open end angled downward into your bucket. Some drain hoses are held in place with a clip or zip tie—check for these before pulling, and use a screwdriver to remove them if needed. Set the hose aside once it’s fully drained.
Step 7: Move the Machine Safely
At this point, the machine is disconnected and ready to move. The catch: most washing machines weigh between 150 and 200 pounds. Attempting to shift one alone is how backs get injured. Bring a second person, or better yet, use an appliance dolly. Tilt the machine carefully onto the dolly, secure it with a strap, and protect your floors with cardboard or a furniture slider as you go.
Following these steps on how to disconnect a washing machine will not only make the process easier; it will also ensure that your machine and surrounding area are protected.
Common Mistakes to Avoid
A few errors come up repeatedly, even among people who’ve done this before:
- Removing hoses before closing the valves. This one ends with water on the floor every time.
- Skipping the drain cycle. Opening a hose connected to a full drum is an unpleasant surprise.
- Forcing stuck hose connections with excessive tool pressure. Hand-loosen first, then use pliers only if needed—overtightening can strip the threads.
- Assuming the machine is off because the display is dark. Always remove the plug physically.
Taking each step in sequence and checking it before moving on is really the whole method. It sounds obvious, but rushing is what causes most of these problems.
Do You Need a Professional to Disconnect a Washing Machine?
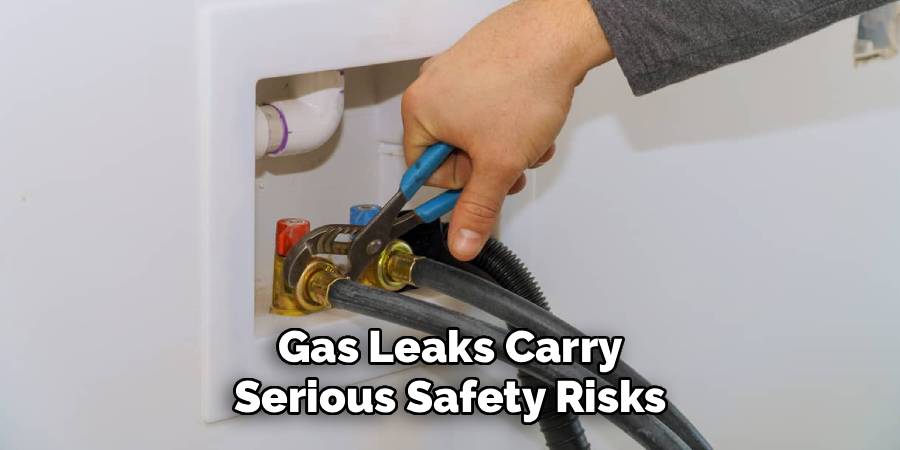
For most setups, this is a viable DIY job. That said, there are situations where calling in a professional may make sense—or may be legally required. Gas-connected machines should always be handled by a licensed technician. Gas leaks carry serious safety risks, and in many regions, only certified professionals are permitted to disconnect gas appliances.
Corroded or stuck water valves are another common reason to bring in a plumber before proceeding. Forcing a seized valve can crack a pipe, and the resulting repair bill tends to dwarf the cost of a service call. When the valves look questionable, it’s worth getting a professional opinion before applying force.
Safety Tips to Keep in Mind Throughout the Process
A few additional precautions are worth building into your approach:
- Wear rubber-soled shoes throughout. They provide a degree of insulation against electrical hazards and grip better on wet floors.
- Mop up any water immediately as it appears. A wet floor is a slip hazard, and it also risks spreading moisture to areas you don’t want wet.
- When it comes time to move the machine, lift from the knees—not the waist. Better still, use a dolly and skip the manual lifting entirely.
None of this is complicated. It’s mostly about staying deliberate rather than rushing to get finished.
Frequently Asked Questions
How Long Does It Take to Disconnect a Washing Machine?
Most people complete the process in 20 to 40 minutes. The range depends on how accessible your water valves are, how much water remains in the drum, and your general familiarity with plumbing connections. Following a step-by-step approach—rather than improvising as you go—typically keeps things on the shorter end of that window.
Can I Disconnect a Washing Machine Without Turning Off the Main Water Supply?
In most cases, yes. If the machine has dedicated shut-off valves directly behind it, closing those is sufficient. The main supply only needs to be shut off when individual valves are absent, damaged, or won’t close fully. Before removing any hose, confirm the valves are completely closed—a small trickle at the connection point suggests they aren’t.
What Should I Do With the Hoses After Disconnecting Them?
Drain them fully, then examine them for cracks, bulging, or visible mineral deposits. Hoses that are more than five years old, or that show any signs of wear, should be replaced before the machine is reconnected—not reused. Washing machine hose failures are one of the more common causes of household water damage, and replacement hoses are inexpensive relative to that risk.
Is It Safe to Disconnect a Washing Machine Without Plumbing Experience?
For a standard residential setup with functioning valves and no gas connection, yes. The process doesn’t require plumbing expertise—it requires patience and attention to the correct sequence. The steps most likely to cause problems are also the simplest to get right: turn off the water, unplug the machine, and drain the drum before touching the hoses.
The Right Preparation Makes All the Difference
Disconnecting a washing machine isn’t a complex job, but it does reward a methodical approach. The seven steps on how to disconnect a washing machine here—gathering your tools, cutting power, shutting off the water, draining the drum, removing the supply hoses, detaching the drain line, and moving the machine carefully—cover the full scope of what’s involved.
Patience is the real variable. Each step builds on the one before it, and each one matters. Rushing through to reach the “moving” part is precisely where things go wrong. Take your time, check your work, and don’t hesitate to call a professional if the valves look suspect or the setup seems unusual.
A clean disconnection isn’t just about avoiding a mess today. It sets the machine up for a smooth reinstallation—wherever it ends up next.

About
Ethan Wrenford is a dedicated home appliance specialist with years of hands-on experience in appliance troubleshooting, maintenance, repair, and DIY diagnostics. His professional focus lies in combining practical repair knowledge with simple, easy-to-follow solutions, helping homeowners understand common appliance problems and confidently identify potential causes at home. As an author at ApplianceWhy, Ethan shares practical knowledge on home appliance repair, DIY appliance diagnostics, maintenance, troubleshooting, appliance care, and everyday solutions for common household appliance issues.
Education
Portland Community College (Portland, USA)
Associate Degree in Appliance Technology & Residential Systems
- Focused on residential appliance systems, electrical fundamentals, mechanical components, and appliance troubleshooting.
- Developed practical skills in appliance diagnostics, component testing, electrical safety, and repair procedures.
- Gained hands-on experience working with refrigerators, washing machines, dryers, dishwashers, ovens, ranges, and other household appliances.
Oregon Institute of Technology (Klamath Falls, USA)
Bachelor’s in Applied Electronics & Technology
- Specialized in electrical systems, electronic controls, sensors, motors, and residential equipment.
- Studied diagnostic techniques for identifying electrical, mechanical, and component-related appliance problems.
- Completed practical projects involving appliance control systems, troubleshooting methods, preventive maintenance, and repair fundamentals.
Publications and Impact
Through ApplianceWhy, Ethan shares practical insights into home appliance repair, DIY diagnostics, maintenance, troubleshooting, and appliance care. His writing focuses on turning confusing appliance problems into simple, understandable steps that homeowners can follow safely.
Ethan covers everything from diagnosing a refrigerator that is not cooling and a washing machine that will not drain to troubleshooting dryers, dishwashers, ovens, microwaves, and other common household appliances. His content helps readers understand appliance symptoms, identify possible causes, perform basic diagnostic checks, and determine when professional repair may be necessary.
Through his work, Ethan aims to bridge the gap between professional appliance repair knowledge and everyday homeowners—making appliance troubleshooting more approachable, practical, and accessible to everyone who wants to diagnose smarter, maintain better, and keep their appliances running longer.