

Disconnecting a washing machine sounds harder than it actually is. Most people can get it done in under an hour.
Perhaps you’re moving house, swapping out a tired old unit, or chasing down a leak that won’t quit. The reason barely matters.
What matters is that doing it yourself keeps a plumber’s callout fee in your pocket and hands you a skill you’ll reach for again someday.
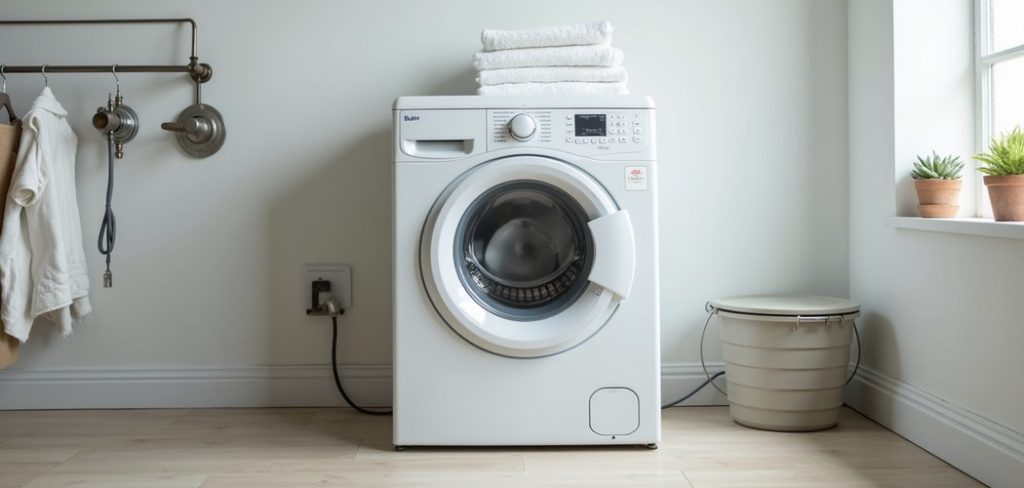
It really comes down to preparation. Your washer ties into three separate systems—the water supply, the drainage, and a power outlet—and each one needs a bit of care so you don’t end up with a puddle spreading across the laundry room.
Hurry through it, and yes, you might flood the floor. Work at a steady pace and the whole thing stays dry and uneventful.Here’s what this guide covers.
We’ll go over the tools worth having ready, walk through the job in eight steps on how to disconnect a washer machine, flag the slip-ups people tend to make, and close with a handful of questions that come up often.
By the time you reach the end, the task should feel a lot less daunting than it did at the start.
Understanding How Your Washing Machine Connects
It pays to know how your washer is wired and plumbed before you pick up a wrench. Every machine leans on three connections: water, drainage, and electricity.
A pair of hoses handles the water—one hot, one cold—and both screw onto valves fixed to your wall. There’s also a drain hose that ferries used water out, usually into a standpipe or a utility sink.
The power cord, meanwhile, goes into an ordinary outlet.
Why does this matter? Because the order you disconnect things in keeps you safe and keeps the floor dry. Killing the power before anything else takes electrical risk off the table.
Closing the water valves next means no surprise gush when a hose comes loose.
Get a feel for what’s tucked behind and underneath the machine, and the steps that follow tend to make sense on their own.
Tools and Materials Needed
Rounding everything up beforehand spares you the mid-job scramble. Here’s what you’ll want within arm’s reach.
Adjustable Wrench or Pliers
These loosen the hose fittings, which are often cranked on tight and rarely budge with bare hands.
Bucket and Towels
Some water always spills when the hoses come off—there’s no avoiding it. The bucket catches the bulk of it, and towels mop up whatever escapes.
Work Gloves
Gloves guard against sharp metal edges, warm surfaces, and the film of grime that seems to settle behind every appliance over the years.
Duct Tape or Cable Ties
Once the machine is free, these hold the hoses and power cord snug against it. Handy, especially when the unit is headed out the door.
8 Simple Steps on How to Disconnect a Washer Machine
Step 1: Unplug the Washing Machine
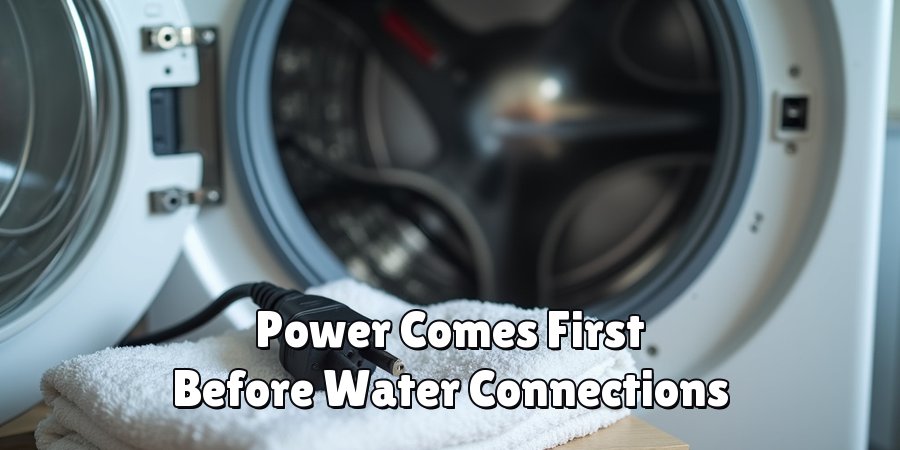
Power comes first. Reach around the back and pull the plug from the outlet. If you can’t get to it easily, flip the matching breaker in your panel instead. Working on water connections while the machine is still live is a risk not worth taking.
Step 2: Turn Off the Water Supply
Find the two valves on the wall behind the machine—usually a red one for hot and a blue one for cold. Turn each clockwise until it won’t go further. That stops the flow and heads off any leak once you start pulling hoses.
Step 3: Run a Rinse Cycle to Release Pressure
With the valves shut, run a brief rinse or spin for a few seconds. Doing so bleeds off the water pressure still sitting in the hoses. Switch the machine off afterward, and unplug it again if you had to briefly restore power for this step.
Step 4: Disconnect the Water Supply Hoses
Slide your bucket under the connections. Take your wrench or pliers to the hot and cold hoses where they meet the wall valves and back them off. Water will trickle out, so let each hose empty into the bucket before you set it aside.
Step 5: Drain and Remove the Drain Hose
Track down the drain hose, which typically runs into a standpipe or sink. Ease it out and lower the end into your bucket so any leftover water drains away. Keep that end raised until you’re set to empty it—drop it too soon, and you’ll have a spill.

Step 6: Clean Up Any Water Spillage
Wipe the hoses, the valves, and the floor with your towels. A quick dry-off now keeps you from slipping later and leaves a clean surface to shift the machine across. It’s also a good moment to eye the hoses for cracks or worn spots.
Step 7: Secure the Hoses and Power Cord
Coil the hoses and the cord into neat loops. Fasten them to the back of the machine with duct tape or cable ties. That keeps everything from dangling, snagging, or getting underfoot while the unit is on the move.
Step 8: Move the Washing Machine
With every connection secured, the machine is ready to shift. These things are heavy, so grab a second pair of hands to lift or slide it. For anything beyond a short scoot, a dolly or appliance trolley earns its keep.
Work through these steps on how to disconnect a washer machine in sequence. Jumping ahead or flipping the order can invite leaks or a safety scare, so tackle them one by one.
Common Mistakes to Avoid
Far and away the most common blunder is forgetting to shut off the water before touching the hoses. That one almost always ends in a wet floor and a frantic mop-up. Close behind it: leaving the machine plugged in while working around water. That’s a genuine hazard, and one you sidestep entirely by unplugging first.
Skipping the pressure-release step trips people up too. Ignore it, and a hose may spit water at you when you least expect it. And don’t kid yourself about how much these machines weigh.
Wrestling one solo is a fast route to a tweaked back or a gouged floor. A patient, in-order approach spares you every one of these headaches.
Helpful Tips for a Smoother Job
A couple of small habits go a long way here. Snap a photo of the hose connections before you undo anything—it becomes your cheat sheet when the machine goes back in. Tape a quick label on the hot and cold hoses so you don’t muddle them later.
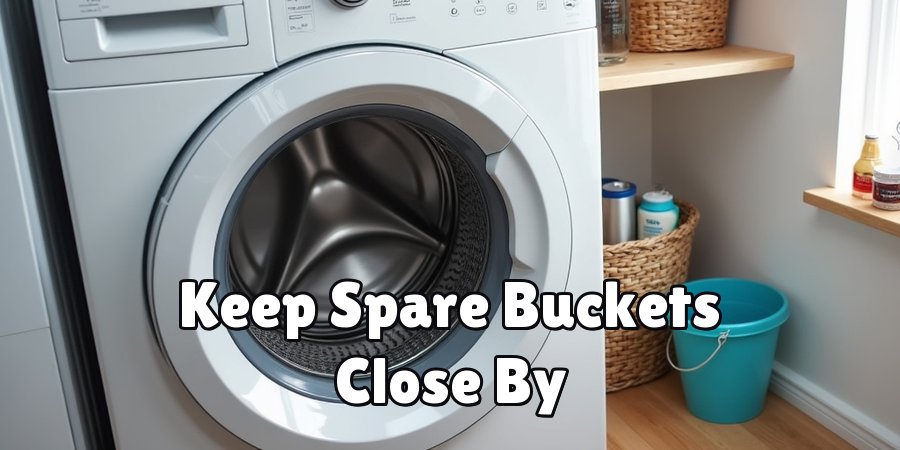
Should a valve feel stiff or look corroded, dab on some penetrating oil and give it a few minutes before you force it. And keep a spare bucket close by, in case the first fills quicker than you bargained for.
Frequently Asked Questions
Q1: Do I Need to Turn Off the Water at the Main Supply?
A1: Usually not. The individual hot and cold valves behind the machine should be enough to stop the flow on their own. That said, if one of those valves is broken or won’t close all the way, shutting off your home’s main supply gives you a reliable fallback.
Q2: How Long Does It Take to Disconnect a Washing Machine?
A2: For most people, expect somewhere between 30 and 60 minutes. Stiff valves or hoses wedged in an awkward spot can stretch that out a bit. Laying your tools out ahead of time tends to shave off a fair chunk of it.
Q3: Can I Reuse the Old Hoses When Reconnecting?
A3: You can, though replacing them is often the smarter call. Rubber hoses stiffen and weaken with age, and a cracked or burst one causes real damage. If yours are pushing five years or showing any wear, new ones are cheap insurance.
Q4: How Can I Tell if My Belts Need Replacing?
A4: The two most common failure points for belts are cracking and glazing. For the former, any visible signs mean you’re overdue for a replacement.
For the latter, a quick touch test will tell you all you need to know. Simply run your finger along the ribbed side of the belt – it should feel slightly rough, like sandpaper.
If it feels smooth or glossy, then it’s time to replace it.
Conclusion
There’s nothing here that demands a professional or a drawer full of specialty gear. A wrench, a bucket, and a little patience will see you through the whole job in under an hour.
The order is what carries you—power off, water off, pressure released, hoses eased away one at a time—and that sequence is what keeps things dry and safe from start to finish.
Now that the process is clear, you’re set to move, swap, or repair your washer whenever the moment calls for it.
Bookmark this guide for next time, take those reference photos as you go, and never feel odd about asking for a hand when the lifting starts.
A bit of groundwork, and the job comes off cleanly every time. Thanks for reading this guide on how to disconnect a washer machine.

About
Ethan Wrenford is a dedicated home appliance specialist with years of hands-on experience in appliance troubleshooting, maintenance, repair, and DIY diagnostics. His professional focus lies in combining practical repair knowledge with simple, easy-to-follow solutions, helping homeowners understand common appliance problems and confidently identify potential causes at home. As an author at ApplianceWhy, Ethan shares practical knowledge on home appliance repair, DIY appliance diagnostics, maintenance, troubleshooting, appliance care, and everyday solutions for common household appliance issues.
Education
Portland Community College (Portland, USA)
Associate Degree in Appliance Technology & Residential Systems
- Focused on residential appliance systems, electrical fundamentals, mechanical components, and appliance troubleshooting.
- Developed practical skills in appliance diagnostics, component testing, electrical safety, and repair procedures.
- Gained hands-on experience working with refrigerators, washing machines, dryers, dishwashers, ovens, ranges, and other household appliances.
Oregon Institute of Technology (Klamath Falls, USA)
Bachelor’s in Applied Electronics & Technology
- Specialized in electrical systems, electronic controls, sensors, motors, and residential equipment.
- Studied diagnostic techniques for identifying electrical, mechanical, and component-related appliance problems.
- Completed practical projects involving appliance control systems, troubleshooting methods, preventive maintenance, and repair fundamentals.
Publications and Impact
Through ApplianceWhy, Ethan shares practical insights into home appliance repair, DIY diagnostics, maintenance, troubleshooting, and appliance care. His writing focuses on turning confusing appliance problems into simple, understandable steps that homeowners can follow safely.
Ethan covers everything from diagnosing a refrigerator that is not cooling and a washing machine that will not drain to troubleshooting dryers, dishwashers, ovens, microwaves, and other common household appliances. His content helps readers understand appliance symptoms, identify possible causes, perform basic diagnostic checks, and determine when professional repair may be necessary.
Through his work, Ethan aims to bridge the gap between professional appliance repair knowledge and everyday homeowners—making appliance troubleshooting more approachable, practical, and accessible to everyone who wants to diagnose smarter, maintain better, and keep their appliances running longer.