

To make a freezer colder, set the temperature to 0°F (-18°C), avoid overfilling or underfilling it, keep the door seals clean, and make sure air can move freely around the unit. Regular defrosting and a twice-yearly coil cleaning also help your freezer reach and hold the right temperature.
Soft ice cream. That’s usually the first clue. Or maybe you notice a fuzzy layer of frost creeping across your frozen peas. Either way, something’s off.
A freezer that runs warmer than it should won’t just cost you a tub of melted dessert—it quietly pushes up your energy bills and wears the appliance down faster than it needs to.
Here’s the reassuring part. Most freezer cooling troubles are the kind you can sort out yourself, in an afternoon, with nothing more specialized than a vacuum and a bit of patience.
You don’t need a repair technician on speed dial for every hiccup, and you certainly don’t need to replace the whole unit at the first sign of trouble.
This guide walks through the ideal freezer temperature, seven steps on how to cold a freezer that actually make a difference, and the small everyday habits that might be sabotaging your freezer without you realizing.
Toward the end, I’ll cover how to keep things running efficiently over the long haul—and the point at which calling a professional stops being optional.
What Temperature Should a Freezer Be?
The number to remember is 0°F (-18°C). At that setting, food stays frozen solid, bacteria stay dormant, and the quality of what you’ve stored holds up for months rather than weeks. The U.S.
Food and Drug Administration recommends this exact temperature for long-term food safety. Anything warmer, even by a few degrees, and food starts to spoil faster and lose its texture and flavor.
But colder isn’t automatically better. Push the setting well below 0°F, and you’re mostly just burning electricity for no real gain—the food isn’t any safer, and your bill climbs.
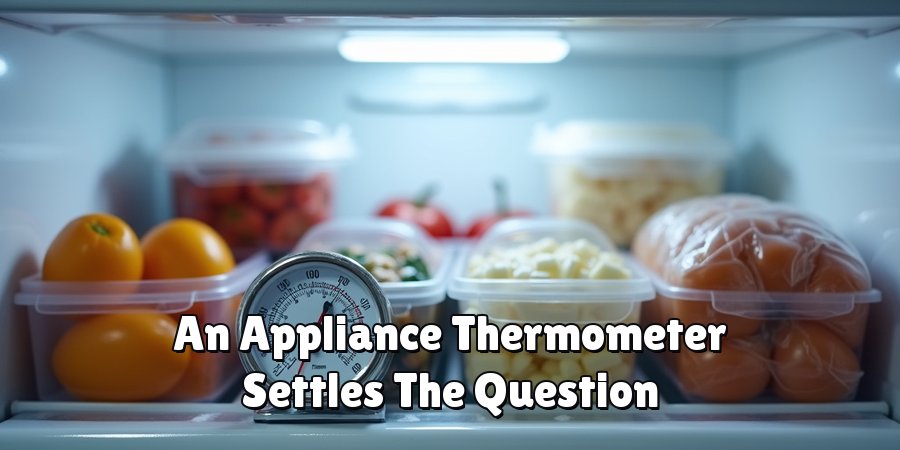
If you genuinely don’t know how cold your freezer runs, an inexpensive appliance thermometer settles the question. Pop it inside, wait a full day, and read it. That one small step removes the guesswork entirely.
7 Simple Steps on How to Cold a Freezer
Step 1: Adjust the Temperature Setting
Begin with the obvious thing people skip. Find the temperature dial or digital control inside the freezer and set it to 0°F (-18°C).
Plenty of freezers still use a numbered dial rather than actual temperatures, so if that’s the case, nudge it toward the colder end and wait a full 24 hours before judging the result.
The appliance needs time to catch up—resist the urge to keep fiddling.
Step 2: Check the Door Seals
That rubber gasket running around the door is doing more work than it gets credit for. It keeps cold air trapped inside and warm air out.
Over the years, though, seals crack, loosen, or gather grime that stops them from sealing properly. Here’s a quick test: close the door on a sheet of paper, then try to pull it out.
If it slides free without any resistance, the seal may be failing. Give the gasket a wash with warm soapy water first, since dirt alone can cause the problem. If it’s genuinely damaged, replace it.
Step 3: Organize the Contents
A tidy freezer cools far more evenly than a chaotic one. Cold air needs a bit of room to move around your food, so cramming everything into a single corner works against you.
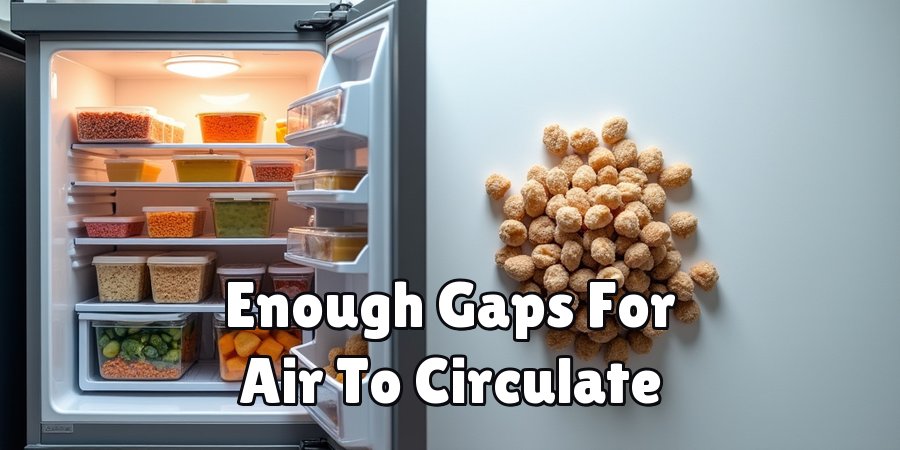
Then again, a nearly empty freezer has its own problem—there’s little mass to hold the cold, so it warms quickly whenever you open the door. The sweet spot sits somewhere around 70 to 85 percent full.
Enough to hold temperature, with enough gaps for air to circulate.
Step 4: Keep the Door Closed
Every time that door swings open, a wave of warm room air rushes in, and the freezer has to work to chase it back out.
The fix is simple in principle, if not always in practice: know what you’re after before you open up, then grab it and close the door.
Worth checking, too, that nothing is quietly wedging the door ajar—a stray bag, a box pushed a touch too far forward. Small obstructions like these break the seal without anyone noticing.
Step 5: Clean the Condenser Coils
This one gets overlooked more than almost anything else. The condenser coils release the heat your freezer pulls out of its interior, and when they’re blanketed in dust and pet hair, they simply can’t shed that heat efficiently.
Unplug the freezer first. Locate the coils—usually at the back or tucked underneath—and clear them with a vacuum or a soft brush.
Twice a year is a reasonable rhythm for most homes, though a house with shedding pets might want it a little more often.
Step 6: Improve Air Circulation Around the Unit
Your freezer needs breathing space on the outside as well as the inside. Shoved flat against a wall or crammed into a tight cabinet, it traps its own heat and struggles to cool.
Leave a few inches of clearance around the sides and back so warm air has somewhere to go.
And keep the whole thing away from heat sources—an oven, a radiator, a window with hours of afternoon sun all make the appliance fight an uphill battle.
Step 7: Defrost If Ice Has Built Up
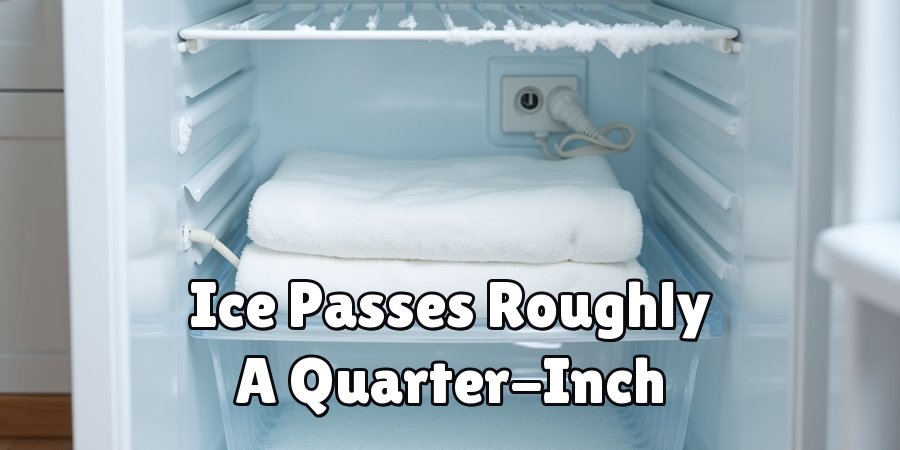
Thick frost acts like insulation, which sounds counterintuitive until you realize it’s insulating the cold away from your food. Once ice on the interior walls passes roughly a quarter-inch, it’s time to defrost.
Empty the freezer, unplug it, and let the ice melt fully before you wipe everything dry and switch it back on.
Frost-free models handle this on their own, but if you’ve got a manual-defrost unit, this job falls to you.
Work through these steps on how to cold a freezer in order. Doing so helps you rule out the easy explanations before you start suspecting anything mechanical.
Common Mistakes That Prevent Proper Freezer Cooling
A lot of freezer trouble traces back to small habits that chip away at performance without ever announcing themselves. Overloading tops the list.
When food packs tight against the vents, cold air can’t circulate, and pockets of the freezer stay warmer than they should.
Sliding hot or still-warm leftovers straight inside causes similar grief—the internal temperature jumps, and the compressor runs flat out trying to recover. Even those quick door-opens add up more than you’d think over a full day.
Maintenance tends to be the other blind spot. Coils go uncleaned, worn gaskets get ignored, ice quietly accumulates—and each of these chips away at how cold the freezer can hold. Location plays its part too.
A freezer parked beside a stove or sweating in a hot garage will always be working against its surroundings. Sidestep these habits, and you’ll keep the unit cold without spending a cent on repairs.
How to Keep a Freezer Cold Efficiently?
Keeping a freezer cold isn’t only about the dial—it’s about running the thing sensibly. Set it to 0°F and keep it reasonably stocked, because frozen items act as thermal ballast and ease the load on the compressor.
Clean the coils twice a year. Glance at the door seals now and then. Defrost when the ice starts to build. None of these takes long, and together they protect both your groceries and your electricity bill.
Where you put the freezer matters as much as how you set it. Keep it clear of hot rooms and out of direct sun, and give it space to release heat rather than boxing it in.
Open the door only when you actually need something, and let hot leftovers cool to room temperature before they go in.
Kept up consistently, these habits hold the temperature steady, trim wasted energy, and stretch the appliance’s working life by years.
When to Call a Professional?
Some problems sit outside the reach of a vacuum and a screwdriver.
If you’ve adjusted the settings, cleaned the coils, tested the seals, and defrosted the unit, and it still refuses to get cold, the cause could be mechanical.
A failing compressor, a refrigerant leak, or a dead thermostat all point toward professional help. Refrigerant in particular is genuinely hazardous to handle without training, so that’s not a DIY territory to wander into.
Keep an ear and eye out for the warning signs: odd noises, a compressor that never seems to switch off, or a unit cycling on and off far too frequently.
If the freezer is still under warranty, phone the manufacturer before you attempt any serious repair yourself—tinkering can void the coverage.
And with an older appliance, a technician can give you an honest read on whether a repair is worth the money or whether replacement makes more sense.
Frequently Asked Questions
Why Is My Freezer Not Getting Cold Enough?
A freezer might fall short for several reasons—dirty condenser coils, worn door seals, overloading, or poor airflow around the unit are among the most common.
Ice buildup and a faulty thermostat can also be at fault. Start with the simple checks: clean the coils, inspect the seals, and confirm the temperature is set to 0°F before assuming anything worse.
How Long Does a Freezer Take to Get Cold After Adjusting It?
Give it around 24 hours. After you change the temperature, a freezer generally needs a full day to settle at its new setting, so avoid making repeated adjustments in the meantime. An appliance thermometer will confirm where things landed once that day has passed.
Is It Cheaper to Keep a Freezer Full or Empty?
A reasonably full freezer usually costs less to run. Frozen items hold the cold and keep the temperature stable, which means the compressor cycles less often. An empty freezer, by contrast, loses its chill quickly each time the door opens and has to work harder to recover.
Conclusion
A cold, dependable freezer really does come down to a handful of modest habits.
Set the temperature to 0°F, keep the seals clean, arrange your food so air can move, and clear the coils twice a year.
Most cooling problems trace back to something small and fixable—dust, a tired gasket, a build-up of ice—rather than anything that warrants a service call.
So take a few minutes today. Check the temperature, look over the areas covered above, and deal with whatever seems off.
A little attention now can save you spoiled food, a heftier energy bill, and possibly the cost of a new appliance down the line.
And if you’ve worked through it all and the freezer still won’t cooperate, that’s the moment to bring in a professional to find the deeper fault. Thanks for reading this guide on how to cold a freezer.

About
Ethan Wrenford is a dedicated home appliance specialist with years of hands-on experience in appliance troubleshooting, maintenance, repair, and DIY diagnostics. His professional focus lies in combining practical repair knowledge with simple, easy-to-follow solutions, helping homeowners understand common appliance problems and confidently identify potential causes at home. As an author at ApplianceWhy, Ethan shares practical knowledge on home appliance repair, DIY appliance diagnostics, maintenance, troubleshooting, appliance care, and everyday solutions for common household appliance issues.
Education
Portland Community College (Portland, USA)
Associate Degree in Appliance Technology & Residential Systems
- Focused on residential appliance systems, electrical fundamentals, mechanical components, and appliance troubleshooting.
- Developed practical skills in appliance diagnostics, component testing, electrical safety, and repair procedures.
- Gained hands-on experience working with refrigerators, washing machines, dryers, dishwashers, ovens, ranges, and other household appliances.
Oregon Institute of Technology (Klamath Falls, USA)
Bachelor’s in Applied Electronics & Technology
- Specialized in electrical systems, electronic controls, sensors, motors, and residential equipment.
- Studied diagnostic techniques for identifying electrical, mechanical, and component-related appliance problems.
- Completed practical projects involving appliance control systems, troubleshooting methods, preventive maintenance, and repair fundamentals.
Publications and Impact
Through ApplianceWhy, Ethan shares practical insights into home appliance repair, DIY diagnostics, maintenance, troubleshooting, and appliance care. His writing focuses on turning confusing appliance problems into simple, understandable steps that homeowners can follow safely.
Ethan covers everything from diagnosing a refrigerator that is not cooling and a washing machine that will not drain to troubleshooting dryers, dishwashers, ovens, microwaves, and other common household appliances. His content helps readers understand appliance symptoms, identify possible causes, perform basic diagnostic checks, and determine when professional repair may be necessary.
Through his work, Ethan aims to bridge the gap between professional appliance repair knowledge and everyday homeowners—making appliance troubleshooting more approachable, practical, and accessible to everyone who wants to diagnose smarter, maintain better, and keep their appliances running longer.