

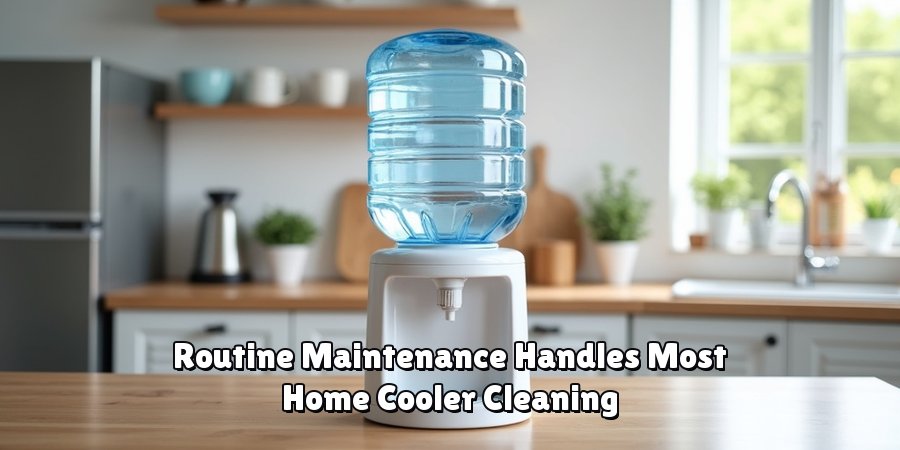
To clean a water cooler dispenser, unplug it, drain the tank, then wash it with a solution of vinegar or unscented bleach and water. Scrub the reservoir, flush the taps, rinse thoroughly, and dry before refilling. Repeat this deep clean every four to six weeks to keep your water fresh and safe.
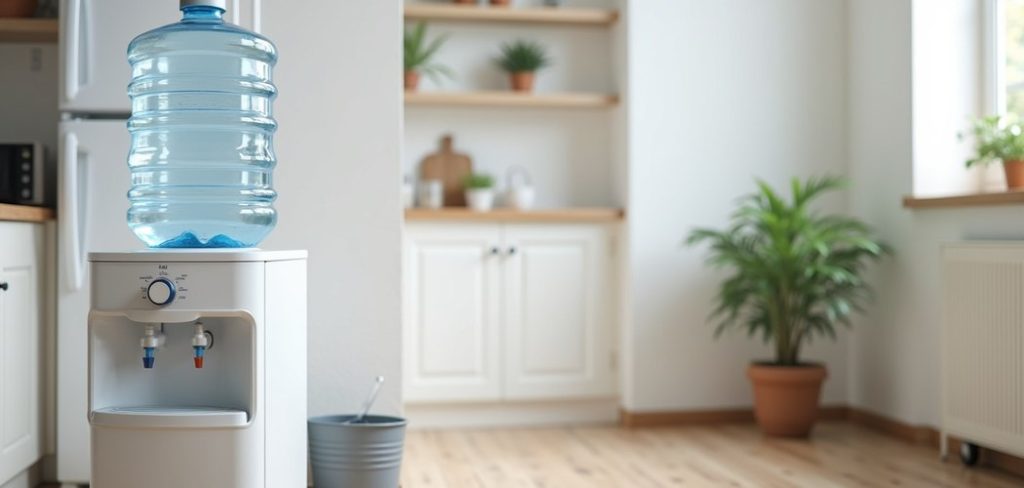
Your cooler pours out cold, clean-tasting water every single day. But when did you last clean the inside of it? If you’re like most people, the honest answer is probably never.
It sits in the corner, does its job, and slips your mind entirely.
The trouble is that the warm, damp space inside a dispenser happens to be exactly what bacteria, mold, and mineral scale love.Here’s the reassuring part.
Cleaning one out is far less of a chore than you’d think. A handful of things you already own, roughly half an hour, and you can sanitize the whole unit without help.
This guide on how to clean water cooler dispenser covers the why behind regular cleaning, the supplies to gather first, and seven steps that get the job done properly. Toward the end, I’ll flag a few mistakes people tend to repeat, plus the situations where calling a professional actually makes sense.
Understanding Why Cleaning Your Water Cooler Matters
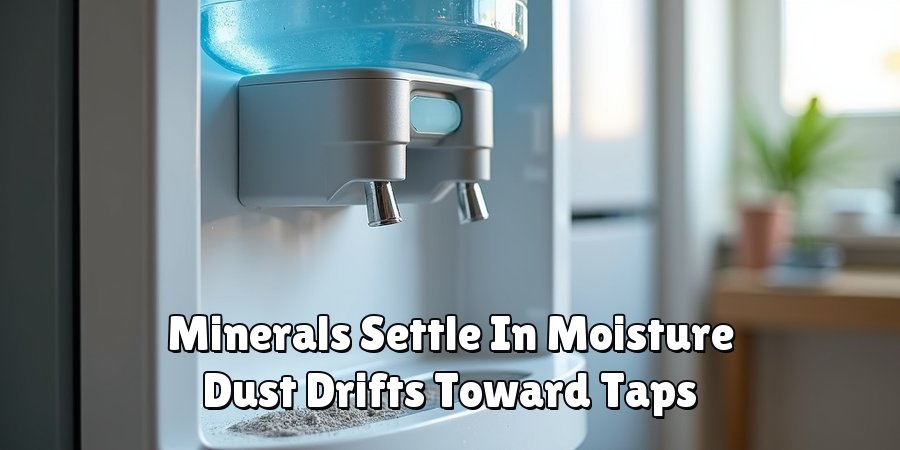
A dispenser handles water all day, so it also collects whatever that water brings along. Minerals settle. Dust drifts in. Microorganisms find the reservoir and the taps and quietly set up shop.
Even sealed bottled water carries trace amounts of bacteria, and those tiny populations may multiply fast once they’re sitting in a moist, room-temperature tank.
Ignore it long enough, and you could end up with slime, an off taste, and a genuine health concern for anyone filling a glass.
Cleaning regularly looks after two things at once: your health and the machine itself. Water tastes better coming out of a clean unit, and the cooler runs more smoothly because scale isn’t creeping into the internal parts.
Most manufacturers suggest a deep clean every four to six weeks, with a quick wipe of the drip tray and spouts somewhere in between.
Turn it into a habit and the cooler lasts longer—and you stop wondering what might be growing in there.
Materials Needed
- White vinegar or unscented household bleach
- Clean, warm water
- A measuring cup for accurate dilution
- A clean bucket or large container
- A soft-bristled bottle brush or long-handled brush
- A soft cloth or sponge
- Paper towels
- Clean towels for drying
- Rubber gloves to protect your hands
7 Simple Steps on How to Clean Water Cooler Dispenser
Step 1: Unplug the Cooler and Remove the Bottle
Safety first, always. Switch the unit off and pull the plug from the wall—water and live electrics are not a combination worth risking. Lift the empty bottle away and set it to one side. Still got water sloshing around in there? Drain it first so it’s easier to lift.
Step 2: Drain the Remaining Water
Slide a bucket under the taps and open both the cold and hot spouts to empty the reservoir.
Some models hide a small drain plug at the back; if yours has one, open it to let out anything left behind.
The tank needs to be genuinely empty here, because leftover water waters down your cleaning solution and weakens the whole effort.
Step 3: Mix Your Cleaning Solution
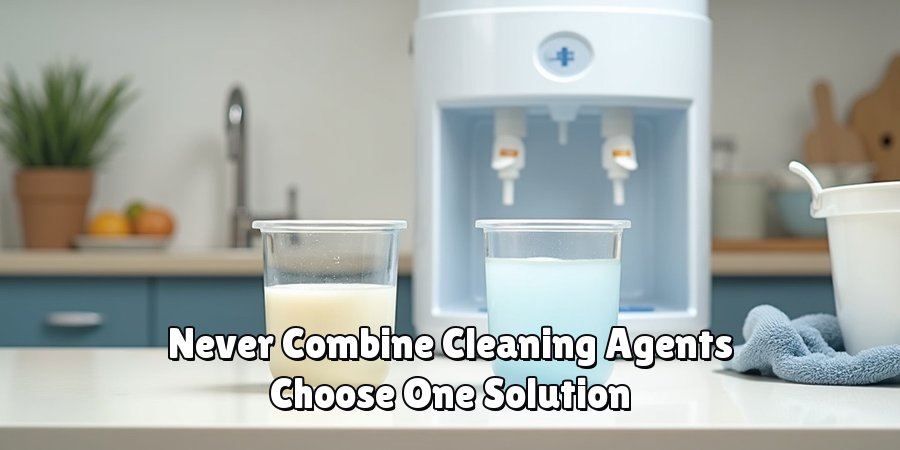
Prepare your mixture in the bucket. If you’re using vinegar, go with one part white vinegar to three parts warm water. For bleach, a tablespoon of unscented bleach per gallon of water does the trick.
Either option kills bacteria well. One rule that isn’t negotiable: never combine vinegar and bleach, because together they release toxic fumes.
Step 4: Clean the Reservoir
Pour your solution into the empty reservoir until it sits about two-thirds full.
Take the bottle brush to the inside walls, and don’t skip the corners or the baffle where the bottle usually rests—those spots collect the most residue.
Let everything soak for two to five minutes so the solution can loosen buildup and do its sanitizing work.
Step 5: Flush the Taps
Open both spouts and let the solution run through into the bucket. This clears out whatever bacteria or gunk might be lurking inside the tap mechanisms, which are easy to forget. If your taps come apart, take them off, soak the pieces, give them a gentle scrub, then put them back together.
Step 6: Rinse Thoroughly
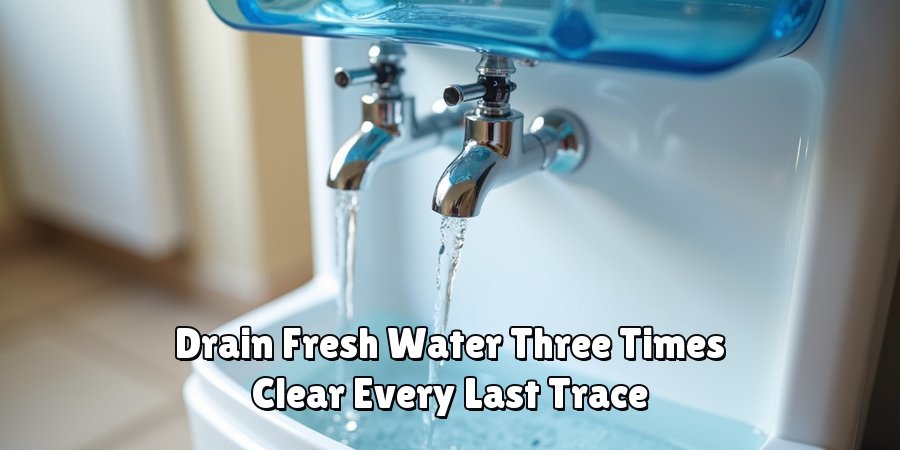
Fill the reservoir with fresh water and drain it out through the taps. Do this at least three times to clear every last trace of vinegar or bleach.
Any residue that lingers will taint the taste of your water, so this is not a step to hurry. Keep rinsing until you can’t detect any smell of your cleaning agent.
Step 7: Dry and Reassemble
Wipe the inside of the reservoir and the outside of the unit with a clean towel or a few paper towels. Leave it to air-dry for a couple of minutes with the taps open.
Reattach anything you took apart, set a fresh bottle on top, plug it back in, and pour a glass to check that the water tastes the way it should.
Work through these steps on how to clean water cooler dispenser in order. Set aside about 30 minutes, and pick a spot where a bit of spilled water won’t matter.
Common Mistakes to Avoid
The mistake I see most often is reaching for scented soap or a harsh chemical, which leaves both a residue and a lingering taste. Vinegar or unscented bleach, rinsed well, is all you need.
Close behind is skipping the drip tray and the spouts themselves—ironic, given those bits trap the most grime.
And to say it once more: bleach and vinegar never go in together, and the plug always comes out first.Then there’s the timing problem. People leave it too long.
Wait months between cleans, and biofilm and scale build up, which may make the eventual job harder and the water less pleasant to drink in the meantime.
A reminder set for every four to six weeks keeps the whole thing from becoming a big production. One last thing—resist the urge to put a still-damp unit back together while it’s wet with solution.
Trapped moisture and residue can undo the taste and hygiene you just worked for.
Do You Need to Use Professionals?
For most home coolers and the ones tucked into small offices, no. The process is simple enough; doing it yourself keeps costs down, and you get to decide when it happens rather than waiting on a technician. Follow the steps, rinse properly, and a DIY clean handles routine maintenance without any fuss.
There are exceptions, though. Large commercial units, coolers plumbed directly into a water line, or any machine giving off a stubborn odor or showing discoloration may call for expert hands.
Technicians can descale the internal components, swap out worn parts, and reach areas you simply can’t.
If your cooler serves a busy workplace or the same problem keeps resurfacing, booking an annual professional service tends to pay for itself.
Frequently Asked Questions
Q1: How Often Should I Clean My Water Cooler Dispenser?
Give it a full sanitizing wash every four to six weeks. In between, a weekly wipe of the taps and drip tray keeps buildup from getting a head start. Coolers in high-traffic spots may need it more often than that.
Q2: Can I Use Bleach to Clean a Water Cooler?
Yes. Unscented household bleach works well and stays safe when it’s diluted—one tablespoon per gallon of water is the ratio to remember. Just rinse the reservoir at least three times afterward, since any bleach left behind could affect both taste and safety.
Q3: Is Vinegar or Bleach Better for Cleaning a Water Cooler?
Both do the job. Vinegar is the gentler, more natural choice, and it’s good for routine upkeep and shifting mineral scale. Bleach brings stronger disinfection, which suits a cooler that’s gone a long stretch without attention. Whatever you pick, don’t ever combine the two—the fumes are genuinely dangerous.
Q4: Can I Use Both Vinegar and Bleach to Clean a Water Cooler?
It’s not recommended, as combining the two can produce toxic fumes. It’s best to stick with one cleaning agent (either vinegar or bleach) for safety reasons.
If you want to use both, make sure to thoroughly rinse the cooler in between using them to avoid any potential chemical reactions.
However, it’s important to note that using bleach should be done sparingly and only when necessary,y as it could affect the taste of the water.
Conclusion
Half an hour. That’s what stands between you and noticeably better-tasting, safer water. Unplug the unit, sanitize it with a plain vinegar or bleach solution, rinse until there’s nothing left of the smell, and you’ve cleared out the bacteria and buildup that ordinary daily use leaves behind. Small task, real payoff.
The trick is repetition. Every four to six weeks, same routine, and your cooler keeps rewarding you with cleaner water for years.
Put it in the calendar, line up your supplies, and give the dispenser the bit of care it’s owed. Your next glass should taste all the better for it.
Thanks for reading this guide on how to clean water cooler dispenser.

About
Ethan Wrenford is a dedicated home appliance specialist with years of hands-on experience in appliance troubleshooting, maintenance, repair, and DIY diagnostics. His professional focus lies in combining practical repair knowledge with simple, easy-to-follow solutions, helping homeowners understand common appliance problems and confidently identify potential causes at home. As an author at ApplianceWhy, Ethan shares practical knowledge on home appliance repair, DIY appliance diagnostics, maintenance, troubleshooting, appliance care, and everyday solutions for common household appliance issues.
Education
Portland Community College (Portland, USA)
Associate Degree in Appliance Technology & Residential Systems
- Focused on residential appliance systems, electrical fundamentals, mechanical components, and appliance troubleshooting.
- Developed practical skills in appliance diagnostics, component testing, electrical safety, and repair procedures.
- Gained hands-on experience working with refrigerators, washing machines, dryers, dishwashers, ovens, ranges, and other household appliances.
Oregon Institute of Technology (Klamath Falls, USA)
Bachelor’s in Applied Electronics & Technology
- Specialized in electrical systems, electronic controls, sensors, motors, and residential equipment.
- Studied diagnostic techniques for identifying electrical, mechanical, and component-related appliance problems.
- Completed practical projects involving appliance control systems, troubleshooting methods, preventive maintenance, and repair fundamentals.
Publications and Impact
Through ApplianceWhy, Ethan shares practical insights into home appliance repair, DIY diagnostics, maintenance, troubleshooting, and appliance care. His writing focuses on turning confusing appliance problems into simple, understandable steps that homeowners can follow safely.
Ethan covers everything from diagnosing a refrigerator that is not cooling and a washing machine that will not drain to troubleshooting dryers, dishwashers, ovens, microwaves, and other common household appliances. His content helps readers understand appliance symptoms, identify possible causes, perform basic diagnostic checks, and determine when professional repair may be necessary.
Through his work, Ethan aims to bridge the gap between professional appliance repair knowledge and everyday homeowners—making appliance troubleshooting more approachable, practical, and accessible to everyone who wants to diagnose smarter, maintain better, and keep their appliances running longer.