

A funky smell drifting from your laundry room is rarely a good sign, and more often than not, the drum inside your top loader is to blame.
Every wash leaves behind a little detergent, fabric softener, lint, and mineral deposits, and over time that residue builds into a grimy film that traps odors and even stains your clean clothes.
The frustrating part is that many people never think to clean the very machine that cleans everything else.
Knowing how to clean washing machine drum top loading style is a simple skill that keeps your laundry fresh and your appliance running smoothly.
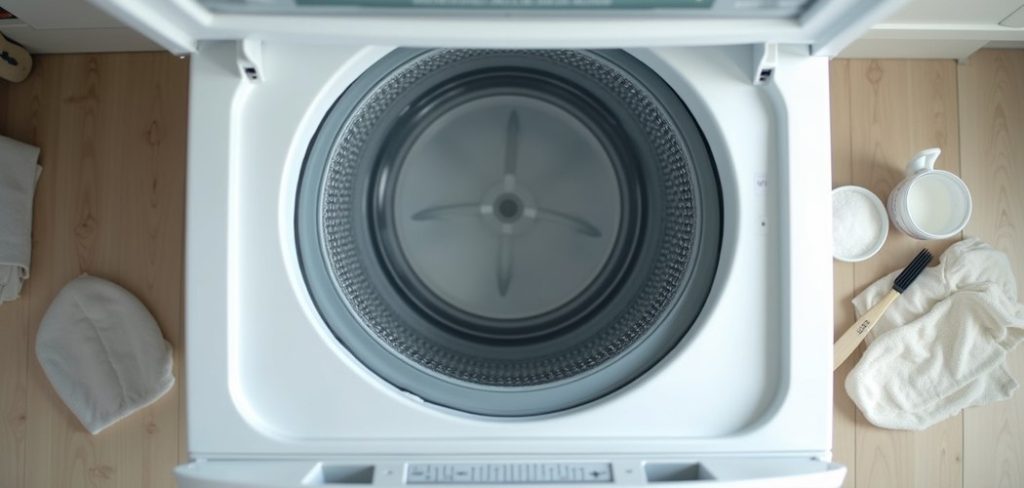
The best news is that this task is genuinely beginner-friendly, and you already have most of what you need at home. You do not need special tools, harsh chemicals, or a repair technician to get great results.
With a bit of vinegar, some baking soda, and half an hour of your time, you can wipe out buildup and banish odors for good.
In this guide, we will explain why this matters, walk through seven clear steps, and answer the questions people ask most.
Why Cleaning Your Washing Machine Drum Top Loading Matters
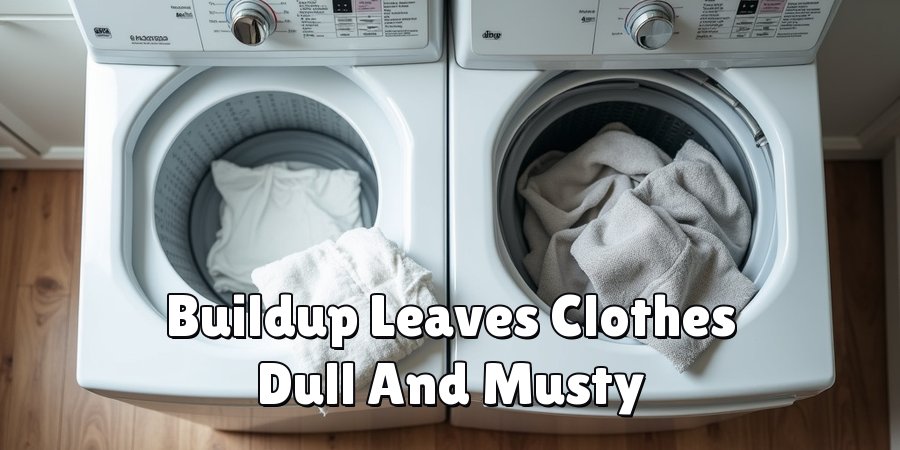
A dirty drum does more than smell bad. That hidden buildup of soap scum, bacteria, and mineral deposits transfers straight onto your clothes, leaving them dull, stiff, or faintly musty no matter how much detergent you use. Regular cleaning protects your fabrics, keeps whites bright, and stops mildew from taking hold in damp corners.
There are practical perks too. A clean drum lets your machine run more efficiently, so cycles rinse better and your clothes come out truly fresh.
Removing hard-water scale also eases strain on internal parts, which helps your appliance last longer and saves you from early repairs. Best of all, this small habit costs almost nothing and takes just minutes.
A little upkeep now means fewer headaches, lower bills, and reliably clean laundry for years to come.
Step-By-Step Guide To How To Clean Washing Machine Drum Top Loading
Step 1: Gather Your Simple Supplies
Before you start, set yourself up for success by collecting a few basic items you likely already own. You will want white vinegar, baking soda, a clean microfiber cloth, an old toothbrush, and a spray bottle if you have one. These gentle, affordable ingredients cut through grime without the harsh fumes of commercial cleaners.
Skip the bleach unless your manufacturer specifically recommends it, since vinegar and baking soda handle most buildup beautifully on their own.
Having everything within reach means you can work through the process smoothly without pausing halfway.
Lay a towel nearby to catch drips, and you are ready to give your machine the refresh it has been waiting for.
Step 2: Wipe Down The Drum Interior
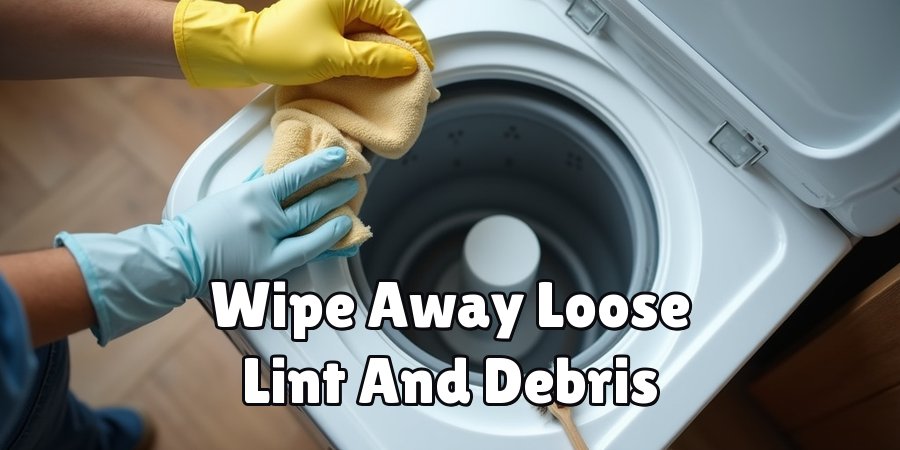
Start by giving the inside of the drum a quick manual wipe to lift away loose lint, hair, and debris.
Dampen your microfiber cloth with warm water and run it around the entire surface, paying attention to the bottom where residue tends to settle.
This first pass clears the way so your deeper clean actually reaches the stuck-on grime.
Do not forget the small crevices and the underside of the agitator, where gunk loves to hide. Your old toothbrush works wonders here, gently scrubbing into tight spots the cloth cannot reach. Take your time and you will already notice the drum looking brighter before the real cleaning cycle even begins.
Step 3: Run A Hot Vinegar Cycle
Now for the powerhouse step. Fill your empty drum with the hottest water setting available, then add four cups of white vinegar directly into the water.
Let the machine agitate for about a minute to mix everything, then pause the cycle and let it sit for an hour.
This soak loosens soap scum, dissolves mineral deposits, and neutralizes odors trapped deep inside.
Vinegar is mildly acidic, which makes it perfect for breaking down stubborn buildup without damaging your machine. After the hour is up, resume the cycle and let it drain and rinse fully. You will be amazed at how much residue lifts away with this single, gentle treatment.
Step 4: Add Baking Soda For A Deodorizing Boost
Once the vinegar cycle finishes, follow up with baking soda to tackle any lingering smells and scrub away remaining film.
Sprinkle about one cup of baking soda directly into the drum, then run another hot water cycle, this time on a shorter setting.
The baking soda reacts with any leftover residue and works as a natural deodorizer.
This one-two combination of vinegar and baking soda is a classic for good reason, since together they cover both acidic and alkaline grime. Let the cycle complete fully so everything rinses clean. When it ends, your drum should smell fresh and neutral, with that musty odor gone for good.
Step 5: Scrub The Agitator And Detergent Areas
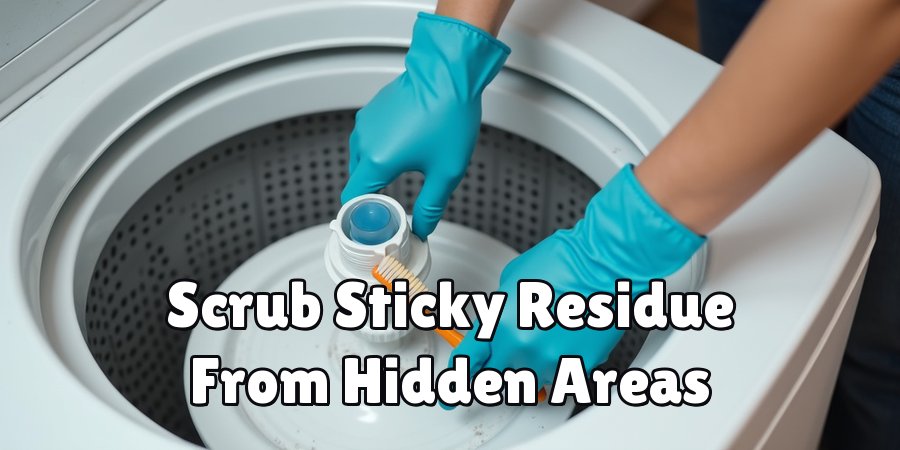
With the heavy cleaning done, turn your attention to the parts that trap the most gunk. The agitator in the center, the detergent dispenser, and the fabric softener well all collect sticky residue that cycles alone cannot always remove. Mix a little vinegar with warm water, dip your toothbrush, and scrub these areas thoroughly.
Pull out removable dispensers if your model allows it, and soak them in warm vinegar water for a few minutes to loosen crusted buildup. Wipe every surface clean, then rinse well before sliding parts back into place. This detailed attention keeps future loads free from the sneaky residue that causes spots and odors.
Step 6: Clean The Lid, Rim, And Seals
Grime does not stay confined to the drum, so give the surrounding areas some love too.
The underside of the lid, the top rim, and any rubber seals or gaskets tend to harbor mold, mildew, and splashed detergent.
Spray them with your vinegar solution and wipe carefully with your cloth, working the toothbrush into folds and grooves.
Pay special attention to the seal edges, since trapped moisture there breeds mildew and unpleasant smells. Dry these spots thoroughly when you finish, because standing water invites new growth. A quick wipe of these often-forgotten zones completes the refresh and keeps your whole machine looking and smelling clean from top to bottom.
Step 7: Rinse, Dry And Prevent Future Buildup
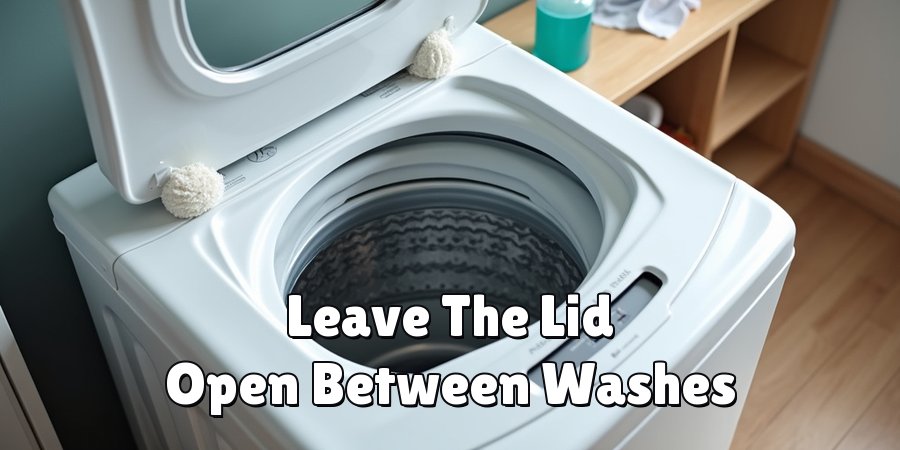
Finish strong by running one final rinse cycle with plain hot water to flush out any remaining vinegar or baking soda. Once it drains, wipe the drum dry with a fresh cloth and leave the lid open for a few hours so air can circulate and moisture evaporates completely.
To keep things fresh going forward, make a habit of leaving the lid ajar between washes and wiping the drum monthly.
Running a maintenance cycle with vinegar every four to six weeks stops buildup before it starts.
These small preventive steps mean you will rarely face heavy grime again, and your laundry will stay reliably clean and odor-free.
Frequently Asked Questions
How Often Should I Clean My Washing Machine Drum?
For most households, a deep clean once a month keeps odors and buildup at bay.
If you wash frequently, use lots of fabric softener, or live in a hard-water area, aim for every two to three weeks instead.
Between deep cleans, wiping the drum and leaving the lid open helps enormously. Regular attention prevents grime from becoming a big, stubborn problem down the road.
Can I Use Bleach Instead Of Vinegar?
You can, but proceed carefully and only if your manufacturer approves it. Bleach kills bacteria and mold effectively, yet it produces strong fumes and can damage rubber seals over time.
Never mix bleach with vinegar, since the combination creates harmful gases. For everyday cleaning, vinegar and baking soda are safer, gentler, and highly effective, which is why most people prefer them for routine maintenance.
Why Does My Drum Still Smell After Cleaning?
Lingering odors usually mean moisture is trapped somewhere, often in the seals, dispenser, or beneath the agitator. Double-check these spots and dry them thoroughly, since damp corners breed mildew fast.
Leaving the lid open between washes makes a huge difference too. If the smell persists, run a second vinegar cycle and inspect the drain filter, which can hold hidden debris that causes stubborn odors.
Will This Method Damage My Washing Machine?
Not at all when done correctly. Vinegar and baking soda are gentle, natural cleaners that most machines handle without any issue.
The key is using them in reasonable amounts and always finishing with a plain rinse cycle. Avoid overusing acidic solutions weekly, as that could wear seals over time.
Used monthly as described, this routine cleans safely and even helps your appliance last longer.
Do I Need Special Products To Get Good Results?
Happily, no. The vinegar and baking soda already in your kitchen do a fantastic job for a fraction of the cost of commercial cleaners.
Store-bought washer tablets work too if you prefer convenience, but they are rarely necessary. Focus on consistency rather than fancy products.
A simple, regular routine with basic household ingredients delivers a fresh, clean drum every single time.
Conclusion
Keeping your top loader fresh is far easier than it might seem, and this routine proves you do not need expensive products or professional help to get spotless results.
By gathering simple supplies, wiping the interior, running a vinegar soak, boosting with baking soda, scrubbing the agitator and dispensers, cleaning the lid and seals, and finishing with a good rinse, you clear out hidden grime and banish stubborn odors.
Each step builds naturally on the last, so even a total beginner can work through them with confidence.
Now that you understand how to clean washing machine drum top loading models from start to finish, the smartest next move is to set aside half an hour this week and give it a try.
Grab your vinegar and baking soda, follow these steps in order, and remember that leaving the lid open and repeating the process monthly keeps buildup from returning.
You will be rewarded with fresher laundry, a longer-lasting machine, and the quiet satisfaction of a job well done. Trust the process, stay consistent, and enjoy clean, sweet-smelling clothes load after load.

About
Ethan Wrenford is a dedicated home appliance specialist with years of hands-on experience in appliance troubleshooting, maintenance, repair, and DIY diagnostics. His professional focus lies in combining practical repair knowledge with simple, easy-to-follow solutions, helping homeowners understand common appliance problems and confidently identify potential causes at home. As an author at ApplianceWhy, Ethan shares practical knowledge on home appliance repair, DIY appliance diagnostics, maintenance, troubleshooting, appliance care, and everyday solutions for common household appliance issues.
Education
Portland Community College (Portland, USA)
Associate Degree in Appliance Technology & Residential Systems
- Focused on residential appliance systems, electrical fundamentals, mechanical components, and appliance troubleshooting.
- Developed practical skills in appliance diagnostics, component testing, electrical safety, and repair procedures.
- Gained hands-on experience working with refrigerators, washing machines, dryers, dishwashers, ovens, ranges, and other household appliances.
Oregon Institute of Technology (Klamath Falls, USA)
Bachelor’s in Applied Electronics & Technology
- Specialized in electrical systems, electronic controls, sensors, motors, and residential equipment.
- Studied diagnostic techniques for identifying electrical, mechanical, and component-related appliance problems.
- Completed practical projects involving appliance control systems, troubleshooting methods, preventive maintenance, and repair fundamentals.
Publications and Impact
Through ApplianceWhy, Ethan shares practical insights into home appliance repair, DIY diagnostics, maintenance, troubleshooting, and appliance care. His writing focuses on turning confusing appliance problems into simple, understandable steps that homeowners can follow safely.
Ethan covers everything from diagnosing a refrigerator that is not cooling and a washing machine that will not drain to troubleshooting dryers, dishwashers, ovens, microwaves, and other common household appliances. His content helps readers understand appliance symptoms, identify possible causes, perform basic diagnostic checks, and determine when professional repair may be necessary.
Through his work, Ethan aims to bridge the gap between professional appliance repair knowledge and everyday homeowners—making appliance troubleshooting more approachable, practical, and accessible to everyone who wants to diagnose smarter, maintain better, and keep their appliances running longer.