

To clean a refrigerator water line, turn off the water supply, disconnect the line, flush out residual water, run a distilled white vinegar solution through it, flush with clean water, wipe down the dispenser nozzle, and replace the water filter. The whole process takes under an hour and costs less than $5.
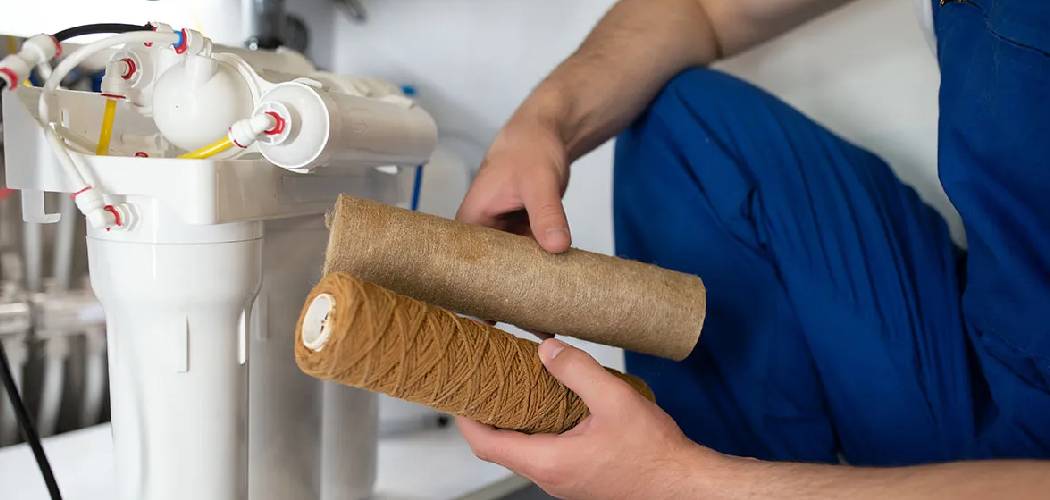
A clogged or dirty refrigerator water line is one of those household problems that sneaks up on you. One day the water tastes fine. The next, there’s a faint metallic or musty undertone that makes you second-guess every glass you pour. If your refrigerator dispenses water or produces ice, its water line is working constantly in the background—and like any hard-working component, it eventually needs attention.
Many homeowners either skip this task entirely or aren’t sure where to begin. The good news: it’s not complicated. Armed with a bottle of white vinegar, a bucket, and about an hour, you can get the job done without calling a technician. This guide on how to clean the water line on a refrigerator walks you through every step of the process—from gathering the right tools to avoiding the most common mistakes—so you can restore fresh-tasting water and keep your appliance running smoothly.
What Is a Refrigerator Water Line and Why Does It Get Dirty?
The water line is a small tube—usually plastic or copper—that connects your refrigerator to your home’s water supply. Every time you press the dispenser lever or the ice maker cycles, water moves through this tube. It’s a system that works quietly and reliably, right up until it doesn’t.
Over time, mineral deposits accumulate inside the line, particularly in areas with hard water. Mold and mildew can take hold too, especially near the dispenser nozzle where moisture tends to linger. Bacteria may build up as well. Left unchecked, these buildups don’t just alter taste—they restrict water flow, slow ice production, and can eventually cause blockages that require more costly fixes.
Most appliance experts suggest cleaning the water line every six to twelve months. If you use your dispenser frequently or your tap water is particularly mineral-heavy, leaning toward the six-month end of that range makes sense.
What Tools and Materials Do You Need to Clean a Refrigerator Water Line?
Before you start, gather everything upfront. Stopping midway to hunt for supplies is annoying at best and messy at worst.
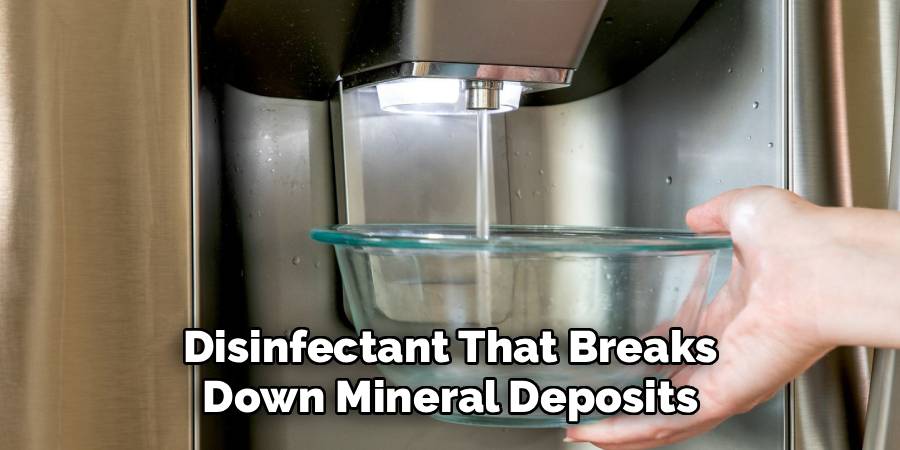
- Distilled White Vinegar — A natural descaler and disinfectant that breaks down mineral deposits and kills bacteria without leaving chemical residue behind.
- A Small Funnel — Directs the vinegar into the water line without spilling. A basic kitchen funnel works perfectly.
- Bucket or Large Bowl — Needed to catch water and vinegar as it flushes through. Any standard kitchen bucket will do.
- Soft Cloth or Sponge — For wiping down the dispenser nozzle and surrounding panel after cleaning.
- Screwdriver — Some refrigerator models require one to access the water line connection at the back of the unit.
- Replacement Water Filter (Optional but Recommended) — If you haven’t swapped yours out recently, this is a good moment. A fresh filter paired with a clean water line makes a noticeable difference in water quality.
How to Clean the Water Line on a Refrigerator in 7 Steps
Step 1: Turn Off the Water Supply
Find the shut-off valve behind your refrigerator or under the sink. Turn it clockwise until it stops. This cuts off water flow to the line, which prevents any accidental leaks while you work. Don’t skip this step—even a small trickle can turn into a slippery mess fast.
Step 2: Disconnect the Water Line
Carefully pull the refrigerator away from the wall to reach the back panel. Disconnect the water line from the inlet valve—you may need your screwdriver here depending on the model. Position your bucket beneath the connection point before you fully detach the line. Residual water will drip out, and it’s easier to plan for that than to mop it up afterward.
Step 3: Flush Out Any Residual Water
Hold the disconnected end of the water line over your bucket, then press the dispenser lever to release whatever water is still sitting inside. This clears the path for the vinegar solution to reach every part of the line. Skipping this step means the solution gets diluted before it can do its job.
Step 4: Prepare and Apply the Vinegar Solution
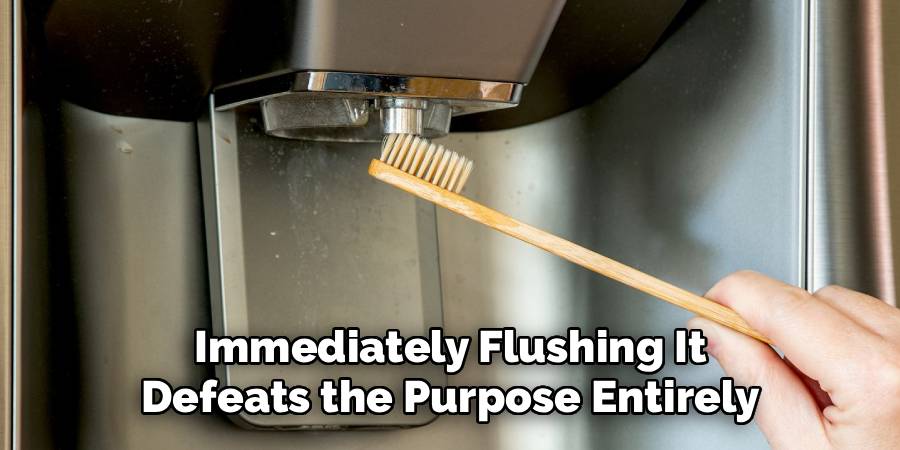
Mix equal parts distilled white vinegar and warm water in a small container. Using your funnel, slowly pour the solution into the open end of the water line. Then wait—at least 10 to 15 minutes. This is the step most people rush, and it’s the one that matters most. The vinegar needs sustained contact time to break down mineral scale and neutralize bacteria. Pouring it through and immediately flushing it defeats the purpose entirely.
Step 5: Flush the Water Line With Clean Water
Reconnect the water line to the inlet valve and turn the water supply back on. Dispense several cups of water into your bucket to push the vinegar solution out completely. Keep going until you can no longer detect any vinegar taste or smell in the dispensed water—this typically takes three to five full glasses, though it can vary depending on the length of your water line.
Step 6: Clean the Dispenser Nozzle and Surrounding Area
While the line is flushing, dampen a soft cloth or sponge with white vinegar and wipe down the dispenser nozzle and the panel around it. Mold and mildew tend to collect in this area, particularly in humid climates. For the narrow gaps around the dispenser tip, a cotton swab gives you the precision you need.
Step 7: Replace the Water Filter and Run a Final Flush
If your refrigerator uses a replaceable water filter, swap it out now. Once the new filter is seated, dispense another two to three cups of water to flush out any carbon residue—this is normal with new filters and clears quickly. By the end, your water should taste noticeably cleaner and flow at its normal rate.
Following these steps on how to clean the water line on a refrigerator will ensure that your water is fresh and safe to drink.

What Are the Most Common Mistakes When Cleaning a Refrigerator Water Line?
Rushing the soaking step is the mistake that undermines the whole process. Vinegar needs time to work on mineral buildup; if you pour it through and immediately start flushing, you’re essentially just rinsing the line with an expensive bottle of salad dressing.
The other frequent misstep is not flushing thoroughly after cleaning. Residual vinegar left in the line makes your water taste sour. Run enough water through until the taste is completely neutral—don’t declare the job done early just because it smells mostly fine.
A third oversight worth mentioning: forgetting to wipe down the dispenser nozzle. The water line may be clean, but a moldy nozzle will reintroduce contaminants the moment water passes through it.
Do You Need to Hire a Professional to Clean a Refrigerator Water Line?
For most people, this is a manageable DIY task. No special skills are required, the materials cost next to nothing, and the process takes under an hour from start to finish.
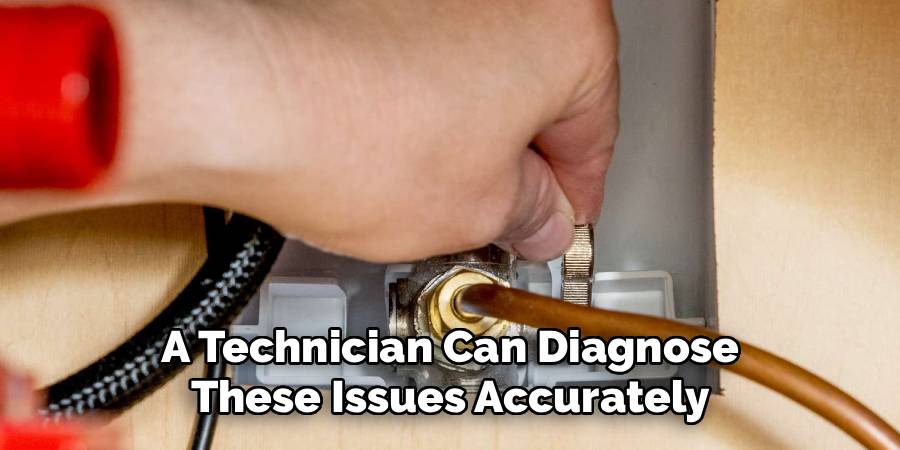
There are cases, though, where calling a licensed appliance technician may be the smarter call. If water flow remains weak even after multiple cleanings, the issue may be a failing inlet valve, a kinked line, or a more serious internal blockage. Similarly, if the water line itself shows signs of cracking or corrosion, replacement is safer than repeated cleaning. A technician can diagnose these issues accurately and prevent a minor problem from becoming a major one.
How Much Does It Cost to Clean a Refrigerator Water Line?
DIY costs: Typically under $5. A bottle of distilled white vinegar runs about $2 to $4, and most households already have the other supplies. A replacement water filter, if needed, costs between $15 and $50 depending on the refrigerator brand and model.
Professional service costs: A standard water line cleaning or inspection generally runs $75 to $150, depending on location and the technician’s rates. If a water line replacement is necessary, expect $150 to $300 for parts and labor combined. Regular DIY maintenance is the most cost-effective way to avoid reaching that point.
Frequently Asked Questions
How Often Should I Clean My Refrigerator Water LINE?
Most appliance manufacturers recommend every six to twelve months. If you use your dispenser heavily, live in a hard water area, or notice any change in water taste or flow rate, aim for the six-month end of that range.
Can I Use Bleach Instead of Vinegar to Clean the Water LINE?
This is not recommended. Bleach is difficult to flush out completely and may leave residue that is unsafe to consume. Distilled white vinegar is a food-grade alternative that effectively removes mineral deposits and bacteria without posing a health risk.
Why Does My Refrigerator Water Still Taste Bad After Cleaning?
The most likely culprit is an old or expired water filter. Replace the filter and run several glasses of water to flush out any residue. If the taste problem persists, there may be an issue with your home’s water supply or a deeper problem within the refrigerator’s internal components.
How Long Does It Take to Clean a Refrigerator Water LINE?
The process typically takes 30 to 60 minutes from start to finish, including the 10-to-15-minute vinegar soak. It requires no special skills and only basic household tools.
Is Distilled White Vinegar Safe for Refrigerator Water Lines?
Yes. Distilled white vinegar is commonly recommended by appliance experts precisely because it’s effective against mineral buildup and bacteria while being safe for food-contact surfaces. Just make sure to flush the line thoroughly afterward so no vinegar taste remains in your water.
Keep Your Water Clean and Your Refrigerator Running Well
Cleaning your refrigerator water line is one of the simplest maintenance tasks you can do—and one of the most overlooked. A small investment of time every six to twelve months can make a real difference in water quality and help extend the life of your appliance.
Follow the seven steps in this guide on how to clean the water line on a refrigerator, resist the urge to rush the vinegar soak, and flush thoroughly at the end. Keep your tools in one place so the next round is even easier. Your refrigerator will reliably reward you with fresh, clean water every time.

About
Ethan Wrenford is a dedicated home appliance specialist with years of hands-on experience in appliance troubleshooting, maintenance, repair, and DIY diagnostics. His professional focus lies in combining practical repair knowledge with simple, easy-to-follow solutions, helping homeowners understand common appliance problems and confidently identify potential causes at home. As an author at ApplianceWhy, Ethan shares practical knowledge on home appliance repair, DIY appliance diagnostics, maintenance, troubleshooting, appliance care, and everyday solutions for common household appliance issues.
Education
Portland Community College (Portland, USA)
Associate Degree in Appliance Technology & Residential Systems
- Focused on residential appliance systems, electrical fundamentals, mechanical components, and appliance troubleshooting.
- Developed practical skills in appliance diagnostics, component testing, electrical safety, and repair procedures.
- Gained hands-on experience working with refrigerators, washing machines, dryers, dishwashers, ovens, ranges, and other household appliances.
Oregon Institute of Technology (Klamath Falls, USA)
Bachelor’s in Applied Electronics & Technology
- Specialized in electrical systems, electronic controls, sensors, motors, and residential equipment.
- Studied diagnostic techniques for identifying electrical, mechanical, and component-related appliance problems.
- Completed practical projects involving appliance control systems, troubleshooting methods, preventive maintenance, and repair fundamentals.
Publications and Impact
Through ApplianceWhy, Ethan shares practical insights into home appliance repair, DIY diagnostics, maintenance, troubleshooting, and appliance care. His writing focuses on turning confusing appliance problems into simple, understandable steps that homeowners can follow safely.
Ethan covers everything from diagnosing a refrigerator that is not cooling and a washing machine that will not drain to troubleshooting dryers, dishwashers, ovens, microwaves, and other common household appliances. His content helps readers understand appliance symptoms, identify possible causes, perform basic diagnostic checks, and determine when professional repair may be necessary.
Through his work, Ethan aims to bridge the gap between professional appliance repair knowledge and everyday homeowners—making appliance troubleshooting more approachable, practical, and accessible to everyone who wants to diagnose smarter, maintain better, and keep their appliances running longer.
1 thought on “How to Clean the Water Line on a Refrigerator”