

That built-in water dispenser might be the most quietly useful thing your fridge does. Push a glass against the lever, and out comes cold, filtered water. No pitcher to refill, no bottles piling up in the recycling.
Yet the same setup that keeps your water tasting clean can slowly turn into something less appealing. Mold, mildew, and bacteria find damp, dark places irresistible, and the inside of a dispenser fits that description almost perfectly.
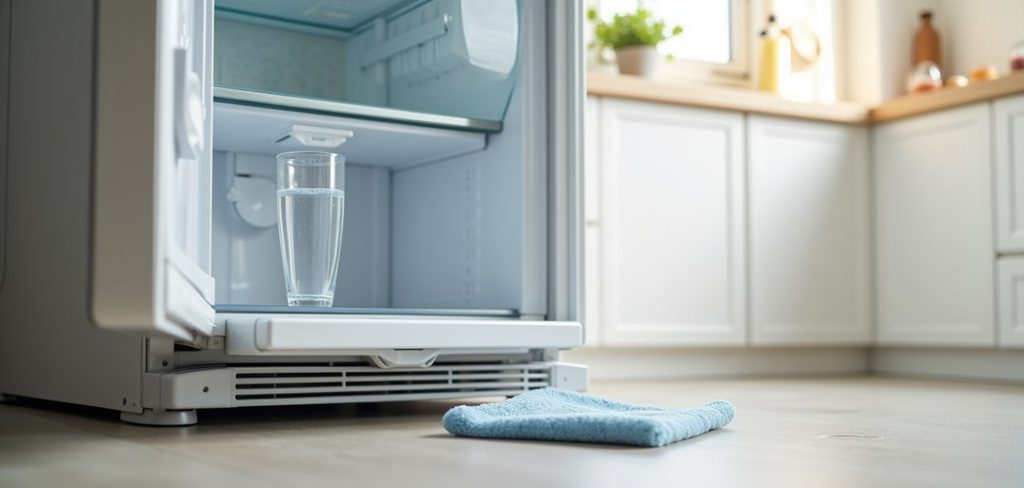
Here’s what tends to happen. People wipe down the shelves, empty the crisper drawers, maybe scrub a spill or two. The nozzle and the water lines behind it? Largely ignored. Months pass.
Then one day the water carries a faint musty smell, or a bit of slime shows up around the spout, and you start to wonder what exactly you’ve been drinking.
The fix is less involved than you’d guess. This guide on how to clean the water dispenser on a refrigerator walks through cleaning your fridge water dispenser one step at a time.
You’ll see which tools to grab, where people usually go wrong, and when a problem is worth handing off to a professional. Let’s get your water back to tasting the way it should.
Understanding Your Refrigerator’s Water Dispenser
It helps to know what you’re actually dealing with before you start scrubbing.
Your dispenser draws water from the home’s supply line, sends it through a filter, then out a small nozzle on the front of the door.
Many models route that same line to an ice maker, so the filter and plumbing often do double duty.
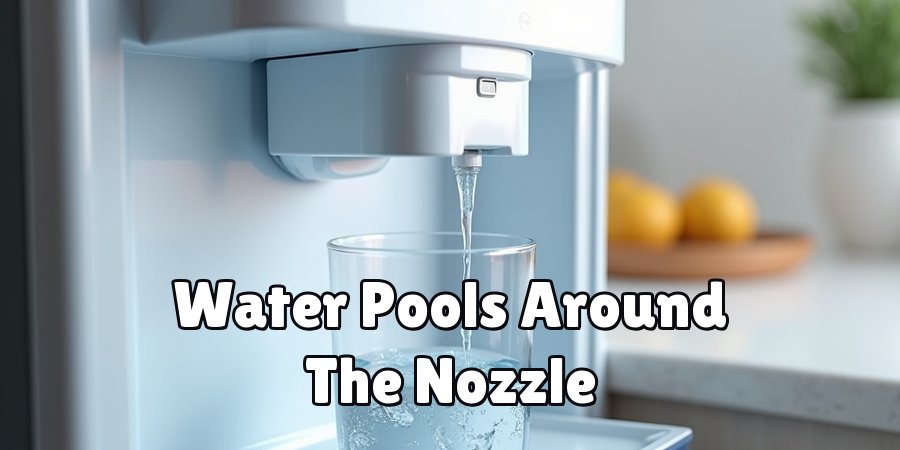
The trouble comes from what happens between uses. Water lingers inside those lines and pools around the nozzle. Dark, moist, undisturbed for hours at a stretch—mold could hardly ask for better conditions.
Hard water makes it worse, leaving mineral scale that gives bacteria something to cling to. Once you picture the whole path your drinking water travels, the point of cleaning becomes obvious. You’re not just tidying a surface.
You’re clearing out the route the water takes before it ever reaches your glass.
Tools and Materials Needed
Pulling everything together first saves you from hunting around mid-job with wet hands. Here’s the short list.
White Vinegar
Plain distilled white vinegar does most of the heavy lifting. It’s food-safe, dissolves mineral deposits, and knocks out most common household bacteria—no need for anything harsher.
Warm Water
Warm water helps in two ways. It dilutes your vinegar solution and flushes the leftover residue out of the lines once you’re done.
Small Cleaning Brushes
A bottle brush, a retired toothbrush, or a few pipe cleaners will reach the nozzle and the narrow spots no cloth can manage.
Microfiber Cloths
Soft microfiber wipes surfaces clean without scratching, and it lifts residue far better than a paper towel tends to.
A Measuring Cup and Funnel
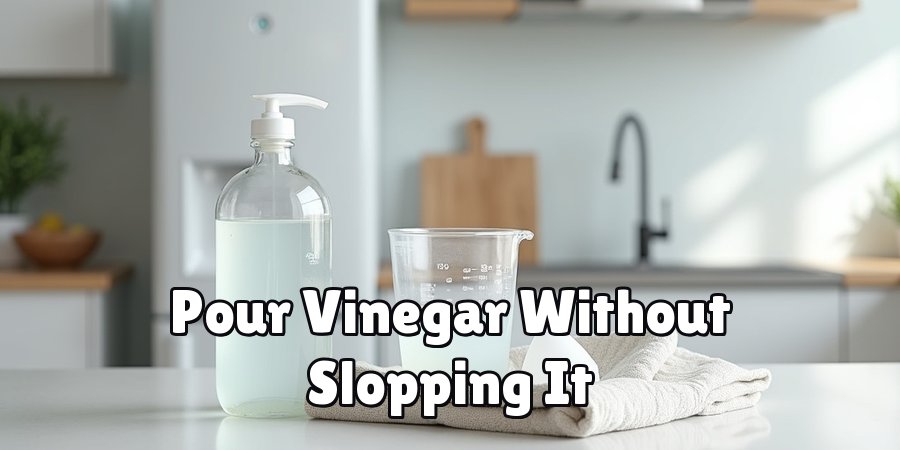
These let you pour vinegar into the reservoir without slopping it everywhere.
A Bucket or Large Bowl
Keep one within arm’s reach to catch water while you flush the system.
8 Simple Steps on How to Clean the Water Dispenser on a Refrigerator
Work through these in order. Start to finish, you’re looking at roughly 30 to 45 minutes, some of which is just waiting.
Step 1: Unplug the Refrigerator
Start with safety. Unplug the fridge, or flip the right breaker, before you touch anything. You’ll be working around water and a mechanism that runs on electricity, so this one isn’t optional.
Step 2: Turn Off the Water Supply
Find the water supply valve. It usually sits behind the refrigerator or under a nearby sink. Shut it off so fresh water can’t sneak into the lines while you clean.
Step 3: Empty and Locate the Water Reservoir
Press the dispenser until the water stops flowing. Then track down the reservoir, or tank—it tends to hide inside the fridge behind a panel or somewhere near the base. If you’re guessing, the owner’s manual will save you some frustration.
Step 4: Prepare a Vinegar Solution
Mix white vinegar and warm water in equal parts. Three to four cups of vinegar covers most refrigerators. This mix sanitizes the reservoir and loosens the mineral scale that’s built up inside.
Step 5: Flush the Water Lines
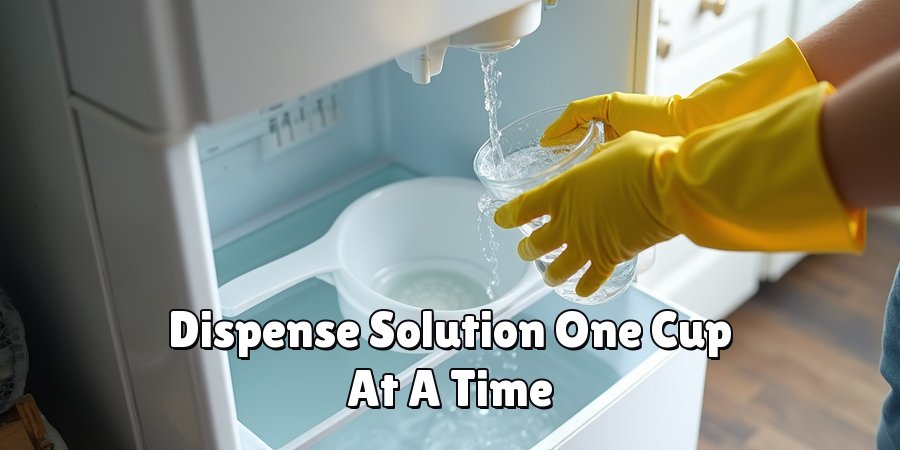
Pour the solution into the reservoir using your funnel. Then dispense it through the nozzle a cup at a time, keeping at it until the vinegar has run through the whole line. Give it around five minutes to sit and go to work on the grime.
Step 6: Scrub the Dispenser Nozzle
While the vinegar does its thing inside, dip a small brush into the solution and go after the nozzle and the area around it. Mold likes to tuck itself into the crevices, so don’t hurry past them. Finish by wiping the drip tray and the surrounding surfaces with a microfiber cloth.
Step 7: Rinse Thoroughly with Clean Water
Turn the water supply back on. Run several cups of fresh water through the system, and keep going until every trace of vinegar smell and taste is gone. Skimp here and you’ll regret it—residual vinegar leaves the water tasting sour.
Step 8: Reassemble and Restore Power
Put back any panels you removed, wipe down the outside, plug the fridge in, and switch everything on. Pour one last glass to confirm the water tastes clean before you call it done.
Following these steps on how to clean the water dispenser on a refrigerator will ensure that you have safe and refreshing drinking water at all times.
Common Mistakes to Avoid
The mistake that trips up most people is rushing the rinse. Vinegar cleans beautifully, but leave it in the lines, and your next few glasses will have a sharp, tangy edge that’s hard to ignore. Run the water until it comes out clear and odorless, however long that takes.
Forgetting the filter is another one. If your filter is old or past due, cleaning the lines only gets you halfway—the taste and smell can linger because the problem was never really the lines. Check the replacement schedule while you have the fridge apart anyway.
Then there’s the temptation to reach for bleach or some heavy-duty chemical cleaner. Skip it. Those products aren’t made for surfaces that touch drinking water, and rinsing them out fully is harder than it sounds.
Food-safe options like vinegar exist for exactly this reason. And a last warning: don’t skip the power and water shut-off steps to save a few minutes.
That shortcut invites spills, electrical trouble, or damage to the dispenser itself.
Do You Need to Use Professionals?
For a routine clean, almost never.
Flushing the lines with vinegar and scrubbing the nozzle sits well within what most homeowners can handle, and doing it every three to six months keeps the system in decent shape.
As long as the dispenser works the way it should, cleaning it yourself is the cheaper and perfectly sensible route.
There are exceptions, though. Persistent leaks, weak water pressure, odd noises, or buildup you genuinely can’t get to—those may point to something inside that a technician should look at.
It’s worth thinking about professional help if the fridge is still under warranty too, since a DIY repair could void the coverage.
When a basic clean doesn’t clear up a problem that won’t quit, calling in someone qualified beats gambling with an expensive appliance.

Frequently Asked Questions
How Often Should I Clean My Refrigerator Water Dispenser?
Every three to six months is a reasonable target for cleaning the dispenser and flushing the lines. If you have hard water, a busy household, or you notice the taste or smell shifting, clean it more often to stay ahead of the buildup.
Can I Use Bleach Instead of Vinegar?
Better not to. Bleach is tough to rinse out completely and isn’t suited to surfaces that touch drinking water. White vinegar makes a safer, food-friendly substitute that cleans and sanitizes without the same downsides.
Why Does My Water Still Taste Bad After Cleaning?
When the taste sticks around after a thorough clean, an old water filter is usually the reason. Swap it according to your manufacturer’s schedule—often every six months—and run a few cups through before you drink.
Conclusion
Cleaning your refrigerator’s water dispenser won’t demand much, and it pays off more than you might expect. A little vinegar, a couple of brushes, and half an hour or so, and you’ve cleared out hidden mold, dissolved the mineral scale, and gone back to water that tastes the way it’s supposed to.
Fold this quick clean into your routine every few months, and line it up with timely filter changes for the best results. The fridge puts in the effort to hand you cold, crisp water day after day.
A small bit of upkeep in return seems fair enough—and your taste buds, along with your family’s health, will notice the difference. Thanks for reading this guide on how to clean the water dispenser on a refrigerator.

About
Ethan Wrenford is a dedicated home appliance specialist with years of hands-on experience in appliance troubleshooting, maintenance, repair, and DIY diagnostics. His professional focus lies in combining practical repair knowledge with simple, easy-to-follow solutions, helping homeowners understand common appliance problems and confidently identify potential causes at home. As an author at ApplianceWhy, Ethan shares practical knowledge on home appliance repair, DIY appliance diagnostics, maintenance, troubleshooting, appliance care, and everyday solutions for common household appliance issues.
Education
Portland Community College (Portland, USA)
Associate Degree in Appliance Technology & Residential Systems
- Focused on residential appliance systems, electrical fundamentals, mechanical components, and appliance troubleshooting.
- Developed practical skills in appliance diagnostics, component testing, electrical safety, and repair procedures.
- Gained hands-on experience working with refrigerators, washing machines, dryers, dishwashers, ovens, ranges, and other household appliances.
Oregon Institute of Technology (Klamath Falls, USA)
Bachelor’s in Applied Electronics & Technology
- Specialized in electrical systems, electronic controls, sensors, motors, and residential equipment.
- Studied diagnostic techniques for identifying electrical, mechanical, and component-related appliance problems.
- Completed practical projects involving appliance control systems, troubleshooting methods, preventive maintenance, and repair fundamentals.
Publications and Impact
Through ApplianceWhy, Ethan shares practical insights into home appliance repair, DIY diagnostics, maintenance, troubleshooting, and appliance care. His writing focuses on turning confusing appliance problems into simple, understandable steps that homeowners can follow safely.
Ethan covers everything from diagnosing a refrigerator that is not cooling and a washing machine that will not drain to troubleshooting dryers, dishwashers, ovens, microwaves, and other common household appliances. His content helps readers understand appliance symptoms, identify possible causes, perform basic diagnostic checks, and determine when professional repair may be necessary.
Through his work, Ethan aims to bridge the gap between professional appliance repair knowledge and everyday homeowners—making appliance troubleshooting more approachable, practical, and accessible to everyone who wants to diagnose smarter, maintain better, and keep their appliances running longer.