

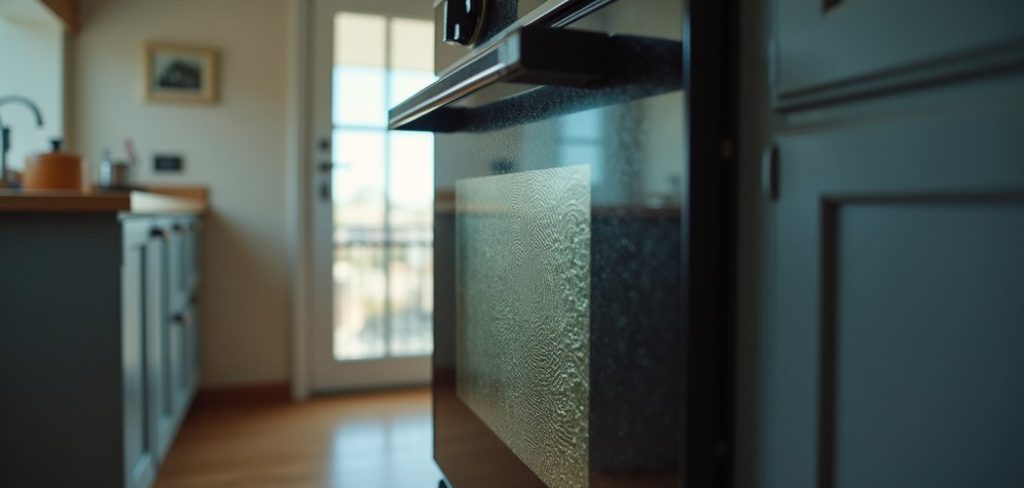
You peer through your oven door to check on dinner, but all you see is a foggy brown haze.
That grimy film is baked-on grease and food splatter, hardened by heat over weeks or months of cooking.
Every time you roast, bake, or broil, tiny droplets of oil and sauce hit the glass and cook right onto it. The layers build up, blocking your view and dulling your entire kitchen.
The great news is that you do not need special skills or harsh chemicals to fix it.
Learning how to clean the glass on your oven door is a simple, satisfying task that anyone can handle, whatever your experience level.
This friendly guide breaks the whole job into clear, manageable steps you can follow at your own pace.
We will explain why the buildup matters, walk you through seven easy stages, and answer the questions people ask most. By the end, your oven will look brand new and your kitchen will feel brighter.
Let’s get started.
Why Cleaning The Glass On Your Oven Door Matters
A clouded oven door is more than an eyesore. When grease coats the glass, you cannot see your food cooking, so you keep opening the door to check.
Every peek lets heat escape, which lengthens cooking times and wastes energy. Baked-on grime can also start to smell or smoke when the oven heats up, tainting the flavor of your meals.
Clearing it away brings real, noticeable benefits. You regain a crystal-clear view, so you monitor dishes without opening the door and losing warmth.
Your kitchen looks cleaner and more inviting, and your food tastes better without lingering burnt odors. Best of all, tackling this regularly keeps buildup manageable, turning a dreaded chore into a quick habit.
With a little know-how, you protect your appliance and enjoy a fresher cooking space every day.

Step-By-Step Guide To How To Clean The Glass On Your Oven Door
Step 1: Gather Your Supplies And Cool The Oven
Before you touch anything, make sure the oven is completely cool to avoid burns. Never start while the appliance is warm, since heat and cleaning products do not mix safely.
Once it has cooled, gather what you need so you do not scramble mid-task.
A box of baking soda, white vinegar, a spray bottle, a soft cloth, a plastic scraper, and some paper towels will cover the whole job.
Lay everything out on the counter within easy reach. Having your tools ready keeps you focused and makes the process feel smooth rather than stressful. A minute of prep now saves you time and frustration later.
Step 2: Wipe Away Loose Debris First
Start by clearing off the easy stuff before you tackle the stubborn grime. Dampen a soft cloth or paper towel with warm water and wipe the glass in gentle circles.
This lifts away crumbs, dust, and any grease that has not fully hardened yet. Removing this surface layer helps your cleaning paste work directly on the tough, baked-on spots instead of loose dirt.
Do not scrub hard at this stage, since you are simply prepping the surface. If you notice large chunks of stuck food, gently loosen them with a plastic scraper. Keep the pressure light so you never scratch the glass. A clean starting surface makes every following step far more effective.

Step 3: Make And Apply A Baking Soda Paste
Baking soda is a gentle, natural abrasive that dissolves grease without harming the glass.
Pour about half a cup into a small bowl and add water a little at a time until you get a thick, spreadable paste.
Aim for a texture similar to toothpaste, since runny mixtures slide off and dry ones will not stick.
Spread the paste evenly across the glass with your fingers or a soft cloth, focusing on the darkest, greasiest areas. Cover the whole surface in a smooth layer.
This part of learning how to clean the glass on your oven door takes patience, so let the paste sit for fifteen to twenty minutes.
The wait lets it break down grime, making the rest of the job much easier.
Step 4: Scrub Gently In Circular Motions
Once the paste has done its work, it is time to loosen the softened grease. Take a damp, non-scratch sponge or a soft cloth and rub the glass in small circular motions.
Work steadily rather than aggressively, letting the baking soda do the heavy lifting. You should see the grime start to lift and smear as it releases its grip.
For stubborn patches that cling on, apply a touch more paste and give it another few minutes. A plastic scraper held at a low angle can ease off hardened spots without damaging the surface. Take your time here, because gentle, consistent effort beats hard scrubbing every time and keeps your glass looking flawless.

Step 5: Spray With Vinegar To Break Down Residue
Now for a satisfying reaction that makes the finish sparkle. Fill a spray bottle with white vinegar and mist it lightly over the baking soda still on the glass.
You will notice a gentle fizzing as the vinegar reacts with the soda. This bubbling action lifts away leftover residue and cuts through any greasy film that survived the scrub.
Let the mixture fizz for a minute or two so it can loosen the final layer of grime.
The acid in the vinegar dissolves mineral spots and grease alike, leaving the surface primed for a streak-free shine.
This simple combination is one of the safest ways to clean the glass on your oven door without expensive products.
Step 6: Wipe Clean And Buff To A Shine
With the grime fully loosened, grab a clean, damp cloth and wipe away all the paste and vinegar.
Rinse the cloth often as you go, since a dirty rag just smears residue back onto the surface. Keep wiping until the water runs clear and no gritty film remains.
Check the corners and edges, where paste tends to collect and hide.
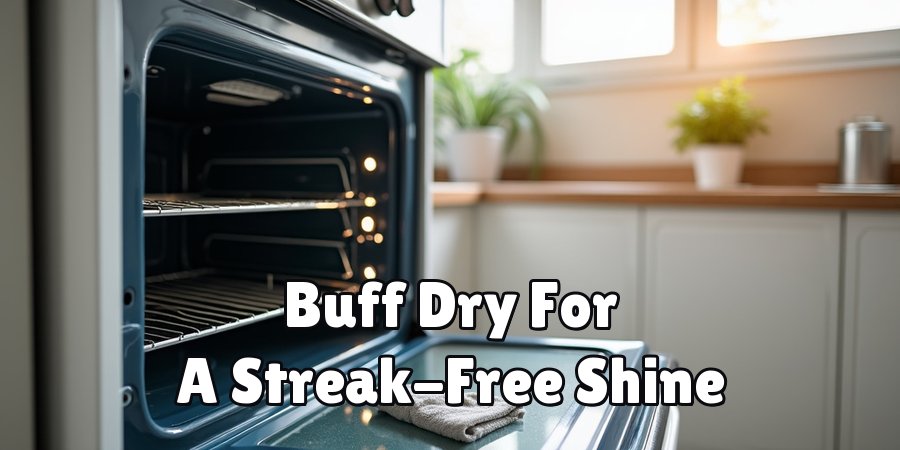
To finish, buff the glass with a dry microfiber cloth or crumpled newspaper for a streak-free, gleaming result. Move in straight lines to catch any lingering marks. Step back and admire your clear, spotless door. This buffing step turns a good clean into a truly professional-looking finish.
Frequently Asked Questions
How Often Should I Clean My Oven Door Glass?
For most home cooks, a thorough clean once a month keeps grease from hardening into stubborn layers. If you cook daily or roast a lot of fatty foods, aim for every two weeks instead.
A quick wipe after messy cooking sessions also helps a great deal. Staying on top of it means you rarely face heavy buildup, so each clean stays quick, easy, and far less of a chore.
Can I Use A Razor Blade To Scrape The Glass?
You can use a razor scraper, but only with great care and a very shallow angle. Keep the blade flat against the glass and glide it gently to avoid scratches.
Many people prefer a plastic scraper, which lifts grime safely without any risk to the surface.
If you do reach for a razor, go slowly and let softened grease do most of the work rather than forcing the blade.
Will Baking Soda Scratch My Oven Glass?
Baking soda is a mild abrasive, so when mixed into a soft paste it cleans effectively without scratching tempered oven glass.
The key is keeping the paste damp and using gentle, circular pressure rather than aggressive scrubbing. Never use steel wool or harsh scouring pads, since those can leave permanent marks.
Applied correctly, baking soda is one of the safest, most affordable cleaners you can rely on.
Why Does The Glass Look Cloudy After Cleaning?
Cloudiness usually means leftover residue or streaks from a cloth that was too dirty. Rinse your cloth often and wipe until the water runs clear, then buff dry with microfiber.
If the haze sits between the panels, surface cleaning will not fix it, and you may need to open the door as described earlier.
Hard water spots can also cause cloudiness, so a final vinegar wipe often restores the shine.
Are Store-Bought Oven Cleaners Better Than Homemade?
Commercial cleaners can tackle very heavy, greasy buildup quickly, which helps in neglected ovens. That said, baking soda and vinegar handle most everyday grime beautifully at a fraction of the cost and without harsh fumes.
For a friendly, budget-conscious approach, start with the natural method. If deposits prove extremely stubborn, a dedicated product makes a helpful backup. Always follow label instructions carefully and ventilate the room when using stronger chemicals.
Conclusion
Getting that spotless, see-through shine turns out to be far simpler than you might expect.
From gathering your supplies and wiping away loose debris, to applying a baking soda paste, scrubbing gently, spraying with vinegar, and buffing to a streak-free finish, each step builds on the last to leave your door looking brand new.
You do not need pricey products or special training, just a little time, a few pantry staples, and the confidence that comes with knowing exactly what to do.
Now that you understand how to clean the glass on your oven door, the best move is to put it into practice today. Pick a free afternoon, cool your oven, and gather your baking soda and vinegar.
Then make a simple monthly habit of it to keep grease from ever building up again. Your food will cook more evenly, your kitchen will look brighter, and you will feel great knowing you handled it yourself.
Go ahead and get started, one easy step at a time.

About
Ethan Wrenford is a dedicated home appliance specialist with years of hands-on experience in appliance troubleshooting, maintenance, repair, and DIY diagnostics. His professional focus lies in combining practical repair knowledge with simple, easy-to-follow solutions, helping homeowners understand common appliance problems and confidently identify potential causes at home. As an author at ApplianceWhy, Ethan shares practical knowledge on home appliance repair, DIY appliance diagnostics, maintenance, troubleshooting, appliance care, and everyday solutions for common household appliance issues.
Education
Portland Community College (Portland, USA)
Associate Degree in Appliance Technology & Residential Systems
- Focused on residential appliance systems, electrical fundamentals, mechanical components, and appliance troubleshooting.
- Developed practical skills in appliance diagnostics, component testing, electrical safety, and repair procedures.
- Gained hands-on experience working with refrigerators, washing machines, dryers, dishwashers, ovens, ranges, and other household appliances.
Oregon Institute of Technology (Klamath Falls, USA)
Bachelor’s in Applied Electronics & Technology
- Specialized in electrical systems, electronic controls, sensors, motors, and residential equipment.
- Studied diagnostic techniques for identifying electrical, mechanical, and component-related appliance problems.
- Completed practical projects involving appliance control systems, troubleshooting methods, preventive maintenance, and repair fundamentals.
Publications and Impact
Through ApplianceWhy, Ethan shares practical insights into home appliance repair, DIY diagnostics, maintenance, troubleshooting, and appliance care. His writing focuses on turning confusing appliance problems into simple, understandable steps that homeowners can follow safely.
Ethan covers everything from diagnosing a refrigerator that is not cooling and a washing machine that will not drain to troubleshooting dryers, dishwashers, ovens, microwaves, and other common household appliances. His content helps readers understand appliance symptoms, identify possible causes, perform basic diagnostic checks, and determine when professional repair may be necessary.
Through his work, Ethan aims to bridge the gap between professional appliance repair knowledge and everyday homeowners—making appliance troubleshooting more approachable, practical, and accessible to everyone who wants to diagnose smarter, maintain better, and keep their appliances running longer.