

Few kitchen tasks feel as dreaded as cleaning oven racks. Those stubborn brown streaks, baked-on grease, and burnt food bits seem to laugh at every attempt you make with a sponge. You scrub, you sweat, and yet those grimy marks barely budge. It’s frustrating, messy, and honestly, a huge waste of your Sunday afternoon.
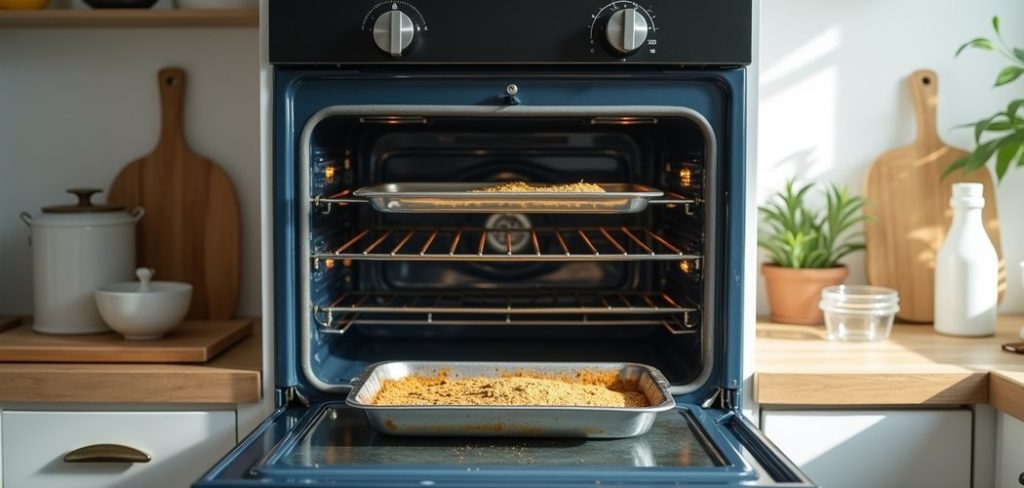
Here’s the good news: you don’t need to scrub at all. That’s right. With the right method and a few simple household items, you can let science do the hard work for you. While you relax or tackle other chores, your oven racks can soak their way back to a shiny, like-new finish.
This guide on how to clean oven racks without scrubbing walks you through everything you need to know to clean oven racks without scrubbing. Let’s dig in.
Benefits of Cleaning Oven Racks Without Scrubbing
Skipping the scrub brush isn’t just about saving your arms. There are real advantages to this gentle, soak-based approach. Here’s why so many people are switching to a no-scrub method:
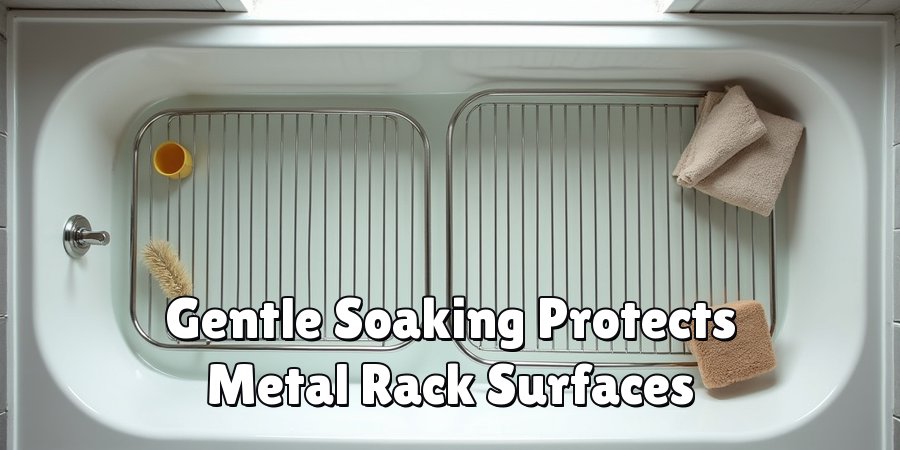
- Saves your energy. No more bending over a sink and scrubbing until your shoulders ache. The soaking method does the heavy lifting for you.
- Protects the rack finish. Harsh scrubbing with steel wool can scratch the metal and wear down protective coatings. A soak keeps your racks in better shape for longer.
- Reaches every corner. Soaking loosens grime in tight spots and grooves that a brush simply can’t reach.
- Uses cheap, safe ingredients. Most no-scrub methods rely on baking soda, vinegar, or dish soap. These are gentle, budget-friendly, and safe to use around food.
- Reduces harsh chemical use. You can skip the strong commercial cleaners with their fumes and warning labels.
- Better results overall. Because the grime dissolves rather than getting smeared around, your racks come out cleaner and brighter.
- Frees up your time. You set it up, walk away, and come back to sparkling racks. That’s a win for any busy schedule.
What Will You Need?
The best part about this method is that you likely already own everything required. Gather these items before you start:
Once you have these on hand, you’re ready to begin. The whole setup takes just a few minutes.
- A bathtub, large sink, or big plastic tub – You need a container big enough to fully cover your racks.
- Baking soda – About one cup, your main grease-fighting hero.
- White vinegar – Half a cup to help lift grime and add cleaning power.
- Dish soap – A few good squirts of any grease-cutting brand.
- Dryer sheets – Optional, but they help loosen baked-on residue in an amazing way.
- Old towels – To protect your tub surface and for drying later.
- Rubber gloves – To keep your hands clean and protected.
- Hot water – Enough to submerge the racks completely.
- A soft cloth or old rag – For a light wipe at the end (no scrubbing, just wiping).
10 Easy Steps on How to Clean Oven Racks Without Scrubbing
Step 1: Remove the Racks from Your Oven
Start by making sure your oven is completely cool. Never try to remove racks from a warm oven, as burns happen fast. Once cool, slide each rack out carefully. Some racks lock into place, so tilt them slightly upward to release them.
Set them aside on an old towel to protect your floor. Take a moment to look them over so you know which spots need the most attention.
Removing the racks fully lets you clean every inch without the tight space of the oven getting in your way.
Step 2: Prepare Your Soaking Station
Choose your soaking spot based on the size of your racks. A bathtub works best because it holds full-size racks flat and level. If you don’t have a tub, a large plastic storage tub or a deep utility sink works too.
Line the bottom with a couple of old towels. This protects the surface from scratches and keeps the racks from sliding around. It also gives the cleaning solution a soft base to work against.
A well-prepared station makes the rest of the process smooth and mess-free.
Step 3: Lay Down the Dryer Sheets
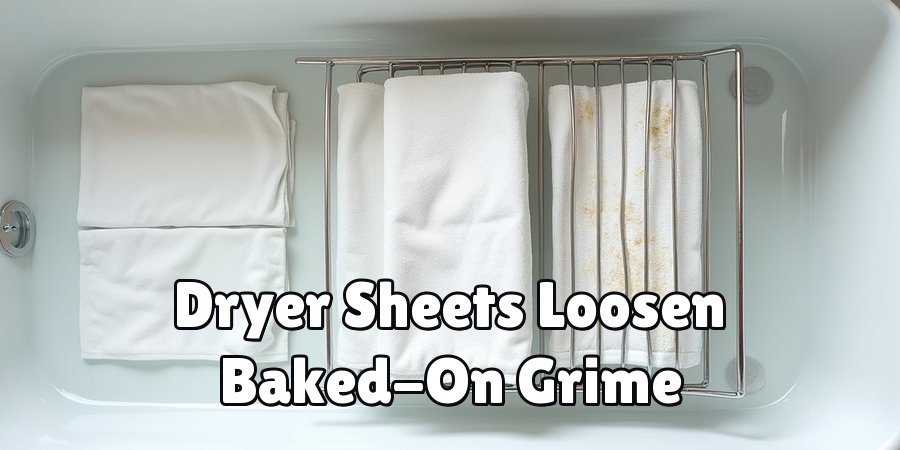
Before adding water, spread a few dryer sheets across the bottom of your tub or tub liner. This trick surprises many people, but dryer sheets contain softening agents that help break down grease and baked-on grime.
Lay them flat so the racks will rest right on top. If you’re cleaning several racks at once, use extra sheets between the layers.
The dryer sheets work quietly during the soak, loosening residue so it slides off later with the gentlest wipe.
Step 4: Place the Racks in the Tub
Now lay your oven racks flat on top of the towels and dryer sheets. Try to keep them in a single layer if you can, as this lets the solution reach every surface evenly.
If your tub is small, you can stack them, but add dryer sheets between each rack. Make sure they lie as flat as possible.
Racks that stick up out of the water won’t soak evenly, so arrange them with care before moving on to the next step.
Step 5: Add Baking Soda and Dish Soap
Sprinkle about one cup of baking soda evenly over the racks. Focus a little extra on the greasiest areas. Then add a few generous squirts of dish soap across the surface.
Baking soda is a mild abrasive and a natural grease-cutter, while dish soap breaks down oily buildup. Together they form a powerful cleaning duo. Don’t stir anything yet.
You’ll add water next, and the fizzing action will help mix everything and start the cleaning process on its own.
Step 6: Pour in Hot Water
Fill your tub with hot water until the racks are fully covered. Hot water speeds up the cleaning reaction and helps dissolve grease faster. Pour slowly to avoid splashing baking soda everywhere.
As the water rises, you’ll notice the baking soda and soap starting to mix. Make sure every part of each rack sits below the waterline.
Any spot left above the surface won’t get the full soaking treatment, so add more water if needed to cover them.
Step 7: Add the Vinegar
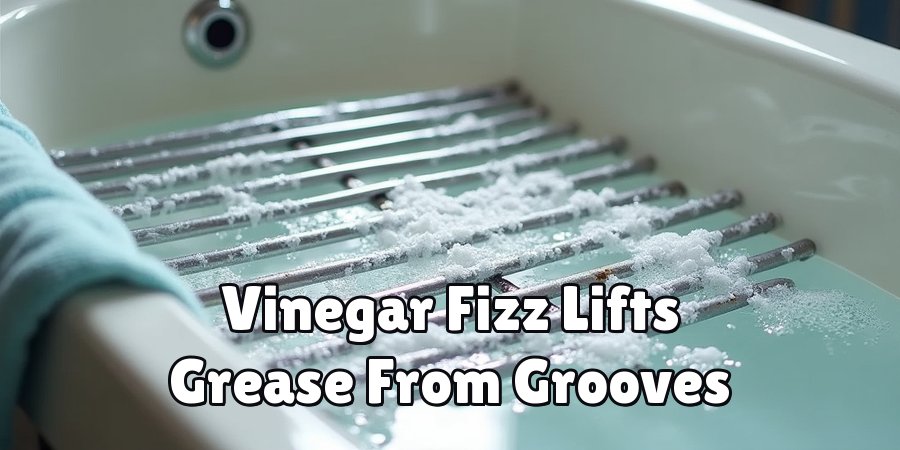
Now pour in about half a cup of white vinegar. When vinegar meets baking soda, it creates a gentle fizzing reaction. This bubbling action helps lift grime from the metal surface.
The fizz reaches into grooves and corners where grease loves to hide. You don’t need a lot of vinegar for this to work. Just pour it in slowly and watch the bubbles do their thing.
This reaction is safe, satisfying, and a key part of the no-scrub magic.
Step 8: Let the Racks Soak
This is the easiest step of all: walk away. Let the racks soak for at least a few hours. For heavily soiled racks, an overnight soak works best. The longer they sit, the more the grime dissolves.
During this time, the baking soda, soap, vinegar, and dryer sheets all work together to break down every stubborn stain. There’s nothing more to do here.
Go relax, run errands, or get some sleep while the solution handles the tough part for you.
Step 9: Wipe Away the Grime
After soaking, drain the water and put on your rubber gloves. Take a soft cloth or old rag and gently wipe each rack. You’ll be amazed at how easily the grime slides right off.
There’s no need to scrub hard. Most of the buildup will lift away with a light swipe. For any spots that resist, dip the cloth in the leftover solution and wipe again.
The loosened residue comes off with almost no effort, leaving clean metal behind.
Step 10: Rinse and Dry
Give each rack a thorough rinse under warm running water to remove any leftover baking soda or soap. Turn them over to rinse both sides. Once clean, dry them completely with an old towel.
This step matters because leaving racks wet can lead to rust over time. Make sure every bar is fully dry before sliding the racks back into your oven.
Now step back and admire your sparkling, scrub-free results.
5 Things You Should Avoid
Even with a simple method, a few missteps can slow you down or damage your racks. Keep these mistakes off your list:

- Don’t use steel wool or harsh scouring pads. They scratch the metal and strip protective coatings. The whole point of this method is to skip that kind of abrasion.
- Don’t clean racks inside the oven. Some oven cleaners warn against leaving racks in during a self-cleaning cycle, as high heat can discolor or warp them. Always take them out first.
- Don’t skip the drying step. Wet racks left to air dry can develop rust spots. Always towel them dry before returning them to the oven.
- Don’t mix vinegar with bleach. This creates dangerous fumes. Stick with the safe ingredients listed in this guide and never combine cleaners randomly.
- Don’t rush the soak. Cutting the soaking time short means the grime won’t fully dissolve. Patience is the secret ingredient, so give it the hours it needs.
Conclusion
Cleaning oven racks used to mean sore arms, splattered cleaner, and hours of frustration. Not anymore.
With this no-scrub soaking method, you let simple household items do the hard work while you go about your day.
Baking soda, vinegar, dish soap, and a little patience are all it takes to bring your racks back to a bright, clean shine.
The beauty of this approach is how gentle it is on both you and your racks. You avoid harsh chemicals, protect the metal from scratches, and save yourself a mountain of effort. Best of all, the results speak for themselves. Grease that once seemed permanent simply wipes away with a soft cloth.
Hopefully, this article on how to clean oven racks without scrubbing has shown you that cleaning oven racks doesn’t have to be a daunting task.

About
Ethan Wrenford is a dedicated home appliance specialist with years of hands-on experience in appliance troubleshooting, maintenance, repair, and DIY diagnostics. His professional focus lies in combining practical repair knowledge with simple, easy-to-follow solutions, helping homeowners understand common appliance problems and confidently identify potential causes at home. As an author at ApplianceWhy, Ethan shares practical knowledge on home appliance repair, DIY appliance diagnostics, maintenance, troubleshooting, appliance care, and everyday solutions for common household appliance issues.
Education
Portland Community College (Portland, USA)
Associate Degree in Appliance Technology & Residential Systems
- Focused on residential appliance systems, electrical fundamentals, mechanical components, and appliance troubleshooting.
- Developed practical skills in appliance diagnostics, component testing, electrical safety, and repair procedures.
- Gained hands-on experience working with refrigerators, washing machines, dryers, dishwashers, ovens, ranges, and other household appliances.
Oregon Institute of Technology (Klamath Falls, USA)
Bachelor’s in Applied Electronics & Technology
- Specialized in electrical systems, electronic controls, sensors, motors, and residential equipment.
- Studied diagnostic techniques for identifying electrical, mechanical, and component-related appliance problems.
- Completed practical projects involving appliance control systems, troubleshooting methods, preventive maintenance, and repair fundamentals.
Publications and Impact
Through ApplianceWhy, Ethan shares practical insights into home appliance repair, DIY diagnostics, maintenance, troubleshooting, and appliance care. His writing focuses on turning confusing appliance problems into simple, understandable steps that homeowners can follow safely.
Ethan covers everything from diagnosing a refrigerator that is not cooling and a washing machine that will not drain to troubleshooting dryers, dishwashers, ovens, microwaves, and other common household appliances. His content helps readers understand appliance symptoms, identify possible causes, perform basic diagnostic checks, and determine when professional repair may be necessary.
Through his work, Ethan aims to bridge the gap between professional appliance repair knowledge and everyday homeowners—making appliance troubleshooting more approachable, practical, and accessible to everyone who wants to diagnose smarter, maintain better, and keep their appliances running longer.