

Grimy oven racks are one of those cleaning jobs most people put off for far too long. Baked-on grease, burnt food, and stubborn carbon buildup cling to the metal, and scrubbing them by hand feels like a losing battle.
There is a much easier way that uses something you already have at home, your bathtub.
Learning how to clean oven racks in tub gives you plenty of space to soak away the mess with almost no effort on your part.
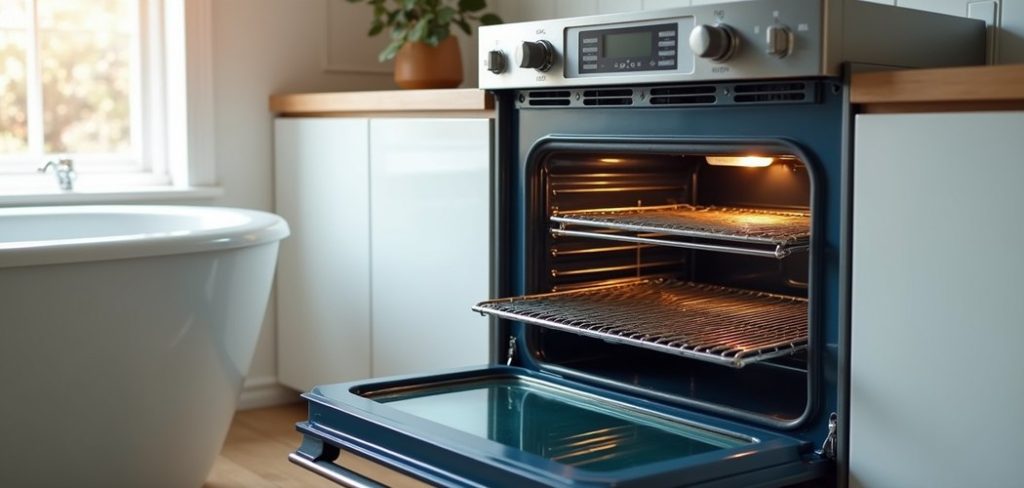
This method works because a long, warm soak does most of the heavy lifting for you. Instead of bending over a sink or scrubbing until your arms ache, you let simple household products break down the grime while you go about your day.
In this guide, you will find a clear, beginner-friendly walkthrough anyone can follow, no special tools or harsh chemicals required.
We will cover why this trick works so well, the exact steps to take, and answers to common questions so you feel confident from start to finish.
Why Cleaning Oven Racks In A Tub Matters
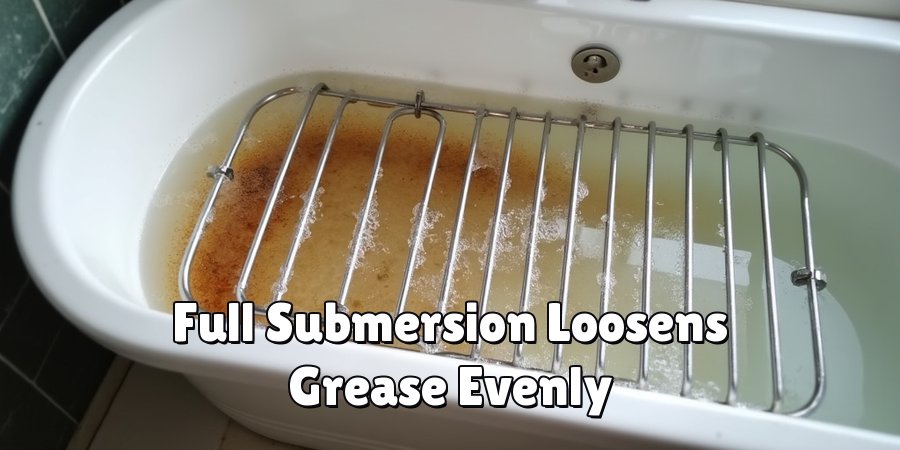
Your bathtub gives you something your kitchen sink usually cannot, room to lay racks flat and cover them completely with water. Full submersion means every inch of metal gets treated at once, so grease loosens evenly instead of in patches. This saves you time and spares your hands from endless scrubbing.
There are real benefits beyond convenience. Clean racks help your oven heat food more evenly and reduce that smoky, burnt smell caused by old residue.
You also cut down on scratching your racks with abrasive pads, which keeps them lasting longer.
Best of all, the soaking approach relies on gentle, affordable ingredients you likely already own, making it a safe, low-cost choice for households of any size and skill level.
Step-By-Step Guide To How To Clean Oven Racks In Tub
Step 1: Gather Your Supplies
Before you start, collect everything you need so the process runs smoothly. You will want dish soap, baking soda, white vinegar, an old towel, rubber gloves, and a soft scrub brush or sponge. Having these ready means you will not scramble mid-task with wet, greasy hands.
Lay an old towel or a few rags in the bottom of your tub first. This simple step protects the surface from scratches when you set the heavy metal racks down.
It also stops the racks from sliding around while they soak. A little preparation here makes the whole cleaning session faster, safer, and far less stressful.
Step 2: Line And Protect The Tub
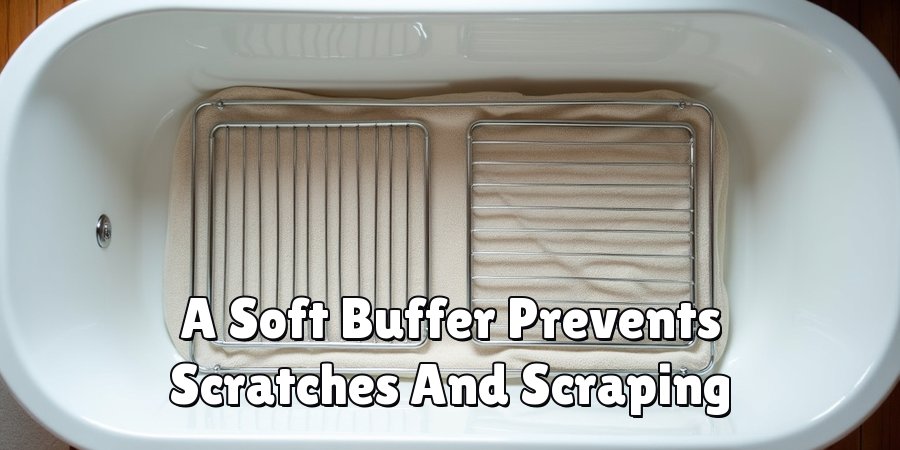
Take a moment to shield your tub before adding any racks. Enamel and acrylic surfaces can scratch easily, and oven racks have sharp corners and rough edges. Spreading an old towel across the bottom creates a soft buffer that keeps your tub looking new while the grime lifts away.
This barrier does double duty. It cushions the metal and prevents that harsh scraping sound as you shift racks during rinsing.
If you are worried about staining, a towel you no longer care about is your best friend here.
Protecting your tub now means you avoid frustrating cleanup or damage later, keeping the whole job pleasant and worry-free.
Step 3: Lay The Racks In And Fill With Water
Place your oven racks flat on the towel-lined tub, stacking them only if space is tight. Then fill the tub with hot water until the racks are fully covered. Full submersion is the secret behind how to clean oven racks in tub, because warm water surrounds every bit of baked-on grease at once.
Hot water alone starts loosening residue, but it works far better with the cleaning agents you will add next.
Make sure there are no dry spots poking above the surface, since those areas will not soften properly.
Give the racks a gentle nudge to release trapped air bubbles so the water reaches all the tricky corners.
Step 4: Add Your Cleaning Agents
Now bring in the power of everyday ingredients. Squeeze a generous amount of dish soap into the water, then sprinkle in about half a cup of baking soda.
For extra grease-fighting strength, pour in a cup of white vinegar. You will notice a light fizzing as the baking soda and vinegar react, which helps lift stubborn buildup.
Swirl the water gently with your gloved hand to distribute everything evenly. These common household products break down grease and carbon without harsh fumes, making them safe for most homes. Avoid the urge to add bleach or oven-cleaner sprays here, as the gentle combination already does an excellent job on its own.
Step 5: Let The Racks Soak
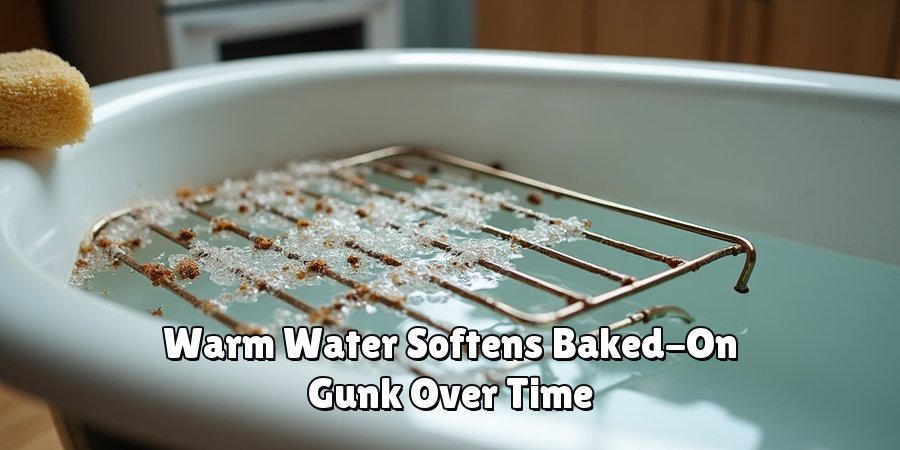
Patience is your greatest tool in this step. Leave the racks to soak for at least a few hours, though overnight gives the best results for heavy grime. The longer the metal sits in the warm, soapy solution, the more the baked-on gunk softens and releases its grip.
While the racks soak, you are free to do other things, which is exactly what makes how to clean oven racks in tub so appealing. There is no hovering or hard work involved.
If your water cools too much before you are ready to scrub, simply drain a little and top it up with fresh hot water to keep the process active.
Step 6: Scrub Away The Loosened Grime
Once the soak has worked its magic, put your gloves back on and grab a soft brush or sponge. Most of the residue should wipe away with light pressure, revealing clean metal underneath. Work along the bars in the same direction, paying extra attention to corners and joints where grease loves to hide.
For any stubborn spots that resist, make a thick paste from baking soda and a splash of water. Rub it directly onto the trouble areas and give it a few minutes to sink in.
Avoid steel wool or harsh scouring pads, since these can scratch the finish. Gentle, steady scrubbing gets the job done without damaging your racks.
Step 7: Rinse, Dry, And Reinstall
Drain the tub and rinse each rack thoroughly under clean running water to wash away every trace of soap, baking soda, and loosened grime.
Leftover residue can burn and smell the next time you use your oven, so a proper rinse really matters here. Run your fingers along the bars to check for any slippery patches you missed.
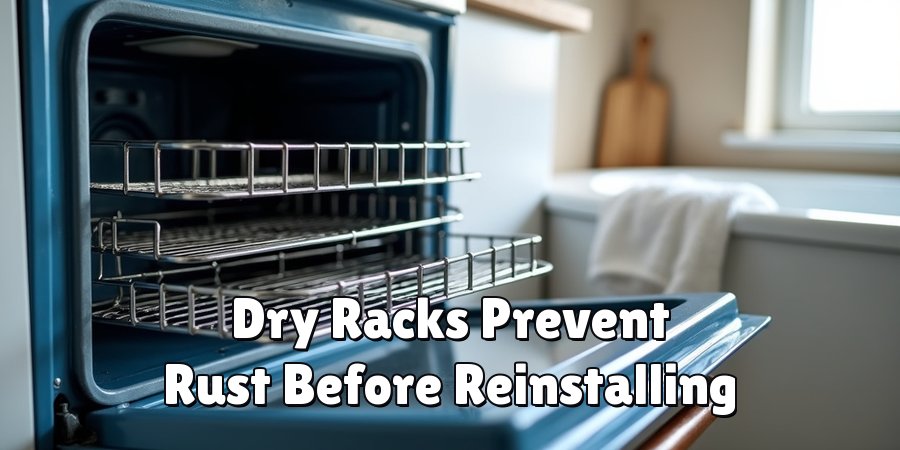
Once rinsed, dry the racks completely with a clean towel to prevent rust from forming. Give the tub a quick wipe-down while you are at it, then slide the sparkling racks back into your cooled oven. Stand back and enjoy that satisfying, fresh-from-the-store shine you achieved with almost no elbow grease.
Frequently Asked Questions
How Long Should I Soak My Oven Racks?
For light buildup, a soak of three to four hours usually does the trick. Heavier grease and carbon respond best to an overnight soak of eight hours or more.
The warm water and cleaning agents need time to break down stubborn residue, so patience pays off.
If your racks are only lightly dirty, you may find even a couple of hours is plenty to loosen everything.
Will This Method Damage My Bathtub?
Not if you take a simple precaution. Always line the bottom of your tub with an old towel before laying the racks down.
This soft barrier prevents scratches from sharp metal edges and protects both enamel and acrylic surfaces. The gentle cleaning ingredients used, like dish soap and baking soda, are safe for tubs.
Just rinse the tub afterward to remove any lingering grease or residue.
Can I Use Vinegar And Baking Soda Together Safely?
Yes, this pairing is a safe, popular cleaning combination for tackling grease. When mixed, they create a mild fizzing reaction that helps lift baked-on grime.
The results are gentle compared to harsh chemical cleaners, and they produce no dangerous fumes.
Just make sure your bathroom has decent airflow, and avoid mixing these with bleach or commercial oven sprays, which can create harmful reactions when combined.
What If Some Grime Will Not Come Off?
Stubborn spots are common with very neglected racks. Make a thick paste using baking soda and a little water, then spread it directly onto the tough areas.
Let it sit for ten to fifteen minutes before scrubbing gently with a soft brush. For extremely baked-on carbon, a second soak often works wonders.
Avoid steel wool, since it scratches the metal and leaves your racks prone to rust.
How Often Should I Clean My Oven Racks?
A deep clean every three to four months keeps most racks in great shape. If you cook often or notice heavy smoke and odors, aim for a monthly refresh.
Regular light cleaning prevents grease from hardening into that tough, baked-on layer that takes hours to remove.
Staying consistent means each cleaning session becomes quicker and easier, saving you effort and keeping your oven working at its best.
Conclusion
Cleaning your oven racks does not have to be a dreaded, backbreaking chore. By letting a warm, soapy soak do the hard work, you turn one of the messiest kitchen tasks into a simple, hands-off routine.
From gathering your supplies and protecting your tub to soaking, scrubbing, and rinsing, each step builds toward racks that look and perform like new.
The best part is that you relied on affordable household ingredients rather than harsh chemicals or costly products.
Now that you know how to clean oven racks in tub, there is no reason to keep putting it off.
Pick a day when you have a few free hours, gather your supplies, and start that soak. Once you see how easy and effective this method is, it will quickly become your go-to trick.
Give it a try, enjoy the sparkling results, and treat yourself to the satisfaction of a fresher, better-smelling oven.

About
Ethan Wrenford is a dedicated home appliance specialist with years of hands-on experience in appliance troubleshooting, maintenance, repair, and DIY diagnostics. His professional focus lies in combining practical repair knowledge with simple, easy-to-follow solutions, helping homeowners understand common appliance problems and confidently identify potential causes at home. As an author at ApplianceWhy, Ethan shares practical knowledge on home appliance repair, DIY appliance diagnostics, maintenance, troubleshooting, appliance care, and everyday solutions for common household appliance issues.
Education
Portland Community College (Portland, USA)
Associate Degree in Appliance Technology & Residential Systems
- Focused on residential appliance systems, electrical fundamentals, mechanical components, and appliance troubleshooting.
- Developed practical skills in appliance diagnostics, component testing, electrical safety, and repair procedures.
- Gained hands-on experience working with refrigerators, washing machines, dryers, dishwashers, ovens, ranges, and other household appliances.
Oregon Institute of Technology (Klamath Falls, USA)
Bachelor’s in Applied Electronics & Technology
- Specialized in electrical systems, electronic controls, sensors, motors, and residential equipment.
- Studied diagnostic techniques for identifying electrical, mechanical, and component-related appliance problems.
- Completed practical projects involving appliance control systems, troubleshooting methods, preventive maintenance, and repair fundamentals.
Publications and Impact
Through ApplianceWhy, Ethan shares practical insights into home appliance repair, DIY diagnostics, maintenance, troubleshooting, and appliance care. His writing focuses on turning confusing appliance problems into simple, understandable steps that homeowners can follow safely.
Ethan covers everything from diagnosing a refrigerator that is not cooling and a washing machine that will not drain to troubleshooting dryers, dishwashers, ovens, microwaves, and other common household appliances. His content helps readers understand appliance symptoms, identify possible causes, perform basic diagnostic checks, and determine when professional repair may be necessary.
Through his work, Ethan aims to bridge the gap between professional appliance repair knowledge and everyday homeowners—making appliance troubleshooting more approachable, practical, and accessible to everyone who wants to diagnose smarter, maintain better, and keep their appliances running longer.