

Your washing machine works hard to keep your clothes fresh, but sometimes it can start to smell less than pleasant.
If you’ve ever opened the door expecting clean laundry and instead caught a whiff of something musty or sour, you’re not alone.
Washing machine odors are a common household problem, and they usually come from a mix of moisture, detergent residue, and bacteria that build up over time.
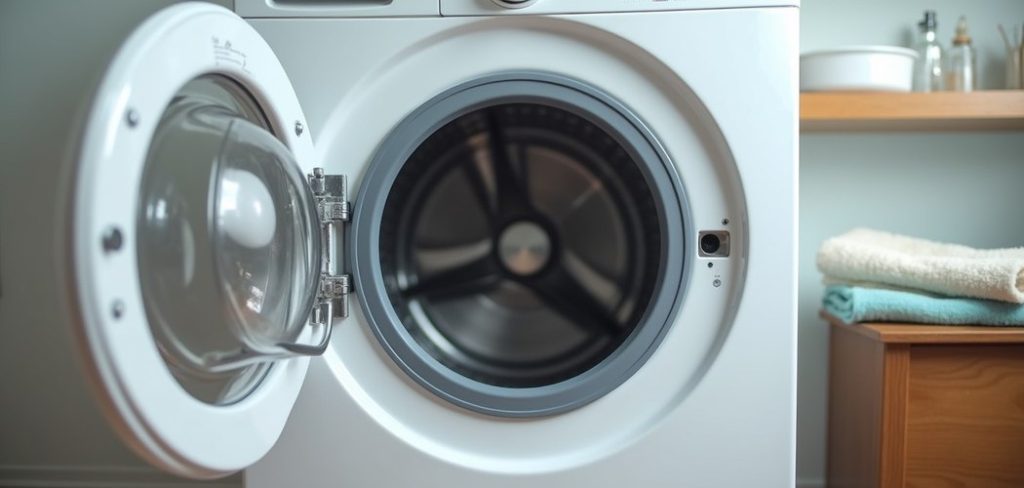
Every time you run a load, small amounts of soap, fabric softener, dirt, and body oils get left behind. These deposits settle into hidden corners, rubber seals, and the detergent drawer. Add in the warm, damp environment inside the drum, and you have the perfect breeding ground for mold and mildew.
This guide on how to clean out smelly washing machine walks you through everything you need to know, from the benefits of a clean machine to a simple 10-step process anyone can follow.
What are the Benefits?
Cleaning your washing machine isn’t just about getting rid of a bad smell. It brings a whole range of benefits that make the effort worthwhile. Here’s why it pays off.
- Fresher, cleaner laundry. When your machine is free of grime and bacteria, your clothes come out smelling truly clean. No more musty odors clinging to your favorite shirts or towels.
- Longer machine lifespan. Buildup and residue can wear down internal parts over time. Regular cleaning helps your washer run smoothly and last for years, saving you the cost of an early replacement.
- Better washing performance. A clogged detergent drawer or dirty drum can stop your machine from cleaning properly. A clean washer distributes water and detergent more evenly, giving you better results with every load.
- Healthier home environment. Mold and mildew inside your machine can release spores into the air. Keeping things clean reduces allergens and creates a healthier space for you and your family.
- Lower energy and detergent use. When your machine works efficiently, it uses water and power more effectively. You may even find you need less detergent, which saves money over time.
- Peace of mind. There’s real satisfaction in knowing your appliance is clean and working at its best. You can toss in a load without worrying about hidden smells or grime.
What Will You Need?
Before you get started, gather everything you’ll need. Most of these items are probably already in your kitchen or cleaning cupboard.
Having these supplies ready before you begin makes the whole process faster and smoother. There’s no need to stop halfway through to hunt for a cloth or a brush.
- White vinegar (around 2 cups)
- Baking soda (about half a cup)
- A spray bottle
- Microfiber cloths or soft rags
- An old toothbrush or small scrubbing brush
- Warm water
- Rubber gloves
- A bucket
- A dry towel
- Optional: a commercial washing machine cleaner
- Optional: cotton swabs for tight spots
10 Easy Steps on How to Clean Out Smelly Washing Machine
Follow these ten simple steps to banish odors and get your machine sparkling clean. Take your time with each one, and you’ll be rewarded with a fresh, well-maintained washer.
Step 1: Empty the Machine and Inspect It
Start with a completely empty drum. Remove any clothes, socks, or forgotten items that might be hiding inside. Once it’s empty, take a good look around.
Check the drum, the door, and the surrounding areas for visible grime, mold, or standing water. This first look helps you spot the problem areas that need extra attention.
Pay close attention to any dark spots, which usually point to mold growth. Knowing where the worst buildup is lets you focus your effort where it matters most.
Step 2: Clean the Rubber Door Seal
The rubber gasket around the door is one of the biggest culprits behind bad smells, especially in front-loading machines. Water, hair, lint, and detergent collect in its folds and stay damp, creating the perfect home for mold.
Put on your rubber gloves and gently pull back the seal to reveal the hidden crevices. Wipe the area with a cloth dipped in a mix of warm water and white vinegar.
Use an old toothbrush to scrub away stubborn grime, and finish by drying the seal thoroughly with a clean towel.
Step 3: Remove and Clean the Detergent Drawer
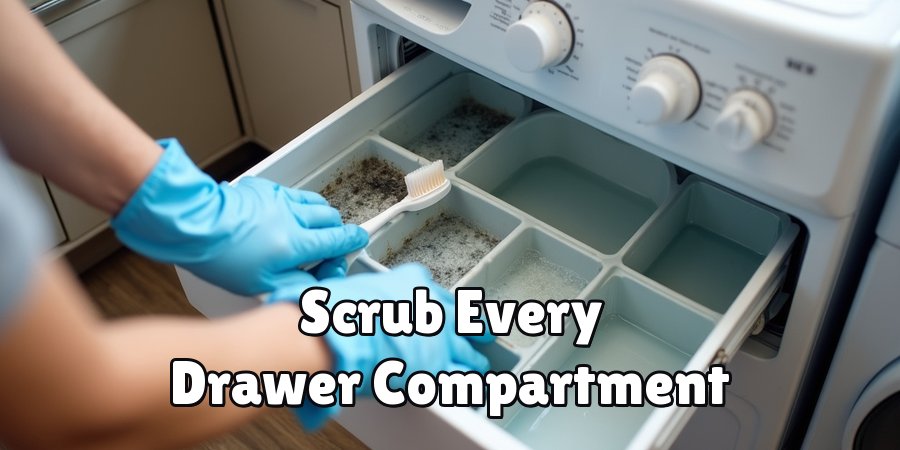
Your detergent drawer can gather a surprising amount of gunk, mold, and leftover soap. Most drawers pull out completely, though some have a small release button or tab you’ll need to press.
Take the drawer out and soak it in warm, soapy water for around ten minutes. Use a toothbrush to scrub every corner, including the small compartments for fabric softener and bleach.
Don’t forget to clean the empty slot where the drawer sits, since residue often builds up there too. Rinse everything well and dry before putting it back.
Step 4: Wipe Down the Drum Interior
Now turn your attention to the inside of the drum. Spray a mixture of vinegar and water across the interior surface, then wipe it down with a microfiber cloth.
Reach into the small holes and around the edges where residue likes to hide. If you notice any discoloration or buildup, let the vinegar sit for a few minutes to loosen it before scrubbing.
This step removes the surface layer of grime and prepares the drum for a deeper clean in the next stage.
Step 5: Run a Hot Wash with Vinegar
White vinegar is a natural deodorizer and a gentle disinfectant. Pour about two cups of vinegar directly into the empty drum. Set your machine to the hottest and longest cycle available.
The hot water combined with vinegar breaks down mineral deposits, kills bacteria, and cuts through the greasy film left by detergent and fabric softener. Let the full cycle run without any clothes inside.
This gives the vinegar time to work its way through every part of the machine, including the hoses and pump.
Step 6: Run a Second Cycle with Baking Soda
Once the vinegar cycle finishes, it’s time for baking soda. Sprinkle about half a cup directly into the drum, then run another hot cycle.
Baking soda is excellent at absorbing odors and lifting any remaining grime. It also works with the vinegar residue to leave your machine smelling fresh and neutral.
Running these two cycles separately, rather than mixing the ingredients, gives you the best cleaning power from each one.
Step 7: Clean the Filter
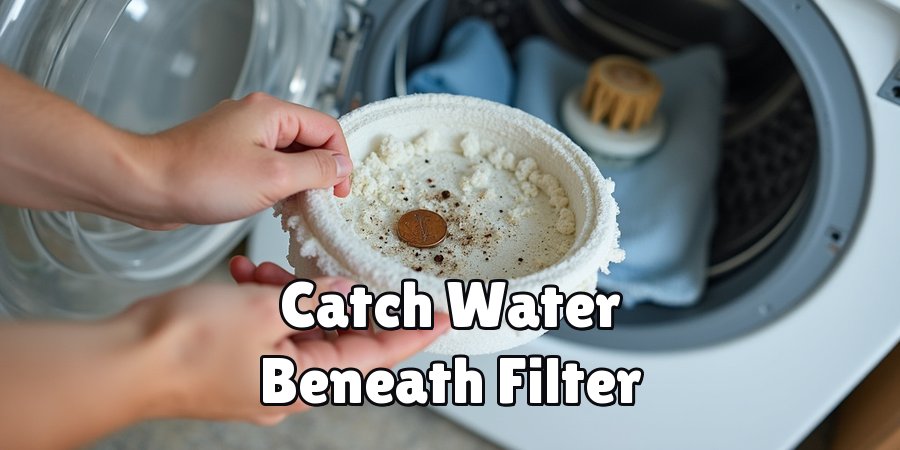
Many washing machines, especially front-loaders, have a lint or drain filter near the bottom front. This filter traps debris, coins, hair, and lint, and it can get seriously smelly if ignored. Place a towel and a shallow bucket underneath to catch any water.
Unscrew or unclip the filter cover, then pull the filter out. Rinse it under running water, remove any trapped gunk, and scrub it clean with a brush. Once it’s spotless, put it back securely.
Check your machine’s manual if you’re unsure where the filter is located.
Step 8: Scrub the Small Details
With the big jobs done, focus on the finer details. Use cotton swabs or a toothbrush to reach tight spots like the detergent dispenser nozzles, the edges of the door, and any small crevices.
Wipe down the exterior of the machine, including the control panel and the top surface. These little touches make a big difference and help prevent grime from creeping back into hidden areas.
Step 9: Leave the Door Open to Dry
After all that cleaning, moisture is the enemy. Leave the door and the detergent drawer open so air can circulate freely inside the drum.
This allows everything to dry completely and stops mold and mildew from returning. Give it at least a few hours, or ideally overnight.
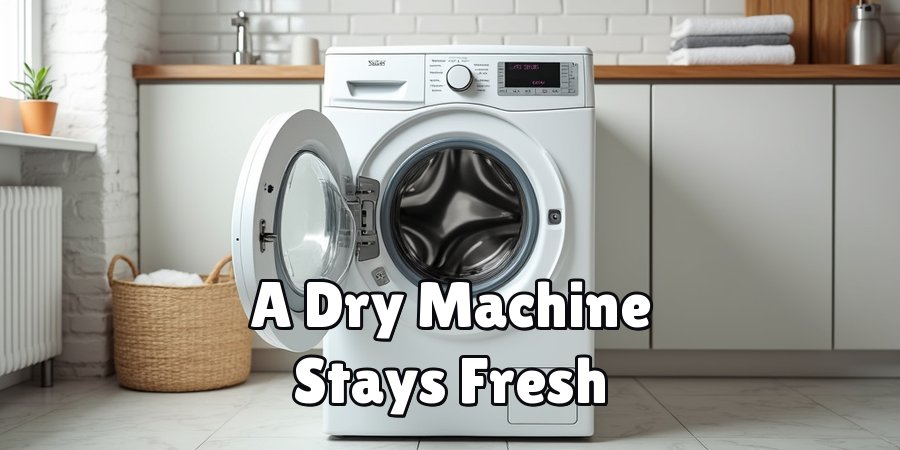
A dry machine is a fresh machine, so make this a habit even between deep cleans.
Step 10: Set Up a Maintenance Routine
The final step is all about keeping your hard work in place. Plan to run a cleaning cycle with vinegar or a commercial cleaner once a month.
Wipe the door seal after every wash, and always leave the door open when the machine isn’t in use. Avoid overloading the drum and use the right amount of detergent.
A simple routine like this keeps odors away for good and saves you from tough deep cleans in the future.
5 Things You Should Avoid
Even with the best intentions, a few common mistakes can undo your hard work or damage your machine. Keep these in mind.
- Don’t mix vinegar and bleach. Combining these two creates toxic fumes that are dangerous to breathe. Always use them in separate cycles if you use bleach at all.
- Don’t use too much detergent. More soap doesn’t mean cleaner clothes. Excess detergent leaves residue that feeds bacteria and causes smells. Stick to the recommended amount.
- Don’t leave wet laundry inside. Letting damp clothes sit in the drum for hours creates the perfect conditions for mold and musty odors. Move them to the dryer or line quickly.
- Don’t ignore the door seal. The rubber gasket is a hotspot for mold. Skipping it means the smell will keep coming back no matter how well you clean the rest.
- Don’t keep the door closed all the time. A sealed drum traps moisture inside. Always leave the door open between washes so the machine can dry out.
Conclusion
A smelly washing machine is a common problem, but it’s one you can solve with a little effort and the right approach.
By cleaning the drum, door seal, detergent drawer, and filter, you tackle the odor at its source rather than just masking it.
The two-cycle method with vinegar and baking soda is a simple, affordable way to disinfect and deodorize your machine without harsh chemicals.
The real secret to a fresh-smelling washer is regular maintenance. Once you’ve done a thorough deep clean, keeping things fresh takes only a few minutes each week. Wipe the seal, leave the door open, use the right amount of detergent, and run a monthly cleaning cycle.
Hopefully, this guide on how to clean out smelly washing machine has given you the tools and knowledge to effectively clean and maintain your washing machine.

About
Ethan Wrenford is a dedicated home appliance specialist with years of hands-on experience in appliance troubleshooting, maintenance, repair, and DIY diagnostics. His professional focus lies in combining practical repair knowledge with simple, easy-to-follow solutions, helping homeowners understand common appliance problems and confidently identify potential causes at home. As an author at ApplianceWhy, Ethan shares practical knowledge on home appliance repair, DIY appliance diagnostics, maintenance, troubleshooting, appliance care, and everyday solutions for common household appliance issues.
Education
Portland Community College (Portland, USA)
Associate Degree in Appliance Technology & Residential Systems
- Focused on residential appliance systems, electrical fundamentals, mechanical components, and appliance troubleshooting.
- Developed practical skills in appliance diagnostics, component testing, electrical safety, and repair procedures.
- Gained hands-on experience working with refrigerators, washing machines, dryers, dishwashers, ovens, ranges, and other household appliances.
Oregon Institute of Technology (Klamath Falls, USA)
Bachelor’s in Applied Electronics & Technology
- Specialized in electrical systems, electronic controls, sensors, motors, and residential equipment.
- Studied diagnostic techniques for identifying electrical, mechanical, and component-related appliance problems.
- Completed practical projects involving appliance control systems, troubleshooting methods, preventive maintenance, and repair fundamentals.
Publications and Impact
Through ApplianceWhy, Ethan shares practical insights into home appliance repair, DIY diagnostics, maintenance, troubleshooting, and appliance care. His writing focuses on turning confusing appliance problems into simple, understandable steps that homeowners can follow safely.
Ethan covers everything from diagnosing a refrigerator that is not cooling and a washing machine that will not drain to troubleshooting dryers, dishwashers, ovens, microwaves, and other common household appliances. His content helps readers understand appliance symptoms, identify possible causes, perform basic diagnostic checks, and determine when professional repair may be necessary.
Through his work, Ethan aims to bridge the gap between professional appliance repair knowledge and everyday homeowners—making appliance troubleshooting more approachable, practical, and accessible to everyone who wants to diagnose smarter, maintain better, and keep their appliances running longer.