

Your garbage disposal works hard every single day. It grinds up food scraps, handles messy leftovers, and keeps your kitchen sink flowing smoothly.
But over time, all that food buildup leads to nasty smells, sticky grime, and even clogs. Most cleaning tips point straight to vinegar, but you don’t actually need it to get the job done.
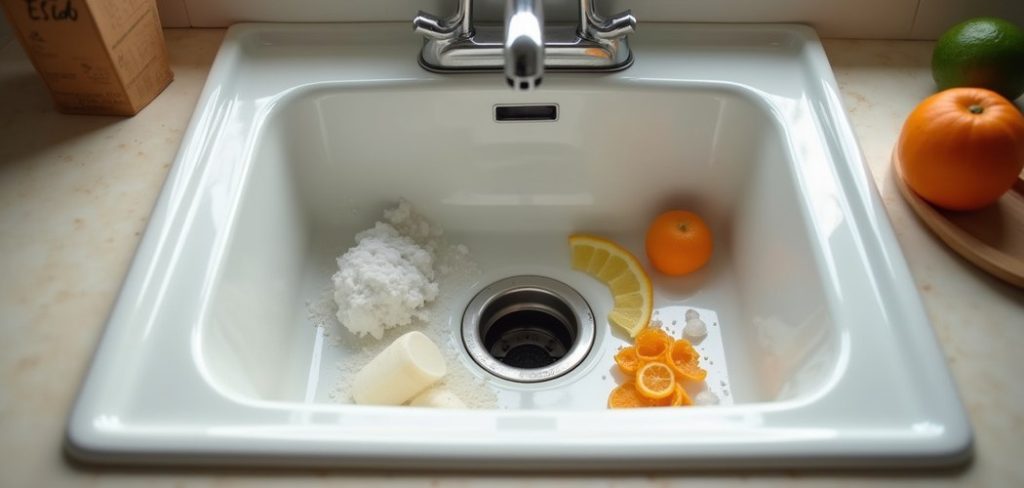
Maybe you’re out of vinegar, or maybe you just don’t like the sour smell it leaves behind.
Either way, there are plenty of simple, effective ways to freshen up your disposal using items you probably already have at home.
From baking soda and citrus peels to dish soap and hot water, these methods clean deep and smell great.
In this guide on how to clean garbage disposal without vinegar, you’ll learn exactly how to clean your garbage disposal without vinegar. Let’s get your sink smelling fresh again.
The Benefits of Cleaning Your Garbage Disposal Regularly
Keeping your garbage disposal clean does more than just banish bad odors. Here’s why regular cleaning matters:
Just a few minutes of cleaning each week makes a big difference. Your kitchen stays cleaner, your disposal runs better, and you avoid unpleasant surprises.
- Eliminates foul smells. Food particles get trapped inside the disposal and rot over time. Regular cleaning removes this buildup and keeps your kitchen smelling fresh.
- Prevents clogs. Grease, grime, and stuck food can slow down drainage. A clean disposal moves waste through smoothly and keeps water flowing.
- Extends the life of your unit. Buildup forces your disposal to work harder. Cleaning it regularly reduces wear and helps it last longer.
- Kills bacteria and germs. A dirty disposal is a breeding ground for germs. Cleaning cuts down on bacteria that can spread to your dishes and hands.
- Saves money on repairs. A well-maintained disposal is less likely to break down. Simple upkeep now means fewer expensive fixes later.
- Keeps pests away. Rotting food attracts fruit flies and other pests. A clean disposal gives them nothing to feed on.
What Will You Need?
Before you start, gather these simple items. You likely have most of them in your kitchen already:
Having everything ready before you begin makes the whole process quick and smooth. Now let’s get into the steps.
- Baking soda
- Coarse salt or rock salt
- Ice cubes
- Fresh citrus peels (lemon, lime, or orange)
- Dish soap
- A stiff-bristled brush or an old toothbrush
- Rubber gloves
- A flashlight
- Tongs (never use your hands to reach inside)
- Hot water
- A clean cloth or sponge
10 Easy Steps on How to Clean Garbage Disposal Without Vinegar
Step 1: Turn Off the Power
Safety comes first. Before you touch anything, switch off the power to your garbage disposal. Head to your breaker box and flip the switch, or unplug the unit from under the sink. This step is not optional.
A disposal that turns on while your hand is near the blades can cause serious injury. Take a moment to confirm the power is truly off by flipping the wall switch.
If nothing happens, you’re safe to move forward.
Step 2: Inspect the Inside
Grab your flashlight and shine it down into the disposal. Look for any stuck food, debris, or objects that shouldn’t be there. Sometimes small items like bottle caps, bones, or utensils fall in without you noticing.
Take note of any visible grime or buildup on the walls and blades. This quick check helps you know what you’re dealing with and prevents damage during cleaning.
Never stick your hand inside, even with the power off.
Step 3: Remove Debris With Tongs
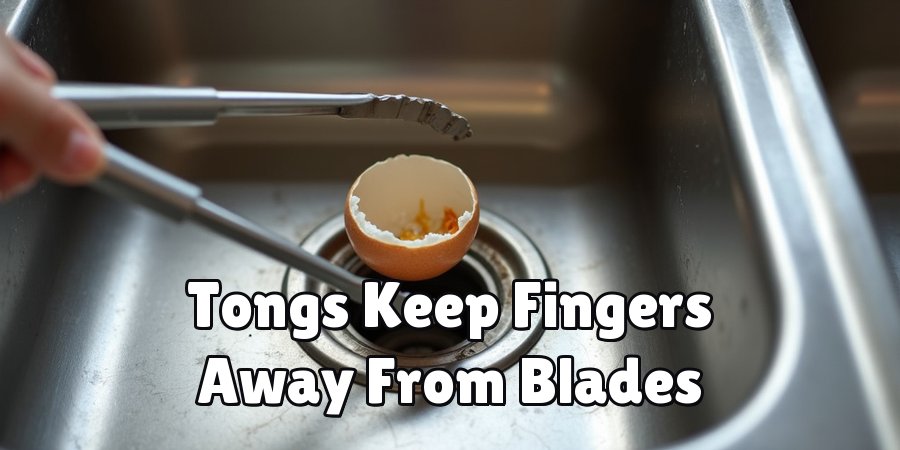
If you spotted any large pieces of food or foreign objects, remove them now. Use a pair of tongs or pliers to carefully pull them out.
Reaching in with tongs keeps your fingers safely away from the sharp blades. Work slowly and gently so you don’t push anything deeper into the unit.
Once you’ve cleared out the big stuff, you’re ready to start the deep clean. This step alone can solve many odor and clog problems.
Step 4: Scrub the Rubber Splash Guard
The rubber flaps at the top of your disposal, called the splash guard, collect a shocking amount of grime. Food residue and bacteria love to hide in the folds.
Put on your rubber gloves, dip a stiff brush or old toothbrush in warm soapy water, and scrub both sides of each flap. Lift the flaps gently to reach underneath.
You’ll likely be surprised at how much gunk comes off. Rinse the brush often as you work.
Step 5: Pour in Baking Soda
Baking soda is your best friend for cleaning without vinegar. Pour about half a cup of baking soda directly into the disposal. It naturally absorbs odors and helps break down greasy buildup.
Let it sit for a few minutes so it can start working on the grime inside. Baking soda is gentle yet effective, and it won’t harm your pipes.
This simple ingredient does much of the heavy lifting in your cleaning routine.
Step 6: Add Coarse Salt and Ice Cubes
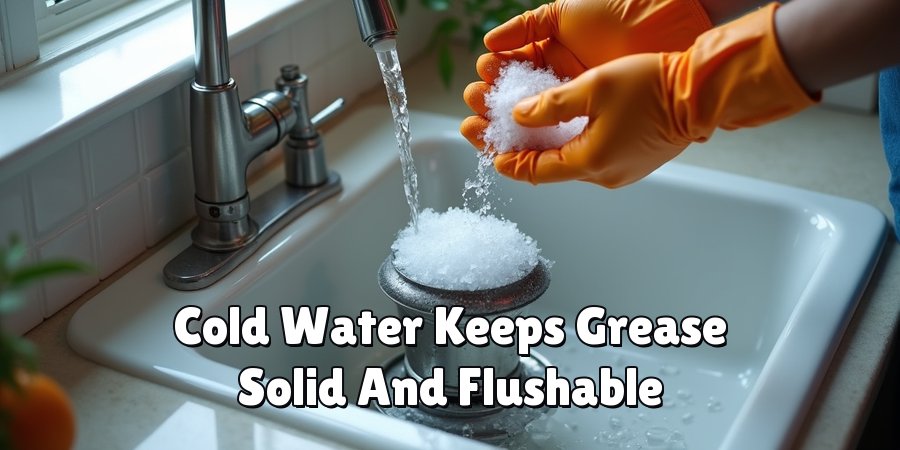
Now for a powerful scrubbing combo. Drop a handful of coarse salt or rock salt into the disposal, followed by a generous scoop of ice cubes.
The ice sharpens and cleans the blades, while the salt acts as a natural abrasive that scrapes off stuck-on debris. Together, they scour the inside of your disposal without any harsh chemicals.
This combination reaches spots your brush simply can’t, giving the interior a thorough clean.
Step 7: Run the Disposal With Cold Water
Turn the power back on. Start running cold water into the disposal, then switch it on. Let it grind up the ice and salt for about 30 seconds.
You’ll hear the ice cracking as it cleans the blades. Cold water keeps grease solid so it can be chopped up and flushed away, rather than smearing along the walls.
Keep the water running until the noise smooths out, which means the ice is fully broken down.
Step 8: Freshen With Citrus Peels
Time to add a natural, fresh scent. Toss a few pieces of lemon, lime, or orange peel into the disposal while the water runs. Turn the unit on and let it grind the peels for about 20 seconds.
The citrus oils release a clean, bright aroma and help cut through any lingering grease. This is a safe, chemical-free way to leave your disposal smelling wonderful.
Save your peels after cooking so you always have some on hand.
Step 9: Flush With Hot Water and Dish Soap
Now switch to hot water. Squirt a little dish soap into the disposal, then run hot water while the unit is on for about 15 to 20 seconds.
The hot water and soap work together to rinse away any loosened grime, salt, and food particles. This final flush clears out everything you’ve broken loose during the previous steps.
Make sure the water runs clear before you turn things off.
Step 10: Wipe Down and Dry
Finish by cleaning the visible parts. Use a damp cloth or sponge to wipe around the sink drain, the splash guard, and the surrounding area.
Dry everything with a clean towel to prevent water spots and discourage bacterial growth. Take one last look with your flashlight to confirm the inside looks clean and clear.
Your garbage disposal is now fresh, clean, and ready to use. Great work!
5 Things You Should Avoid
Cleaning your disposal the right way matters, but so does avoiding these common mistakes:
Steer clear of these habits, and your disposal will stay in top shape for years.
- Don’t use your hands inside the disposal. Even with the power off, the blades are sharp. Always use tongs or pliers to remove debris.
- Don’t pour grease or oil down the drain. Grease hardens as it cools and sticks to the inside of your disposal and pipes. This leads to stubborn clogs and bad smells.
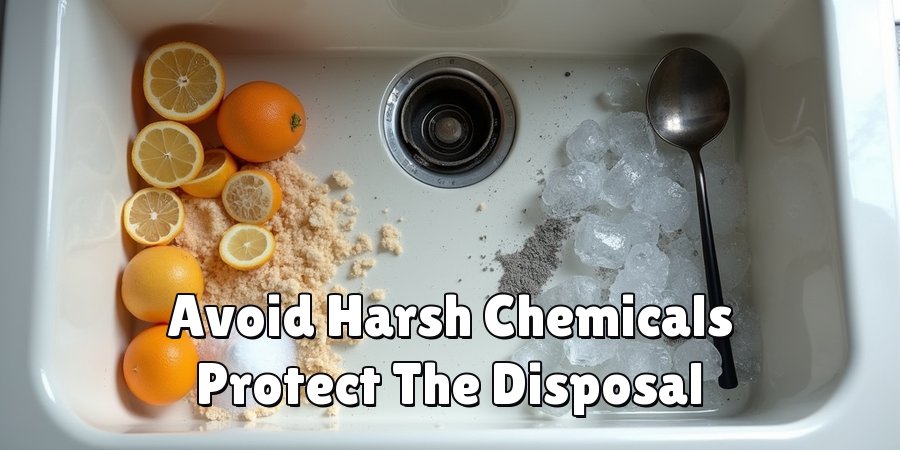
- Don’t use harsh chemical drain cleaners. These products can damage the rubber and metal parts of your disposal. Stick to natural, gentle cleaners like baking soda and salt.
- Don’t run the disposal without water. Water helps flush food particles through the system. Running it dry can overheat the motor and dull the blades.
- Don’t ignore regular maintenance. Waiting too long between cleanings lets buildup and odors get out of control. A quick weekly rinse keeps problems from starting.
Conclusion
How to clean garbage disposal without vinegar is easier than you might think. With simple ingredients like baking soda, salt, ice, and citrus peels, you can banish odors, break down buildup, and keep your unit running smoothly. Best of all, these methods are natural, affordable, and safe for your pipes.
By following the ten easy steps in this guide, you’ll have a fresh, clean disposal in just a few minutes. Remember to turn off the power first, avoid harsh chemicals, and stick to a regular cleaning routine. Small habits make a big difference over time.
Now that you know exactly what to do, go give your garbage disposal the care it deserves. Your kitchen will smell better, your sink will drain faster, and your disposal will last longer. Grab those citrus peels and get started today!

About
Ethan Wrenford is a dedicated home appliance specialist with years of hands-on experience in appliance troubleshooting, maintenance, repair, and DIY diagnostics. His professional focus lies in combining practical repair knowledge with simple, easy-to-follow solutions, helping homeowners understand common appliance problems and confidently identify potential causes at home. As an author at ApplianceWhy, Ethan shares practical knowledge on home appliance repair, DIY appliance diagnostics, maintenance, troubleshooting, appliance care, and everyday solutions for common household appliance issues.
Education
Portland Community College (Portland, USA)
Associate Degree in Appliance Technology & Residential Systems
- Focused on residential appliance systems, electrical fundamentals, mechanical components, and appliance troubleshooting.
- Developed practical skills in appliance diagnostics, component testing, electrical safety, and repair procedures.
- Gained hands-on experience working with refrigerators, washing machines, dryers, dishwashers, ovens, ranges, and other household appliances.
Oregon Institute of Technology (Klamath Falls, USA)
Bachelor’s in Applied Electronics & Technology
- Specialized in electrical systems, electronic controls, sensors, motors, and residential equipment.
- Studied diagnostic techniques for identifying electrical, mechanical, and component-related appliance problems.
- Completed practical projects involving appliance control systems, troubleshooting methods, preventive maintenance, and repair fundamentals.
Publications and Impact
Through ApplianceWhy, Ethan shares practical insights into home appliance repair, DIY diagnostics, maintenance, troubleshooting, and appliance care. His writing focuses on turning confusing appliance problems into simple, understandable steps that homeowners can follow safely.
Ethan covers everything from diagnosing a refrigerator that is not cooling and a washing machine that will not drain to troubleshooting dryers, dishwashers, ovens, microwaves, and other common household appliances. His content helps readers understand appliance symptoms, identify possible causes, perform basic diagnostic checks, and determine when professional repair may be necessary.
Through his work, Ethan aims to bridge the gap between professional appliance repair knowledge and everyday homeowners—making appliance troubleshooting more approachable, practical, and accessible to everyone who wants to diagnose smarter, maintain better, and keep their appliances running longer.