

Your washing machine cleans your clothes. But what cleans the machine? Agitator models, in particular, tend to hoard soap scum, mineral deposits, and the occasional patch of mold in spots you’d never think to check. Ignore it long enough, and you’ll notice the signs: a musty smell that clings to fresh laundry, clothes that come out looking slightly grayer than they went in, and a machine that seems to be aging faster than it should.
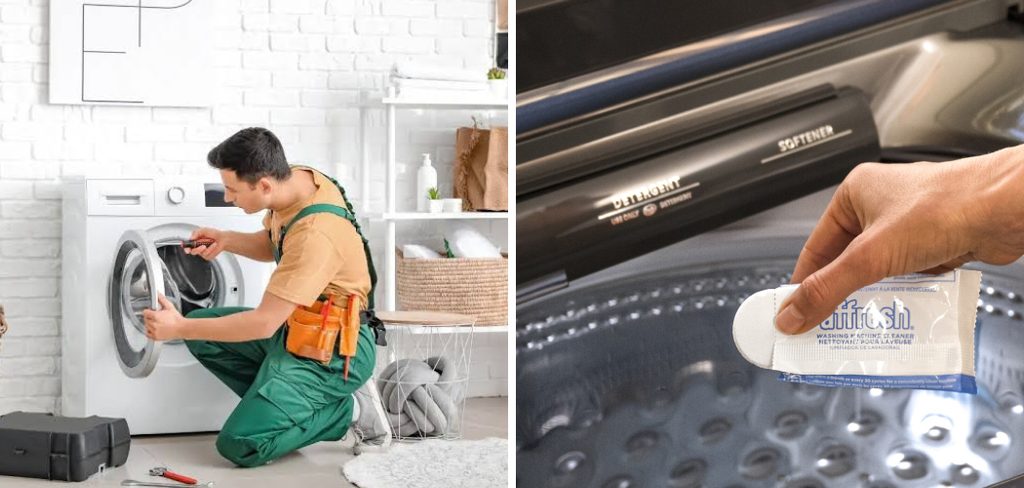
Here’s the reassuring part. Cleaning an agitator washer isn’t complicated, and it won’t eat up your afternoon. The hands-on portion takes under an hour, and most of that is just waiting around while the machine soaks. A few things you probably already have in the pantry, plus the steps below, and you’re set. Let’s get into it. In this guide on how to clean agitator washing machine, we’ll discuss the supplies you need and detailed steps to get your machine looking new again.
Materials Needed
Gather your supplies first. It sounds obvious, but hunting for a toothbrush mid-clean is a small annoyance you can easily avoid.
White Vinegar
Distilled white vinegar does the heavy lifting here. It cuts soap scum, breaks down mineral buildup, and takes the edge off stubborn odors. Have roughly four cups ready.
Baking Soda
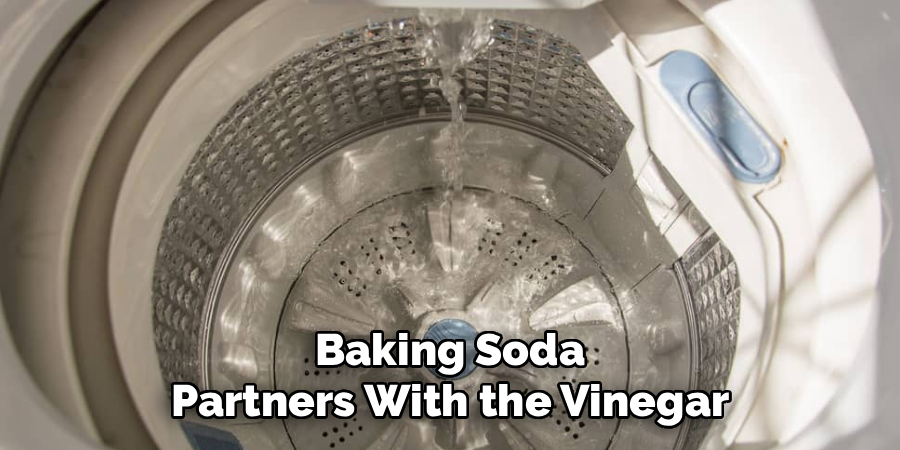
Baking soda partners with the vinegar to scrub away grime and soak up whatever smells are hanging around. One cup should do it.
Microfiber Cloths
Soft microfiber won’t scratch the surfaces as you wipe. Two or three cloths give you enough to work with.
Old Toothbrush or Soft Brush
A small brush gets into the grooves around the agitator and under the rim, which is exactly where the gunk likes to hide.
Bucket and Warm Water
Keep a bucket of warm water nearby for rinsing cloths and mixing solutions as you go.
Rubber Gloves
Older machines can hold a surprising amount of grime. Gloves keep your hands out of it and away from the cleaning agents.
7 Simple Steps on How to Clean Agitator Washing Machine
Step 1: Empty the Machine
Check that the drum is truly empty. Stray socks have a way of hiding, and a rogue coin can rattle around during a cycle. A quick look now saves hassle later.
Step 2: Run a Hot Water Cycle with Vinegar
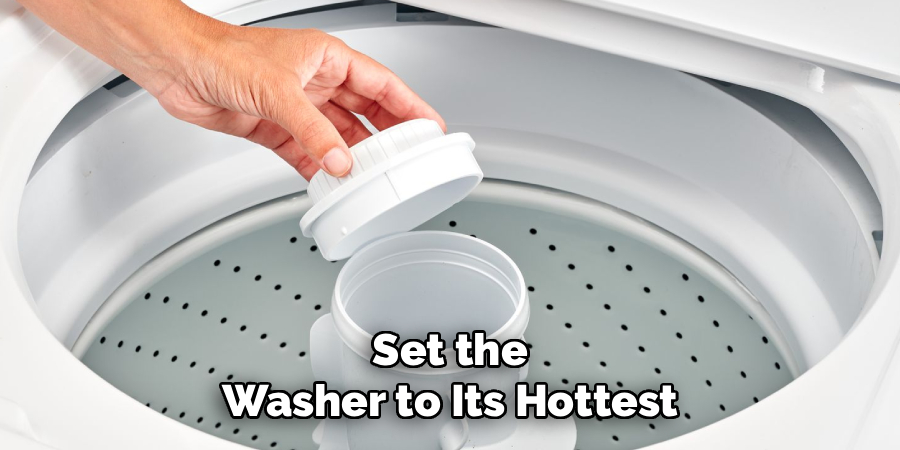
Set the washer to its hottest, largest cycle. Pour four cups of white vinegar straight into the drum and start it up. Let it churn for a minute or two so the vinegar disperses through the water, then pause the machine and walk away for an hour. That long soak is what loosens the grime and knocks out the bacteria responsible for those off smells.
Step 3: Add Baking Soda and Finish the Cycle
Once the hour’s up, tip a cup of baking soda into the drum. Resume the cycle and let it finish all the way through. Vinegar and baking soda together tend to break down buildup fairly well, leaving the interior noticeably fresher.
Step 4: Clean the Agitator
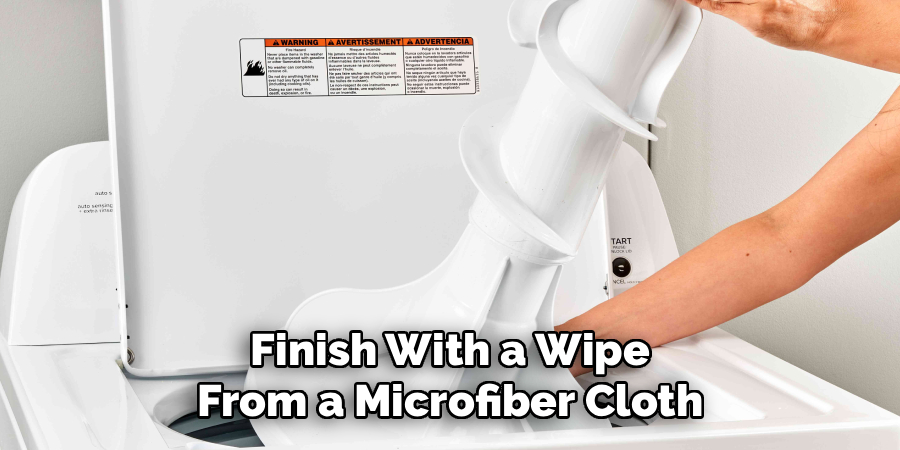
If your model has a fabric softener dispenser at the top of the agitator, pull it out and rinse it under warm water. Dip your toothbrush into a vinegar solution and work it into the agitator’s grooves. Pay attention to the base especially, since residue seems to gather there more than anywhere else. Finish with a wipe from a microfiber cloth.
Step 5: Wipe Down the Drum and Rim
Gloves on. Dampen a cloth with warm water and a splash of vinegar, then wipe down the inside of the drum. Move slowly under the rim, where mold and soap scum like to settle out of sight. For anything that won’t budge, bring in the brush.
Step 6: Clean the Dispensers and Exterior
Detachable detergent and bleach dispensers can come out and soak in warm water. Scrub off the crusty bits with your brush. Then give the outside of the machine a wipe, control panel and door included, using a clean cloth.
Step 7: Run a Final Rinse Cycle
Run one more short hot cycle with nothing added. This flushes out loosened debris and any cleaning solution still lingering. When it wraps up, prop the lid open and let the interior air-dry. Skipping this bit is how leftover moisture invites mold to move right back in.
Work through these steps on how to clean agitator washing machine in order. Block out about an hour, though remember, a good chunk of that is soak time where you’re free to do something else.
Common Mistakes to Avoid
The most serious slip-up is mixing bleach and vinegar. Combined, they release chlorine gas, which you genuinely do not want to breathe. Use them in separate cycles, never together. It’s worth repeating because people forget.
Skipping the drying step is another one. Close the lid on a damp drum, and you’ve basically built mold a home. Leave it open.
Then there’s detergent. Many people use far more than they need, which ironically creates the same buildup they’re trying to scrub away. Stick to the recommended dose, and if your machine calls for high-efficiency detergent, switch to it. And those small parts, the dispensers and the softener cup? They tend to hold the most residue, so don’t let them slide.
Do You Need to Use Professionals?
For routine upkeep, no. The steps above are well within reach for most people, and running through them every month or two keeps the machine in good shape for little more than the price of a bottle of vinegar.
There are exceptions, though. Persistent leaks, odd noises, or a smell that survives a thorough clean could point to something mechanical, or mold that’s worked its way into the internal components. When that’s the case, an appliance technician is the smarter call. Catching a problem early often means avoiding a heftier repair bill later on.
How Much Will It Cost?
Doing this yourself is about as cheap as home maintenance gets. A bottle of white vinegar runs somewhere around $3 to $5, and a box of baking soda is roughly a dollar. Since both stretch across many uses, a single cleaning session might cost you less than a dollar in actual supplies. The cloths and brush are one-time buys you’ll get years out of.
Bringing in a professional is a different story. Appliance cleaning or servicing generally lands between $75 and $200, depending on where you live and how involved the job turns out to be. For most households, the DIY approach handles things fine, which leaves that budget for an actual repair when one comes along.

Frequently Asked Questions
Q1: How Often Should I Clean My Agitator Washing Machine?
Cleaning it once every one to two months keeps most machines fresh and running smoothly. If you regularly wash heavily soiled loads or live somewhere with hard water, monthly is the safer bet since buildup accumulates faster under those conditions.
Q2: Can I Use Bleach Instead of Vinegar?
You can use bleach to disinfect, but never mix it with vinegar, as that combination produces toxic fumes. If bleach is your preference, run a separate hot cycle with about a cup of it, then follow up with a plain rinse cycle to clear the residue.
Q3: Why Does My Washing Machine Still Smell After Cleaning?
A smell that hangs on usually means moisture is trapped somewhere or mold is still lurking in a hidden pocket like the rim or dispensers. Leave the lid open between washes to let things dry, and give those awkward spots an extra scrub. If the odor won’t quit, it may hint at a drainage issue worth having looked at.
Q4: How Can I Prevent My Washing Machine from Smelling?
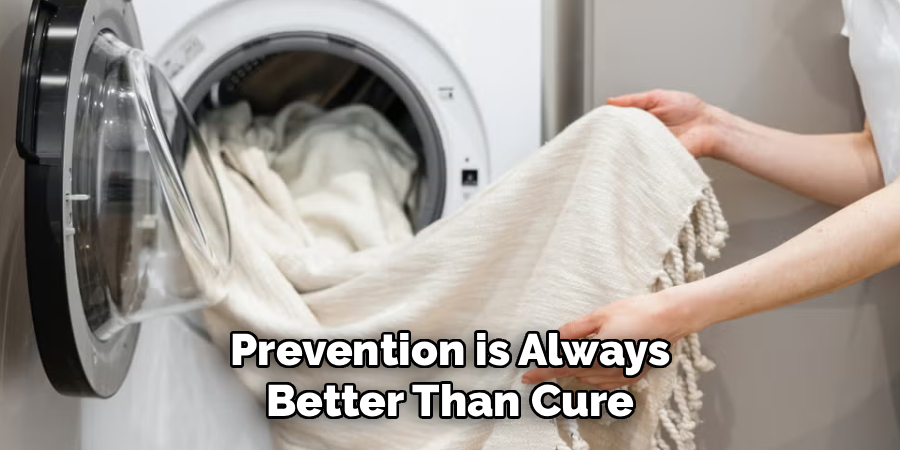
Prevention is always better than cure, and there are a few simple things you can do to keep your washing machine smelling fresh. First, make sure to regularly clean the rubber gasket around the door or lid of your machine with a solution of water and vinegar. This will help prevent mold growth in this area.
You should also leave the lid or door open between washes to allow moisture to evaporate, preventing any lingering smells. Additionally, it’s important to empty lint traps and clean out filters regularly to avoid buildup that can lead to odors.
Keep Your Machine Fresh and Running Longer
A clean washing machine isn’t only about a pleasant smell, though that’s a nice bonus. It protects your clothes and can add years to the appliance itself. Set aside an hour every month or two for these seven steps, and you’ll sidestep the musty odors, the stubborn buildup, and the premature wear, all for the cost of a few pantry staples.
The trick is making it routine. Put a reminder on your calendar, keep the vinegar and baking soda somewhere easy to grab, and get to the job before trouble starts brewing. A bit of regular attention pays off in cleaner laundry and, honestly, a healthier home. Thanks for reading this guide on how to clean agitator washing machine.

About
Ethan Wrenford is a dedicated home appliance specialist with years of hands-on experience in appliance troubleshooting, maintenance, repair, and DIY diagnostics. His professional focus lies in combining practical repair knowledge with simple, easy-to-follow solutions, helping homeowners understand common appliance problems and confidently identify potential causes at home. As an author at ApplianceWhy, Ethan shares practical knowledge on home appliance repair, DIY appliance diagnostics, maintenance, troubleshooting, appliance care, and everyday solutions for common household appliance issues.
Education
Portland Community College (Portland, USA)
Associate Degree in Appliance Technology & Residential Systems
- Focused on residential appliance systems, electrical fundamentals, mechanical components, and appliance troubleshooting.
- Developed practical skills in appliance diagnostics, component testing, electrical safety, and repair procedures.
- Gained hands-on experience working with refrigerators, washing machines, dryers, dishwashers, ovens, ranges, and other household appliances.
Oregon Institute of Technology (Klamath Falls, USA)
Bachelor’s in Applied Electronics & Technology
- Specialized in electrical systems, electronic controls, sensors, motors, and residential equipment.
- Studied diagnostic techniques for identifying electrical, mechanical, and component-related appliance problems.
- Completed practical projects involving appliance control systems, troubleshooting methods, preventive maintenance, and repair fundamentals.
Publications and Impact
Through ApplianceWhy, Ethan shares practical insights into home appliance repair, DIY diagnostics, maintenance, troubleshooting, and appliance care. His writing focuses on turning confusing appliance problems into simple, understandable steps that homeowners can follow safely.
Ethan covers everything from diagnosing a refrigerator that is not cooling and a washing machine that will not drain to troubleshooting dryers, dishwashers, ovens, microwaves, and other common household appliances. His content helps readers understand appliance symptoms, identify possible causes, perform basic diagnostic checks, and determine when professional repair may be necessary.
Through his work, Ethan aims to bridge the gap between professional appliance repair knowledge and everyday homeowners—making appliance troubleshooting more approachable, practical, and accessible to everyone who wants to diagnose smarter, maintain better, and keep their appliances running longer.