

Your refrigerator runs day and night to keep food fresh, yet it tends to be the one appliance nobody thinks about scrubbing. Spills dry into the corners. Crumbs collect under the crisper. A forgotten container of leftovers slowly goes strange in the back. Over time, all that neglect can invite bacteria like Salmonella and Listeria, which may spread to your food and put your household at some risk.
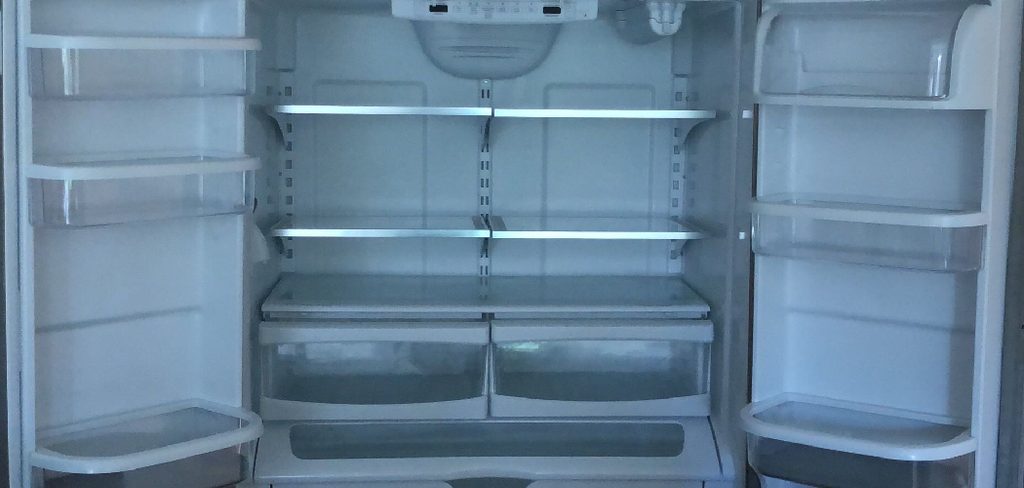
Here’s the reassuring part. Cleaning out a fridge is far less painful than most people expect. A handful of everyday supplies and roughly an hour of your afternoon can clear out lingering bacteria, cut through stale smells, and keep your groceries safer for longer. What follows is the whole process, from the tools worth gathering to a seven-step method that leaves your refrigerator genuinely clean rather than just wiped over. In this guide on how to disinfect refrigerator, we will also give you some tips on how to maintain a clean and organized fridge.
What You Need to Disinfect a Refrigerator
Pull your supplies together before you touch a single shelf. It sounds obvious, but hunting for a sponge halfway through a job tends to stall the whole thing. You’ll want dish soap, warm water, white vinegar, baking soda, and a food-safe disinfectant. Microfiber cloths and a soft sponge do the wiping without scratching the interior.
A small bucket or bowl holds your cleaning solution. An old toothbrush gets into the corners a cloth can’t reach. Keep a few clean towels on hand for drying. If your shelves and drawers lift out, clear some counter or sink space to wash them on their own. And a cooler, or a couple of insulated bags, keeps your perishables cold while the door stays open.
Safety Precautions Before Disinfecting
Start by unplugging the refrigerator. Water and cleaning solutions near the interior lights or control panel are worth taking seriously, and pulling the plug removes the electrical risk entirely. It also saves a little energy while the door sits open.
Read the labels on whatever products you’re using, and never mix them without checking. Bleach and vinegar together, for instance, can release fumes you really don’t want to breathe. Gloves protect your hands from harsher solutions. Crack a window or switch on a fan so the space stays ventilated. One more thing worth remembering: skip abrasive scrubbers. They can gouge plastic components and leave scratches where grime later settles.
Tools Needed
- Baking soda
- White vinegar
- Dish soap
- Cleaning brush or old toothbrush
- Microfiber cloth or sponge
- Spray bottle
7 Simple Steps on How to Disinfect Refrigerator
With the prep done, here’s the method, one step at a time.
Step 1: Empty the Refrigerator Completely
Take everything out. Food, condiments, that half-empty jar of something you can’t identify, all of it. Move perishables into a cooler or insulated bags so they stay cold. As each shelf empties, glance at expiration dates and bin anything spoiled or long past its prime. Think of it as a decluttering session that happens to double as cleaning.

Step 2: Remove Shelves, Drawers, and Racks
Lift out every removable part. Shelves, crisper drawers, door bins. Let glass shelves warm to room temperature before they meet water, because a sudden shift from cold to hot may crack them. Set the pieces aside; they get washed separately.
Step 3: Wash Removable Parts
Fill the sink with warm water and a few drops of dish soap. Work through each shelf and drawer with a soft sponge, lifting away grime and stuck-on residue. Stubborn stains loosen if you let the parts soak for a few minutes first. Rinse everything well, then leave it on a towel to air dry. Fully dry matters here, so don’t rush it.
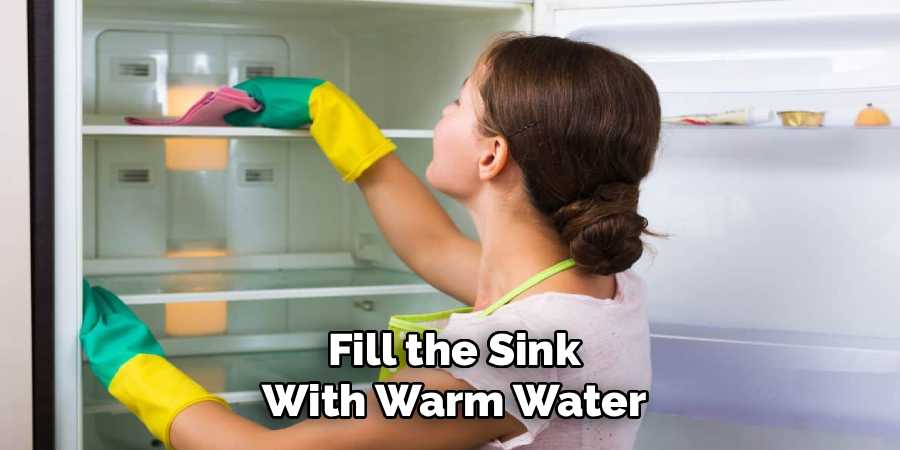
Step 4: Clean the Interior Surfaces
Wipe the interior walls, floor, and ceiling with warm soapy water. The spots people miss are the seams, the corners, and the door gaskets, which are exactly where crumbs and dried spills hide. That toothbrush earns its place now, reaching into grooves a cloth simply skates over.
Step 5: Disinfect With a Safe Solution
Mix equal parts white vinegar and water in a spray bottle, or reach for a food-safe disinfectant. Coat the interior surfaces and let it sit for a few minutes so it has time to work on any bacteria still clinging on. Vinegar appeals here for a reason: it’s non-toxic, it costs almost nothing, and it happens to knock out odors while it cleans. For a space that holds your food, that’s a sensible trade.
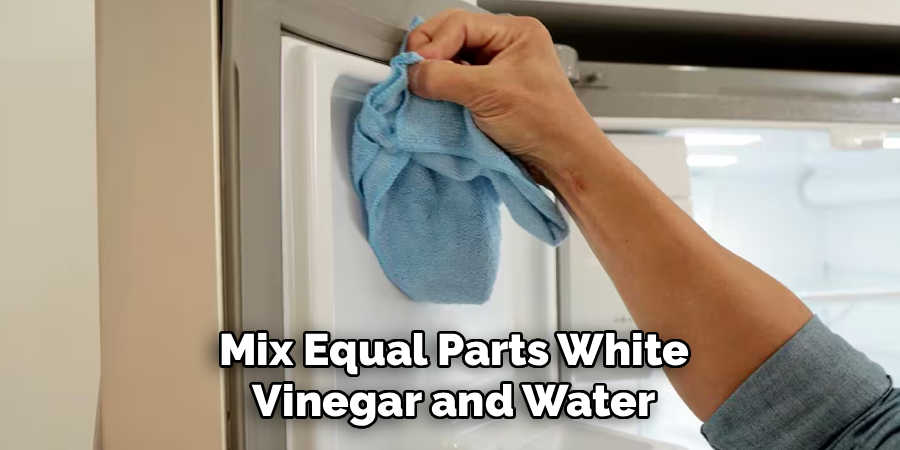
Step 6: Wipe Down and Deodorize
Clear the disinfectant away with a damp microfiber cloth, then dry every surface with a fresh towel. To keep things smelling clean, tuck an open box of baking soda inside; it quietly absorbs odors over the following weeks. If a particular corner still holds a smell, a little baking soda paste rubbed on the shelf usually settles it.
Step 7: Clean the Exterior and Door Seals
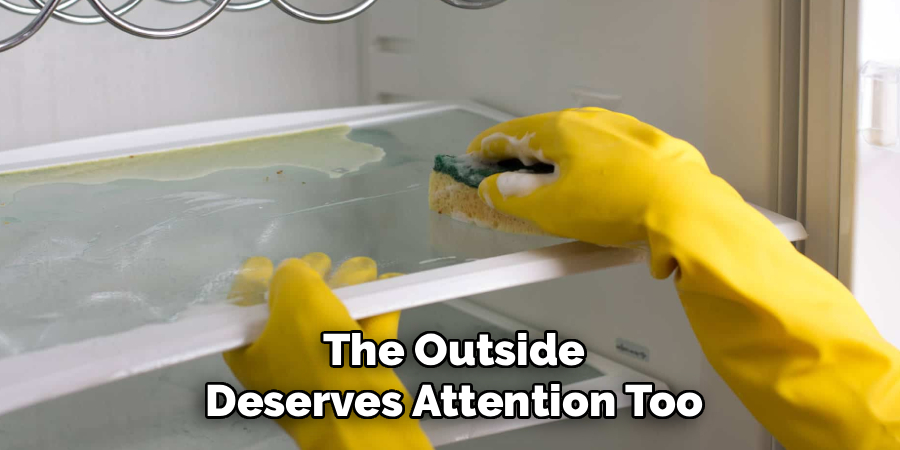
The outside deserves attention too. Doors, handles, and control panels gather fingerprints and germs from daily use, so give them a wipe. The rubber door seals need a gentler touch with a soft cloth and soapy water, since their folds trap food particles and, given time, mold. Finish stainless steel with a suitable cleaner for a streak-free look.
Following these steps on how to disinfect refrigerator, you will ensure a germ-free appliance and prolong its life. But before you close the fridge door, take an extra minute to spare on the coils.
How to Put the Refrigerator Back Together?
Once every surface is clean and properly dry, reassembly is straightforward. Return the shelves and drawers to their spots, and again, check that glass shelves have reached room temperature so they don’t crack under stress. Slide the crisper drawers home and clip the door bins back on.
Plug the fridge in and give it 15 to 20 minutes to drop back to a safe temperature, below 40°F or 4°C, before you restock. While you’re at it, wipe down any jars or containers with sticky bottoms, so you’re not reintroducing the mess you just removed. Group items by category to make things findable, and keep raw meats on the bottom shelf, where drips can’t reach the food below.
Common Mistakes to Avoid
The most common misstep is reaching for bleach on food-contact surfaces. It may leave residue you’d rather not have near your groceries. Skipping the door gaskets is another one, since those folds are practically designed to hide mold. And a lot of people rush the drying stage, which tends to backfire; leftover moisture invites the very mold and odors you were trying to eliminate.
Cold glass in hot water is asking for a shatter, so let those shelves warm up first. The drip pan and condenser coils fall outside a routine wipe-down, true, but ignoring them for years may drag down performance. Last of all, resist the urge to restock before the interior has fully cooled and dried.
How Often Should You Disinfect a Refrigerator?
Spills get dealt with the moment they happen. A full disinfecting session, though, is roughly a once-every-three-or-four-months job for most households. Cook a lot? Buy fresh produce in bulk? Feeding a big family? You might find monthly cleaning makes more sense. Either way, regular upkeep keeps bacteria in check and appears to extend the working life of the appliance.
A deep clean also makes sense the moment you spot lingering odors, visible mold, or a spill that has crept across more than one shelf. A quick weekly pass, tossing anything expired and wiping obvious messes, shrinks the effort each deep clean demands. Consistency is what protects your food and, by extension, your family’s health.
When to Get Professional Help?
Most fridge cleaning is squarely a DIY affair. Some situations, however, point elsewhere. Mold that keeps returning after a proper scrub, smells that won’t quit no matter how thoroughly you clean, or any sign of a coolant leak could indicate a mechanical problem rather than a hygiene one.
Reach out to a technician if the fridge struggles to cool, makes noises it didn’t used to make, or has door seals damaged enough to let warm air seep in. A qualified professional can safely check the condenser coils, the drainage system, and the internal workings. Servicing like that fixes the immediate issue and may head off a more expensive breakdown later on.
Frequently Asked Questions
Q1: Can I Use Bleach to Disinfect My Refrigerator?
Bleach isn’t the best pick for food-contact surfaces, mainly because it can leave a residue you don’t want near what you eat. A food-safe disinfectant, or a simple mix of white vinegar and water, kills bacteria well without that concern.
Q2: How Do I Get Rid of Bad Smells in My Fridge?
Begin with a thorough clean, and give the spills and door gaskets extra attention, since smells often hide there. An open box of baking soda absorbs odors over time; swap it out monthly. A bowl of activated charcoal or even fresh coffee grounds can help with the more stubborn cases.
Q3: Do I Need to Unplug My Refrigerator to Clean It?
For a quick wipe-down, no, unplugging isn’t essential. For a deep disinfecting session, it’s the safer and more energy-efficient choice because the door stays open for a stretch. Just shift your perishables into a cooler first so nothing warms up.
Keep Your Fridge Fresh and Food Safe
A clean refrigerator does more than look tidy. It shields your food from harmful bacteria and helps the appliance run efficiently for years to come. Follow these seven steps on how to disinfect refrigerator , gather the right supplies, and sidestep the common mistakes, and a chore most people dread turns into something quick and oddly satisfying.
Make it a habit rather than an emergency, and the payoff shows up as fresher food, fewer odors, and a little more peace of mind. Grab your supplies, block out an hour this weekend, and give the fridge the clean it’s been quietly needing. Your future self will thank you.

The Appliance Why team — a small group who would rather take the back panel off than pay a call-out fee. We write the repair guides we wish we had found ourselves, test the fixes on our own machines, and say plainly when something is not worth repairing.