

Doing laundry might feel like a chore, but a washing machine makes it one of the easiest tasks in your home. Whether you just moved into your first apartment, upgraded to a new model, or simply never learned the ropes, understanding how to use a washer sets you up for cleaner clothes and less stress.
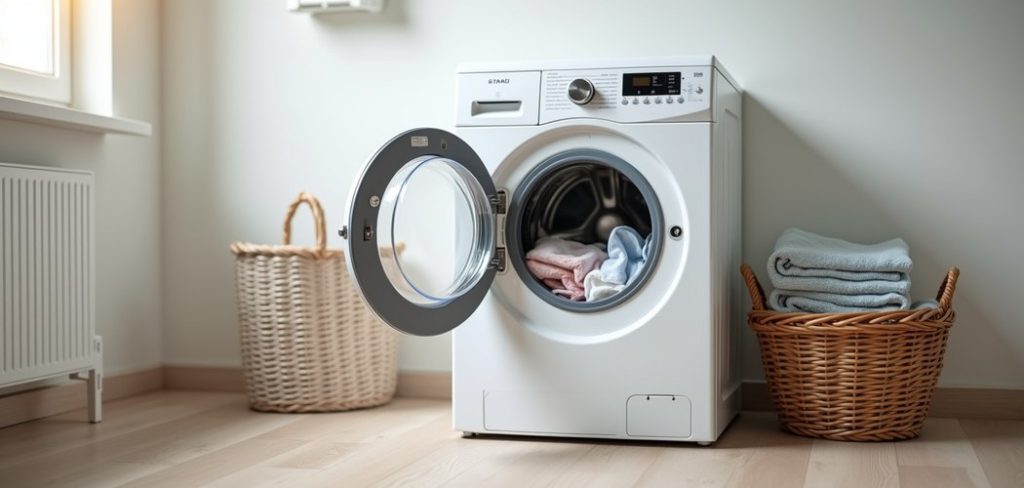
A washing machine does the heavy lifting for you. It scrubs, rinses, and spins your clothes with the push of a few buttons. Still, using one the right way matters.
The wrong settings can shrink your favorite sweater, fade bright colors, or leave detergent stuck in the fabric. Learn the basics once, and you will save time, money, and clothes for years.
This guide walks you through everything you need to know. By the end, you will feel confident tackling any pile of dirty laundry.
What Are the Benefits?
Using a washing machine offers plenty of advantages that go beyond just clean clothes. Here are the biggest reasons to master this handy appliance.
Put simply, a washing machine turns a tiring task into a quick and simple part of your week.

- It saves you time. Hand-washing clothes takes hours. A washer handles a full load in under an hour, freeing you to do other things while it runs.
- It saves water and energy. Modern washers use less water than washing by hand. Energy-efficient models keep your utility bills lower, too.
- It cleans better. Machines use consistent motion and the right water temperature to lift dirt and stains you might miss by hand.
- It’s gentle on your body. Scrubbing clothes by hand strains your back, hands, and wrists. A washer takes that physical load off you completely.
- It extends the life of your clothes. When you use the correct cycles and settings, your garments stay in better shape longer. Fewer stretched, torn, or faded items means fewer replacements.
- It handles large loads. Washing bulky items like sheets, towels, and blankets by hand is tough. A washer manages them with ease.
What Will You Need?
Before you start your first load, gather a few essentials. Having everything ready makes the process smooth and stress-free.
Once you have these items, you are ready to begin. Let’s break the process down into ten easy steps.
- A washing machine – Either a top-loader or front-loader will work.
- Laundry detergent – Choose liquid, powder, or pods based on your preference.
- Fabric softener (optional) – This keeps clothes soft and reduces static.
- Stain remover (optional) – Helpful for tough spots before washing.
- A laundry basket – To carry clothes to and from the machine.
- Dirty laundry – Sorted and ready to go.
- Mesh laundry bags (optional) – Great for delicate items like bras or socks.
- Measuring cup or cap – To use the correct amount of detergent.
10 Easy Steps on How to Use a Washer
Step 1: Sort Your Laundry
Start by separating your clothes into piles. Sort by color first. Keep whites, lights, and darks apart to prevent color bleeding. A red sock can turn a whole load pink, so this step matters.
Next, sort by fabric type. Heavy items like towels and jeans should not mix with delicate items like blouses or lingerie. Finally, consider how dirty each item is.
Very soiled work clothes need a different wash than lightly worn shirts. Taking a few minutes to sort saves you from ruined clothes and gives you cleaner results every time.
Step 2: Check the Care Labels
Every piece of clothing has a care label, usually inside the collar or along a seam. These small tags tell you how to wash each item safely.
Look for symbols that show water temperature, whether the item can be machine-washed, and if it needs special care. Some clothes say “hand wash only” or “dry clean only.” Respect these instructions to avoid damage.
Checking labels feels tedious at first, but it quickly becomes a habit. This simple step protects your investment and keeps your favorite pieces looking their best.
Step 3: Treat Stains First
Spot any stains before you load the machine. Grease, wine, grass, and food marks are easier to remove when treated right away. Apply a stain remover directly to the spot, or rub in a little detergent.
Let it sit for five to ten minutes. Gently rub the fabric together to work the product in. Tackling stains early gives you a much better chance of removing them completely.
If you toss a stained item straight into the wash, the mark may set permanently once it dries.

Step 4: Load the Washer Correctly
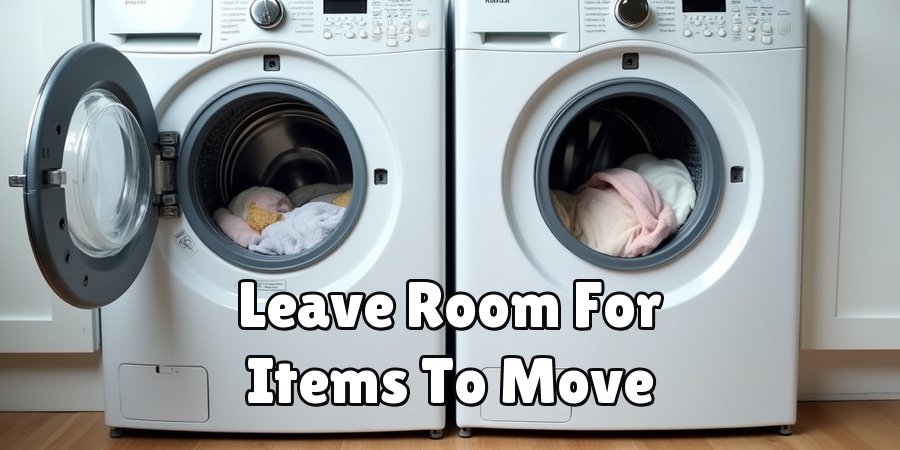
Place your sorted clothes into the drum. Don’t overload it. Clothes need room to move around so water and detergent can reach every fiber. A good rule is to fill the drum about three-quarters full.
Leave enough space to fit your hand between the clothes and the top of the drum. For front-loaders, loosely layer items rather than cramming them in. Balanced, evenly distributed loads spin better and reduce wear on the machine.
An overstuffed washer leaves clothes dirty and can strain the motor over time.
Step 5: Add the Detergent
Now it’s time to add your detergent. Measure the correct amount using the cap or a measuring cup. More is not better. Too much detergent leaves residue on clothes and can cause buildup in the machine.
Read the label for the right dose based on your load size. For top-loaders, pour detergent into the drum or the dispenser. For front-loaders, use the detergent drawer. If you use pods, toss one into the drum before adding clothes.
Add fabric softener to its own compartment if you want extra softness.
Step 6: Choose the Right Cycle
Select a wash cycle that matches your load. Most machines offer settings like Normal, Delicate, Heavy Duty, and Quick Wash. Use Normal for everyday clothes, Delicate for fragile fabrics, and Heavy Duty for towels or heavily soiled items.
Each cycle adjusts the wash time and motion to suit different needs. If you’re unsure, the Normal cycle works well for most loads. Choosing the right cycle protects your clothes and gives you the cleanest results without guesswork.
Step 7: Set the Water Temperature
Water temperature affects how well your clothes get clean and how they hold up. Use cold water for dark colors, delicates, and items that might shrink. Cold water saves energy and protects fabrics.
Warm water suits everyday loads and moderately dirty clothes. Hot water works best for whites, towels, and heavily soiled items, since it kills germs and lifts tough grime. When in doubt, follow the care label.
Cold water is a safe, energy-saving default for most everyday washing.

Step 8: Start the Machine
Once everything is set, close the lid or door firmly. Front-loaders won’t start unless the door is fully sealed. Press the Start button to begin the cycle. Some machines beep or light up to show they’re running.
You can now walk away and let the washer do its work. Most cycles take between thirty minutes and one hour.
If your machine has a timer display, you can check how much time is left at a glance.
Step 9: Remove Clothes Promptly
When the cycle finishes, take your clothes out right away. Leaving wet laundry in the drum too long causes a musty, mildew smell. Damp clothes sitting together can also wrinkle badly.
Shake out each item as you remove it to loosen wrinkles and help it dry evenly. If you can’t unload immediately, run a quick rinse cycle later to freshen things up.
Prompt removal keeps your clothes smelling fresh and ready for the next step.
Step 10: Dry Your Laundry
Finally, dry your clean clothes. You can use a dryer or hang them to air-dry. Check care labels again, since some items can’t handle high heat. Use the correct dryer setting for the fabric type.
Air-drying works well for delicates and helps clothes last longer. Hang shirts on hangers and lay sweaters flat to keep their shape. Once dry, fold or hang everything promptly to avoid wrinkles.
Congratulations, you’ve completed a full load of laundry.
5 Things You Should Avoid
Even with the basics down, a few common mistakes can trip you up. Here are five things to steer clear of.
1. Overloading the machine. Cramming in too many clothes stops them from getting clean and strains the motor. Always leave room for items to move freely.
2. Using too much detergent. Extra detergent doesn’t mean cleaner clothes. It leaves residue and can irritate your skin. Stick to the recommended amount.
3. Ignoring care labels. Skipping the labels leads to shrinking, fading, and ruined garments. Take a moment to read them before washing.
4. Mixing colors and whites. Washing bright colors with whites causes color bleeding. Always sort by color to keep your whites bright.
5. Leaving wet clothes in the drum. Forgetting your laundry creates a sour smell and forces you to rewash. Unload as soon as the cycle ends.
Avoid these pitfalls, and your laundry routine will run smoothly every time.
Conclusion
Learning how to use a washer is one of the most useful life skills you can pick up.
Once you understand the steps, laundry stops being a mystery and becomes a quick, simple part of your routine.
From sorting your clothes to choosing the right cycle, every step plays a part in getting clean, fresh results.
Remember to sort carefully, read care labels, and avoid overloading the machine. Small habits like measuring your detergent and unloading promptly make a big difference over time. These easy practices protect your clothes and help your washer last longer, too.
Don’t worry if your first few loads aren’t perfect. Everyone learns through practice. With this guide by your side, you have everything you need to wash with confidence. So grab that laundry basket, load up your washer, and enjoy the satisfaction of a fresh, clean pile of clothes. You’ve got this.

The Appliance Why team — a small group who would rather take the back panel off than pay a call-out fee. We write the repair guides we wish we had found ourselves, test the fixes on our own machines, and say plainly when something is not worth repairing.