

Few kitchen problems feel as frustrating as flipping the switch on your garbage disposal and hearing nothing but a low hum, or worse, complete silence.
One minute you’re rinsing dinner scraps down the drain, and the next you’re staring at a sink full of water that refuses to go anywhere.
A stuck garbage disposal is one of the most common plumbing headaches homeowners face, and the good news is that it’s also one of the easiest to fix on your own.
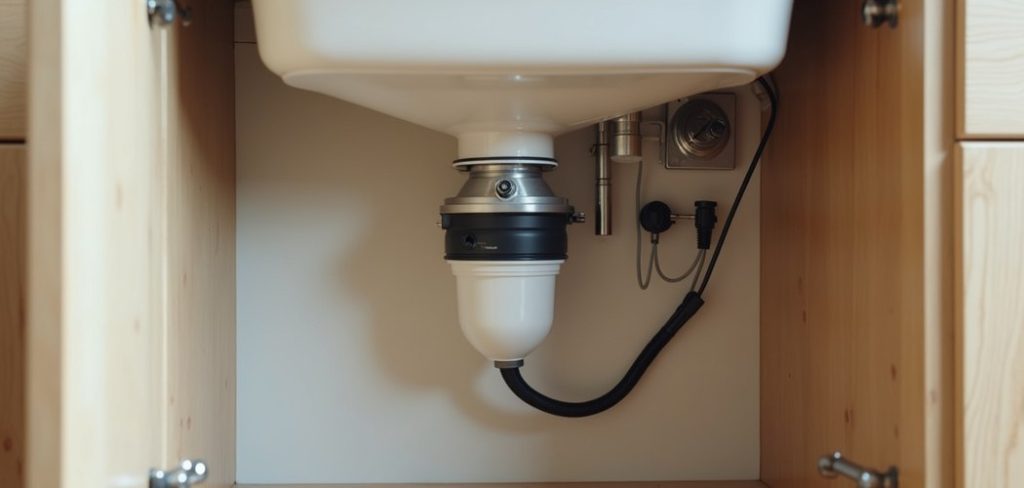
Most of the time, a jammed disposal isn’t broken at all.
Something small, like a fruit pit, a piece of bone, or a stray twist tie, has wedged itself between the grinding plate and the wall of the unit.
When that happens, the motor can’t turn, so it either hums helplessly or shuts off completely to protect itself.
This guide on how to unstick a garbage disposal walks you through everything you need to know to unstick your garbage disposal safely and confidently. By the end, you’ll be able to handle a jam like a pro and save yourself the cost of a service call.
Benefits of Fixing a Stuck Garbage Disposal Yourself
Learning to unstick your own disposal comes with more perks than you might expect. Here’s why it’s worth rolling up your sleeves.
- You save money. A plumber’s visit can easily cost $75 to $200 just to walk through the door. Most jams take only a few minutes to clear, so doing it yourself keeps that cash in your pocket.
- You save time. Waiting for a repair appointment can mean days with a sink you can’t use. When you know the fix, you solve the problem right away instead of rearranging your whole schedule.
- You gain confidence. There’s real satisfaction in fixing something with your own hands. Once you’ve cleared a jam successfully, you’ll never feel helpless when it happens again.
- You avoid unnecessary replacements. Many people assume a humming or silent disposal means the unit is dead and needs replacing. In reality, it usually just needs a quick unjam. Knowing this saves you from buying a new appliance you don’t need.
- You learn how your appliance works. Understanding the inner workings of your disposal helps you use it better and prevent future problems. That knowledge pays off for years.
- You keep your kitchen running. A working disposal keeps your sink clear, your kitchen clean, and your daily routine smooth. Fixing it fast means less mess and fewer bad smells.
What Will You Need?
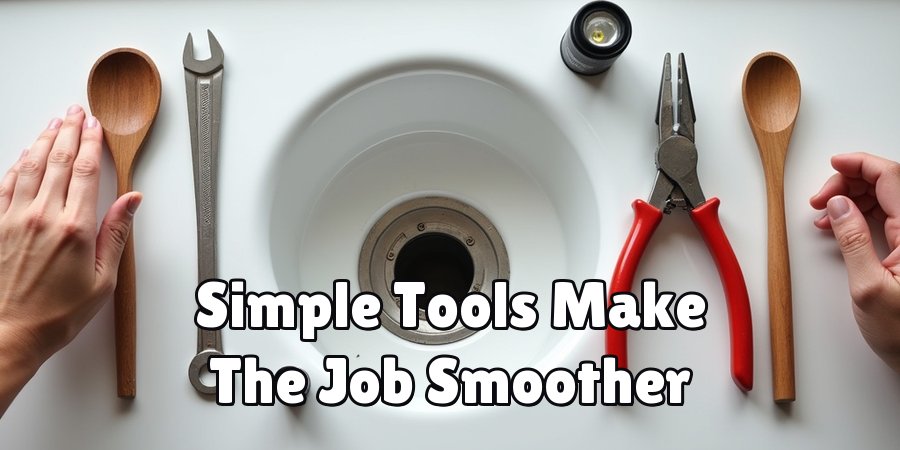
Before you start, gather a few simple items. Most of these are things you likely already have around the house.
Having these ready before you begin makes the whole job faster and smoother.
- A quarter-inch Allen wrench (hex key) – Many disposals come with one that fits the bottom of the unit. If you’ve lost yours, a standard hex key set will do.
- A wooden broom handle or wooden spoon – Used to gently rotate the grinding plate from the top.
- A flashlight – So you can clearly see inside the disposal chamber.
- Needle-nose pliers or tongs – For grabbing any object stuck inside. Never use your fingers directly.
- A bucket or towel – To catch water or debris under the sink.
- Rubber gloves – To keep your hands clean and protected.
- A reset button – This is built into your disposal, usually on the bottom. No purchase needed, just good to locate.
10 Easy Steps on How to Unstick a Garbage Disposal
Step 1: Turn Off the Power Completely
Safety comes first, always. Before you touch anything, cut the power to your disposal.
Flip the wall switch to the off position, then go a step further and unplug the unit from the outlet under the sink.
If your disposal is hardwired, switch off the breaker at your electrical panel. This is the single most important step in the entire process.
A disposal that turns on while your hand is near the blades can cause serious injury, so never skip it. Double-check that the power is truly off before moving forward.
Step 2: Identify the Problem
Take a moment to figure out what’s happening. If the disposal hums when you turn it on but doesn’t spin, something is jamming the grinding plate.
If it makes no sound at all, the motor may have tripped its safety switch and needs a reset. If water drains slowly or not at all, you might be dealing with a clog rather than a jam.
Knowing which issue you’re facing helps you choose the right fix and avoid wasted effort.
Step 3: Inspect the Disposal Chamber
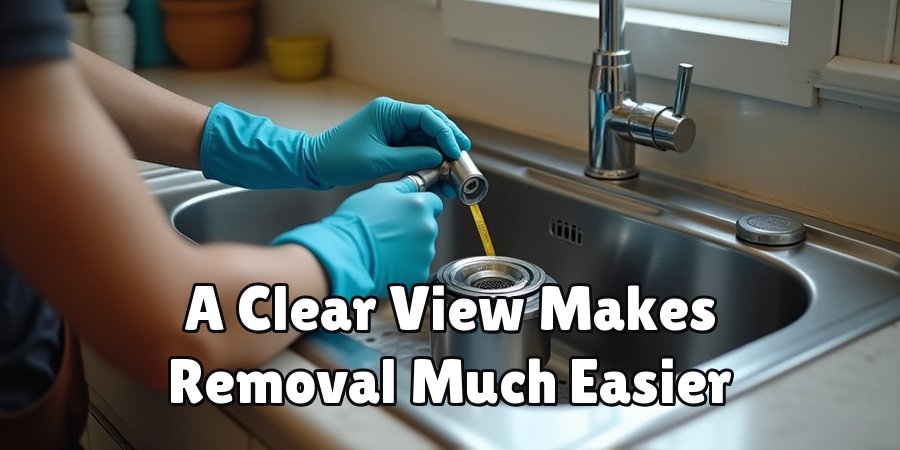
Grab your flashlight and shine it down into the disposal. Look carefully for anything that shouldn’t be there. Common culprits include bones, fruit pits, bottle caps, silverware, or bits of plastic.
Sometimes the object is easy to spot, and sometimes it’s wedged tightly against the side. Take your time here.
Getting a clear view of what’s stuck makes the removal much easier and prevents you from guessing blindly.
Step 4: Remove the Object with Pliers
Once you spot the item causing the jam, reach in with needle-nose pliers or tongs to pull it out. Never, ever use your bare hands, even with the power off.
Grip the object firmly and work it free gently. If it’s stuck tight, wiggle it back and forth rather than yanking hard, which could damage the blades.
Remove everything you find, then look again to make sure nothing else remains hidden in the chamber.
Step 5: Use the Allen Wrench to Free the Blades
Look at the bottom of your disposal unit for a small hexagonal hole in the center. Insert your quarter-inch Allen wrench into it.
Turn the wrench back and forth, clockwise and counterclockwise, to manually rotate the grinding plate. You’ll likely feel resistance at first, then a sudden release as the jam breaks free.
Keep turning until the wrench spins smoothly in a full circle. This manual movement loosens whatever was blocking the motor.
Step 6: Try the Broom Handle Method
If you don’t have an Allen wrench, or if you want extra help, use a wooden broom handle or the handle of a wooden spoon.
Insert it into the disposal from the top and press it against the blades. Push firmly and rotate them back and forth. This works the same way as the wrench, freeing the stuck plate from above.
Just make sure the power is still off and never use anything metal for this step.
Step 7: Clear Out Any Remaining Debris
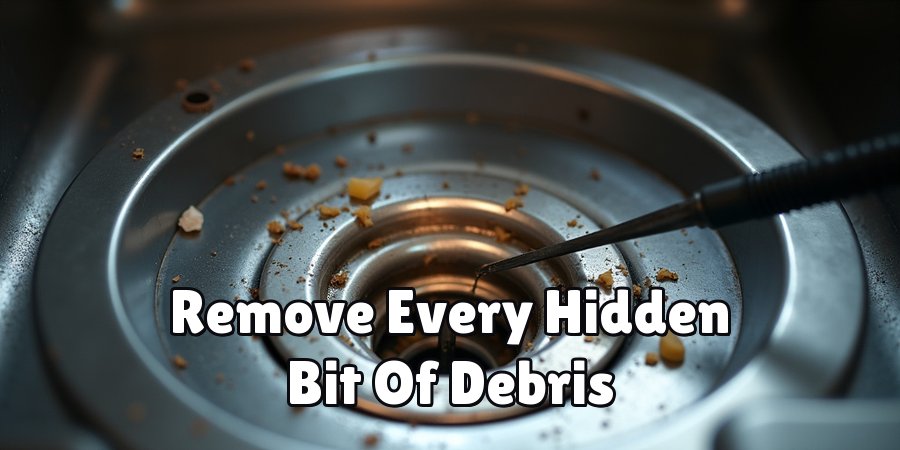
After freeing the blades, shine your flashlight in once more. Rotating the plate often loosens smaller bits of food or debris that were hiding out of sight. Use your pliers to remove anything you find.
A clean chamber ensures the disposal runs smoothly when you power it back on. This quick check prevents the same jam from happening again the moment you restart the unit.
Step 8: Press the Reset Button
Reach under the sink and find the small red or black reset button on the bottom of the disposal. When a motor overheats or trips, this button pops out.
Press it firmly back in until it clicks and stays. This resets the internal safety switch and prepares the motor to run again.
If the button won’t stay pressed, wait about ten minutes to let the motor cool, then try once more.
Step 9: Restore Power and Test It
Now it’s time to bring the power back. Plug the disposal back in or flip the breaker on, then turn on the wall switch. Before testing, run cold water into the sink.
Turn on the disposal and listen. It should spin freely with a steady hum. If it works, congratulations, you’ve cleared the jam.
If it still hums without spinning, turn it off and repeat the wrench or broom handle steps.
Step 10: Flush and Clean the System
With everything running, let cold water flow through the disposal for about thirty seconds to flush out loosened debris.
To freshen things up, you can toss in a few ice cubes and a little dish soap, which help clean the blades. A slice of lemon or some baking soda leaves a pleasant smell behind.
This final step keeps your disposal clean and reduces the chance of future jams and odors.
5 Things You Should Avoid
Even a simple fix can go wrong if you make one of these common mistakes. Steer clear of the following.
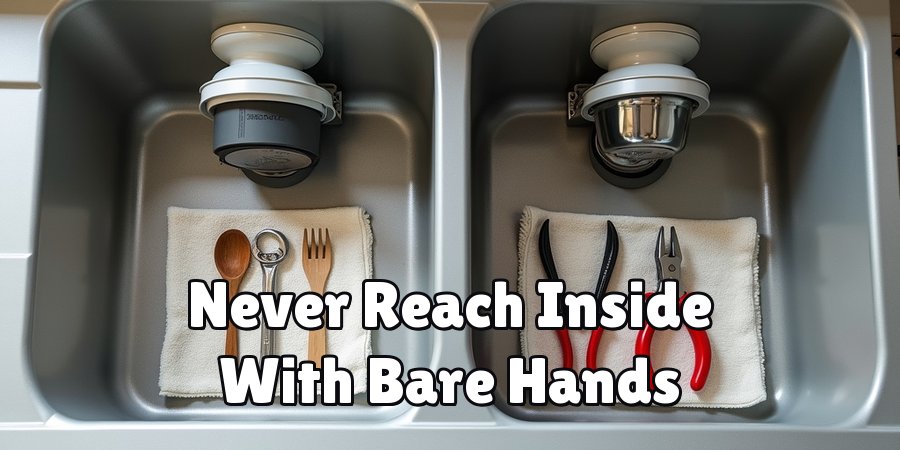
- Never put your hands inside the disposal. Even with the power off, the blades are sharp. Always use pliers, tongs, or a wooden tool to reach inside.
- Don’t use hot water while clearing a jam. Hot water can soften grease and make it stick worse. Cold water keeps debris firm and easier to flush away.
- Avoid chemical drain cleaners. These harsh products can damage the disposal’s internal parts and don’t actually clear jams. They also make the water dangerous to work around.
- Don’t force the motor repeatedly. If the disposal keeps humming, running it over and over can burn out the motor. Turn it off and free the jam manually instead.
- Never skip cutting the power. This is the mistake that leads to injuries. No matter how quick the job seems, always disconnect the power first.
Conclusion
A stuck garbage disposal can feel like a big problem, but as you’ve seen, it’s usually a quick and manageable fix.
Most jams come from small objects that slip into the unit and block the blades.
With the right tools and a careful approach, you can get things running again in just a few minutes, all without calling in a professional.
The key to success is safety. Always cut the power before you reach anywhere near the blades, and never use your bare hands inside the chamber. From there, it’s simply a matter of finding the jam, freeing the grinding plate with an Allen wrench or broom handle, pressing the reset button, and testing the unit.
Now that you know how to unstick a garbage disposal, you can tackle the problem with confidence and keep your kitchen running smoothly. The next time your sink acts up, you’ll be ready.

The Appliance Why team — a small group who would rather take the back panel off than pay a call-out fee. We write the repair guides we wish we had found ourselves, test the fixes on our own machines, and say plainly when something is not worth repairing.