

At some point, most homeowners face the task of disconnecting their dryer. Maybe you’re moving to a new house, replacing an old machine, or you just need to clean behind and underneath it. Whatever the reason, knowing how to safely unhook a dryer is a handy skill that can save you time and money.
Calling a professional for a job like this can feel unnecessary, especially when the process is simpler than it looks.
With a little patience and the right approach, you can disconnect your dryer on your own in under an hour.
Both electric and gas dryers can be unhooked at home, though gas models require extra care because of the fuel line involved.
This guide on how to unhook a dryer walks you through everything you need to know, from gathering your tools to the final disconnect. By the end, you’ll feel confident tackling the job yourself. Let’s get started and make this easier than you thought possible.
What Are the Benefits?
Learning to unhook a dryer yourself comes with plenty of upsides. Here are the biggest reasons why this DIY skill is worth having.
- Save money on service fees. Hiring a technician or a moving crew to disconnect appliances adds up quickly. When you do it yourself, that cash stays in your pocket. Over the years, this simple skill can save you hundreds of dollars.
- Move on your own schedule. You don’t have to wait around for an appointment. Whether it’s late at night or early on a weekend, you can handle the task whenever it suits you.
- Protect your floors and appliance. When you take charge, you move carefully and avoid the scratches, dents, and dings that come from rushed handling. Your dryer and your floors stay in better shape.
- Make cleaning easier. Dust, lint, and debris build up behind and under a dryer. Unhooking it lets you deep clean those hard-to-reach spots, which improves air quality and reduces fire risk.
- Gain confidence and independence. Once you master this task, you’ll feel more comfortable handling other small home projects. That sense of capability is empowering and encourages you to tackle even bigger jobs down the road.
- Prepare for repairs. Sometimes a dryer needs a new part or a good inspection. Knowing how to disconnect it means you can troubleshoot problems without waiting for outside help.
What Will You Need?
Before you start, gather your supplies. Having everything ready makes the job smoother and safer. Here’s your checklist:
Having these items on hand before you begin means you won’t have to stop halfway through to search for a tool.
- Work gloves – Protect your hands from sharp metal edges and grime.
- Adjustable wrench or pliers – Needed to loosen gas line fittings and clamps.
- Screwdriver set – Both Phillips and flathead for vent clamps and brackets.
- Bucket or shallow pan – Useful for catching any water if you have a washer nearby.
- Flashlight or headlamp – Space behind the dryer is often dark and tight.
- Vacuum cleaner – To clean lint and dust once the dryer is moved.
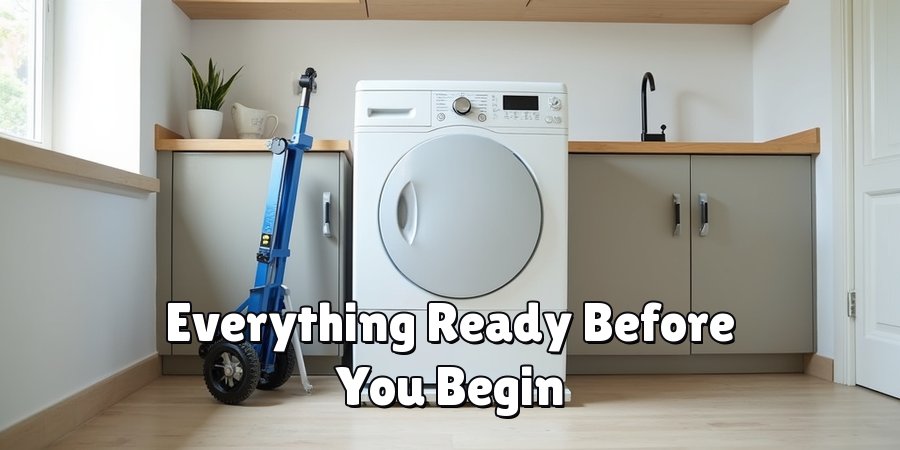
- Furniture sliders or a moving dolly – Helps you shift the dryer without hurting your back or scratching the floor.
- A helper – Dryers are heavy and awkward, so an extra set of hands is smart.
- Cap for gas line (if applicable) – A threaded cap to seal a gas line after disconnecting.
- Leak detector solution or soapy water – For checking gas connections.
- Towel or rag – To wipe up dust and handle any small spills.
10 Easy Steps on How to Unhook a Dryer
Step 1: Turn Off the Power
Safety always comes first. For an electric dryer, unplug it from the wall outlet. If you can’t reach the plug easily, head to your home’s electrical panel and switch off the breaker that controls the laundry room.
This prevents any chance of electric shock while you work. For a gas dryer, you’ll also unplug the electrical cord, since gas dryers still use electricity to run the drum and controls. Double-check that the machine is completely off before moving on.
Never skip this step, even if you’re in a hurry.
Step 2: Shut Off the Gas Supply (Gas Dryers Only)
If you have a gas dryer, locate the gas shutoff valve behind the appliance. This valve is usually on the gas line near the floor. Turn the handle so it sits perpendicular to the pipe, which means the gas is off.
Take your time here and make sure the valve is fully closed. Cutting the gas supply is essential to prevent leaks while you disconnect the line. If you smell gas at any point, stop immediately, open windows, and leave the area.
Electric dryer owners can skip this step entirely.
Step 3: Pull the Dryer Away from the Wall
Now, gently slide the dryer forward to create working space. Dryers are heavy, so use furniture sliders or ask your helper for assistance. Move it out just far enough to reach the connections in the back, usually one to two feet.
Be careful not to yank any cords, vents, or gas lines still attached. Watch the flooring beneath as you pull, since tile and hardwood scratch easily. Pull slowly and steadily rather than jerking the machine.
Once you have clear access to the back, you’re ready for the next step.

Step 4: Disconnect the Vent Hose
Look for the flexible or rigid vent hose connected to the back of the dryer. This hose carries hot air and lint outside.
Loosen the clamp holding it in place, usually with a screwdriver or by hand if it’s a spring clamp. Gently pull the hose off the exhaust port.
Expect some lint to fall out, so keep your vacuum nearby. Set the hose aside carefully.
This is a great moment to clean out any built-up lint from both the hose and the port, since a clogged vent is a common fire hazard.
Step 5: Disconnect the Gas Line (Gas Dryers Only)
With the gas already shut off, use an adjustable wrench to loosen the fitting that connects the gas line to the dryer. Hold the pipe steady with one wrench while turning the fitting with another to avoid twisting the line.
Once loose, unscrew it fully by hand. A small amount of gas smell is normal, but a strong odor means the valve isn’t fully closed. Cap the open gas line right away with a threaded cap to keep gas from escaping.
Electric dryer owners can move past this step.
Step 6: Check for Leaks (Gas Dryers Only)
After capping the gas line, it’s wise to check for leaks. Apply a bit of soapy water or leak detector solution to the capped fitting. If you see bubbles forming, gas is escaping and the cap needs to be tightened further.
Keep checking until no bubbles appear. This simple test gives you peace of mind that your gas line is sealed properly. Never use a flame or match to test for a leak.
Taking this extra minute protects your home and everyone in it.
Step 7: Handle the Power Cord
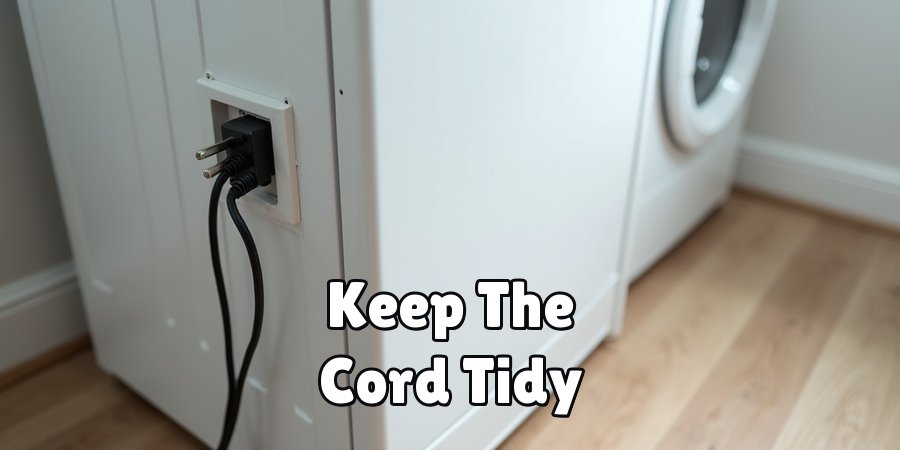
For an electric dryer that’s already unplugged, simply tuck the cord safely so it doesn’t drag or get caught.
If you’re removing the cord entirely, you may need to open the small terminal cover on the back and loosen the screws holding the wires. Most people leave the cord attached during a move, which is perfectly fine.
Just secure it against the machine with tape so it won’t snag on anything. Keeping the cord tidy prevents tripping and protects the connection points from damage.
Step 8: Clean the Area
With everything disconnected, take advantage of the open space. Vacuum up the lint, dust, and debris that collected behind and under the dryer. Wipe down the floor and the back of the machine with a rag.
This buildup is a real fire risk, so cleaning it now keeps your home safer. If you’re moving the dryer to a new spot, a clean machine is nicer to handle.
This small effort makes a big difference in both safety and cleanliness.
Step 9: Secure Loose Parts
Before moving the dryer, make sure nothing dangles or hangs loose. Tape the power cord to the back, coil and secure the vent hose if you’re taking it along, and double-check that no clamps or screws are left rolling around.
Loose parts can get lost or cause damage during a move. If you removed any small pieces, put them in a labeled bag so you can find them later.
A little organization now saves frustration when it’s time to reconnect the dryer.
Step 10: Move the Dryer
Finally, you’re ready to move the machine. Slide it onto a dolly or use furniture sliders to protect your floors. Lift with your legs, not your back, and keep the load balanced.
Have your helper guide and steady the dryer as you go. Move slowly through doorways and around corners to avoid dents and scrapes. If you’re transporting it in a vehicle, secure it upright with straps.
Take your time, and the dryer will reach its destination safely and undamaged.
5 Things You Should Avoid
1. Skipping the power shutoff. Never work on a dryer that’s still plugged in or has power running to it. This is the most common and dangerous mistake, and it can cause serious electric shock.
2. Forgetting to close the gas valve. For gas dryers, leaving the gas on while disconnecting the line risks a dangerous leak. Always confirm the valve is fully closed first.
3. Yanking the machine forcefully. Pulling too hard can damage cords, hoses, gas lines, or your flooring. Move slowly and check what’s still connected.
4. Ignoring lint buildup. Lint is highly flammable. Skipping the cleaning step leaves a fire hazard hidden behind your appliance.
5. Lifting alone. Dryers are heavy and awkward. Trying to move one by yourself can lead to injury or a dropped machine. Always get help.
Conclusion
Unhooking a dryer might seem intimidating at first, but as you can see, it’s a manageable task when you break it down into simple steps. The key is preparation and patience. By gathering your tools ahead of time, cutting the power, and handling each connection carefully, you set yourself up for success.
Remember that safety always comes first. Whether you have an electric or gas model, taking the time to shut off the power and, if needed, the gas supply protects you and your home. Cleaning up the lint while you’re back there is a bonus that reduces fire risk and keeps your laundry area fresh.
Now that you know how to unhook a dryer, you’ve gained a skill that saves money and gives you real independence. So grab your gloves, round up a helper, and give it a try.

The Appliance Why team — a small group who would rather take the back panel off than pay a call-out fee. We write the repair guides we wish we had found ourselves, test the fixes on our own machines, and say plainly when something is not worth repairing.