

To clean a washing machine water inlet valve, unplug the machine, shut off the water supply, disconnect the hoses, and pull out the valve’s inlet screens. Rinse the screens under running water, work away any mineral buildup with a soft brush, then put everything back together and check for leaks. Expect to spend around 30 minutes.
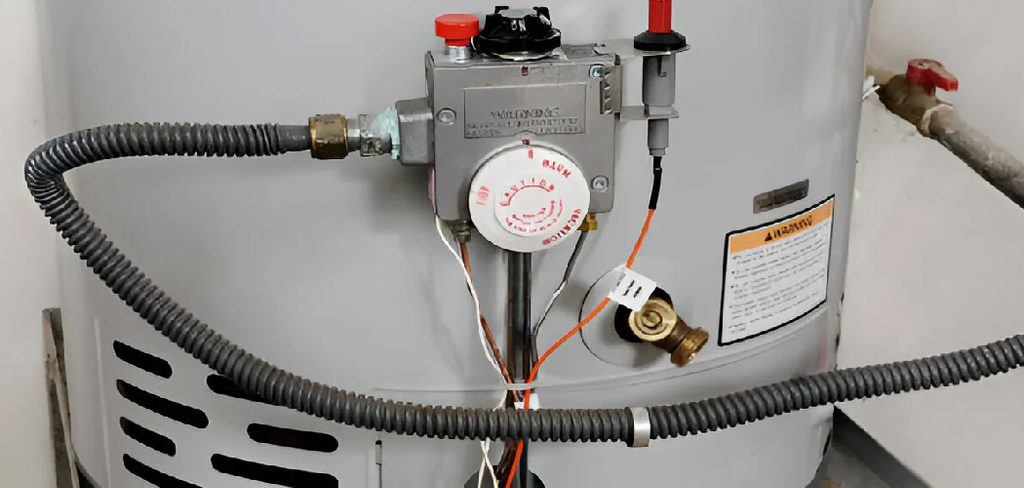
Slow to fill? Or maybe your machine sits there and does nothing at all. Nine times out of ten, a clogged water inlet valve is behind it. This little part handles the flow of water into your machine, and it doesn’t take much to gum it up—sediment, rust, and mineral scale all pile up over time.
Here’s the reassuring part. You don’t need a technician for this one. A handful of basic tools and a bit of patience will get you there. What follows covers what the valve actually does, the supplies worth having ready, and seven steps on how to clean washing machine water inlet valve without turning your laundry room into a splash zone.
Understanding the Water Inlet Valve
The water inlet valve is the piece that links your washing machine to your home’s water supply. It carries two hose connections, one for hot and one for cold, and it relies on electric solenoids to open and close on cue. Start a cycle, and the machine signals the valve to open and let water into the drum. Simple enough in theory.
Now, tucked behind each hose connection is a small mesh screen. Think of it as a gatekeeper—it catches debris before that grit can travel any further into the machine. Trouble is, these screens are usually the first spot where clogs take hold.
Hard water leaves calcium and lime behind. Older pipes shed rust and fine sediment. Once the mesh gets choked up, water can barely squeeze through, and your machine either fills at a crawl or stalls out entirely. Clearing those screens tends to sort out the problem.
Tools and Materials Needed
Gather your supplies first. It sounds obvious, but nothing kills momentum like realizing you need a tool that’s still at the hardware store.
Adjustable Pliers or Wrench
These loosen the hose connections and, when needed, help ease out the inlet screens. Needle-nose pliers are especially handy for gripping the small filters.
Bucket and Towels
Pulling the hoses off always releases some water—there’s no avoiding it. Keep a bucket underneath to catch the runoff, and have a few towels within reach for the inevitable dribbles.
Soft Brush or Old Toothbrush
A gentle brush lifts away sediment and scale without shredding the fine mesh. An old toothbrush does the trick nicely.
White Vinegar
When the screens are coated in stubborn limescale, a soak in white vinegar loosens what the brush alone can’t. It’s cheap, and it works.
Flashlight
Shining a light into the valve openings lets you spot bits of debris that are otherwise easy to overlook.
7 Simple Steps on How to Clean Washing Machine Water Inlet Valve
Step 1: Unplug the Machine
Safety first, always. Before you touch a thing, pull the plug from the wall. You’ll be working near electrical connections, and this one small act rules out any risk of a shock.
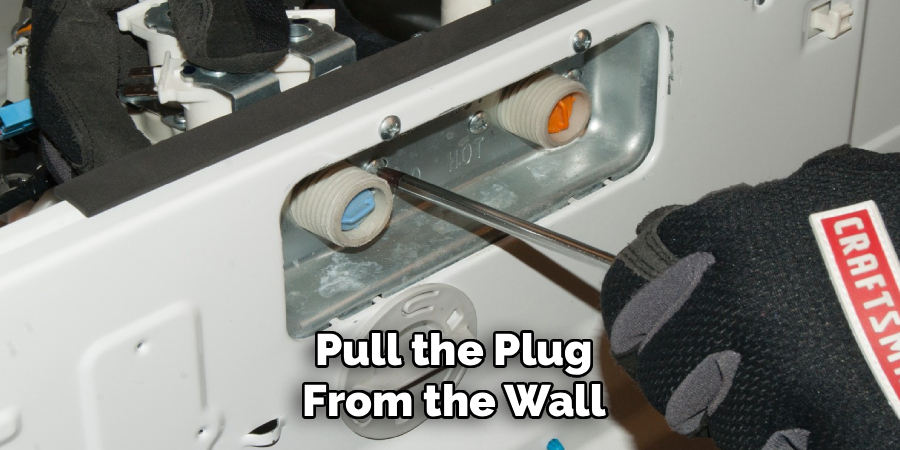
Step 2: Turn Off the Water Supply
Find the hot and cold taps behind the machine and shut both all the way off. Skip this, and you’ll be greeted by a flood the second the first hose comes loose.
Step 3: Disconnect the Water Hoses
Slide the bucket into place. Then use your pliers or wrench to loosen the hose connections at the back of the machine. A little water will trickle out as each hose comes free, so keep those towels handy.
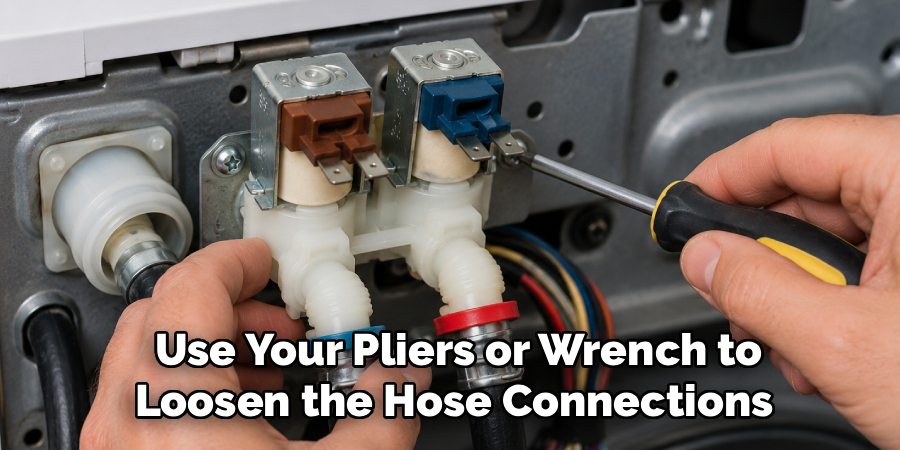
Step 4: Remove the Inlet Screens
Peer into the valve openings where the hoses were sitting. You’ll spot the small mesh screens seated just inside. Ease them out with needle-nose pliers, and go gently here—these filters tear if you rush them.
Step 5: Clean the Screens
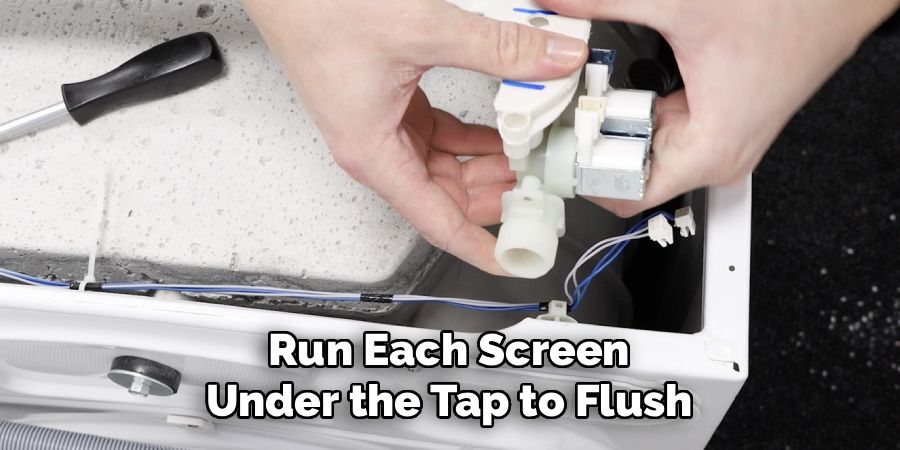
Run each screen under the tap to flush loose debris away. Then take your soft brush to whatever sediment stays put. Screens caked in mineral deposits may need a 15 to 20 minute vinegar soak before the brush can finish the job.
Step 6: Reassemble the Valve
With the screens clean and dry, slot them back into their openings—flush and straight, not tilted. Reattach both hoses and tighten by hand first, then add a final snug turn with your pliers. Resist the urge to crank them down hard; overtightening strips the threads.
Step 7: Test for Leaks
Turn the water back on and keep a close eye on the hose connections for any sign of dripping. Plug the machine in and run a short cycle. Water filling the drum quickly, with no leaks? That’s the sign you got it right.
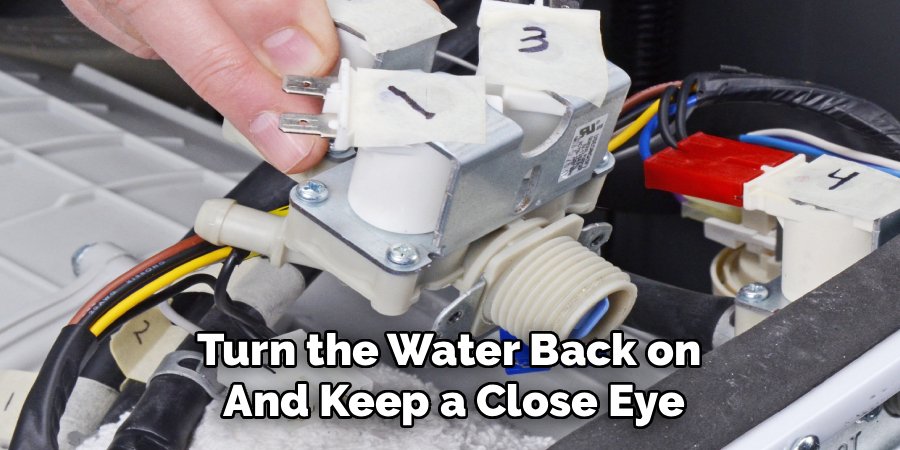
Work through these steps on how to clean washing machine water inlet valve in order. Go slow. And don’t force anything—those plastic connections crack more easily than you’d expect.
Common Mistakes to Avoid
The classic error is forgetting to shut off the water before pulling the hoses. What should be a tidy 30-minute job turns into a soggy cleanup instead. Right up there with it: cranking the hose connections too tight on reassembly. Plastic threads give way easily, and a cracked fitting can spring a leak that’s worse than whatever you set out to fix.
There’s also a tendency to get heavy-handed with the mesh screens. They’re delicate. Yank one out with too much force, and you may tear the mesh, which leaves you with a filter that no longer catches anything. And whatever you do, don’t wave off the leak test at the end. Thirty seconds of checking now might save you from finding a puddle under the machine at midnight. A patient, light touch really does pay off here.
When to Call a Professional?
Cleaning the screens clears up most fill-related complaints, though not every one. If your machine still fills slowly afterward—or refuses to fill at all—the fault may sit deeper in the system. A failing solenoid, a cracked valve body, or an electrical issue calls for expert diagnosis. Poking around these repairs without training could void your warranty or make things worse.
It’s also worth calling a technician if you spot leaks you can’t trace, hear odd noises, or see water pooling inside the machine. These signs often point somewhere beyond the inlet valve. When you’re unsure, a repair service can look over the whole system safely and steer you toward the right fix. A modest bill now may spare you the far higher cost of a full replacement later.
Frequently Asked Questions
How Often Should I Clean the Water Inlet Valve?
For most households, a cleaning once or twice a year covers it. Live somewhere with hard water and a high mineral load? You’ll likely want to do it more often—roughly every three to four months—because the deposits accumulate faster.
Can I Use Vinegar to Clean the Inlet Screens?
Yes, and it’s a solid choice. White vinegar dissolves lime scale and mineral deposits about as well as any household cleaner. Soak the screens for 15 to 20 minutes, then scrub gently with a soft brush. Steer clear of harsh chemicals, which can eat away at the mesh and the parts around it.
Why Is My Washing Machine Still Filling Slowly After Cleaning?
If clean screens don’t fix it, the trouble could be low water pressure, a kinked hose, or a solenoid that’s failing inside the valve. Check the hoses for bends first—that’s the easy win. Should everything look fine, the valve itself may need replacing, and that’s a job better left to a professional.
When Should I Replace My Washing Machine?
If you’ve been dealing with multiple repairs, it may be time to consider replacing your washing machine. Older machines are more prone to breaking down, and the cost of constantly repairing them can add up over time. Additionally, newer models often come with more efficient energy-saving features that can save you money in the long run.
Keep Your Machine Running Smoothly
A clogged water inlet valve ranks among the more common laundry headaches, yet it’s rarely a serious one. A few basic tools and about half an hour of your time will clear the screens, restore proper flow, and get your washing back on schedule. There’s a bonus, too: regular cleaning tends to stretch the life of your machine and helps you sidestep the pricier repairs waiting down the line.
Fold valve maintenance into your general appliance care, and give the screens a look at least once a year. If problems linger after a thorough cleaning, don’t put off calling a qualified technician. A bit of attention today keeps your washing machine dependable for years—and saves you the cost and disruption of a breakdown you didn’t see coming. Thanks for reading this guide on how to clean washing machine water inlet valve.

About
Ethan Wrenford is a dedicated home appliance specialist with years of hands-on experience in appliance troubleshooting, maintenance, repair, and DIY diagnostics. His professional focus lies in combining practical repair knowledge with simple, easy-to-follow solutions, helping homeowners understand common appliance problems and confidently identify potential causes at home. As an author at ApplianceWhy, Ethan shares practical knowledge on home appliance repair, DIY appliance diagnostics, maintenance, troubleshooting, appliance care, and everyday solutions for common household appliance issues.
Education
Portland Community College (Portland, USA)
Associate Degree in Appliance Technology & Residential Systems
- Focused on residential appliance systems, electrical fundamentals, mechanical components, and appliance troubleshooting.
- Developed practical skills in appliance diagnostics, component testing, electrical safety, and repair procedures.
- Gained hands-on experience working with refrigerators, washing machines, dryers, dishwashers, ovens, ranges, and other household appliances.
Oregon Institute of Technology (Klamath Falls, USA)
Bachelor’s in Applied Electronics & Technology
- Specialized in electrical systems, electronic controls, sensors, motors, and residential equipment.
- Studied diagnostic techniques for identifying electrical, mechanical, and component-related appliance problems.
- Completed practical projects involving appliance control systems, troubleshooting methods, preventive maintenance, and repair fundamentals.
Publications and Impact
Through ApplianceWhy, Ethan shares practical insights into home appliance repair, DIY diagnostics, maintenance, troubleshooting, and appliance care. His writing focuses on turning confusing appliance problems into simple, understandable steps that homeowners can follow safely.
Ethan covers everything from diagnosing a refrigerator that is not cooling and a washing machine that will not drain to troubleshooting dryers, dishwashers, ovens, microwaves, and other common household appliances. His content helps readers understand appliance symptoms, identify possible causes, perform basic diagnostic checks, and determine when professional repair may be necessary.
Through his work, Ethan aims to bridge the gap between professional appliance repair knowledge and everyday homeowners—making appliance troubleshooting more approachable, practical, and accessible to everyone who wants to diagnose smarter, maintain better, and keep their appliances running longer.