

Your blow dryer works harder than you might think. Every time you switch it on, it pulls in air through a small filter at the back.
That air keeps the motor cool and helps the dryer push out warm, steady airflow. But here’s the catch: that same filter also traps dust, lint, hair, and tiny product residues.
Over time, all that gunk builds up and clogs the filter.
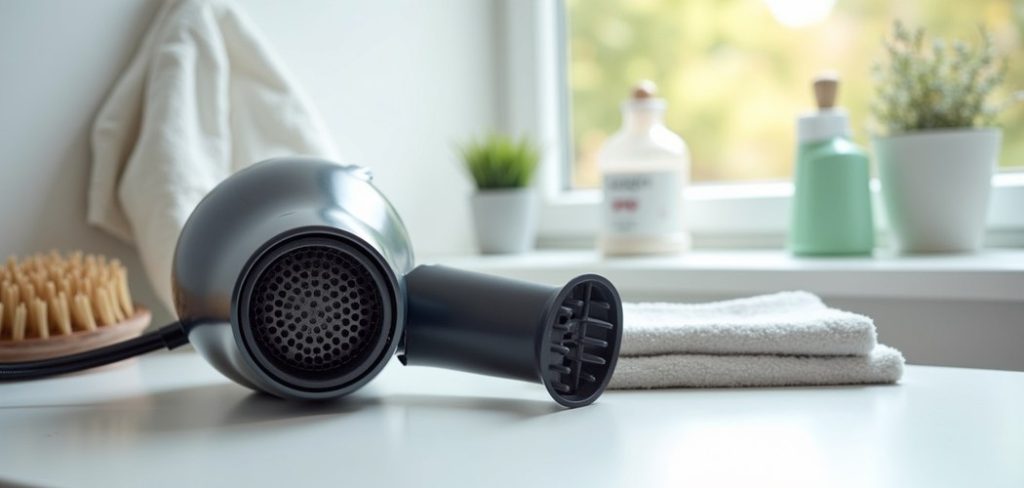
When the filter gets blocked, your dryer has to work overtime. It heats up faster, loses power, and might even shut off in the middle of styling.
Worse, a dirty filter can shorten the life of your dryer and, in some cases, become a fire risk. That’s not something anyone wants near their face and hair.
This guide on how to clean blow dryer filter walks you through everything, from why it matters to a simple 10-step process. Let’s get your blow dryer breathing easy again.
Benefits of Cleaning Your Blow Dryer Filter
Cleaning your blow dryer filter might feel like a small chore, but the payoff is big. Here’s what regular cleaning does for you.
- Better airflow and performance. A clean filter lets air move freely. That means your dryer pushes out strong, consistent airflow, so your hair dries faster. No more waving the dryer around waiting for results.
- Longer dryer lifespan. When the filter is clogged, the motor strains to pull in air. This extra effort wears out the motor sooner. A clean filter keeps the motor happy and helps your dryer last for years.
- Lower risk of overheating. Blocked airflow traps heat inside the dryer. That can cause it to overheat, shut off, or even spark. Cleaning the filter keeps temperatures safe and steady.
- Healthier hair. An overheating dryer often blasts your hair with uneven, scorching heat. This leads to dryness, frizz, and damage. A clean filter delivers gentle, even warmth that treats your strands better.
- Saves you money. Blow dryers aren’t cheap. By keeping the filter clean, you avoid early breakdowns and costly replacements. A little maintenance goes a long way.
- Energy efficiency. A dryer working at full power uses energy wisely. A clogged one wastes power fighting to do its job. Clean filters mean a more efficient tool.
What Will You Need?
You don’t need much to clean a blow dryer filter. Chances are, you already have most of these items at home. Gather these before you start:
Once you have these ready, you’re all set to begin. Lay everything out on a clean surface so you can work without stopping to search for supplies.
- A soft-bristle brush (an old toothbrush works great)
- A small vacuum or vacuum attachment for pulling out loose lint
- Warm water for rinsing removable filters
- Mild soap or dish detergent for stubborn grime
- A clean, dry microfiber cloth for wiping and drying
- A pair of tweezers for pulling out tangled hair
- A can of compressed air (optional, but handy for tight spots)
- A small bowl if you plan to soak the filter
- Your blow dryer’s user manual to check if the filter is removable
10 Easy Steps on How to Clean Blow Dryer Filter
Step 1: Unplug Your Blow Dryer
Safety comes first, always. Before you touch anything, unplug the dryer from the wall outlet. Never try to clean a dryer while it’s still connected to power.
Even if it’s switched off, a plugged-in device can carry risks. Once unplugged, set the dryer down on a flat, dry surface. Give it a few minutes to cool if you’ve used it recently.
A warm dryer can burn your fingers, and you want to handle it comfortably. This first step takes seconds but protects you from shocks and injuries. Make it a habit every single time you clean.
Step 2: Locate the Filter
Find the filter, which usually sits at the back of the dryer. It looks like a round or oval cap with a mesh screen. This is the part that pulls in air.
Some dryers have a filter you can twist or pop off, while others have one built into the body. Check your user manual if you’re unsure.
Knowing your filter type matters because it decides how you’ll clean it. Take a good look at the filter’s condition too.
If you see thick lint or hair wrapped around it, you’ll know it badly needs a cleaning.
Step 3: Remove the Filter (If Possible)
If your dryer has a removable filter, gently take it off. Most twist counterclockwise or snap off with light pressure. Don’t force it, as rough handling can crack the plastic.
If it feels stuck, check the manual for the right method. Removing the filter makes cleaning far easier because you can reach every part. Set the filter aside on your clean cloth.
If your dryer’s filter doesn’t come off, don’t worry. You can still clean it in place using the steps ahead. Just skip the soaking part and focus on brushing and vacuuming.

Step 4: Brush Off Loose Debris
Grab your soft-bristle brush or old toothbrush. Gently sweep across the mesh screen to loosen trapped dust and lint. Work in small, light strokes so you don’t damage the fine mesh.
You’ll be surprised how much comes off with just a bit of brushing. Tilt the filter so the loose debris falls away instead of pushing deeper into the holes.
This step clears the surface layer of grime and preps the filter for a deeper clean. Take your time here. The more debris you remove now, the easier the next steps will be.
Step 5: Vacuum the Filter and Vents
Now bring in your vacuum. Use a small handheld one or a hose attachment with a narrow nozzle. Hold it close to the filter and vents to suck up the loosened lint and dust.
Move slowly across the whole surface. The vacuum pulls out particles that brushing alone can’t grab. If your filter is still attached to the dryer, vacuum the intake area carefully.
Don’t forget the vents around the dryer body, as dust hides there too. This step clears deep-set debris and makes a huge difference in airflow. Your dryer will thank you.
Step 6: Remove Tangled Hair
Hair loves to wrap around filters and vents. Use your tweezers to pull out any strands caught in the mesh. Work gently so you don’t tear the screen. Pull each piece slowly and completely.
Tangled hair is one of the biggest reasons filters clog, so don’t skip this. If hair is wound tightly, a little patience helps more than force.
Check both sides of the filter and the intake opening. Once you’ve cleared the hair, the filter should look much cleaner already. This small step often solves weak airflow problems on its own.
Step 7: Wash the Filter (If Removable)
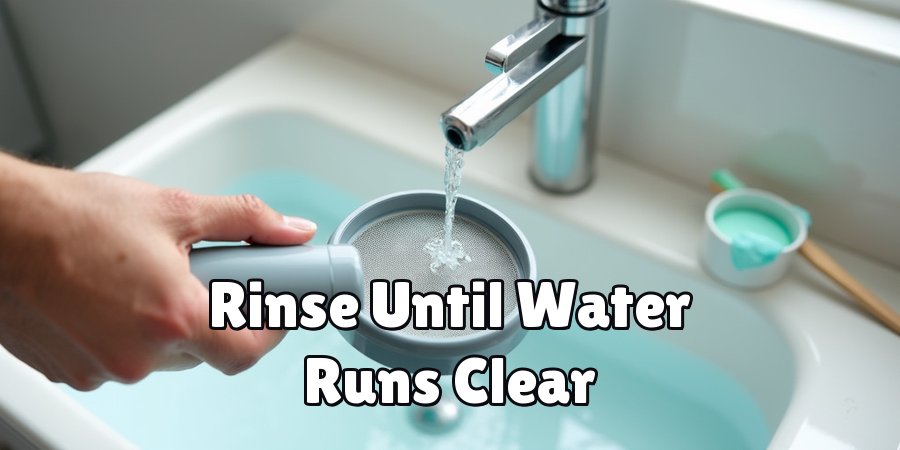
If your filter came off and it’s washable, rinse it under warm water. For stubborn grime, add a drop of mild soap and gently scrub with your brush.
Work the soap through the mesh, then rinse until the water runs clear. Avoid harsh chemicals, as they can damage the material.
If your filter is heavily soiled, let it soak in a bowl of warm, soapy water for a few minutes.
Never wash a filter that’s still attached to the dryer, since water and electronics don’t mix. Only wash parts that fully detach.
Step 8: Dry the Filter Completely
This step is crucial. A wet filter can damage your dryer’s motor or cause a short circuit. After washing, shake off excess water and pat the filter with a dry microfiber cloth.
Then set it aside to air dry completely. Give it plenty of time, at least a few hours or even overnight if needed. Don’t rush this by putting it back damp.
If you’re impatient, a burst of compressed air can speed things along. Just make sure every part is bone dry before moving on. Patience here protects your dryer from serious harm.
Step 9: Wipe Down the Dryer Body
While the filter dries, clean the rest of the dryer. Use your microfiber cloth to wipe the body, nozzle, and handle. Remove dust, product buildup, and fingerprints. A slightly damp cloth works for sticky spots, but keep moisture away from the openings.
This step keeps your whole dryer looking fresh and hygienic. Product residue can attract more dust, so a clean body means a cleaner filter next time. Pay attention to the vents and switches too.
A quick wipe-down finishes the job and leaves your dryer ready for action.
Step 10: Reassemble and Test
Once everything is dry, put the filter back in place. Twist or snap it on securely so it fits snugly. A loose filter won’t work properly and might rattle. Double-check that it’s seated correctly.
Now plug the dryer back in and turn it on at a low setting. You should feel stronger, smoother airflow right away. Listen for the motor, which should sound steady and quiet. If everything runs well, you’re done. Enjoy your refreshed, high-performing blow dryer.
Regular cleaning like this keeps it working beautifully for a long time.
5 Things You Should Avoid
Cleaning your filter is simple, but a few mistakes can cause trouble. Steer clear of these:
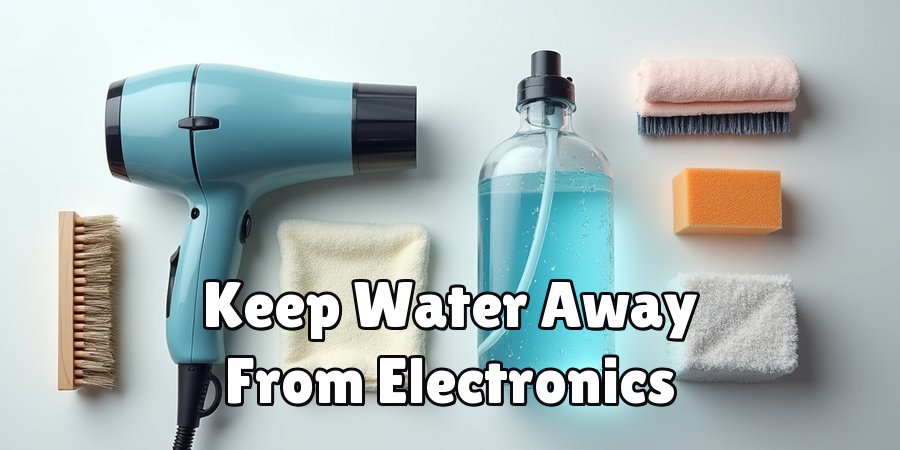
- Cleaning while plugged in. Never clean a dryer that’s connected to power. It’s a serious shock and safety hazard. Always unplug first.
- Using harsh chemicals. Strong cleaners, bleach, or solvents can damage the filter and dryer parts. Stick to mild soap and water.
- Putting the filter back wet. Moisture inside the dryer can ruin the motor or cause a short. Always dry the filter fully before reassembling.
- Scrubbing too hard. Rough brushing can tear the delicate mesh screen. Use gentle strokes to protect the filter.
- Ignoring the filter for months. Waiting too long lets grime build up badly. Clean every few weeks for the best results and easiest cleaning.
Conclusion
How to clean blow dryer filter is one of the easiest ways to protect a tool you use all the time. It takes just a few minutes, yet the rewards are huge.
You get faster drying, stronger airflow, and a dryer that lasts for years. You also lower the risk of overheating and keep your hair healthier with gentle, even heat.
The process is simple. Unplug the dryer, remove and brush the filter, vacuum away debris, pull out tangled hair, and wash if needed. Let everything dry fully, wipe down the body, and reassemble. That’s it.
By avoiding common mistakes like cleaning while plugged in or reinstalling a wet filter, you keep the job safe and effective.
So grab your brush, set aside a few minutes, and give your blow dryer the care it deserves. Your hair, your wallet, and your trusty dryer will all thank you.

About
Ethan Wrenford is a dedicated home appliance specialist with years of hands-on experience in appliance troubleshooting, maintenance, repair, and DIY diagnostics. His professional focus lies in combining practical repair knowledge with simple, easy-to-follow solutions, helping homeowners understand common appliance problems and confidently identify potential causes at home. As an author at ApplianceWhy, Ethan shares practical knowledge on home appliance repair, DIY appliance diagnostics, maintenance, troubleshooting, appliance care, and everyday solutions for common household appliance issues.
Education
Portland Community College (Portland, USA)
Associate Degree in Appliance Technology & Residential Systems
- Focused on residential appliance systems, electrical fundamentals, mechanical components, and appliance troubleshooting.
- Developed practical skills in appliance diagnostics, component testing, electrical safety, and repair procedures.
- Gained hands-on experience working with refrigerators, washing machines, dryers, dishwashers, ovens, ranges, and other household appliances.
Oregon Institute of Technology (Klamath Falls, USA)
Bachelor’s in Applied Electronics & Technology
- Specialized in electrical systems, electronic controls, sensors, motors, and residential equipment.
- Studied diagnostic techniques for identifying electrical, mechanical, and component-related appliance problems.
- Completed practical projects involving appliance control systems, troubleshooting methods, preventive maintenance, and repair fundamentals.
Publications and Impact
Through ApplianceWhy, Ethan shares practical insights into home appliance repair, DIY diagnostics, maintenance, troubleshooting, and appliance care. His writing focuses on turning confusing appliance problems into simple, understandable steps that homeowners can follow safely.
Ethan covers everything from diagnosing a refrigerator that is not cooling and a washing machine that will not drain to troubleshooting dryers, dishwashers, ovens, microwaves, and other common household appliances. His content helps readers understand appliance symptoms, identify possible causes, perform basic diagnostic checks, and determine when professional repair may be necessary.
Through his work, Ethan aims to bridge the gap between professional appliance repair knowledge and everyday homeowners—making appliance troubleshooting more approachable, practical, and accessible to everyone who wants to diagnose smarter, maintain better, and keep their appliances running longer.