

A dirty oven does more than look bad. Baked-on grease and food splatters can create smoke, cause unpleasant smells, and even affect how your food tastes. Over time, buildup can also become a fire hazard.
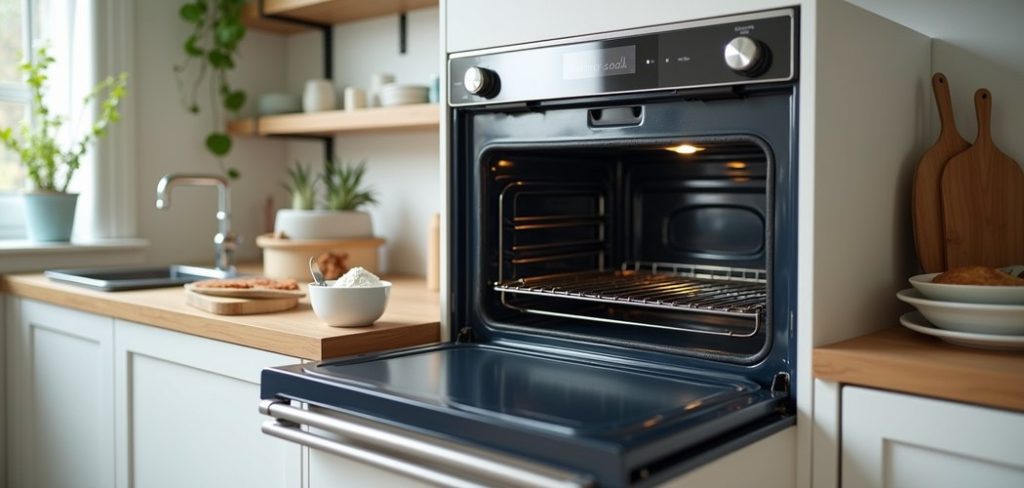
The good news? Cleaning a gas oven is easier than you might think, and you don’t need fancy equipment to get sparkling results.
This guide on how to clean a gas oven walks you through everything you need to know. We’ll cover the tools you need, a simple step-by-step process, safety tips, common mistakes to avoid, and answers to questions people ask most. Let’s get your oven looking brand new.
Why Regular Oven Cleaning Matters
Your gas oven works hard. Every time you roast, bake, or broil, small amounts of grease and food particles settle on the walls, floor, and racks.
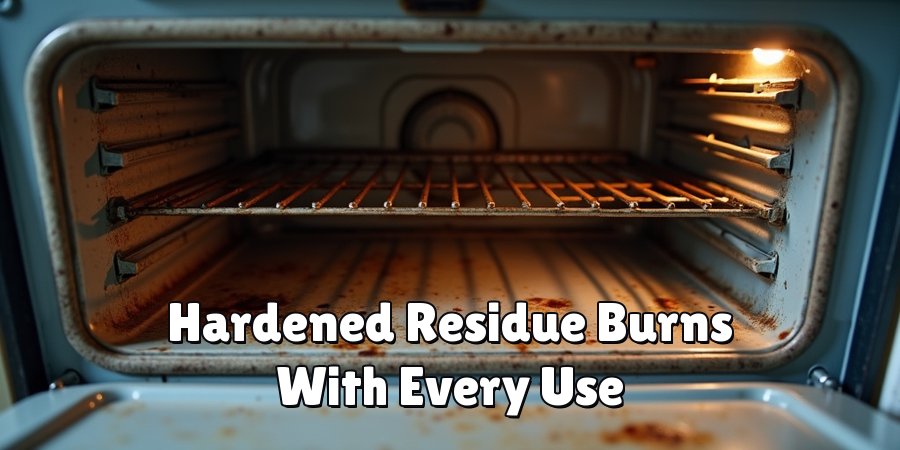
When you skip cleaning for too long, that residue hardens and burns each time you heat the oven. This leads to smoke, foul odors, and stubborn stains that take much longer to remove.
A clean oven also runs more efficiently. When burners and vents stay free of grime, heat spreads evenly, and your food cooks the way it should.
Regular cleaning protects your health too, since burnt-on grease can release fumes while you cook. Think of oven cleaning as basic maintenance, just like changing a filter or wiping down your stovetop.
Tools and Supplies You’ll Need
Before you start, gather everything in one place. Having your supplies ready makes the whole job faster and smoother. Here’s what works best:
You’ll notice this list leans on natural ingredients. Baking soda and vinegar clean beautifully, cost very little, and don’t leave harsh fumes behind. If you prefer a store-bought oven cleaner, that’s fine too, but always read the label and follow the directions carefully.
- Baking soda – a gentle, natural cleaner that lifts grease
- White vinegar – cuts through grime and helps rinse residue
- Warm water – for mixing and wiping
- Dish soap – for cleaning racks and trays
- A spray bottle – to apply vinegar easily
- Microfiber cloths or soft sponges – for wiping surfaces
- A plastic or silicone scraper – to lift stubborn bits without scratching
- Rubber gloves – to protect your hands
- An old toothbrush – for tight corners and crevices
- A large trash bag or towels – for soaking racks
10 Easy Steps on How to Clean a Gas Oven
Step 1: Turn Off and Cool Down the Oven
Safety comes first. Before you touch anything, make sure your oven is completely off and fully cooled. Never start cleaning while the oven is still warm.
If you have a gas oven with a pilot light, it’s a good idea to turn off the gas supply as well. This prevents any accidental ignition while you work.
Give the oven plenty of time to cool, ideally a couple of hours after your last use. Working on a cool oven protects you from burns and makes the whole job much more comfortable.
Step 2: Remove the Oven Racks
Slide out the oven racks and set them aside. These usually collect a lot of grease and baked-on food, so they’ll need their own cleaning. Take them out gently to avoid scratching the oven walls.
If your oven has other removable parts, like a thermometer or trays, take those out too. Setting these items aside gives you clear access to the inside of the oven.
It also lets you clean the racks separately, which we’ll cover in a later step.
Step 3: Wipe Out Loose Debris
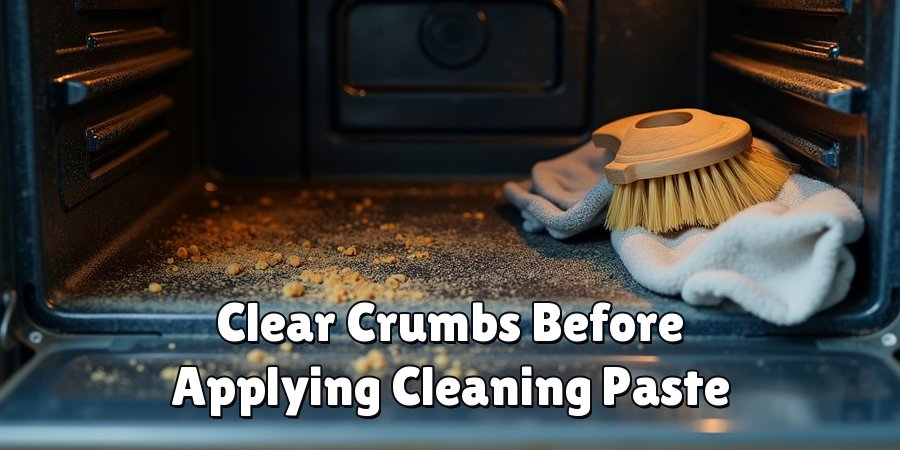
Grab your damp cloth or a dry brush and clear out any loose crumbs, food bits, and dust from the bottom of the oven. This quick step makes the deeper cleaning much easier.
You don’t want to smear crumbs around when you apply your cleaning paste. Focus on the corers and any areas where food debris tends to accumulate.
Step 4: Prepare Your Cleaning Paste
You can make a natural oven cleaning paste using baking soda and water. Mix about half a cup of baking soda with a few tablespoons of water to create a spreadable paste. If you have a larger oven, you may need more paste, so adjust the measurements accordingly.
Step 5: Apply the Paste
Take your damp cloth or sponge and apply the paste over the surfaces of your oven that need cleaning. Avoid putting it on heating elements or thermostats as it could damage them. The baking soda paste will become light brown in color as it absorbs dirt and grease.
Step 6: Let it Sit
Once you have applied the paste, close the oven door and let it sit for at least 12 hours or overnight. This will give the baking soda enough time to work its magic and loosen up any tough stains or grease. Remember to turn off your oven during this time.
Step 7: Wipe Away
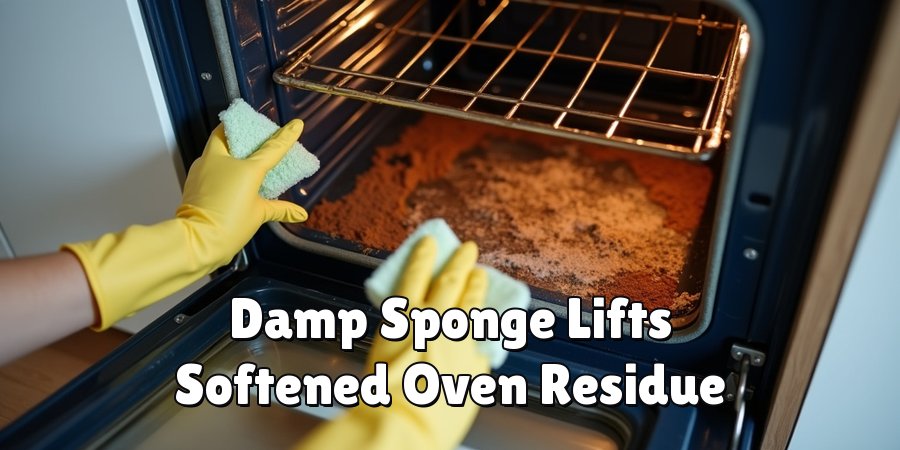
After the designated wait time, use a damp cloth or sponge to wipe away the dried paste.
You may need to put some elbow grease into it for tougher stains, but the baking soda should have made them much easier to remove.
Don’t forget to wipe down the oven door, racks, and any other surfaces inside the oven.
Step 8: Rinse
Once you have wiped away all of the baking soda paste, use a clean damp cloth or sponge to rinse off any remaining residue. Be sure to remove all traces of the paste before using your oven again. You can also use a mixture of water and vinegar for an extra thorough rinse.
Step 9: Dry with a Soft Cloth
Once your oven is completely rinsed, use a soft cloth to dry off any remaining moisture. This will prevent any water spots or streaks from forming on the surfaces. If you used vinegar in the rinse, the smell may linger for a bit but will dissipate once the oven is completely dry.
Step 10: Clean the Exterior
While you are waiting for the baking soda paste to do its magic inside your oven, you can also take this time to clean the exterior of your oven.
Use a gentle cleaner and a non-abrasive sponge or cloth to wipe down the outside of your oven. Be sure to clean all surfaces, including handles and knobs.
5 Things You Should Avoid
Even with good intentions, some cleaning habits can damage your oven or create safety risks. Steer clear of these five common mistakes.
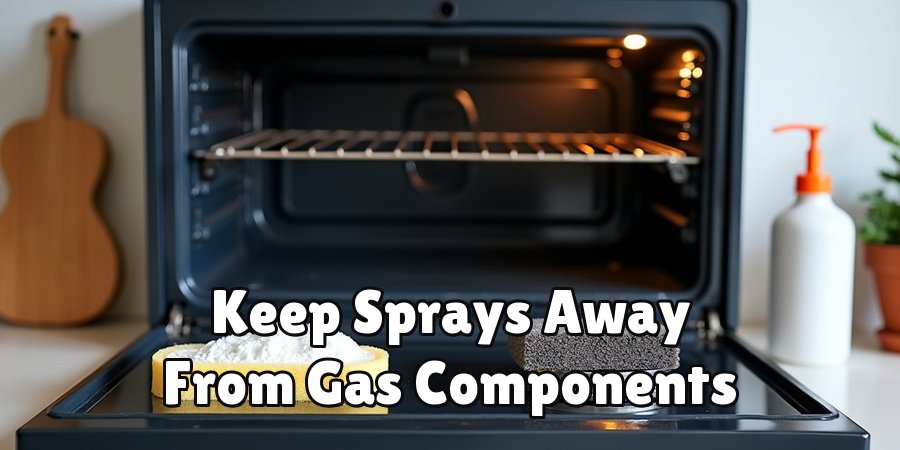
1. Spraying Harsh Chemicals Near the Burners and Gas LINE.Strong oven cleaners contain powerful chemicals that can corrode gas components or leave residue that burns off with a bad smell.
Worse, liquid near the igniter or pilot light can cause problems the next time you turn on the oven.
Keep all sprays and pastes away from the burner area, and stick to gentle cleaners whenever you can.
2. Leaving Racks to Soak Far Too Long.Soaking racks softens grease, but leaving metal racks in water for many hours or overnight can cause rust and dull the finish. A soak of 30 minutes to an hour is plenty for most jobs. Dry them thoroughly afterward to prevent water spots and corrosion.
3. Using Steel Wool or Abrasive Scrubbers.It’s tempting to attack tough stains with steel wool, but abrasive pads scratch the oven’s interior coating and the glass door. Those scratches trap grime and make future cleaning harder. Reach for a soft sponge, a microfiber cloth, or a plastic scraper instead.
4. Cleaning While the Oven is Still Warm.A warm oven might seem easier to clean, but it’s a burn risk, and heat can cause cleaning products to react unpredictably. Always wait until the oven is fully cool. Patience here protects both your skin and your surfaces.
5. Ignoring the Door Seal and Vents.Many people scrub the walls but forget the rubber gasket around the door and the small vents. Never soak or scrub the seal harshly, since a damaged gasket lets heat escape. Wipe it gently, and keep vents clear so the oven breathes properly and heats evenly.
Frequently Asked Questions
- How Often Should I Clean My Gas Oven?For most homes, a deep clean every three months keeps things in good shape. If you cook often or notice smoke and odors, clean it more frequently. A quick weekly wipe of spills makes deep cleaning far easier. Racks can be washed monthly, or whenever grease builds up. Regular attention prevents stubborn, baked-on stains from forming in the first place.
- What Cleaning Products Are Safe for a Gas Oven?Baking soda, white vinegar, warm water, and dish soap are safe, effective, and gentle choices. They cut grease without harsh fumes and cost very little. If you use a commercial oven cleaner, pick one labeled safe for gas ovens and follow the directions closely. Always keep any product away from the burner, igniter, and gas line to stay safe.
- Can I Clean My Oven Without Removing the Racks or Parts?Yes, you can do a light clean with the racks in place, but removing them gives much better results. Taking parts out lets you reach every corner and prevents cleaner from pooling around them. Racks also clean more thoroughly when soaked separately in soapy water. For a quick touch-up, wiping around the racks works fine in a pinch.
Conclusion
How to clean a gas oven doesn’t have to be a dreaded chore.
With a few simple supplies like baking soda, vinegar, and a soft cloth, you can lift away grease and stains without harsh chemicals or hours of scrubbing.
The key is to work in order: let the oven cool, remove the racks, apply your paste, give it time to work, then wipe everything clean.
Remember to keep cleaners away from the burner and gas line, skip abrasive scrubbers, and never rush the process on a warm oven. Those small precautions protect both your oven and your safety. Just as important, a little regular maintenance goes a long way.
A clean oven cooks better, smells better, and lasts longer. Now that you know exactly how to do it, you can keep your kitchen running smoothly and enjoy every meal you bake.

About
Ethan Wrenford is a dedicated home appliance specialist with years of hands-on experience in appliance troubleshooting, maintenance, repair, and DIY diagnostics. His professional focus lies in combining practical repair knowledge with simple, easy-to-follow solutions, helping homeowners understand common appliance problems and confidently identify potential causes at home. As an author at ApplianceWhy, Ethan shares practical knowledge on home appliance repair, DIY appliance diagnostics, maintenance, troubleshooting, appliance care, and everyday solutions for common household appliance issues.
Education
Portland Community College (Portland, USA)
Associate Degree in Appliance Technology & Residential Systems
- Focused on residential appliance systems, electrical fundamentals, mechanical components, and appliance troubleshooting.
- Developed practical skills in appliance diagnostics, component testing, electrical safety, and repair procedures.
- Gained hands-on experience working with refrigerators, washing machines, dryers, dishwashers, ovens, ranges, and other household appliances.
Oregon Institute of Technology (Klamath Falls, USA)
Bachelor’s in Applied Electronics & Technology
- Specialized in electrical systems, electronic controls, sensors, motors, and residential equipment.
- Studied diagnostic techniques for identifying electrical, mechanical, and component-related appliance problems.
- Completed practical projects involving appliance control systems, troubleshooting methods, preventive maintenance, and repair fundamentals.
Publications and Impact
Through ApplianceWhy, Ethan shares practical insights into home appliance repair, DIY diagnostics, maintenance, troubleshooting, and appliance care. His writing focuses on turning confusing appliance problems into simple, understandable steps that homeowners can follow safely.
Ethan covers everything from diagnosing a refrigerator that is not cooling and a washing machine that will not drain to troubleshooting dryers, dishwashers, ovens, microwaves, and other common household appliances. His content helps readers understand appliance symptoms, identify possible causes, perform basic diagnostic checks, and determine when professional repair may be necessary.
Through his work, Ethan aims to bridge the gap between professional appliance repair knowledge and everyday homeowners—making appliance troubleshooting more approachable, practical, and accessible to everyone who wants to diagnose smarter, maintain better, and keep their appliances running longer.