

Few kitchen surprises land quite like this one. You reach for the oven to preheat, expecting warmth, and instead you’re met with cold metal and silence. The flame’s gone out. Dinner stalls.
And for a moment, you’re left standing there wondering what on earth happened.
Here’s the reassuring part, though: relighting a gas oven is usually a quick job you can handle on your own, often in under ten minutes.
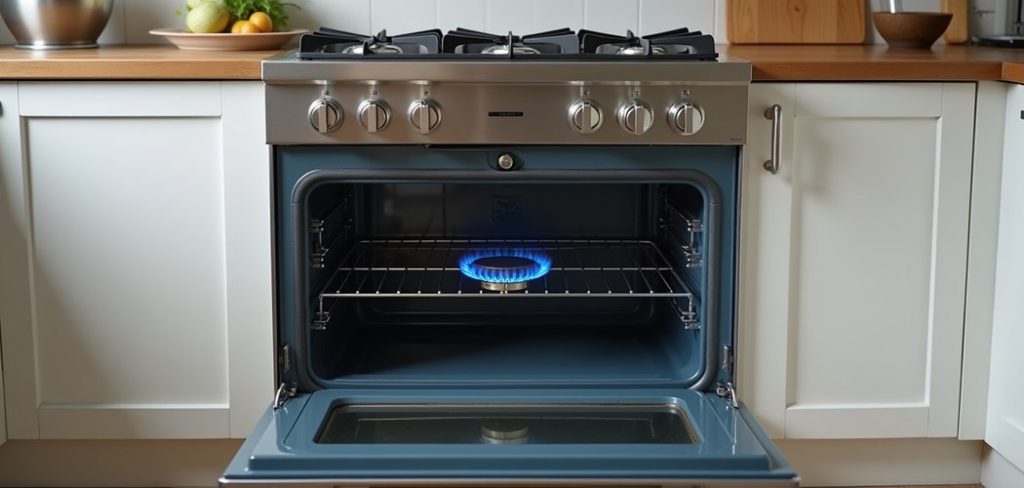
Maybe the pilot light blew out. Maybe the burner simply refused to catch. Either way, knowing what’s actually going on behind that oven door makes the whole thing far less mysterious—and a good deal safer.
This guide on how to relight gas oven covers what you’ll need, the exact steps to follow, and the small mistakes that tend to trip people up.
By the time you finish reading, you should be able to bring your oven back without dialing a technician or putting yourself at risk.
Understanding How a Gas Oven Works
Every gas oven runs on the same basic idea: a controlled flow of gas that ignites and produces heat. How that ignition happens, though, depends on your model.
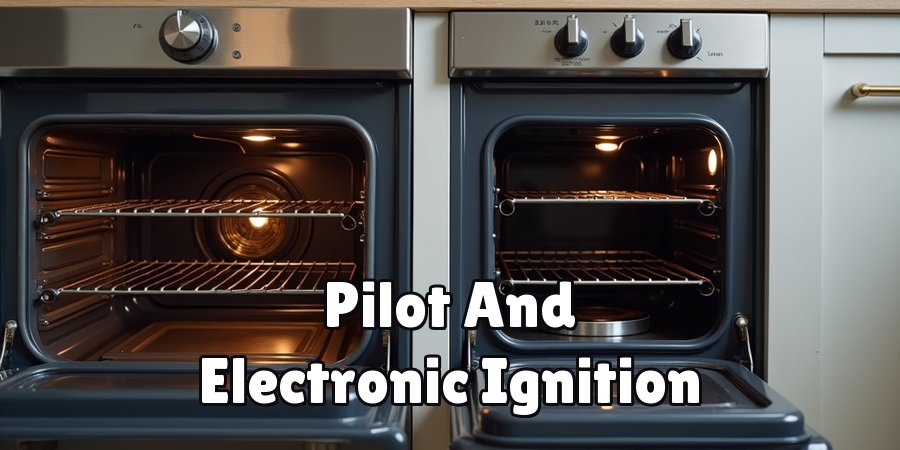
Older ovens rely on a standing pilot light. It’s a small flame that burns nonstop, sitting ready to light the main burner the moment you turn the dial.
Newer ovens usually skip the constant flame and use electronic ignition instead, sparking only when heat is called for.
Figuring out which type sits in your kitchen is really the first thing worth doing, because the relighting steps differ slightly between the two.
So why does the flame die in the first place? A stray draft could be the culprit. Sometimes a boil-over spills liquid onto the pilot and smothers it.
Other times the gas supply hiccups for a moment and the flame simply can’t stay lit. Electronic models bring their own quirks—a power outage, say, or an igniter caked with grease that can’t spark properly.
Pinning down the cause matters more than it might seem. A quick relight may fix a one-off draft, but a flame that keeps dying could suggest something that needs a professional’s eyes.
Materials Needed
A little prep goes a long way here. Round up these items before you start, and the whole process tends to move more smoothly.
Long-Reach Lighter or Long Match
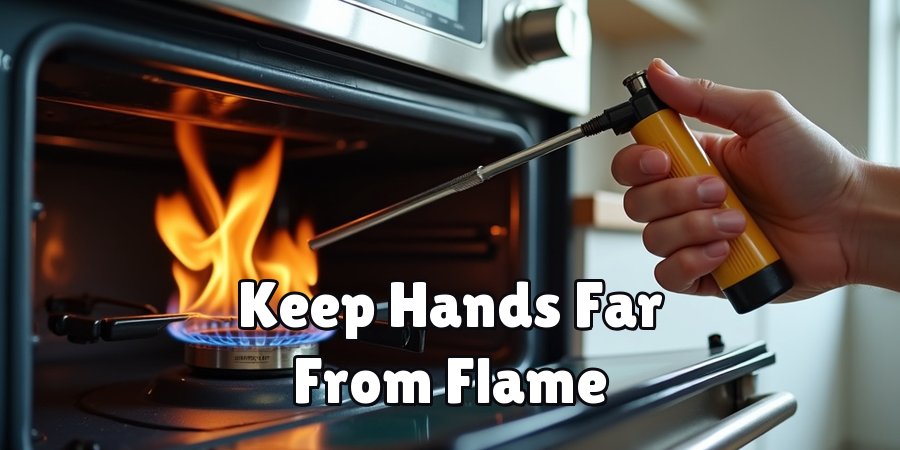
A long-reach utility lighter, or an extended match, lets you get to the pilot area while keeping your hand well clear of the gas source. This one isn’t optional, really—short lighters put your fingers uncomfortably close to where the flame catches.
Flashlight
Pilot openings and burner assemblies often sit in dim, shadowed corners of the oven cavity. A flashlight helps you see exactly what you’re aiming for.
Clean Cloth
Keep a dry cloth nearby for wiping dust, grease, or stray food bits away from the igniter and burner ports.
Owner’s Manual
Your manual holds the model-specific details—where the pilot light hides, where the reset button lives, and any quirks particular to your appliance. If you’ve lost the paper copy, most manufacturers post them online.
8 Simple Steps on How to Relight Gas Oven
Step 1: Turn Off the Oven and Gas Supply
Shut the oven off completely, then turn the gas control knob to “off.” This halts the gas flow and keeps anything from building up while you get ready.
Step 2: Wait Several Minutes
Give it at least five minutes. Any gas still lingering in the area needs time to clear out, and this pause is where safety really lives. Strike a flame too soon and trapped gas could ignite in a sudden flare.
Step 3: Smell for Gas
Before you touch anything else, take a good sniff near the oven. Notice a strong gas odor? Stop right there. Open the windows, step out of the room, and call your gas provider. Only carry on once the air smells genuinely clean.
Step 4: Locate the Pilot Light or Igniter
Grab your flashlight and manual, then hunt down the pilot opening or electronic igniter. You’ll typically find it toward the back or bottom of the oven cavity, sitting near the main burner.
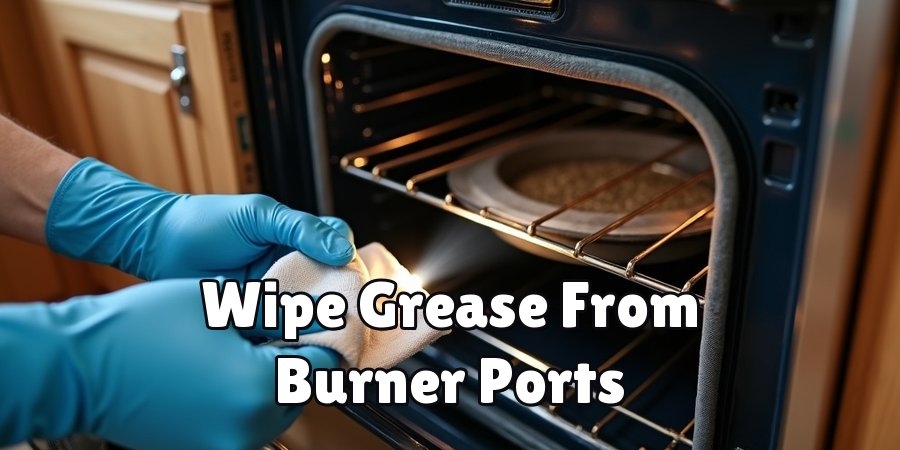
Step 5: Clean the Area
Wipe away whatever dust, grease, or food debris has gathered around the igniter and burner ports. A clogged port can stop the flame from catching, so this small cleanup often makes the difference.
Step 6: Turn On the Gas Supply
Turn the gas control knob back to “on” or “pilot.” Some models have a reset button—if yours does, press and hold it as the manual directs, which lets gas travel to the pilot.
Step 7: Light the Pilot or Trigger Ignition
For a standing pilot, hold your long-reach lighter near the opening until the flame takes. For an electronic model, turn the dial and listen. You should hear a clicking sound as the igniter sparks the burner to life.
Step 8: Confirm the Flame and Monitor
Once it’s lit, watch for a moment. A healthy flame burns steady and blue. If it flickers, drifts toward yellow, or refuses to stay lit, shut everything off and call a qualified technician. Those signs may point to something beyond a simple relight.
Work through these steps on how to relight gas oven in order. There’s no prize for speed, and gas is one of those things you simply don’t rush.
Common Mistakes to Avoid
Rushing tops the list, and it’s the one that carries real danger. Skip the waiting period after cutting the gas, and you’re gambling that no gas lingered—lingering gas may ignite when you least expect it.
Right behind that comes ignoring the smell. People catch a whiff of gas, tell themselves it’s probably fine, and light the flame anyway. It isn’t worth it.
If you smell gas at any point, the oven can wait; your safety can’t.
Cleaning gets overlooked too. Neglected burner ports tend to produce weak, uneven flames, and then folks respond by hammering the igniter over and over, which only wears it out faster.
And those short matches or standard lighters? They keep cropping up despite putting your hands far too close to the flame.
A bit of patience paired with the right tools handles nearly every one of these problems before it starts.
Frequently Asked Questions
Q1: Why Does My Gas Oven Pilot Light Keep Going Out?
A pilot that keeps dying usually points to one of three things: a persistent draft, a dirty pilot opening, or a failing thermocouple. Drafts blow the flame out; grease buildup blocks proper ignition.
If you’ve cleaned the area and relit it but the problem returns, the thermocouple may need replacing—and that’s a job for a professional.
Q2:Is It Safe to Relight a Gas Oven Myself?
Generally, yes, provided you respect the precautions. Turn off the gas first, wait for it to clear, and check for any gas smell before you light anything. That said, if something feels off or you catch a strong odor, don’t push through it. Stop and call your gas provider or a technician instead.
Q3: How Long Should I Wait Before Relighting the Oven?
At least five minutes after shutting off the gas supply. That window gives any accumulated gas enough time to disperse safely. Cutting it short is one of the most common—and most dangerous—shortcuts people take.
That’s because gas is unpredictable, and the smallest spark can ignite it. The exact amount of time may vary depending on your specific oven model and how long the pilot light has been out.
Some newer models have safety features that automatically shut off the gas after a certain period of time, so you may need to consult your manual for more accurate guidelines.
Q4: What Are Some Safety Precautions When Dealing With a Gas Oven?
There are several important safety precautions to keep in mind when handling a gas oven.
These include ensuring proper ventilation, avoiding any potential sources of ignition near the oven, and allowing enough time for accumulated gas to disperse before attempting to relight the pilot light.
Additionally, it is important to follow the manufacturer’s guidelines and consult the manual for more accurate information on how long it may take for the gas to dissipate safely.
Taking these precautions can help prevent potentially dangerous situations and ensure the safe use of your gas oven. So, always make sure to prioritize safety when dealing with a gas oven.
Conclusion
Relighting a gas oven really doesn’t need to feel intimidating.
Give yourself the right tools, a rough sense of how your appliance works, and a willingness to slow down, and you’ll likely have the whole thing sorted in minutes. Move steadily. Honor each safety step.
And never, ever wave off the smell of gas. Those habits protect you and your kitchen far more than speed ever could.Still no luck after all eight steps?
Or a flame that stubbornly burns yellow and uneven? That’s your cue to bring in a qualified technician. Certain problems—a faulty thermocouple, a gas line issue—genuinely call for professional expertise. Trust your gut here.
When a repair starts to feel beyond your comfort zone, asking for help isn’t giving up. It’s the smart move. Thanks for reading this guide on how to relight gas oven.

About
Ethan Wrenford is a dedicated home appliance specialist with years of hands-on experience in appliance troubleshooting, maintenance, repair, and DIY diagnostics. His professional focus lies in combining practical repair knowledge with simple, easy-to-follow solutions, helping homeowners understand common appliance problems and confidently identify potential causes at home. As an author at ApplianceWhy, Ethan shares practical knowledge on home appliance repair, DIY appliance diagnostics, maintenance, troubleshooting, appliance care, and everyday solutions for common household appliance issues.
Education
Portland Community College (Portland, USA)
Associate Degree in Appliance Technology & Residential Systems
- Focused on residential appliance systems, electrical fundamentals, mechanical components, and appliance troubleshooting.
- Developed practical skills in appliance diagnostics, component testing, electrical safety, and repair procedures.
- Gained hands-on experience working with refrigerators, washing machines, dryers, dishwashers, ovens, ranges, and other household appliances.
Oregon Institute of Technology (Klamath Falls, USA)
Bachelor’s in Applied Electronics & Technology
- Specialized in electrical systems, electronic controls, sensors, motors, and residential equipment.
- Studied diagnostic techniques for identifying electrical, mechanical, and component-related appliance problems.
- Completed practical projects involving appliance control systems, troubleshooting methods, preventive maintenance, and repair fundamentals.
Publications and Impact
Through ApplianceWhy, Ethan shares practical insights into home appliance repair, DIY diagnostics, maintenance, troubleshooting, and appliance care. His writing focuses on turning confusing appliance problems into simple, understandable steps that homeowners can follow safely.
Ethan covers everything from diagnosing a refrigerator that is not cooling and a washing machine that will not drain to troubleshooting dryers, dishwashers, ovens, microwaves, and other common household appliances. His content helps readers understand appliance symptoms, identify possible causes, perform basic diagnostic checks, and determine when professional repair may be necessary.
Through his work, Ethan aims to bridge the gap between professional appliance repair knowledge and everyday homeowners—making appliance troubleshooting more approachable, practical, and accessible to everyone who wants to diagnose smarter, maintain better, and keep their appliances running longer.