

Your water heater works around the clock, quietly heating water so you can enjoy warm showers, clean dishes, and fresh laundry. But here’s something many homeowners overlook: the temperature setting on your water heater might be higher than it needs to be.
Turning down your water heater is one of the simplest home improvements you can make. It takes just a few minutes, requires almost no special tools, and delivers real rewards. Lowering the temperature to around 120°F can protect your family from scalding, trim your energy bills, and even extend the life of your appliance.
In this guide on how to turn down water heater, we’ll walk you through everything you need to know. Let’s get started.
The Benefits of Turning Down Your Water Heater
Adjusting your water heater temperature might seem like a small task, but the payoff is bigger than you’d expect. Here are the main reasons to make the change.
1. Lower Energy Bills
Heating water accounts for a large chunk of your home’s energy use, often around 18% of your total utility costs.
Every 10-degree reduction in temperature can save you between 3% and 5% on water heating expenses. Over a year, those savings add up.
Lowering your unit from 140°F to 120°F could put real money back in your pocket.
2. Improved Safety
Water at 140°F can cause a serious burn in just a few seconds. For homes with small children, elderly family members, or anyone with sensitive skin, this is a genuine risk. Setting your heater to 120°F greatly reduces the chance of accidental scalding while still providing plenty of hot water for daily needs.
3. Longer Appliance Life
Higher temperatures speed up mineral buildup and sediment inside your tank. This wear and tear can shorten the lifespan of your water heater and lead to costly repairs. Running your unit at a lower temperature eases the strain and helps it last longer.
4. Reduced Environmental Impact
Using less energy means a smaller carbon footprint. When you turn down your water heater, you cut back on the fuel or electricity needed to keep water hot. It’s a simple way to make your household a little greener.
5. Less Mineral Buildup
Lower temperatures slow the formation of scale and sediment, especially in areas with hard water. This keeps your tank cleaner and helps your heater run more efficiently over time.
What Will You Need?
The good news is that turning down your water heater requires very little. Depending on whether you have a gas or electric model, gather these items before you begin:
That’s it. You won’t need any expensive equipment. Most people already have these items around the house. Once you’ve gathered your supplies, you’re ready to begin.
- A flathead screwdriver – Needed to remove access panels on electric units.
- A Phillips screwdriver – Handy for certain panel screws.
- A thermometer – A meat or candy thermometer works well for checking water temperature at the faucet.
- A flashlight – Helps you see the thermostat dial clearly, especially in dim basements or closets.
- A cup or container – Useful for collecting water to test the temperature.
- Work gloves – Optional, but they protect your hands when working near the unit.
- A pen and paper – To note your starting temperature and track changes.
10 Easy Steps on How to Turn Down Water Heater
Follow these steps carefully to lower your water heater temperature safely and correctly. The process differs slightly between gas and electric models, so we’ll cover both along the way.
Step 1: Turn Off the Power
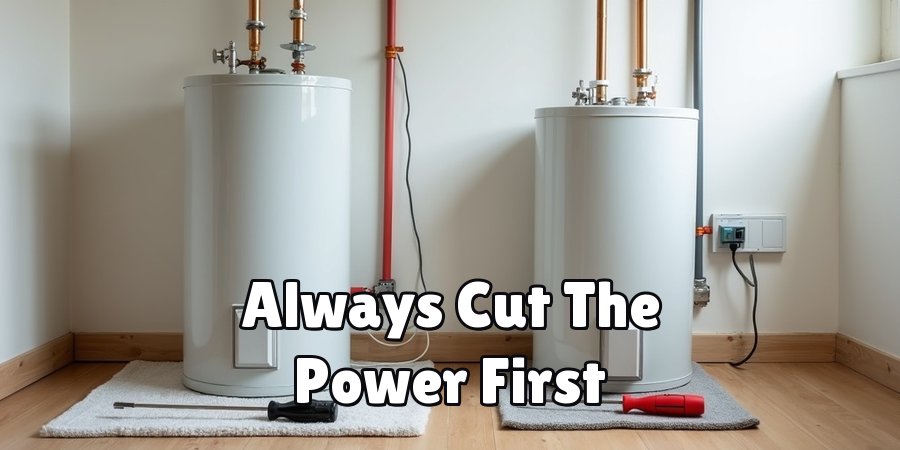
Safety comes first. Before you touch anything, cut the power to your water heater. If you have an electric model, head to your home’s breaker box and switch off the breaker that controls the unit.
This prevents any risk of electric shock while you work.
For a gas water heater, you don’t need to turn off the electricity, but you should locate the gas control valve so you know where it is.
Taking this precaution protects you and makes the rest of the process worry-free. Never skip this step, even if you feel confident. A few seconds of caution can prevent a serious accident.
Step 2: Locate the Thermostat
Next, find the thermostat on your water heater. On a gas unit, this is usually a dial located near the bottom of the tank, close to where the gas line enters.
It’s often labeled with settings or temperature markings. On an electric water heater, the thermostat is hidden behind one or two access panels on the side of the tank.
Larger tanks typically have two thermostats, one near the top and one near the bottom. Use your flashlight to spot the panels. Knowing exactly where the controls are makes the adjustment much smoother.
Step 3: Check the Current Temperature
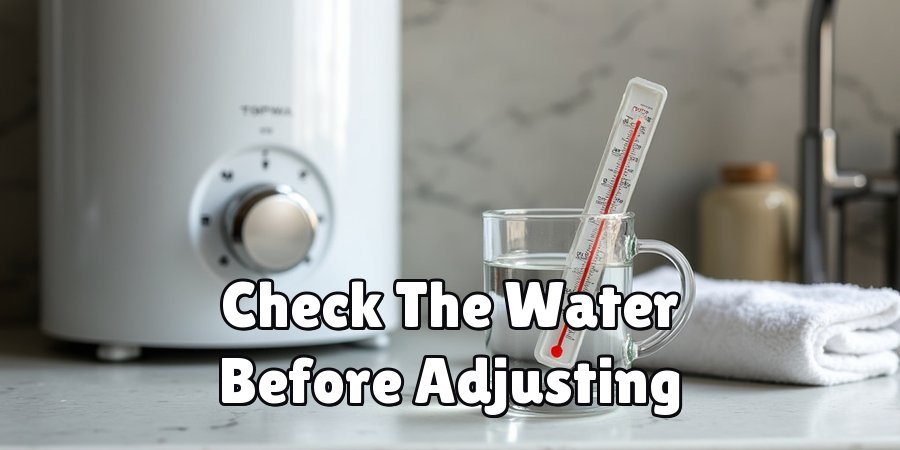
Before making any changes, find out how hot your water currently is. Turn on the hot water at the faucet closest to your heater and let it run for a minute or two.
Fill a cup with the hot water and place your thermometer in it. Note the reading. This gives you a baseline so you can measure your progress. Many heaters run hotter than their dial suggests, so this quick test tells you the real story.
Write down the number so you can compare it after you finish adjusting.
Step 4: Remove the Access Panel (Electric Units)
If you have an electric water heater, you’ll need to remove the access panel covering the thermostat. Use your flathead or Phillips screwdriver to loosen the screws holding the panel in place. Set the screws aside somewhere safe so you don’t lose them.
Behind the panel, you may find insulation and a plastic safety cover. Gently move the insulation aside and lift or fold back the plastic guard to reach the thermostat dial.
Gas users can skip this step, since the dial is out in the open.
Step 5: Adjust the Thermostat Dial
Now for the main event. On a gas heater, simply turn the dial to your desired setting. Many dials have marks for “warm,” “hot,” and “very hot,” with 120°F usually sitting in the warm-to-medium range.
On an electric unit, use your flathead screwdriver to turn the thermostat dial to 120°F or the equivalent setting. If your tank has two thermostats, set both to the same temperature for even heating. Turn the dial slowly and deliberately.
Aim for 120°F, which offers the best balance of comfort, safety, and savings.
Step 6: Adjust Both Thermostats (Electric Units)
For electric water heaters with two thermostats, it’s important to set both to match. The top thermostat controls the upper heating element, and the bottom one controls the lower element.
If they’re set to different temperatures, your heater won’t perform efficiently, and you may get inconsistent water temperatures. Repeat the adjustment from Step 5 on the second thermostat. Double-check that both dials point to the same setting before moving on.
This ensures your whole tank heats evenly and works as intended.
Step 7: Replace the Access Panel
Once you’ve adjusted the thermostat or thermostats, put everything back the way you found it.
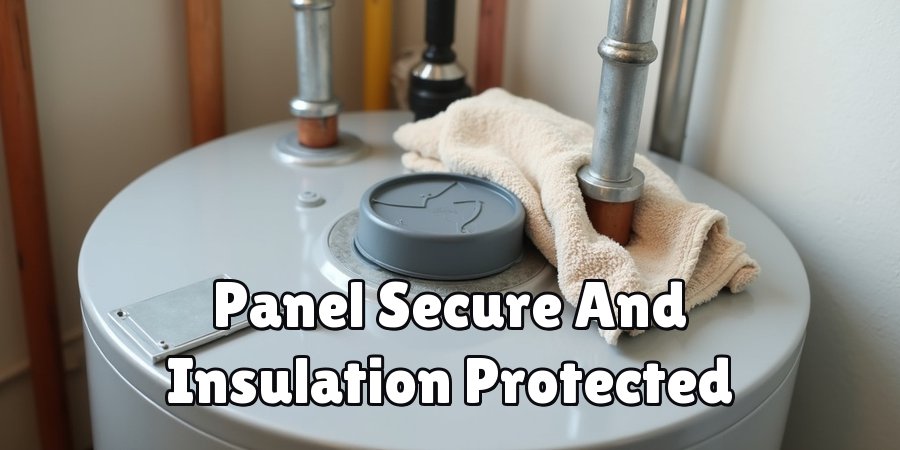
Fold the plastic safety cover back into place, tuck the insulation in neatly, and reattach the access panel using the screws you set aside. Make sure the panel is secure and flush against the tank.
A properly closed panel keeps the components protected and maintains the unit’s insulation. Gas water heater owners can skip this step since there’s no panel to replace.
Step 8: Restore the Power
With everything back in place, return to your breaker box and switch the power back on for your electric water heater.
If you turned off or lowered your gas heater’s control valve, restore it to its normal operating position now. The unit will begin heating water at the new, lower temperature. Give it time to work.
It usually takes a few hours for the water in the tank to reach the updated setting.
Step 9: Wait and Retest the Temperature
Patience pays off here. Wait about three to four hours to let the water fully adjust to the new temperature. Then repeat the test from Step 3.
Run the hot water, fill your cup, and check the thermometer reading. Compare it to your target of 120°F. If the temperature is close, you’re all set.
This retest confirms that your adjustment worked and that your water is now at a safer, more efficient level.
Step 10: Fine-Tune if Needed
If your retest shows the water is still too hot or now too cold, make small adjustments. Turn the dial slightly in the direction you need, then wait a few more hours and test again.
Getting the perfect setting can take a couple of tries, and that’s completely normal. Once you hit your ideal temperature, you’re done.
Enjoy the peace of mind that comes from knowing your water heater is running safely and efficiently.
5 Things You Should Avoid
Even a simple task like this can go wrong if you’re not careful. Steer clear of these common mistakes.
1. Skipping the Power Shutoff
Never adjust an electric water heater without first turning off the breaker. Working on live components risks a dangerous shock. Always cut the power before you open any panels.
2. Setting the Temperature Too Low
Going below 120°F might seem like a good way to save even more, but it can allow harmful bacteria like Legionella to grow in the tank. Stick to 120°F as your safe minimum.
3. Ignoring One of Two Thermostats
On electric units with two thermostats, adjusting only one leads to uneven heating and poor efficiency. Always set both to the same temperature.
4. Rushing the Retest
Checking the water temperature right after adjusting won’t give you accurate results. The tank needs several hours to reach the new setting. Give it time before you test.
5. Forcing the Dial
If a thermostat dial feels stuck, don’t force it. This can break the mechanism. Instead, inspect for obstructions or call a professional if something seems wrong.
Conclusion
How to turn down water heater is a quick, easy project that pays off in a big way.
By lowering the temperature to around 120°F, you protect your family from burns, cut your energy bills, and help your appliance last longer.
It’s one of the simplest home upgrades you can make, and you don’t need any fancy tools to do it.
Remember the key points: always turn off the power first, adjust both thermostats on electric units, and give the water time to reach its new setting before testing.
Now that you know exactly how it’s done, there’s no reason to wait. Grab your screwdriver and thermometer, follow the steps in this guide, and enjoy safer, more affordable hot water starting today. Your wallet, your family, and your water heater will all thank you.

About
Ethan Wrenford is a dedicated home appliance specialist with years of hands-on experience in appliance troubleshooting, maintenance, repair, and DIY diagnostics. His professional focus lies in combining practical repair knowledge with simple, easy-to-follow solutions, helping homeowners understand common appliance problems and confidently identify potential causes at home. As an author at ApplianceWhy, Ethan shares practical knowledge on home appliance repair, DIY appliance diagnostics, maintenance, troubleshooting, appliance care, and everyday solutions for common household appliance issues.
Education
Portland Community College (Portland, USA)
Associate Degree in Appliance Technology & Residential Systems
- Focused on residential appliance systems, electrical fundamentals, mechanical components, and appliance troubleshooting.
- Developed practical skills in appliance diagnostics, component testing, electrical safety, and repair procedures.
- Gained hands-on experience working with refrigerators, washing machines, dryers, dishwashers, ovens, ranges, and other household appliances.
Oregon Institute of Technology (Klamath Falls, USA)
Bachelor’s in Applied Electronics & Technology
- Specialized in electrical systems, electronic controls, sensors, motors, and residential equipment.
- Studied diagnostic techniques for identifying electrical, mechanical, and component-related appliance problems.
- Completed practical projects involving appliance control systems, troubleshooting methods, preventive maintenance, and repair fundamentals.
Publications and Impact
Through ApplianceWhy, Ethan shares practical insights into home appliance repair, DIY diagnostics, maintenance, troubleshooting, and appliance care. His writing focuses on turning confusing appliance problems into simple, understandable steps that homeowners can follow safely.
Ethan covers everything from diagnosing a refrigerator that is not cooling and a washing machine that will not drain to troubleshooting dryers, dishwashers, ovens, microwaves, and other common household appliances. His content helps readers understand appliance symptoms, identify possible causes, perform basic diagnostic checks, and determine when professional repair may be necessary.
Through his work, Ethan aims to bridge the gap between professional appliance repair knowledge and everyday homeowners—making appliance troubleshooting more approachable, practical, and accessible to everyone who wants to diagnose smarter, maintain better, and keep their appliances running longer.