

Your garbage disposal works hard every single day. It grinds up food scraps, keeps your sink clear, and saves you from dealing with smelly, clogged drains. But like any hard-working appliance, it needs a little care from time to time.
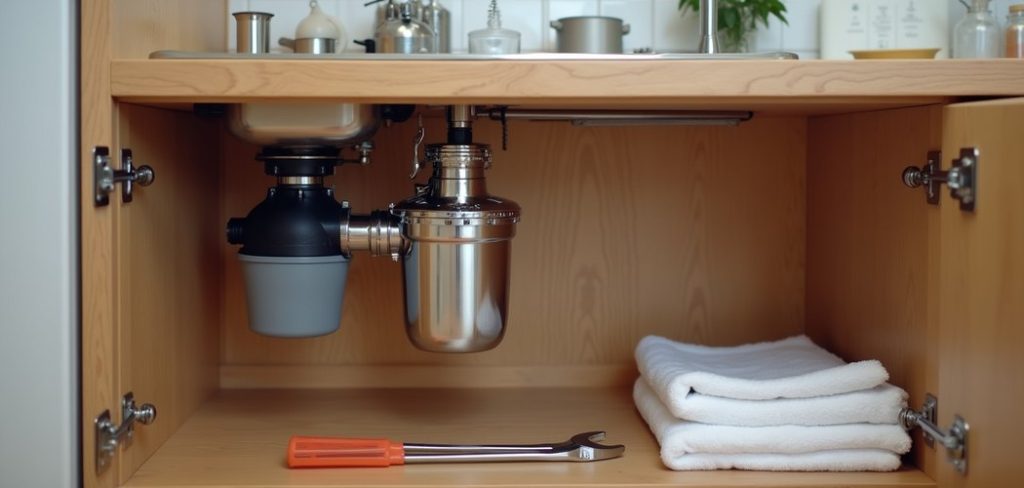
The good news? You don’t need to call a plumber to fix this. Tightening a garbage disposal is a straightforward job that most people can handle in under an hour. With a few basic tools and a bit of patience, you can stop leaks, kill the noise, and get your disposal running smoothly again.
In this guide on how to tighten garbage disposal, we’ll walk you through everything you need to know. Let’s dive in and get that disposal locked tight.
What Are the Benefits?
Keeping your garbage disposal properly tightened offers more than just peace of mind. Here are the main reasons why this small task matters so much.
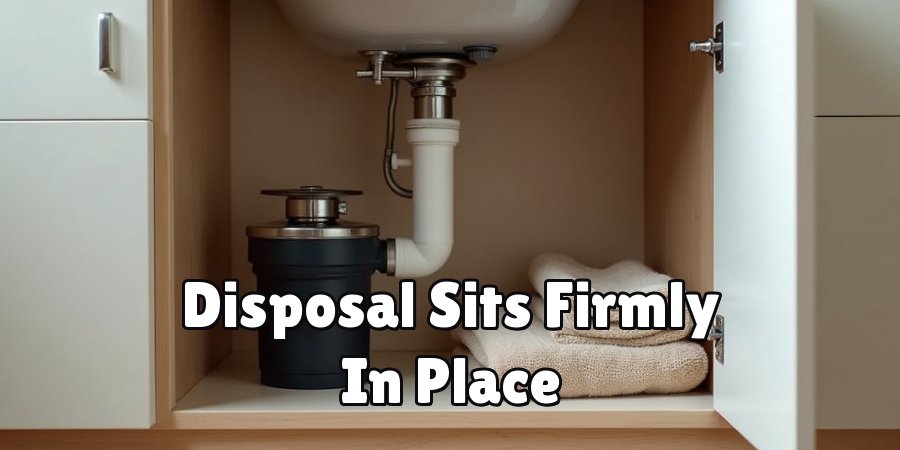
- Stops annoying leaks. A loose disposal is one of the top causes of water dripping under your sink. When the mounting connection isn’t tight, water seeps through the gaps every time you run the faucet. Tightening it seals those gaps and keeps your cabinet dry.
- Prevents water damage. Leaks that go unnoticed can cause serious harm. Over time, water rots wooden cabinets, warps flooring, and encourages mold growth. A quick tightening job protects your kitchen from expensive repairs down the road.
- Reduces noise and vibration. That loud rattling sound often comes from a disposal that’s shaking loose from its mount. Once you secure it, the unit runs quieter and smoother. Your kitchen becomes a more pleasant place to be.
- Extends the life of your disposal. When a unit vibrates excessively, the internal parts wear out faster. A tight, stable mount reduces stress on the motor and grinding components. This means your disposal lasts longer before needing a full replacement.
- Saves money. Fixing a loose disposal yourself costs almost nothing. Compare that to hiring a plumber or replacing a water-damaged cabinet, and the savings add up fast. A little effort now prevents big bills later.
- Improves overall performance. A stable disposal grinds food more effectively. When everything is aligned and tight, waste moves through the system as designed, which cuts down on clogs and backups.
What Will You Need?
Before you start, gather your tools and materials. Having everything ready makes the job faster and less frustrating. Here’s your checklist:
Once you’ve collected these items, you’re ready to begin.
- Flashlight or headlamp
- Adjustable wrench
- Screwdriver set
- Plumber’s wrench or channel-lock pliers
- Bucket or towel
- Plumber’s putty
- Work gloves
- Safety glasses
- A rag or old cloth
- Your disposal’s manual
10 Easy Steps on How to Tighten Garbage Disposal
Step 1: Turn Off the Power
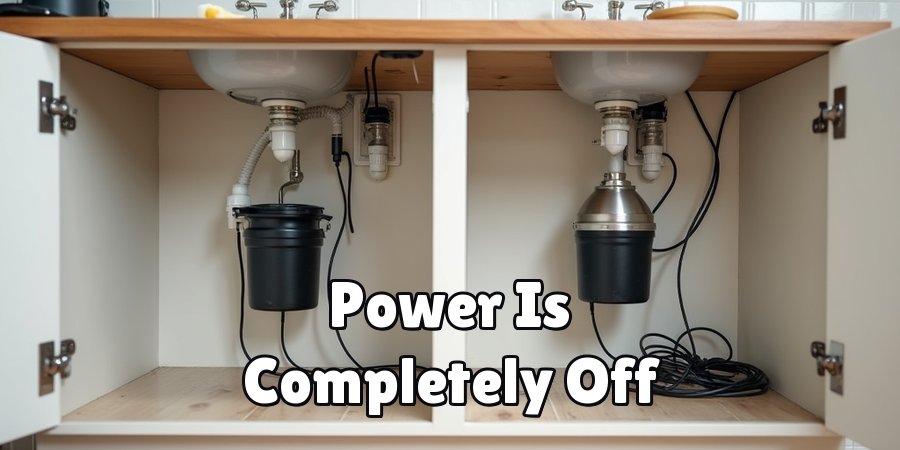
Safety always comes first. Before you touch anything, cut the power to your garbage disposal. Head to your circuit breaker box and switch off the breaker that controls the kitchen or disposal.
If your disposal plugs into an outlet under the sink, unplug it as well. Never rely on the wall switch alone, since it can be accidentally flipped on.
To be completely sure the power is off, try turning on the disposal with the switch. If nothing happens, you’re safe to proceed.
This step protects you from serious injury while you work near the motor and blades.
Step 2: Clear the Area Under the Sink
You need room to work, so empty out the cabinet beneath your sink. Remove cleaning supplies, trash cans, and anything else stored there.
Lay down a towel or place a bucket underneath the disposal to catch drips. Good lighting matters too, so position your flashlight or wear a headlamp.
A clean, well-lit workspace makes the whole job easier and helps you spot the source of any looseness or leaking.
Step 3: Inspect the Disposal
Take a few minutes to examine the entire unit. Gently wiggle the disposal with your hand to see where it moves. Is it loose at the top where it connects to the sink?
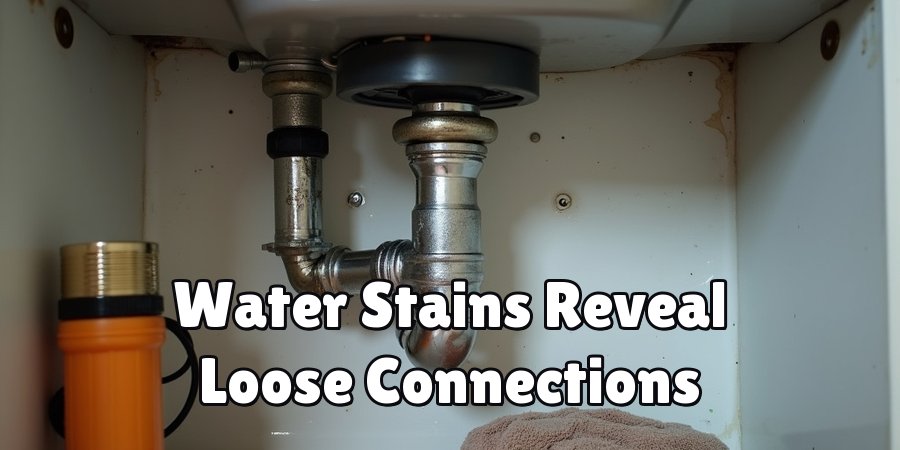
Or is the wobble coming from the drain pipes below? Look for water stains, drips, or corrosion that point to the problem area.
Understanding exactly what’s loose helps you focus your effort in the right spot instead of tightening everything blindly.
Step 4: Locate the Mounting Ring
Most disposals attach to the sink through a mounting assembly called the mounting ring or flange. This ring sits at the top of the disposal, right where it meets the underside of the sink.
It’s the most common culprit behind a wobbly unit. Find this ring and get familiar with how it’s designed. Some models use a twist-lock system, while others rely on screws.
Knowing your setup guides your next moves.
Step 5: Tighten the Mounting Ring
If your disposal uses a twist-lock mount, grip the unit firmly and turn the mounting ring clockwise. You may hear or feel it click into place as it locks.
For screw-based mounts, use your screwdriver to tighten each mounting screw evenly. Work in small turns, moving from one screw to the next, so the pressure stays balanced. Don’t tighten one screw all the way before starting another.
Even pressure keeps the seal solid and prevents leaks.
Step 6: Check the Sink Flange
The sink flange is the metal piece that sits inside your sink drain. If it’s loose, water leaks around the top. To fix this, you may need to tighten the flange from below or reseal it with plumber’s putty.
Roll a small rope of putty and press it under the flange lip if the old seal has failed. Then tighten the mounting bolts to compress the flange against the sink.
This creates a watertight seal at the very top of the system.
Step 7: Secure the Discharge Pipe
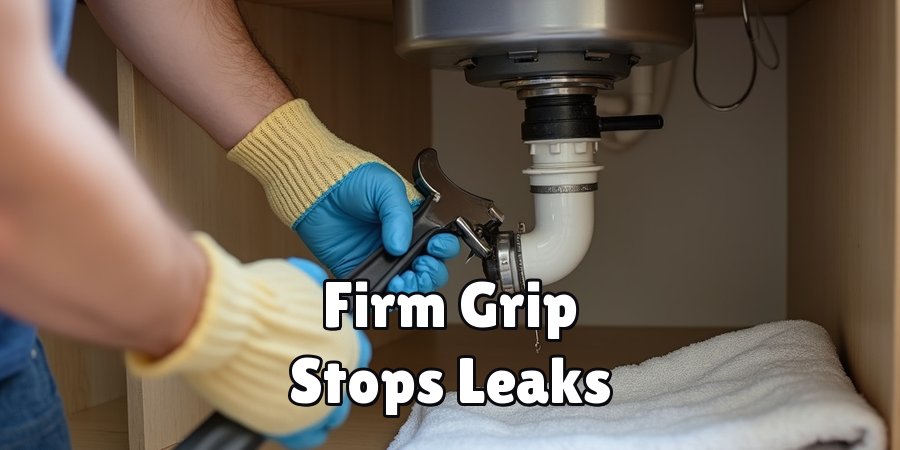
The discharge pipe carries wastewater from the disposal to your drain line. A loose connection here causes leaks and rattling. Locate the bolt or clamp where the pipe meets the disposal.
Use your wrench or screwdriver to tighten it snugly. Be careful not to overtighten, since plastic fittings can crack under too much force. A firm, even grip is all you need.
Wipe the area clean so you can check for leaks later.
Step 8: Inspect the Dishwasher Connection
Many disposals connect to a dishwasher through a small hose. If your unit has this feature, check that the hose clamp is tight. A loose clamp lets water drip whenever the dishwasher drains.
Tighten the clamp with a screwdriver until the hose sits securely. This connection is easy to overlook, but a loose one leads to mysterious puddles that seem to appear out of nowhere.
Step 9: Test for Stability
Once everything feels tight, give the disposal another gentle wiggle. It should feel solid and stable, with no noticeable movement. If it still wobbles, go back and check each connection again.
Sometimes one bolt needs a little more attention. Keep adjusting until the unit stays firmly in place. A stable disposal is the sign that your tightening work paid off.
Step 10: Restore Power and Run a Test
Now for the moment of truth. Return to your circuit breaker and switch the power back on, or plug the disposal back in.
Turn on the cold water and run the disposal for a few seconds. Watch closely for leaks around every connection you tightened. Listen for any rattling or unusual noise.
If everything runs quietly and stays dry, congratulations, you’ve successfully tightened your garbage disposal.
5 Things You Should Avoid
Even simple jobs come with a few pitfalls. Steer clear of these common mistakes to keep your project smooth and safe.
1. Skipping the power shutoff. Never work on a disposal that still has power running to it. The blades and motor can cause severe injury. Always confirm the power is off before you reach into the unit.
2. Overtightening connections. More force isn’t always better. Cranking bolts too tight can crack plastic fittings, strip threads, or damage the flange. Tighten just enough to stop movement and seal leaks.
3. Ignoring the source of the problem. Don’t tighten random parts hoping to fix the wobble. Take time to find the exact loose connection first. Guesswork wastes effort and may leave the real issue unresolved.
4. Reusing old, worn seals. If your plumber’s putty is dry and cracked, replace it. An old seal won’t hold, and you’ll be back under the sink fixing leaks again soon. Fresh putty makes a lasting difference.
5. Forgetting to test afterward. Never assume the job is done without running the disposal. Always test for leaks and stability once you restore power. A quick check now saves you from surprise water damage later.
Conclusion
How to tighten garbage disposal is a simple task that delivers big rewards. By securing your unit, you stop leaks, cut down on noise, and protect your kitchen from costly water damage. Best of all, you save money by handling the fix yourself instead of calling a plumber.
Remember to always turn off the power first, work carefully, and test your results before you finish. Avoid the common mistakes we covered, and your disposal will run smoothly for years to come.
With this guide in hand, you have everything you need to keep your garbage disposal tight, stable, and working like new. Roll up your sleeves and give it a try, your kitchen will thank you.

About
Ethan Wrenford is a dedicated home appliance specialist with years of hands-on experience in appliance troubleshooting, maintenance, repair, and DIY diagnostics. His professional focus lies in combining practical repair knowledge with simple, easy-to-follow solutions, helping homeowners understand common appliance problems and confidently identify potential causes at home. As an author at ApplianceWhy, Ethan shares practical knowledge on home appliance repair, DIY appliance diagnostics, maintenance, troubleshooting, appliance care, and everyday solutions for common household appliance issues.
Education
Portland Community College (Portland, USA)
Associate Degree in Appliance Technology & Residential Systems
- Focused on residential appliance systems, electrical fundamentals, mechanical components, and appliance troubleshooting.
- Developed practical skills in appliance diagnostics, component testing, electrical safety, and repair procedures.
- Gained hands-on experience working with refrigerators, washing machines, dryers, dishwashers, ovens, ranges, and other household appliances.
Oregon Institute of Technology (Klamath Falls, USA)
Bachelor’s in Applied Electronics & Technology
- Specialized in electrical systems, electronic controls, sensors, motors, and residential equipment.
- Studied diagnostic techniques for identifying electrical, mechanical, and component-related appliance problems.
- Completed practical projects involving appliance control systems, troubleshooting methods, preventive maintenance, and repair fundamentals.
Publications and Impact
Through ApplianceWhy, Ethan shares practical insights into home appliance repair, DIY diagnostics, maintenance, troubleshooting, and appliance care. His writing focuses on turning confusing appliance problems into simple, understandable steps that homeowners can follow safely.
Ethan covers everything from diagnosing a refrigerator that is not cooling and a washing machine that will not drain to troubleshooting dryers, dishwashers, ovens, microwaves, and other common household appliances. His content helps readers understand appliance symptoms, identify possible causes, perform basic diagnostic checks, and determine when professional repair may be necessary.
Through his work, Ethan aims to bridge the gap between professional appliance repair knowledge and everyday homeowners—making appliance troubleshooting more approachable, practical, and accessible to everyone who wants to diagnose smarter, maintain better, and keep their appliances running longer.