

A broken washing machine has a way of derailing the whole week. The laundry starts stacking up in the corner. Your favorite shirt is stuck at the bottom of a wet, half-drained drum.
And there you are, torn between phoning a repair technician and grabbing a screwdriver yourself.Here’s the part that surprises most people.
A good number of washing machine faults turn out to be fairly minor—the kind you can sort out on a Saturday afternoon, even if you’ve never opened up an appliance in your life.
What follows is a walkthrough of the whole thing. How the machine actually works, which tools earn their place in your kit, and a step-by-step method for tracking down the fault.
I’ll also flag the moments where calling a professional is the wiser move. By the end, you should have a clearer sense of when to roll up your sleeves and when to step back.
In this guide on how to repair washing machines, we’ll cover everything from basic troubleshooting to more advanced repairs. Let’s get started!
Understanding How a Washing Machine Works
It pays to know what’s going on behind that door before you start unscrewing panels.
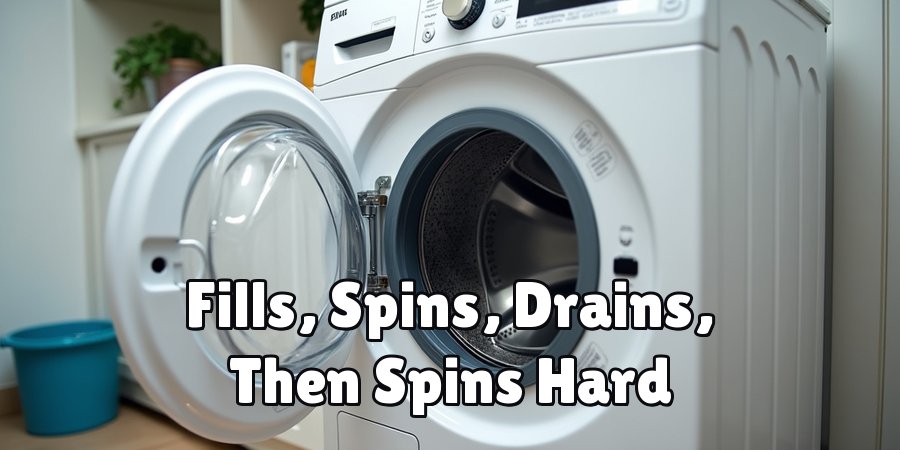
Strip it back to basics and the machine does four things in sequence: it fills with water, agitates or spins the drum to loosen the dirt, drains the used water away, and then spins hard to wring out what’s left.
Behind each of those stages sits a specific part—the water inlet valve, the drum, the motor, the drain pump, the belt—and they all depend on one another to keep the cycle moving.So when a machine misbehaves, the trouble usually traces back to one of those pieces.
Water refusing to drain? Look first at a blocked pump or a kinked hose. A drum that won’t spin may point to a slack or worn belt, or possibly the motor.
Knowing this rough map of cause and effect saves you from the classic beginner’s mistake: swapping out parts on a hunch and hoping something sticks.
Tools and Materials Needed
The right kit makes a repair go quicker and keeps it safe. Pull these together before you start, because nothing kills momentum like hunting for a wrench mid-job with a puddle forming under the machine.
Basic Hand Tools
A set of screwdrivers covers most of what you’ll meet inside—get both Phillips and flathead. Add an adjustable wrench, a pair of pliers, and a nut driver set. Between them, these handle the bulk of the fasteners and connectors on a typical machine.
Diagnostic and Safety Gear
A multimeter matters more than people expect. It’s the only reliable way to test whether a switch or motor is actually passing current. Throw in work gloves, safety goggles, and a flashlight or headlamp—the parts you need always seem to hide in the darkest corner of the cabinet.
Replacement Parts and Cleaning Supplies
What you’ll need here depends entirely on the fault. A new drive belt, drain pump, water inlet valve, or a set of hoses might come into play. Keep towels within reach along with a bucket and a stiff cleaning brush, since draining lines and clearing lint tend to get messy.
7 Simple Steps on How to Repair Washing Machines
Step 1: Unplug and Ensure Safety
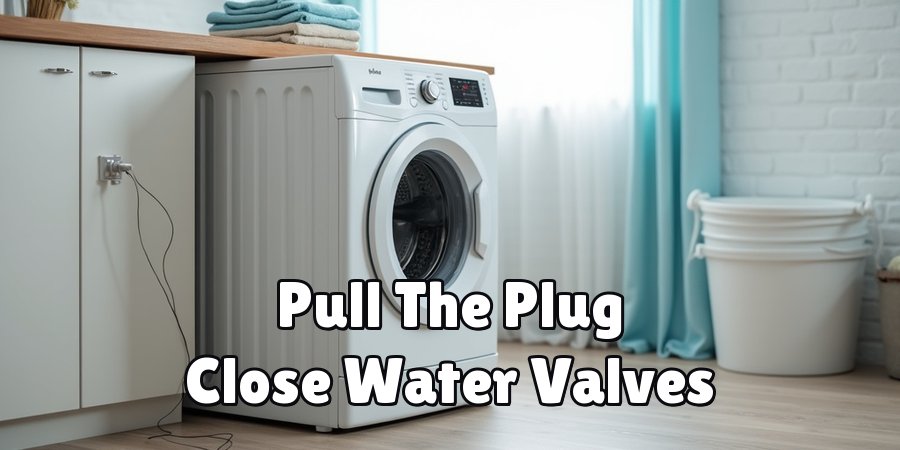
This comes first, always. Pull the plug from the wall before your hands go anywhere near the machine. If it’s connected to a water supply, close those valves too. It’s a small step, but it’s the one standing between you and either a nasty shock or a flooded laundry room.
Step 2: Identify the Problem
Slow down and note the exact symptom. Does it refuse to start? Fail to drain? Leak, rattle, or simply sit there without spinning? Jot down what you see and hear. A specific symptom points you toward the likely culprit, which beats dismantling the entire machine in search of something you can’t name.
Step 3: Access the Faulty Component
Now that you have a suspect, get to it. Most machines hide their guts behind a back or bottom panel held on with a handful of screws. Your owner’s manual will show the layout for your particular model—worth a glance, since panel arrangements differ. Remove it gently, and you should reach the part you’re after.
Step 4: Inspect and Test the Part
Give the component a proper look. You’re checking for obvious damage, wear, or a blockage. For anything electrical, the multimeter tells you whether current is passing through as it should.
A belt may show cracks or feel loose. A pump could be choked with lint. A valve might be furred up with mineral deposits from hard water.
Step 5: Clean or Replace the Component
If the part is just grubby or clogged, clean it well and put it back. If it’s genuinely worn or broken, you’ll need a replacement matched to your machine’s model number. Check that compatibility twice before fitting anything—an almost-right part tends to cause more grief than the original fault.
Step 6: Reassemble the Machine
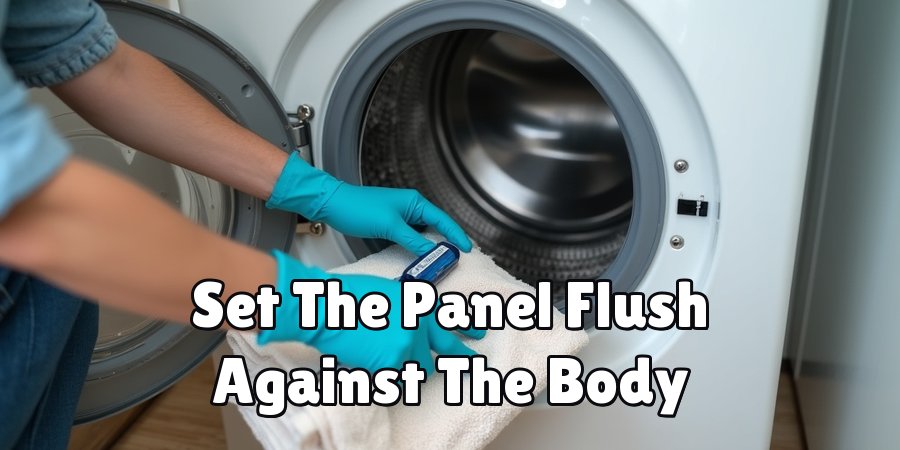
Everything now goes back the way it came apart, in reverse. Secure the screws, reconnect any wires or hoses you unplugged, and settle the panel so it sits flush against the body. Loose fittings are a common source of leaks and rattles, so give each connection a firm, final check.
Step 7: Test the Repair
Plug it back in, restore the water supply, and run a short cycle. Stand there and pay attention—watch for drips, listen for odd noises. If the machine hums along and the original fault has vanished, you’re done. That quiet moment of a cycle running properly again is oddly satisfying.
Work through these steps on how to repair washing machines in order. There’s no prize for speed here, and rushing a stage is how small problems become expensive ones.
Common Mistakes to Avoid
The single most common slip beginners make is treating safety as optional. Fiddling with a machine that’s still plugged in, or leaving the water on, invites either injury or a soaked floor—sometimes both.
Right behind that is the habit of forcing parts back into place without checking they line up.
Misaligned components leak, whine, and often break something else further down the road.Buying the wrong part is another trap, and an easy one to fall into.
People guess at what they need rather than reading off the model number, then find themselves halfway through reassembly with a component that doesn’t quite fit. Confirm the exact part first.
One more thing worth mentioning: the manual isn’t just packing material. Manufacturers tuck troubleshooting charts and diagrams into those pages, and they can spare you a lot of head-scratching.
When to Call a Professional
Not every repair belongs in your hands, and there’s no shame in recognizing that.
A serious electrical fault, a damaged control board, or a problem that stubbornly resists diagnosis after a careful look—these are cues to bring in a licensed technician.
Complex electrical work without proper training puts both you and your home at real risk, and that trade-off rarely favors the DIY route.Warranty is another consideration people forget in the heat of the moment.
If the machine is still covered, opening it up yourself may void that protection, so a professional is almost certainly the smarter call.
The same logic applies to any repair needing specialist tools you don’t own and won’t use again. Paying for a technician stings a little, sure.
It stings far less than a botched repair or a trip to the emergency room.
How Much Will It Cost?
Cost swings depend heavily on the fault. A straightforward DIY job—say, fitting a new drive belt or clearing out a jammed pump—may set you back only the price of the part, often somewhere between $10 and $50.
For minor issues, that math makes tackling it yourself pretty appealing.Calling in a professional lands higher. Between the service call fee, labor, and parts, the total commonly runs from $100 to $350, sometimes more.
And here’s the calculation worth doing before you commit either way: if the machine is getting on in years and the repair bill creeps toward half the cost of a replacement, buying new may simply make better financial sense than pouring money into an old unit.

Frequently Asked Questions
Q1: How Long Does a Washing Machine Repair Take?
A1: Most simple repairs—replacing a belt, clearing a drain pump—run somewhere between 30 minutes and two hours for a first-timer. Jobs involving the motor or control board take longer, and that timeline can stretch further still if you have to order a part and wait for it to arrive.
Q2: Is It Safe to Repair a Washing Machine Myself?
A2: Generally, yes, provided you respect the safety basics. Unplug the machine and shut off the water before you begin, every single time. Steer clear of electrical repairs unless you genuinely know what you’re doing, and never work on a machine that’s still drawing power.
Q3: How Do I Know If My Washing Machine Is Worth Repairing?
A3: The 50% rule is a handy guide. If the repair would cost more than half the price of a new machine, replacement is usually the sensible choice. Age factors in too—a unit past the eight-to-ten-year mark may not warrant a costly fix, since other parts could be nearing the end of their life anyway.
Conclusion
Repairing your own washing machine sits well within reach for most people.
Arm yourself with a modest tool kit, a working sense of how the machine operates, and the patience to move through each step in order—that combination handles a surprising number of everyday faults without a single service call.
Safety first, an accurate diagnosis second, and the correct replacement part third.That said, knowing where your limits lie counts for just as much as knowing the method.
When a repair feels out of your depth, or when it strays into risky electrical territory, calling a professional isn’t a defeat—it’s good judgment.
Fix it yourself or hand it over; either way, you’re now equipped to make a confident, well-informed call the next time the machine gives you trouble.
Thanks for reading this guide on how to repair washing machines.

About
Ethan Wrenford is a dedicated home appliance specialist with years of hands-on experience in appliance troubleshooting, maintenance, repair, and DIY diagnostics. His professional focus lies in combining practical repair knowledge with simple, easy-to-follow solutions, helping homeowners understand common appliance problems and confidently identify potential causes at home. As an author at ApplianceWhy, Ethan shares practical knowledge on home appliance repair, DIY appliance diagnostics, maintenance, troubleshooting, appliance care, and everyday solutions for common household appliance issues.
Education
Portland Community College (Portland, USA)
Associate Degree in Appliance Technology & Residential Systems
- Focused on residential appliance systems, electrical fundamentals, mechanical components, and appliance troubleshooting.
- Developed practical skills in appliance diagnostics, component testing, electrical safety, and repair procedures.
- Gained hands-on experience working with refrigerators, washing machines, dryers, dishwashers, ovens, ranges, and other household appliances.
Oregon Institute of Technology (Klamath Falls, USA)
Bachelor’s in Applied Electronics & Technology
- Specialized in electrical systems, electronic controls, sensors, motors, and residential equipment.
- Studied diagnostic techniques for identifying electrical, mechanical, and component-related appliance problems.
- Completed practical projects involving appliance control systems, troubleshooting methods, preventive maintenance, and repair fundamentals.
Publications and Impact
Through ApplianceWhy, Ethan shares practical insights into home appliance repair, DIY diagnostics, maintenance, troubleshooting, and appliance care. His writing focuses on turning confusing appliance problems into simple, understandable steps that homeowners can follow safely.
Ethan covers everything from diagnosing a refrigerator that is not cooling and a washing machine that will not drain to troubleshooting dryers, dishwashers, ovens, microwaves, and other common household appliances. His content helps readers understand appliance symptoms, identify possible causes, perform basic diagnostic checks, and determine when professional repair may be necessary.
Through his work, Ethan aims to bridge the gap between professional appliance repair knowledge and everyday homeowners—making appliance troubleshooting more approachable, practical, and accessible to everyone who wants to diagnose smarter, maintain better, and keep their appliances running longer.