

At some point, nearly every homeowner faces the task of moving a washing machine. Maybe you’re upgrading to a newer model with better energy ratings. Perhaps you’re renovating your laundry room, relocating to a new home, or simply need to clean behind an appliance that hasn’t budged in years.
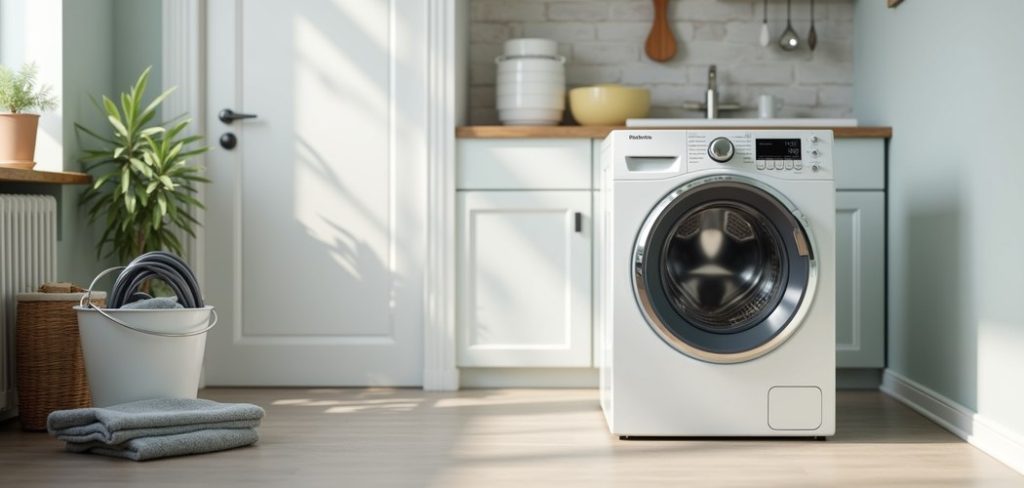
The good news? You don’t always need to call a professional. With a little patience, the right tools, and a clear plan, you can safely disconnect and remove your washing machine yourself.
These machines are heavy and hold water, so knowing what to do—and what not to do—matters. A wrong move can lead to water damage, personal injury, or a damaged appliance.
This guide on how to remove the washing machine walks you through everything you need to know. Let’s get your washing machine out safely and cleanly, without any headaches along the way.
Benefits of Removing the Washing Machine Yourself
Taking on this project yourself comes with several real advantages. Here’s why it’s worth rolling up your sleeves:
Doing it yourself gives you control, saves money, and leaves your space cleaner than before.
- Save money. Hiring a professional to disconnect and haul away an appliance can cost anywhere from $50 to $150 or more. Doing it yourself keeps that cash in your pocket.
- Work on your own schedule. You don’t have to wait for an appointment window. Remove the machine when it suits you, whether that’s early morning or late at night.
- Gain useful skills. Learning how appliances connect and disconnect builds confidence. Next time something needs fixing or moving, you’ll already know the ropes.
- Clean hidden areas. Once the machine is out, you can finally clean the dust, lint, and grime that build up behind and beneath it. This improves hygiene and reduces fire risk from lint buildup.
- Protect your home. When you handle the job carefully, you control every step. You can spot potential leaks, worn hoses, or floor damage before they turn into bigger problems.
- Prepare for upgrades. Removing the old unit properly makes installing a new one much smoother.
What Will You Need?
Before you begin, gather your supplies. Having everything within reach saves time and keeps the process safe. Here’s your checklist:
Having these items ready before you start makes the entire job faster and much safer.
- Adjustable wrench or pliers – for loosening hose connections
- Bucket or shallow pan – to catch leftover water
- Old towels or rags – for spills and drips
- Work gloves – to protect your hands and improve grip
- Appliance dolly or hand truck – to move the heavy machine safely
- Moving straps or ratchet straps – to secure the machine during transport
- Flashlight or headlamp – to see behind the machine clearly
- A helper – washing machines are heavy, so an extra pair of hands helps a lot
- Duct tape – to secure loose cords and the door during moving
- Cardboard or a furniture slider – to protect your floor when sliding the unit
10 Easy Steps on How to Remove the Washing Machine
Step 1: Turn Off the Power
Safety comes first. Before you touch anything, cut the power to the machine. Unplug it directly from the wall outlet.
If the outlet is hard to reach behind the unit, switch off the circuit breaker that controls the laundry area instead. Never work on a washing machine while it’s still connected to electricity.
Water and electricity are a dangerous mix. Double-check that the machine is completely off by trying to start a cycle—nothing should happen.
Once you’re sure there’s no power running to it, you can move on with confidence knowing you’ve removed the biggest safety risk.
Step 2: Shut Off the Water Supply
Your washing machine connects to hot and cold water lines. Locate the two shut-off valves, usually found on the wall behind the machine. Turn both valves clockwise until they stop.
This cuts off the water flow completely. If you have a single lever valve, push it down or turn it to the “off” position. Shutting off the water prevents flooding when you disconnect the hoses.
If your valves are stiff or stuck from age, use a cloth for better grip and gentle pressure. Don’t force them too hard, or you might damage the valve.
Step 3: Disconnect the Water Hoses
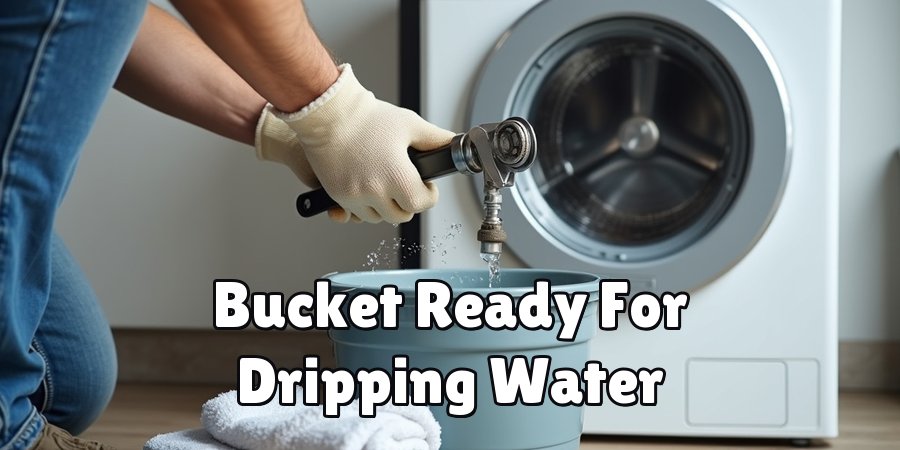
Now that the water is off, place your bucket and towels underneath the hose connections. Use your adjustable wrench or pliers to loosen the fittings where the hoses attach to the valves. Turn them counterclockwise.
Water will drip out, even after the valves are closed, so keep your bucket ready. Once loose, unscrew the hoses by hand and let the remaining water drain into the bucket.
Do the same for the connections at the back of the machine. Set the hoses aside on a towel. Keep them if you plan to reuse them later.
Step 4: Drain the Drain Hose
The drain hose carries used water out of the machine, usually into a standpipe or utility sink. Carefully pull it free from wherever it sits.
Lower the open end into your bucket to let any trapped water escape. Some machines hold more water than you’d expect, so give it a moment to fully drain. Keep towels handy for spills.
If the hose is clamped in place, loosen the clamp first. Once empty, tuck the hose against the machine or tape it down so it doesn’t drag or leak while you move the unit.
Step 5: Clean Up Any Water
Before moving the heavy machine, wipe up every drop of water on the floor. Wet floors are slippery and dangerous, especially when you’re carrying something heavy. Use your towels to dry the area thoroughly.
Check under and around the machine for hidden puddles. This is also a great moment to sweep away lint and dust that collected behind the unit.
A clean, dry floor gives you steady footing and protects you from slips during the tricky part—actually lifting and moving the machine.
Step 6: Secure the Power Cord and Hoses
Loose cords and hoses can catch on things or trip you up while moving. Coil the power cord neatly and tape it to the back or side of the machine with duct tape.
Do the same with the water hoses if you’re moving them along with the unit. Tape the machine door shut too, so it doesn’t swing open unexpectedly. Taking a few minutes to secure everything now prevents snags, tangles, and accidents.
It also protects the cord and hoses from damage as you shift the appliance around.
Step 7: Pull the Machine Away From the Wall
With everything disconnected and secured, gently pull the machine forward. Grip it firmly on both sides and rock it slightly if it feels stuck.
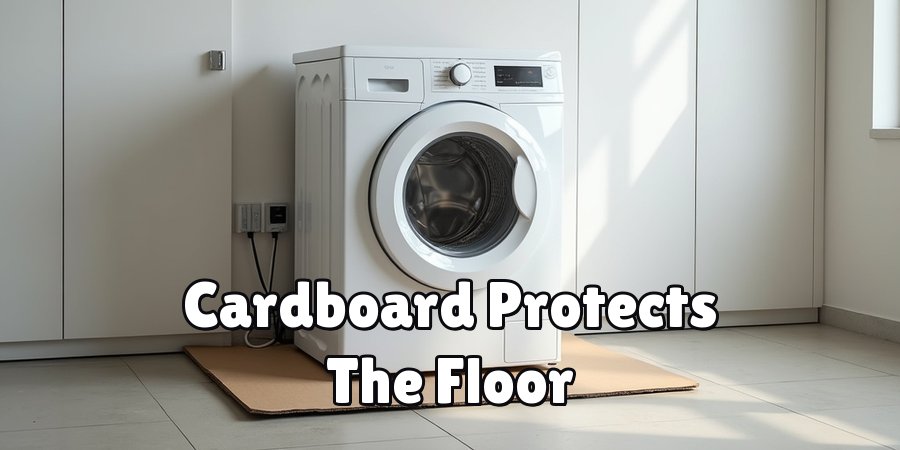
Slide a piece of cardboard or a furniture slider under the front legs to protect your floor from scratches. Move slowly and keep your back straight. Ask your helper to guide the back while you pull the front.
Give yourself enough space to work comfortably. Don’t rush this part—yanking the machine can damage your floor or strain your muscles.
Step 8: Tilt and Position the Dolly
Once the machine is clear of the wall, tip it back slightly so your helper can slide the appliance dolly underneath. Lean the machine onto the dolly’s base plate. Keep the weight balanced and centered.
This is a two-person job, so communicate clearly with your helper. One person tilts while the other positions the dolly. Take your time to make sure the machine sits securely on the platform before moving on.
A poorly balanced load is hard to control and could tip over.
Step 9: Strap the Machine to the Dolly
A washing machine can weigh over 150 pounds, so never trust it to stay put on its own. Wrap your moving straps or ratchet straps around the machine and the dolly.
Tighten them until the appliance is held firmly in place. Give the machine a gentle shake to confirm it won’t shift or slide. Secure straps are the difference between a smooth move and a dangerous accident.
Once you’re sure it’s locked in tight, you’re ready to roll it out.
Step 10: Move the Machine Out Carefully
Now you can transport the machine to its new spot or out of your home. Push the dolly slowly and steadily. Tilt it back at a comfortable angle and let your helper guide the front.
Watch for steps, thresholds, tight corners, and doorways. Take breaks if you need them. Never rush over stairs—go one step at a time with both people controlling the load.
Once you reach your destination, tilt the machine down gently and remove the straps. Congratulations, you’ve successfully removed your washing machine.
5 Things You Should Avoid
Even with a solid plan, a few common mistakes can cause trouble. Steer clear of these:
Avoiding these mistakes keeps you safe and your home damage-free.
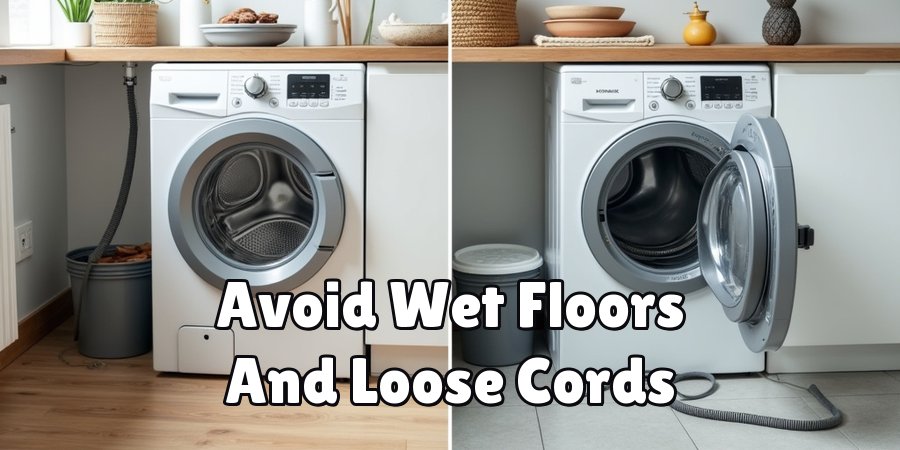
- Skipping the power shut-off. Never disconnect anything while the machine is still plugged in. This is the fastest way to risk electric shock.
- Forgetting to drain fully. Leftover water inside the machine or hoses will spill everywhere. Drain each hose completely before moving.
- Lifting alone. Washing machines are heavy and awkward. Trying to lift or move one by yourself can lead to back injuries or a dropped appliance.
- Rushing the job. Moving too fast leads to spills, scratches, and accidents. Slow, steady progress is always safer.
- Ignoring the floor. Dragging the machine across bare floors scratches and dents them. Always use cardboard, a slider, or a dolly to protect your surfaces.
Conclusion
How to remove the washing machine might seem like a big task, but as you’ve seen, it breaks down into simple, manageable steps. When you approach the job with the right tools and a bit of patience, you can handle it yourself and skip the cost of hiring help.
The key is preparation. Start by cutting the power and shutting off the water. Then disconnect and drain every hose carefully, keeping towels and a bucket close by. Once everything is loose, secure the cords, protect your floor, and use a dolly with straps to move the heavy machine safely.
With this guide in hand, you can remove your washing machine confidently and safely from start to finish. Grab your tools, call a friend, and get the job done right.

About
Ethan Wrenford is a dedicated home appliance specialist with years of hands-on experience in appliance troubleshooting, maintenance, repair, and DIY diagnostics. His professional focus lies in combining practical repair knowledge with simple, easy-to-follow solutions, helping homeowners understand common appliance problems and confidently identify potential causes at home. As an author at ApplianceWhy, Ethan shares practical knowledge on home appliance repair, DIY appliance diagnostics, maintenance, troubleshooting, appliance care, and everyday solutions for common household appliance issues.
Education
Portland Community College (Portland, USA)
Associate Degree in Appliance Technology & Residential Systems
- Focused on residential appliance systems, electrical fundamentals, mechanical components, and appliance troubleshooting.
- Developed practical skills in appliance diagnostics, component testing, electrical safety, and repair procedures.
- Gained hands-on experience working with refrigerators, washing machines, dryers, dishwashers, ovens, ranges, and other household appliances.
Oregon Institute of Technology (Klamath Falls, USA)
Bachelor’s in Applied Electronics & Technology
- Specialized in electrical systems, electronic controls, sensors, motors, and residential equipment.
- Studied diagnostic techniques for identifying electrical, mechanical, and component-related appliance problems.
- Completed practical projects involving appliance control systems, troubleshooting methods, preventive maintenance, and repair fundamentals.
Publications and Impact
Through ApplianceWhy, Ethan shares practical insights into home appliance repair, DIY diagnostics, maintenance, troubleshooting, and appliance care. His writing focuses on turning confusing appliance problems into simple, understandable steps that homeowners can follow safely.
Ethan covers everything from diagnosing a refrigerator that is not cooling and a washing machine that will not drain to troubleshooting dryers, dishwashers, ovens, microwaves, and other common household appliances. His content helps readers understand appliance symptoms, identify possible causes, perform basic diagnostic checks, and determine when professional repair may be necessary.
Through his work, Ethan aims to bridge the gap between professional appliance repair knowledge and everyday homeowners—making appliance troubleshooting more approachable, practical, and accessible to everyone who wants to diagnose smarter, maintain better, and keep their appliances running longer.