

That loud banging noise coming from your laundry room can turn a peaceful afternoon into a stressful one fast.
When your washing machine starts shaking, rattling, and walking across the floor, you’re dealing with an off-balance drum.
It’s one of the most common problems people face with their washers, and it usually shows up during the spin cycle.
An off-balance drum isn’t just annoying. Left alone, it can damage internal parts, wear down the bearings, and shorten the life of your machine. The good news?
You don’t always need to call a repair technician or spend hundreds of dollars. Many balance issues come from simple causes that you can fix yourself with basic tools and a little patience.
In this guide on how to fix washing machine drum off balance, we’ll walk you through everything you need to know. Let’s get your laundry routine back on track.
What Are the Benefits?
Fixing the drum balance yourself comes with plenty of rewards. Here’s what you stand to gain when you handle the job on your own:
These perks make the small effort well worth your time. You get a working machine and the satisfaction of solving the problem yourself.
- Save money. A service call alone can cost you $75 to $150 before any parts or labor. Doing it yourself keeps that cash in your pocket.
- Extend your machine’s life. A balanced drum puts less stress on the motor, bearings, and suspension parts. That means fewer breakdowns and more years of use.
- Quieter laundry days. No more loud banging or shaking that echoes through the house. A properly balanced machine runs smooth and quiet.
- Prevent bigger damage. Small vibration problems can snowball into expensive repairs. Fixing the balance early stops that from happening.
- Protect your floors and walls. A washer that “walks” during spin cycles can scratch floors and dent walls. Keeping it stable avoids that damage.
- Build your DIY confidence. Once you tackle this repair, you’ll feel ready to handle other household fixes too.
- Better wash results. A balanced drum spins evenly, which means your clothes come out cleaner and better rinsed.
What Will You Need?
Before you start, gather your tools and materials. Having everything ready makes the job faster and smoother. Here’s your checklist:
Tools:
Materials:
Helpful Extras:
Most of these items are things you likely already own. If you need to buy parts like suspension rods, check your model number first so you get the right fit. Now that you’re prepared, let’s dig into the steps.
- A spirit level (bubble level) or a level app on your phone
- An adjustable wrench or pliers
- A flashlight
- A screwdriver set (flat-head and Phillips)
- A socket wrench set (for some models)
- A clean cloth or rag
- Anti-vibration pads or rubber feet (optional but helpful)
- Replacement suspension rods or shock absorbers (only if yours are worn)
- A notepad and pen to jot down what you find
- Work gloves to protect your hands
- A helper to move the machine (washers are heavy)
- Your machine’s user manual for model-specific tips
10 Easy Steps on How to Fix Washing Machine Drum Off Balance
Step 1: Unplug the Machine and Stay Safe
Safety comes first, always. Before you touch anything, unplug the washing machine from the wall outlet. This keeps you from any risk of electric shock while you work. If your machine connects to a water supply, turn off the water valves too. This stops any leaks while you inspect the drum.
Give yourself room to work. Move any laundry baskets, detergent bottles, or clutter out of the way. Lay down a towel if you expect water to spill from the drum or hoses.
Taking a minute to set up a safe space now saves you trouble later. Never rush this step, even if the fix seems simple.
Step 2: Check If the Load Is Unbalanced
Often the drum goes off balance because of how you loaded it. Heavy items like towels, jeans, or blankets can bunch up on one side. This creates uneven weight that throws off the spin. Open the door and take a look inside.
If you see clothes clumped together, spread them out evenly around the drum. Avoid washing one large item alone, like a single comforter. Instead, add a few smaller items to balance the weight.
Redistribute the load and run a short spin cycle to test it. Many times, this simple fix solves the whole problem without any tools.
Step 3: Level the Machine on the Floor
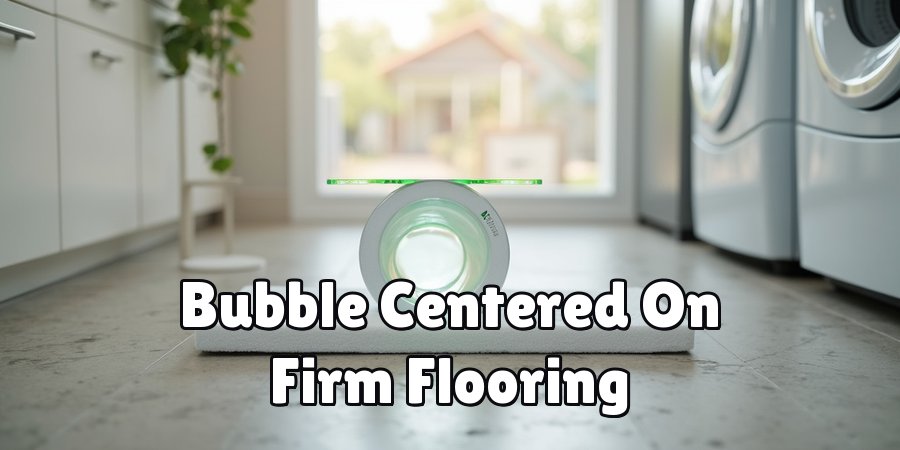
An unlevel washer is a top cause of drum imbalance. Place your spirit level on top of the machine. Check it from front to back and side to side. If the bubble isn’t centered, your machine is tilted and needs adjusting.
Uneven or soft flooring makes this worse. If your washer sits on an old wooden floor or a slope, it will shake more during spin cycles. A level machine spins evenly and stays put. This step is quick but makes a huge difference in how your washer runs.
Step 4: Adjust the Leveling Feet
Most washers have adjustable feet at each corner. These let you raise or lower each side to get the machine level. Tip the machine back gently or have a helper hold it while you reach the feet. Turn each foot clockwise to lower it or counterclockwise to raise it.
Adjust one foot at a time and check your level often. Aim to get all four feet firmly touching the floor with no wobble. Some models have a lock nut on each foot.
Tighten these with your wrench once the machine is level so the feet don’t shift again. Rock the machine to test for stability.
Step 5: Inspect the Rear Leveling Legs
Many washers have self-adjusting rear legs. These are designed to level themselves, but they can get stuck over time. Tilt the machine forward a few inches, then set it back down. This action often resets the rear legs so they settle correctly.
If the rear legs seem jammed, clean around them and check for dirt or rust. A stuck leg keeps one corner high and causes constant shaking. Make sure both back legs rest firmly on the floor. Once they sit right, your machine gains a solid, stable base.
Step 6: Examine the Shock Absorbers
Shock absorbers cushion the drum during spin cycles. When they wear out, the drum bounces and bangs against the cabinet. To check them, you may need to remove the front or rear panel. Use your screwdriver and follow your manual for panel removal.
Look at each shock absorber for signs of wear, oil leaks, or looseness. Press on them to feel if they still offer resistance. Weak or broken absorbers need replacing. This part costs a bit more, but it fixes serious vibration issues that leveling alone can’t solve.
Step 7: Check the Suspension Rods or Springs
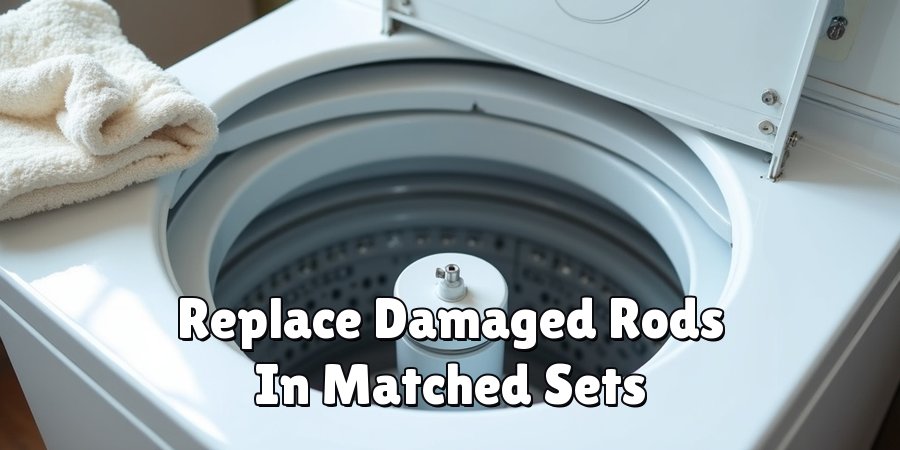
Top-load washers often use suspension rods, while some models use springs. These hold the drum steady and absorb movement. Over years of use, they stretch, weaken, or snap. When that happens, the drum tilts and shakes hard.
Inspect each rod or spring for damage. A worn rod feels loose, while a broken one may hang free. Replace any that look damaged. Always replace them in matched sets so the drum stays even. This keeps the balance consistent on every side.
Step 8: Tighten Loose Bolts and Parts
Vibration over time loosens bolts, screws, and mounting hardware. A loose part rattles and adds to the shaking. Grab your wrench and socket set, then check all the bolts you can reach. Pay close attention to the ones holding the drum, motor, and counterweight.
Tighten anything that feels loose, but don’t over-tighten and strip the threads. Also check the counterweight, a heavy block that steadies the drum. If its bolts are loose, the drum wobbles badly. Securing everything gives your machine a firm, quiet spin.
Step 9: Clean the Drum and Surrounding Area
Sometimes debris causes balance trouble. Coins, buttons, or small items can slip between the drum and tub. Shine your flashlight inside and around the drum. Remove anything you find that doesn’t belong.
Wipe down the drum and inner seals with a clean cloth. Built-up gunk on the seals can affect how the drum moves. A clean drum spins freely without obstruction. This step is easy to overlook but it can clear up mystery vibrations.
Step 10: Test the Machine and Fine-Tune
Now it’s time to see your work pay off. Plug the machine back in and turn the water valves on. Add a small, balanced load of laundry. Run a full cycle and watch how the machine behaves during the spin.
Listen for banging and feel for shaking. If the machine still moves, re-check the level and feet. Small adjustments often make the final difference. Keep testing until your washer runs smooth and quiet. Once it does, you’ve fixed the problem successfully.
5 Things You Should Avoid
Steer clear of these common mistakes to keep your repair safe and effective:
Avoiding these slip-ups keeps your repair smooth and your machine running well for the long haul.

- Skipping the unplug step. Never work on a plugged-in machine. It’s a serious shock hazard that isn’t worth the risk.
- Overloading the drum. Stuffing too many clothes in causes imbalance every time. Wash in reasonable loads to keep things even.
- Ignoring the floor. A level machine on an uneven floor still shakes. Fix the surface or use a sturdy base if needed.
- Forcing stuck parts. If a bolt or leg won’t budge, don’t force it. You might break something. Clean it, use the right tool, and work gently.
- Using mismatched replacement parts. Always match new suspension rods, springs, or absorbers to your exact model. Wrong parts throw off the balance again.
Conclusion
An off-balance washing machine drum is a frustrating problem, but it’s rarely as hard to fix as it seems. Most of the time, the cause is something simple like an uneven load, a tilted machine, or loose leveling feet.
Remember to put safety first by unplugging the machine before you start. Take your time with each step, and don’t skip the testing at the end.
If you run into worn parts like suspension rods or shock absorbers, replacing them in matched sets keeps everything balanced. Avoid the common mistakes we covered, and you’ll get lasting results.
So grab your tools, follow these steps on how to fix washing machine drum off balance, and enjoy the quiet hum of a well-balanced washing machine. Your laundry days just got a whole lot easier.

About
Ethan Wrenford is a dedicated home appliance specialist with years of hands-on experience in appliance troubleshooting, maintenance, repair, and DIY diagnostics. His professional focus lies in combining practical repair knowledge with simple, easy-to-follow solutions, helping homeowners understand common appliance problems and confidently identify potential causes at home. As an author at ApplianceWhy, Ethan shares practical knowledge on home appliance repair, DIY appliance diagnostics, maintenance, troubleshooting, appliance care, and everyday solutions for common household appliance issues.
Education
Portland Community College (Portland, USA)
Associate Degree in Appliance Technology & Residential Systems
- Focused on residential appliance systems, electrical fundamentals, mechanical components, and appliance troubleshooting.
- Developed practical skills in appliance diagnostics, component testing, electrical safety, and repair procedures.
- Gained hands-on experience working with refrigerators, washing machines, dryers, dishwashers, ovens, ranges, and other household appliances.
Oregon Institute of Technology (Klamath Falls, USA)
Bachelor’s in Applied Electronics & Technology
- Specialized in electrical systems, electronic controls, sensors, motors, and residential equipment.
- Studied diagnostic techniques for identifying electrical, mechanical, and component-related appliance problems.
- Completed practical projects involving appliance control systems, troubleshooting methods, preventive maintenance, and repair fundamentals.
Publications and Impact
Through ApplianceWhy, Ethan shares practical insights into home appliance repair, DIY diagnostics, maintenance, troubleshooting, and appliance care. His writing focuses on turning confusing appliance problems into simple, understandable steps that homeowners can follow safely.
Ethan covers everything from diagnosing a refrigerator that is not cooling and a washing machine that will not drain to troubleshooting dryers, dishwashers, ovens, microwaves, and other common household appliances. His content helps readers understand appliance symptoms, identify possible causes, perform basic diagnostic checks, and determine when professional repair may be necessary.
Through his work, Ethan aims to bridge the gap between professional appliance repair knowledge and everyday homeowners—making appliance troubleshooting more approachable, practical, and accessible to everyone who wants to diagnose smarter, maintain better, and keep their appliances running longer.