

Refrigerators keep our food fresh thanks to a chemical refrigerant, often called Freon.
When it’s time to dispose of an old fridge, move it safely, or repair a leak, you may need to deal with this refrigerant.
But here’s the truth up front: draining Freon is not a simple DIY weekend task. It’s a job wrapped in serious safety and legal considerations.
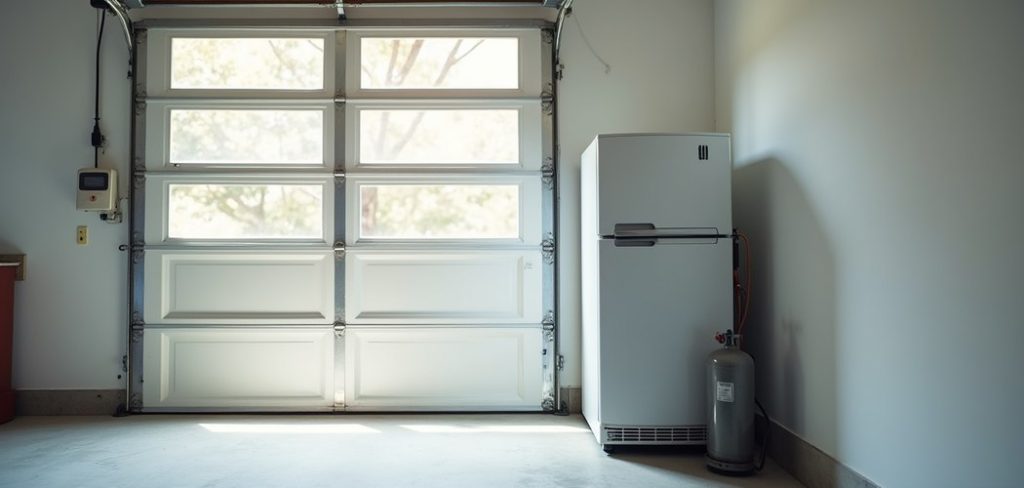
Freon and similar refrigerants are gases that can harm your health and damage the environment if released into the air. In fact, in the United States, it’s illegal under the Clean Air Act to intentionally vent refrigerant into the atmosphere. That’s why understanding the right way to handle this process matters so much.
This guide on how to drain freon from a fridge walks you through everything you need to know. By the end, you’ll understand the process clearly and know exactly when to call in a certified professional. Let’s get started.
What Are the Benefits?
Handling refrigerant properly comes with real advantages. Here’s why it’s worth doing correctly rather than cutting corners.
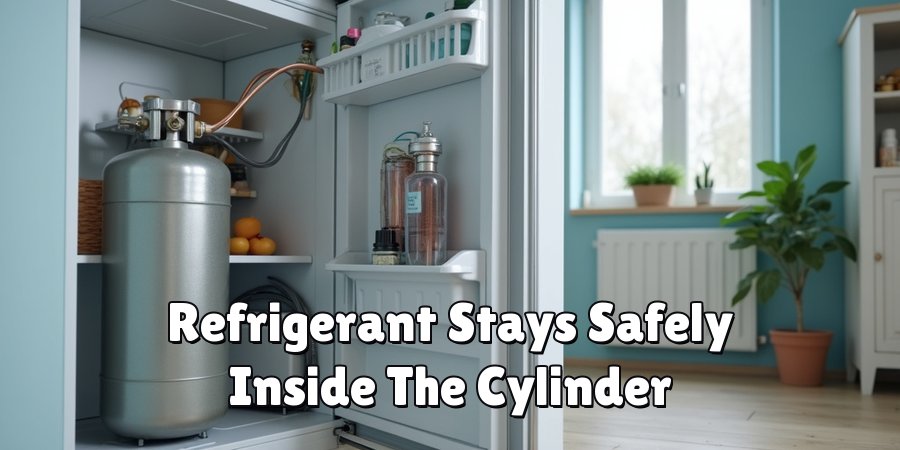
- Protecting your health. Freon is a colorless gas that can cause dizziness, headaches, breathing problems, and even more severe symptoms with heavy exposure. Draining it safely keeps you and your family out of harm’s way.
- Safeguarding the environment. Many refrigerants are potent greenhouse gases. Releasing them contributes to ozone damage and climate change. Proper recovery keeps these chemicals contained and out of the atmosphere.
- Staying on the right side of the law. Venting refrigerant is a federal offense that can lead to hefty fines. Following the correct procedure protects you legally.
- Preparing for safe disposal. Most recycling centers and scrap yards won’t accept a fridge that still contains refrigerant. Removing it first makes disposal smooth and hassle-free.
- Enabling repairs. If you’re fixing a leak or replacing a component, the refrigerant must be recovered first. Doing this correctly sets the stage for a successful repair.
- Peace of mind. Knowing the job was done safely and legally lets you rest easy, whether you’re recycling, moving, or repairing your appliance.
What Will You Need?
Before anything happens, gather the right equipment. Keep in mind that some of these tools require certification to use legally.
If you don’t have the certification and the recovery machine, stop here. The rest of this guide explains the process for understanding, but the actual work should be done by a licensed technician.
- Refrigerant recovery machine – This device pulls the refrigerant out and stores it safely. It’s the heart of the entire process.
- Recovery cylinder (tank) – An approved, empty tank rated for the specific refrigerant type.
- Manifold gauge set – Measures pressure and helps you monitor the system during recovery.
- Refrigerant hoses – Connect the fridge, gauges, and recovery machine.
- EPA Section 608 certification – A legal requirement in the U.S. to handle refrigerants.
- Safety goggles and gloves – Protect your eyes and skin from cold burns and chemical contact.
- Adjustable wrench and screwdrivers – For accessing panels and fittings.
- A well-ventilated workspace – Fresh air is essential when working with any gas.
- Piercing valve or line tap – Sometimes needed to access sealed systems (used by professionals).
10 Easy Steps on How to Drain Freon from a Fridge
The following steps outline how the refrigerant recovery process works. Read them carefully so you understand what a proper job involves.
Step 1: Confirm You Are Legally Allowed
Before touching anything, verify that you hold a valid EPA Section 608 certification. This isn’t optional in the United States. The law requires anyone recovering refrigerant to be certified.
If you aren’t, contacting a professional is your only legal path forward. Certification exists because refrigerant handling carries genuine risks to both people and the planet.
Take this step seriously, and never skip it to save time or money.
Step 2: Unplug and Prepare the Refrigerator
Safety starts with cutting the power. Unplug the fridge from the wall outlet completely. Never work on an appliance that’s still connected to electricity. Once unplugged, move the refrigerator to an open, well-ventilated area.
A garage with the door open or an outdoor space works well. Clear away clutter so you have room to work comfortably and safely around the unit.
Step 3: Put On Your Protective Gear
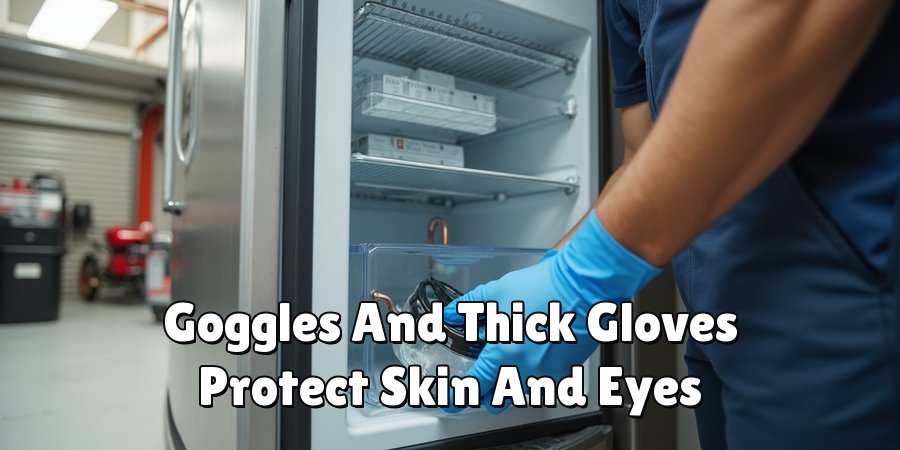
Refrigerant can cause frostbite-like burns if it contacts your skin, and its fumes can irritate your eyes and lungs. Put on safety goggles and thick gloves before you begin.
Make sure your workspace has plenty of airflow. If you feel lightheaded at any point, step away and get fresh air immediately. Your safety always comes before finishing the task quickly.
Step 4: Locate the Compressor and Refrigerant Lines
Turn the fridge around and find the compressor. It’s the black, dome-shaped component usually mounted at the bottom rear. Attached to it are copper lines that carry the refrigerant throughout the system.
Take a moment to identify the service port or the low-side line. This is where you’ll connect your recovery equipment. Knowing your way around these parts prevents confusion later.
Step 5: Set Up the Recovery Machine
Position your refrigerant recovery machine near the fridge. Connect the recovery cylinder to the machine using approved hoses. Double-check that the cylinder is empty, undamaged, and rated for the refrigerant type in your appliance.
Read the machine’s manual carefully, since models differ. A proper setup here is what keeps the refrigerant contained rather than escaping into the air.
Step 6: Connect the Manifold Gauges
Attach your manifold gauge set to the fridge’s service port. The gauges let you monitor system pressure throughout the process. Connect the low-side hose to the appropriate port and link everything to the recovery machine.
Make sure all connections are snug and leak-free. Loose fittings can allow refrigerant to escape, which defeats the entire purpose and breaks the law.
Step 7: Start the Recovery Process
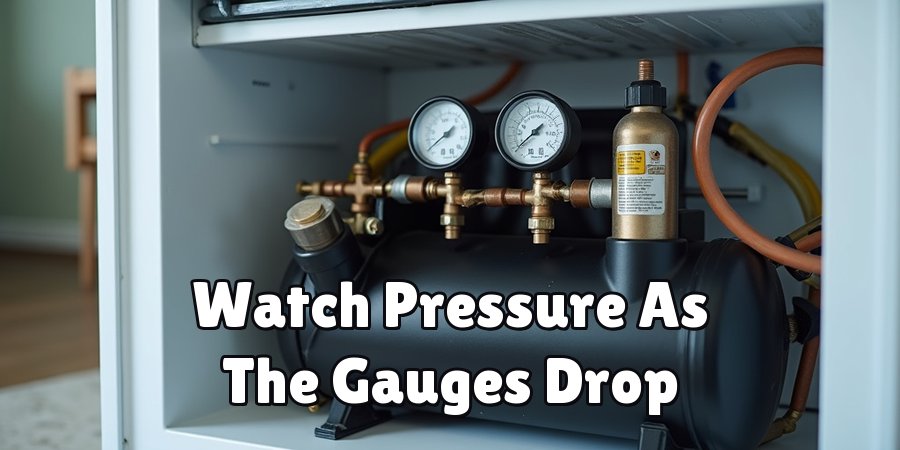
With everything connected, power on the recovery machine. It will begin pulling refrigerant out of the fridge and into the recovery cylinder. Watch the gauges closely as the pressure drops.
This step takes patience, so don’t rush it. Let the machine do its work steadily. The goal is to remove as much refrigerant as possible without any of it leaking out.
Step 8: Monitor Pressure Until the System Is Empty
Keep an eye on the manifold gauges as recovery continues. You want the pressure to drop to the level specified by EPA guidelines, which usually means reaching a slight vacuum.
This confirms nearly all the refrigerant has been removed. Rushing or stopping too early leaves refrigerant behind. Wait until the readings stabilize at the target level before moving on.
Step 9: Close Valves and Disconnect Equipment
Once recovery is complete, close all the valves on the machine and the cylinder. This locks the refrigerant safely inside the tank. Carefully disconnect the hoses, starting with the fridge connection.
Do this slowly to avoid any residual gas escaping. Handle the full recovery cylinder gently, since it now contains pressurized refrigerant that must be stored correctly.
Step 10: Label and Dispose of the Refrigerant Properly
Label the recovery cylinder with the refrigerant type and the date. Never mix different refrigerants in one tank. Take the recovered refrigerant to a licensed recycling or disposal facility.
Many hardware stores and waste centers accept it. With the refrigerant gone, your fridge is now ready for recycling, repair, or safe disposal. Congratulations, you’ve completed the process responsibly.
5 Things You Should Avoid
Even with good intentions, certain mistakes can cause harm. Here’s what to steer clear of.
1. Never vent refrigerant into the air. This is both dangerous and illegal. Releasing Freon harms the environment and can lead to serious fines. Always recover it into an approved cylinder.
2. Don’t skip protective gear. Working without goggles and gloves invites injury. Refrigerant burns and fumes are real hazards. Never take the risk to save a few minutes.
3. Avoid working in enclosed spaces. Poor ventilation lets fumes build up, which can make you dizzy or worse. Always work outdoors or in a space with strong airflow.
4. Don’t attempt this without certification. Handling refrigerant without an EPA Section 608 license is against the law. If you’re not certified, hire someone who is.
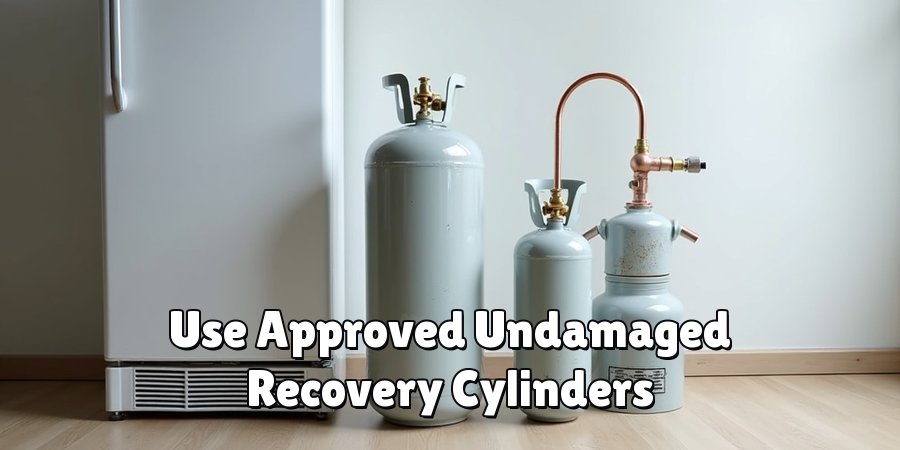
5. Never reuse damaged cylinders. Old or dented tanks can fail under pressure. Only use approved, undamaged recovery cylinders rated for your refrigerant type.
Conclusion
How to drain freon from a fridge is far more than a routine chore. It’s a task that demands respect for safety, the environment, and the law. Throughout this guide, we’ve seen why proper recovery matters, what tools the job requires, and how the process unfolds step by step.
The most important takeaway is simple: this is not a casual DIY project. Handling refrigerant legally requires EPA certification and specialized equipment. For the vast majority of people, the safest and smartest path is to hire a licensed professional. They have the training, tools, and legal authority to do the job right.
By understanding the process, you’re now equipped to make an informed decision.

About
Ethan Wrenford is a dedicated home appliance specialist with years of hands-on experience in appliance troubleshooting, maintenance, repair, and DIY diagnostics. His professional focus lies in combining practical repair knowledge with simple, easy-to-follow solutions, helping homeowners understand common appliance problems and confidently identify potential causes at home. As an author at ApplianceWhy, Ethan shares practical knowledge on home appliance repair, DIY appliance diagnostics, maintenance, troubleshooting, appliance care, and everyday solutions for common household appliance issues.
Education
Portland Community College (Portland, USA)
Associate Degree in Appliance Technology & Residential Systems
- Focused on residential appliance systems, electrical fundamentals, mechanical components, and appliance troubleshooting.
- Developed practical skills in appliance diagnostics, component testing, electrical safety, and repair procedures.
- Gained hands-on experience working with refrigerators, washing machines, dryers, dishwashers, ovens, ranges, and other household appliances.
Oregon Institute of Technology (Klamath Falls, USA)
Bachelor’s in Applied Electronics & Technology
- Specialized in electrical systems, electronic controls, sensors, motors, and residential equipment.
- Studied diagnostic techniques for identifying electrical, mechanical, and component-related appliance problems.
- Completed practical projects involving appliance control systems, troubleshooting methods, preventive maintenance, and repair fundamentals.
Publications and Impact
Through ApplianceWhy, Ethan shares practical insights into home appliance repair, DIY diagnostics, maintenance, troubleshooting, and appliance care. His writing focuses on turning confusing appliance problems into simple, understandable steps that homeowners can follow safely.
Ethan covers everything from diagnosing a refrigerator that is not cooling and a washing machine that will not drain to troubleshooting dryers, dishwashers, ovens, microwaves, and other common household appliances. His content helps readers understand appliance symptoms, identify possible causes, perform basic diagnostic checks, and determine when professional repair may be necessary.
Through his work, Ethan aims to bridge the gap between professional appliance repair knowledge and everyday homeowners—making appliance troubleshooting more approachable, practical, and accessible to everyone who wants to diagnose smarter, maintain better, and keep their appliances running longer.