

Moving a freezer looks simple. It rarely is. Of all the appliances you might haul from one place to another, this is among the most temperamental—heavy, awkward, and full of parts that don’t forgive a rough ride. Cut corners, and you could be looking at a dead compressor or a wrenched back. Neither is cheap to fix.

Here’s the reassuring part. A freezer move goes smoothly when you plan ahead and use the right method. This guide on how to move a freezer covers the whole process, from prepping the appliance to the specific steps that keep it safe. Moving across town or just shuffling the unit into a different corner of the garage? The advice below applies either way.
What to Do Before Moving a Freezer?
Preparation matters more than muscle here. Empty the food and unplug the unit at least 24 hours before you plan to move it. That window lets the freezer defrost fully. Skip it, and you’ll be mopping up melting ice and standing water partway through the job—messy, slippery, and genuinely hazardous.
Once the unit sits empty and defrosted, wipe the interior with a mild mix of baking soda and water. This keeps odors from settling in. Dry it well. Then secure the doors and anything loose inside, like shelves or drawers. Coil the power cord and tape it down so it isn’t underfoot. None of this takes long, and each small step spares you a bigger headache once moving day arrives.
Tools and Materials Needed
The right gear makes a freezer move safer and a good deal less exhausting. Round up these items before you start:
Appliance Dolly
A solid appliance dolly with straps does most of the heavy work. It carries the weight and lets you roll the freezer rather than lift it—which your spine will thank you for.
Moving Straps and Ropes
These fasten the freezer to the dolly and hold the doors shut in transit, so nothing shifts suddenly when you least expect it.
Furniture Blankets and Padding
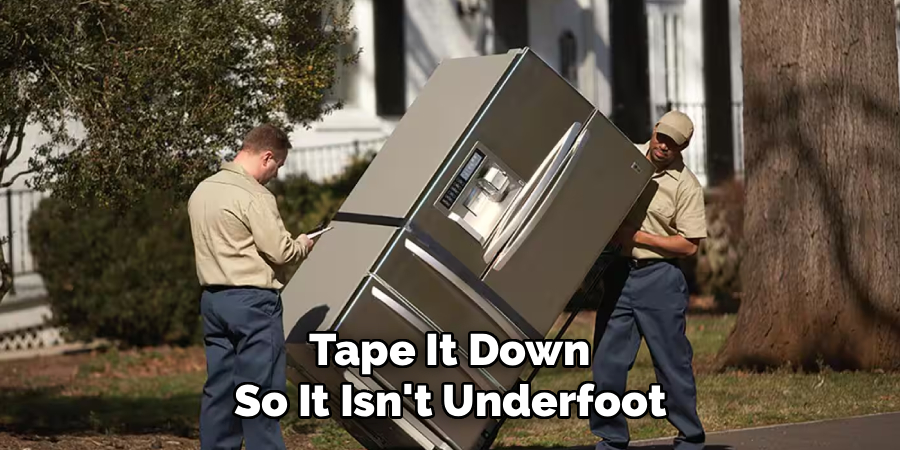
Wrap the unit in blankets to shield its surface from scratches, dents, and the odd scrape it might pick up along the way.
Measuring Tape
Measure the freezer, then measure every doorway and hallway it has to clear. Better to know it fits before you’re stuck halfway through a door frame.
Cleaning Supplies
Baking soda, a clean cloth, and warm water handle the interior wipe-down before the move and after.
7 Simple Steps on How to Move a Freezer
Step 1: Empty and Defrost the Freezer
Clear out all the food and pull the plug a full day ahead. Let it defrost completely. Lay towels around the base to catch melting ice as it goes. A defrosted freezer weighs less, stays cleaner, and handles far more easily than one still packed with frost.
Step 2: Clean and Dry the Interior
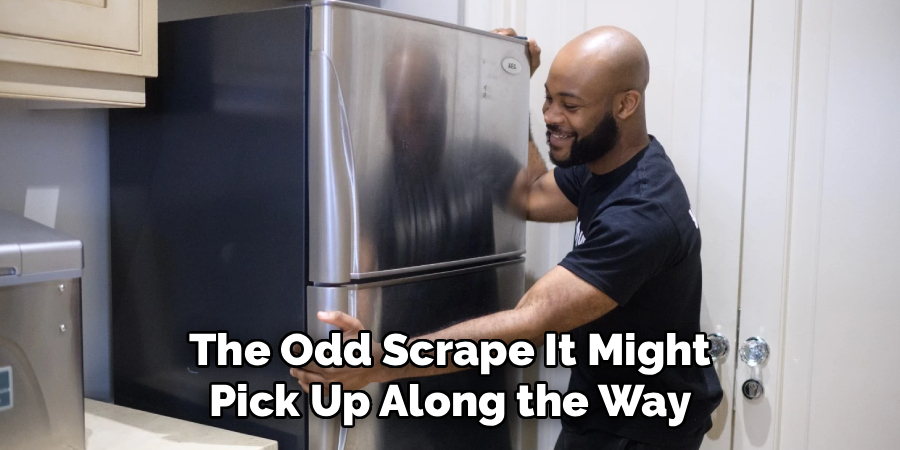
Wipe the inside with your baking soda solution to lift odors and residue. Dry every surface—leftover moisture can turn into mold or mildew while the unit sits in transit. Do this now, and the freezer’s ready to run the moment you plug it back in.
Step 3: Secure the Doors and Loose Parts
Take out the shelves, drawers, and trays, or tape them down firmly if they won’t come free. Tape the doors shut so they can’t swing open at an awkward moment. Coil the cord and tape it to the back, well out of the way.
Step 4: Wrap the Freezer in Blankets
Cover the whole unit with furniture blankets or padding, then hold everything in place with tape or straps. This protects the appliance and spares your walls and door frames from getting dinged as you go.
Step 5: Position the Dolly and Strap It Down
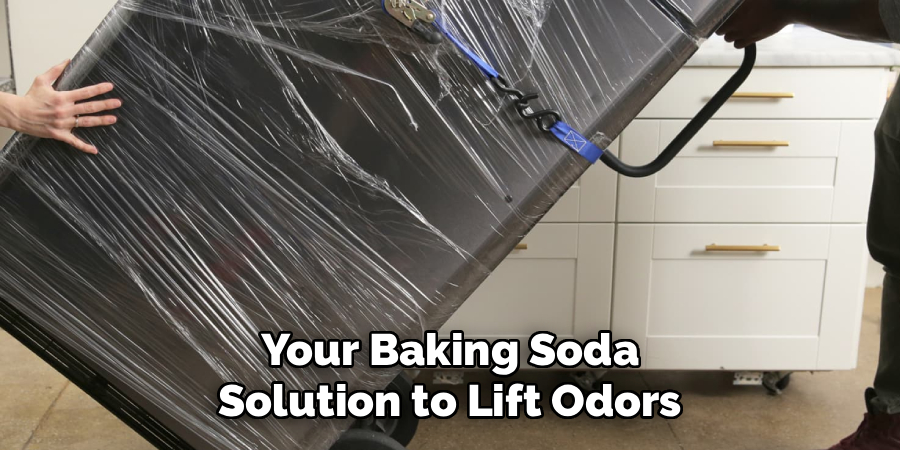
Tilt the freezer just enough to slide the dolly beneath it. Cinch the straps tight around both the freezer and the dolly so the unit sits firmly against the frame. Give everything a final tug before you lift—loose straps are how things go wrong.
Step 6: Move the Freezer Carefully
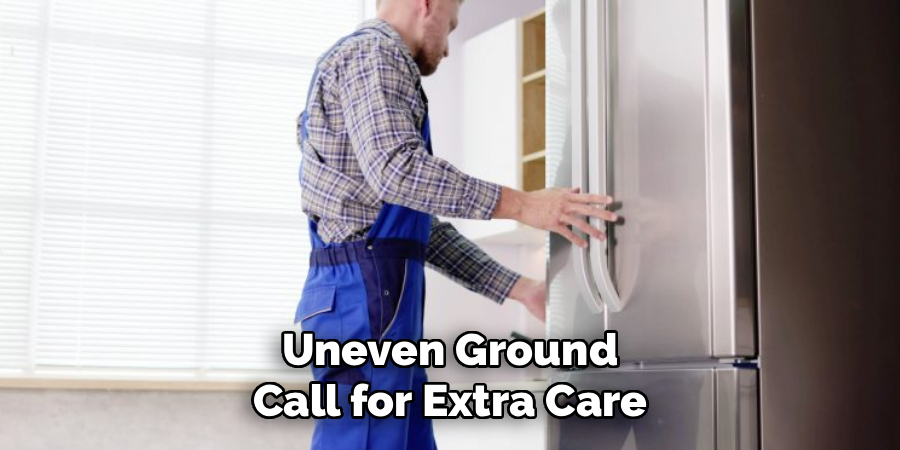
Grab a helper. Tilt the dolly back and roll the freezer toward the exit at a steady, unhurried pace. Keep it upright as much as you can. Stairs, ramps, and uneven ground call for extra care, so slow down when you reach them.
Step 7: Load, Transport, and Let It Settle
Load the freezer into the truck standing upright, then strap it down securely. When you arrive, resist the urge to plug it in right away. Let it stand upright for at least a few hours first. This gives the compressor oil time to resettle, which may prevent the kind of damage that shows up weeks later.
Work through these steps on how to move a freezer in order, and the move should go off without much drama.
Common Mistakes to Avoid
The costliest mistake? Laying the freezer flat on its side during transport. Do that, and the compressor oil can seep into the cooling lines, which sometimes damages the unit for good. Keep it upright whenever you possibly can. If you have to tilt it, keep the angle slight rather than tipping it all the way over.
Plugging the freezer back in the instant you set it down ranks a close second. That rush can strain the compressor and quietly shave years off the appliance’s life. And then there’s the classic oversight—forgetting to measure doorways, which tends to reveal itself at the worst possible moment, when the unit is already halfway through. A little patience upfront saves a lot of grief later.
Freezer Moving Safety Tips
Your body comes first. Don’t try to lift a freezer solo. Bring in at least one helper, and lift with your knees rather than hauling with your back. Gloves give you a firmer grip. Closed-toe shoes protect your feet if the unit slips, which it occasionally does.
Clear the path of clutter before the first tilt, and keep talking to your helper the whole way through—half of moving safely is just staying in sync. Rest when you’re tired. There’s no prize for speed here. Moving slowly and deliberately cuts the risk of both a pulled muscle and a gouged wall. If the freezer simply feels too heavy to manage safely, treat that as your signal to call for more hands or a professional crew.
When to Hire Professional Movers?
Sometimes handing the job to experts is the sensible call. A freezer that’s unusually large, parked on an upper floor, or trapped behind a tight staircase and narrow hallways is exactly what professional movers are equipped for. They also carry insurance, so if something does get damaged, you’re not the one absorbing the cost.
Weigh your own physical limits and what your time is worth, too. Pros can spare you hours of grinding effort and cut the odds of injury or a damaged appliance. Yes, it costs money. For a heavy, expensive, or awkwardly wedged unit, though, that expense often pays for itself. When you’re genuinely unsure whether you can pull off the move safely, erring on the side of hiring help is rarely the wrong choice.
Frequently Asked Questions
Q1: Can You Move a Freezer Lying Down?
A1: Keeping a freezer upright is the safer bet during any move. If you truly have no other option, lay it down only briefly and at a slight angle. Flat on its side, compressor oil may work its way into the cooling lines and damage the unit. Always let it stand upright again before you plug it in.
Q2: How Long Should a Freezer Sit Before Plugging It In?
A2: Let a freezer stand upright for at least four hours after a move before you plug it in. If it traveled on its side at any point, give it a full 24 hours. That pause lets the compressor oil settle back where it belongs and helps protect the appliance from harm.
Q3: How Do You Move a Freezer Up or Down Stairs?
A3: Reach for an appliance dolly with straps, and never tackle stairs without at least one helper. Take it one step at a time, keep the freezer tilted back, and move slowly. When the staircase is steep, or there are a lot of steps, calling professional movers is the safest route.
Wrapping Up Your Freezer Move
A freezer move doesn’t have to rattle your nerves. Get the prep right—empty, defrost, clean, and secure the unit—and you’ve already cleared most of the hurdles. The proper tools matter too. An appliance dolly and a few furniture blankets go a long way toward keeping both the freezer and you in one piece.
Keep the unit upright, take your time, and let it settle before it goes back on the power. And if the whole thing starts to feel like more than you should take on alone, there’s no shame in calling professional movers. Follow the steps and safety tips here, and you can relocate your freezer without much fuss—and keep it humming along for years. Thanks for reading this guide on how to move a freezer.

About
Ethan Wrenford is a dedicated home appliance specialist with years of hands-on experience in appliance troubleshooting, maintenance, repair, and DIY diagnostics. His professional focus lies in combining practical repair knowledge with simple, easy-to-follow solutions, helping homeowners understand common appliance problems and confidently identify potential causes at home. As an author at ApplianceWhy, Ethan shares practical knowledge on home appliance repair, DIY appliance diagnostics, maintenance, troubleshooting, appliance care, and everyday solutions for common household appliance issues.
Education
Portland Community College (Portland, USA)
Associate Degree in Appliance Technology & Residential Systems
- Focused on residential appliance systems, electrical fundamentals, mechanical components, and appliance troubleshooting.
- Developed practical skills in appliance diagnostics, component testing, electrical safety, and repair procedures.
- Gained hands-on experience working with refrigerators, washing machines, dryers, dishwashers, ovens, ranges, and other household appliances.
Oregon Institute of Technology (Klamath Falls, USA)
Bachelor’s in Applied Electronics & Technology
- Specialized in electrical systems, electronic controls, sensors, motors, and residential equipment.
- Studied diagnostic techniques for identifying electrical, mechanical, and component-related appliance problems.
- Completed practical projects involving appliance control systems, troubleshooting methods, preventive maintenance, and repair fundamentals.
Publications and Impact
Through ApplianceWhy, Ethan shares practical insights into home appliance repair, DIY diagnostics, maintenance, troubleshooting, and appliance care. His writing focuses on turning confusing appliance problems into simple, understandable steps that homeowners can follow safely.
Ethan covers everything from diagnosing a refrigerator that is not cooling and a washing machine that will not drain to troubleshooting dryers, dishwashers, ovens, microwaves, and other common household appliances. His content helps readers understand appliance symptoms, identify possible causes, perform basic diagnostic checks, and determine when professional repair may be necessary.
Through his work, Ethan aims to bridge the gap between professional appliance repair knowledge and everyday homeowners—making appliance troubleshooting more approachable, practical, and accessible to everyone who wants to diagnose smarter, maintain better, and keep their appliances running longer.