

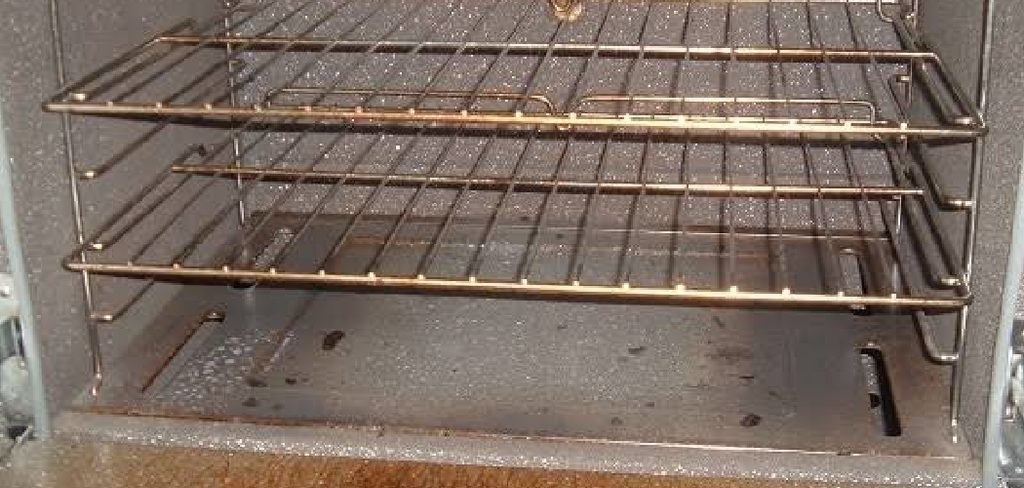
A stove works hard for you every single day, cooking meals and warming your home. Over time, grease, food splatters, and burnt-on grime build up inside, and that buildup can affect performance, safety, and even the taste of your food. Learning how to clean the inside of a stove is one of the most rewarding kitchen skills you can pick up, no matter your experience level.
The good news is that you do not need fancy equipment or professional help. With a few common supplies and a little patience, you can restore your stove to a fresh, hygienic condition. This guide walks you through each step in plain language, so you feel confident from start to finish. Whether you own a gas, electric, or convection model, the approach stays simple and adaptable. Roll up your sleeves, set aside about an hour, and let’s turn a dreaded chore into an easy win you can repeat with ease.
Why Keeping the Inside of Your Stove Clean Matters
A clean stove interior does more than look nice. Baked-on grease and food debris can smoke, smell, and even catch fire when the oven heats up, so regular cleaning keeps your kitchen safer for everyone.
There are practical perks too. A grime-free oven heats more evenly, which means your food cooks properly and tastes better without lingering burnt odors. You also protect your investment, since built-up residue can damage seals, heating elements, and interior coatings over time. Beyond safety and performance, a clean interior simply makes cooking more enjoyable. When you open the door to a spotless space, you feel motivated to try new recipes and keep the whole kitchen tidy. A little upkeep now saves you from a much bigger, tougher job later.
Step-by-Step Guide to How to Clean the Inside of a Stove
Step 1: Gather Your Supplies

Before you start, collect everything you need so you never have to stop midway. Grab baking soda, white vinegar, dish soap, a spray bottle, rubber gloves, a microfiber cloth, a non-scratch sponge, and an old toothbrush for tight corners. Keep a bowl of warm water nearby and lay down some newspaper or paper towels to catch drips.
Having your tools ready turns a messy task into a smooth routine. If you prefer a store-bought cleaner, choose one labeled safe for oven interiors and read the directions first. Working with the right supplies from the start helps you avoid frustration and reduces the chance of mistakes.
Step 2: Turn Everything Off and Cool Down
Safety comes first, so make sure your stove is completely off and fully cooled before you touch the inside. For a gas model, confirm the burners are off and, if you plan a deep clean, consider shutting the gas supply at the valve. For an electric or induction unit, unplug it or switch off the breaker if you can reach it easily.
Rushing this step can lead to burns or accidents, so give the appliance time to cool if you have used it recently. A cool, powered-down stove lets you work carefully and calmly, which is exactly the mindset you want when handling any cleaning project.
Step 3: Remove the Racks and Loose Debris
Slide out the oven racks and set them aside to soak in warm, soapy water in your sink or bathtub. Soaking loosens grease so scrubbing becomes far easier later. While the racks soak, use a dry cloth or a soft brush to sweep out crumbs, ash, and loose food bits from the bottom of the oven.

Take your time here and get into the corners where debris likes to hide. Removing the loose mess first prevents you from smearing it around once you add cleaning solution. This quick prep step makes the deeper cleaning stage noticeably smoother and helps you see the surfaces you actually need to treat.
Step 4: Apply a Baking Soda Paste
Mix about half a cup of baking soda with a few tablespoons of water until you get a spreadable paste. Put on your gloves and coat the interior surfaces, focusing on greasy spots and stubborn stains. Avoid the heating elements and any fan openings, since paste can clog or damage them.
This natural method is one of the safest ways how to clean the inside of a stove without harsh chemicals or strong fumes. Once the surfaces are covered, close the door and let the paste sit for several hours or overnight if the buildup is heavy. The baking soda works quietly in the background, breaking down grime so your scrubbing effort stays light.
Step 5: Scrub Away the Grime
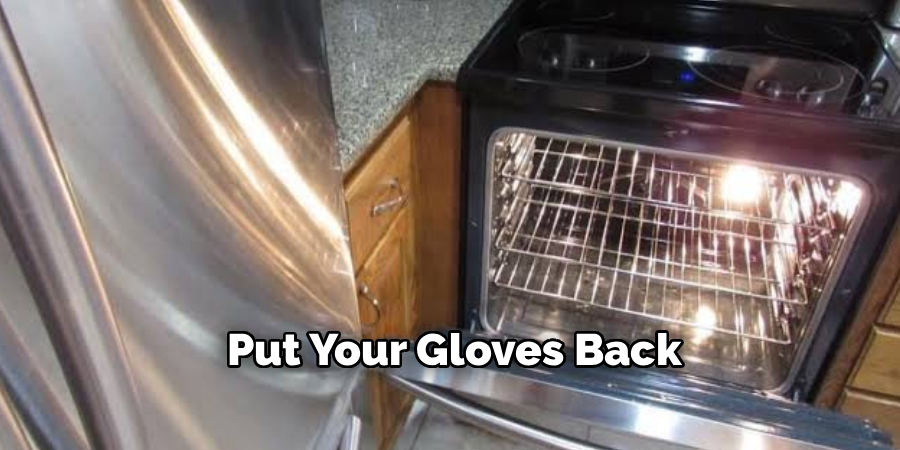
After the paste has done its job, put your gloves back on and grab your non-scratch sponge. Wipe away the dried paste, working in small sections so nothing dries out again before you reach it. For crusty patches, spray a little white vinegar over the leftover baking soda and watch it fizz, which helps lift the toughest residue.
Use the old toothbrush to reach corners, edges, and the seam around the door. Rinse your sponge often and change your water when it turns dark. Patience pays off here, so resist the urge to force stubborn spots and instead give them another light coat and a few extra minutes.
Step 6: Clean the Door and Glass
The oven door often collects splatters that block your view while cooking, so give it dedicated attention. Spray a mix of equal parts water and vinegar onto the glass, then wipe with a microfiber cloth in circular motions. For baked-on drips, a paste of baking soda and water works wonders when left to sit for fifteen minutes before wiping.
Knowing how to clean the inside of a stove door properly keeps your glass clear and streak-free. Do not forget the edges and the seal around the frame, since crumbs love to gather there. A clean door lets you monitor your food easily and adds a polished finish to your whole effort.
Step 7: Rinse, Dry, and Reassemble

Finish by wiping every surface with a clean, damp cloth to remove any leftover baking soda or cleaner. Repeat until the cloth comes away clean and no gritty residue remains. Leftover product can smoke or smell during your next cook, so rinsing thoroughly really matters.
Dry the interior with a fresh towel or leave the door open for a short while to air-dry. Meanwhile, scrub the soaked racks, rinse them well, dry them fully, and slide them back into place. Restore power or reopen the gas valve, and your stove is ready to use again, looking and smelling wonderfully fresh.
Frequently Asked Questions
How Often Should I Clean My Oven Interior?
For most households, a deep clean every three months keeps grime manageable. If you cook often or notice smoke and odors, aim for monthly attention instead. Wiping up spills right after they cool also stretches the time between deep cleans. Regular light maintenance means you rarely face heavy, baked-on messes, which makes each cleaning session faster, easier, and far less stressful overall.
Can I Use Store-Bought Oven Cleaners Safely?
Yes, commercial cleaners work well, but always read the label and follow the safety directions carefully. Wear gloves, open a window for ventilation, and avoid spraying near heating elements or fans. Many people prefer natural options like baking soda and vinegar because they are gentler and fume-free. If you choose a chemical cleaner, rinse the interior thoroughly afterward so no residue burns during your next use.
What Should I Avoid When Cleaning Inside?
Steer clear of steel wool, abrasive scouring pads, and harsh scraping tools, since they scratch protective coatings and glass. Never spray liquid directly onto heating elements, bulbs, or fan openings, as moisture can cause damage. Skip bleach and ammonia mixes entirely because they create dangerous fumes. Sticking with gentle supplies and a patient approach protects both your appliance and your health.
Is the Self-Cleaning Feature Worth Using?
The self-cleaning cycle can help, but it uses very high heat that may stress seals and produce strong odors. Remove the racks first, ventilate the kitchen well, and stay home while it runs. After the cycle cools, wipe away the leftover ash with a damp cloth. Many users still prefer manual cleaning for better control and to avoid the intense heat and smell.
How Do I Remove Stubborn Burnt-On Stains?
For tough, baked-on stains, layer a thick baking soda paste over the spot and let it sit overnight. The next day, spray white vinegar to create a lifting reaction, then gently scrub with a non-scratch sponge. Repeat the process for extremely stubborn marks rather than scraping hard. Patience beats force every time, protecting your surfaces while still delivering that fresh, spotless result you want.
Conclusion
Keeping your oven fresh does not have to feel overwhelming, and now you have a clear, friendly roadmap to follow. From gathering supplies and cooling down the appliance to scrubbing, rinsing, and reassembling, each step builds on the last so you never feel lost. The natural baking soda and vinegar method proves that safe, effective results are well within your reach, whatever your skill level.
Mastering how to clean the inside of a stove rewards you with a safer kitchen, better-tasting food, and an appliance that lasts longer. Set a regular schedule, tackle spills while they are still fresh, and lean on the tips above whenever grime builds up. Grab your supplies this weekend, put your new knowledge to work, and enjoy the satisfying results of a sparkling clean stove you can be proud of.

The Appliance Why team — a small group who would rather take the back panel off than pay a call-out fee. We write the repair guides we wish we had found ourselves, test the fixes on our own machines, and say plainly when something is not worth repairing.