

There’s something a little disappointing about pouring a glass of water from your fridge and catching an odd, almost metallic edge to it. It should taste like nothing. Clean, cold, forgettable.
Yet the water line tucked behind and inside your refrigerator quietly collects mineral deposits and, over enough time, mold and bacteria too.
A funny taste, water that looks slightly cloudy, a dispenser that seems to dribble rather than pour—these are the usual signs that the line has been ignored for too long.

Here’s the reassuring part. You don’t need a plumber. You don’t need to spend much, either. A handful of things you probably already own and roughly an hour of unhurried attention will bring the line back to something close to new.
This guide on how to clean water line in fridge covers the whole thing, starting with how the system actually works before moving into the exact steps.
By the time you finish reading, you’ll understand how to keep your water tasting like water and your household drinking safely.
Understanding Your Fridge’s Water Line System
Think of the water line as a small network of narrow tubes ferrying water from your home’s supply to the dispenser and the ice maker.
Water comes in through a valve at the back of the fridge, passes through a filter, then heads off toward the door dispenser or the freezer compartment. The trouble is timing.
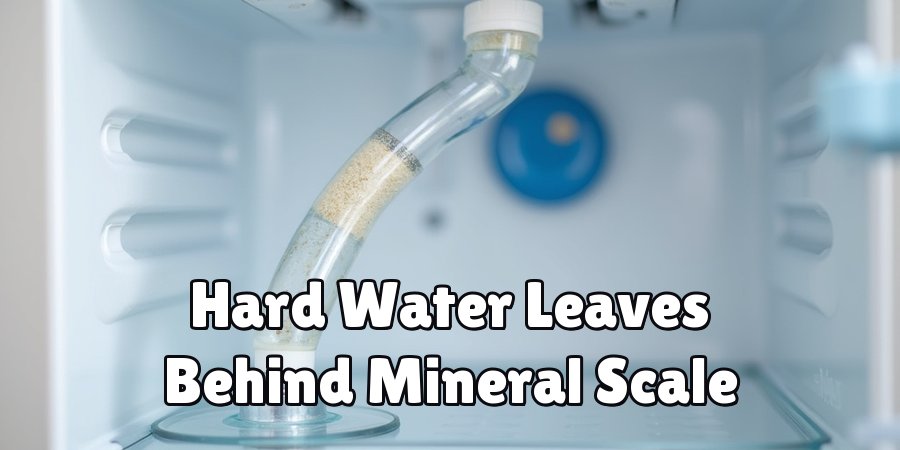
That water sits motionless for hours, sometimes most of the day, and still water is exactly what contaminants like best.Hard water leaves behind mineral scale.
Mold and algae can creep in as well, gradually coating the inside of the tubing. None of this is dramatic, but it dulls the taste and, more importantly, may compromise how safe your drinking water really is.
Cleaning the line on a schedule—every six months is a sensible target—keeps the flow steady and the water tasting right. Once you picture what’s happening inside those tubes, the whole job feels less like guesswork.
Tools and Materials Needed
A few minutes of gathering saves a lot of mid-task scrambling. Pull these together before you begin.
White Vinegar
Distilled white vinegar does most of the heavy lifting here. It cuts through mineral buildup and handles bacteria without you having to touch anything harsh or unpleasant. Two to three cups should be plenty.
A Clean Bucket or Container
You’ll want something to catch water and vinegar as they drain out of the line. A container that holds at least a gallon tends to work best.
A Turkey Baster or Funnel
Getting vinegar into a narrow, awkwardly placed opening is fiddly. A baster or funnel keeps the pour controlled and your floor dry.
Soft Cloths and Towels
Drips happen. Keep a couple of cloths within reach for wiping down the dispenser area once you’re through.
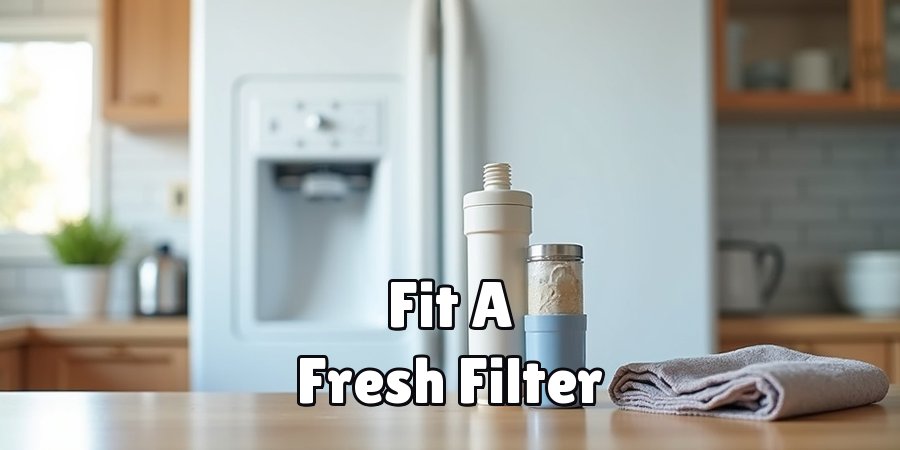
A New Water Filter
Fit a fresh filter once the cleaning is done. Reusing the old one rather defeats the purpose, since it can send the very contaminants you just removed straight back into the line.
7 Simple Steps on How to Clean Water LINE in Fridge
Step 1: Turn Off the Water Supply
Find the shut-off valve behind or beneath your fridge and close it. That stops water from flowing while you work. Unplug the refrigerator too. It’s a small extra step that spares you any risk.
Step 2: Disconnect the Water Line
Ease the water line away from the back of the fridge. Have your bucket ready underneath, because a little water usually escapes the moment the connection comes loose.
Step 3: Remove and Replace the Water Filter
Pull out the old filter. If it’s getting on in age, set it aside—you’ll be swapping it for a new one, though not until the cleaning wraps up.
Step 4: Flush the Line with Vinegar
With your baster or funnel, send white vinegar down the water line. Let it sit for around ten minutes. That pause gives the vinegar time to loosen mineral deposits and deal with whatever bacteria might be clinging to the tubing.
Step 5: Rinse Thoroughly with Water
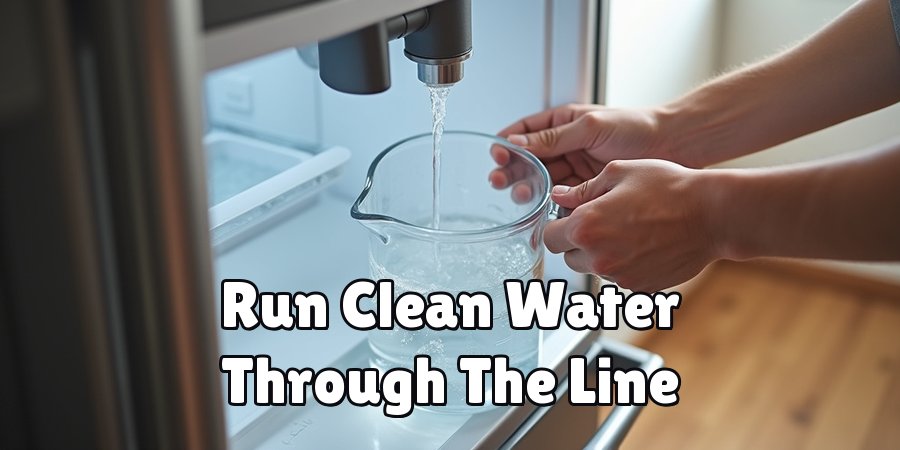
Reconnect the supply and run clean water through the line. Keep going until there’s no trace of vinegar smell left, which could take several minutes and a few gallons. Cut this step short, and you’ll taste the consequences in every glass.
Step 6: Reconnect Everything and Install the New Filter
When the water finally runs clear, secure the line back in place and slot in your new filter. Give each connection a second look to be sure nothing’s loose.
Step 7: Test the Dispenser and Ice Maker
Plug the fridge back in, open the water supply, and pour out a few glasses. Toss the first batch, then taste the next one to confirm it’s fresh. Let the ice maker run a cycle or two before you trust the new ice.
Work through these steps on how to clean water line in fridge in order. The flushing stages, in particular, reward patience—so resist the urge to hurry them.
Common Mistakes to Avoid
The single most common slip is a rushed rinse. Vinegar left lingering in the line delivers a sour, unmistakable tang that’s genuinely hard to ignore.
Flush with more water than seems necessary, and taste before you declare the job finished.
Right behind that comes forgetting to shut off the water supply, which turns a tidy task into a wet, aggravating one.
People also talk themselves out of replacing the filter, figuring a clean line is enough on its own. An old, clogged filter can quietly reverse everything you just accomplished.
And please steer clear of bleach or other aggressive chemicals. They’re hazardous to swallow and may eat away at the tubing over time. Vinegar remains the safe, effective option.
Do You Need to Use Professionals?
For most people, this is a manageable DIY job with no special skills required. If the steps above seem doable and you can actually reach the valve and tubing, there’s little reason to phone anyone. An hour of your time, and you’ve skipped a service fee entirely.
Some situations do tilt toward calling an expert, though. Maybe the water line sits somewhere nearly impossible to reach, or the connections have corroded, or leaks keep reappearing no matter how carefully you reconnect things.
An appliance technician earns their fee in cases like these. The same goes for fridges with elaborate built-in filtration systems, where a professional can handle the work without accidentally voiding your warranty.
How Much Will It Cost?
The DIY version is easy on your wallet. A bottle of white vinegar costs a few dollars, and a replacement filter usually lands somewhere between $20 and $50 depending on your fridge model.
Add it up and a home clean rarely tops $60—and honestly, most of that is the filter, an expense you’d face eventually regardless.
Bringing in a professional changes the math. Service calls tend to start around $80 to $150, shaped by where you live and how tricky the job turns out to be. If you trust yourself to follow the steps, the DIY approach gets you the same clean line for a good deal less.

Frequently Asked Questions
Q1: How Often Should I Clean My Fridge Water Line?
For most households, a clean every six months keeps the water tasting fresh and holds buildup at bay. Live somewhere with hard water, or notice the taste turning sour sooner? Then shorten that interval and clean more often.
Q2: Can I Use Bleach Instead of Vinegar?
No. Bleach isn’t safe for a line you drink from, and it can cause harm if any trace goes unrinsed. White vinegar is the food-grade choice that dissolves buildup and handles bacteria without the risk.
Q3: Why Does My Water Still Taste Bad After Cleaning?
A lingering taste usually points to one of two culprits: leftover vinegar in the line, or an old filter still doing its worst. Flush with several more gallons of water, and make sure a fresh filter is actually in place.
Q4: How Often Should I Clean My Water Line?
Regular cleaning of your water line is recommended to ensure a consistent flow of clean and fresh-tasting water. It is generally advised to clean the water line every 3-6 months, depending on usage and the quality of your water supply.
Regular cleaning not only removes buildup and bacteria but also helps extend the life of your water line and prevent any potential damage or clogs.
If you notice any changes in taste, odor, or color of your water, it is recommended to clean your water line immediately.
Conclusion
Cleaning your refrigerator’s water line is one of those quiet maintenance chores that pays off well beyond the effort it takes.
White vinegar, a little patience, and the seven steps above are enough to clear out off-tastes, restore the flow, and look after your family’s health—without denting your budget.Turn it into a habit.
Clean the line every six months, swap the filter on schedule, and the payoff shows up in every glass.
You know exactly how it’s done now, so go enjoy water that tastes the way it should—like nothing at all. Thanks for reading this guide on how to clean water line in fridge.

About
Ethan Wrenford is a dedicated home appliance specialist with years of hands-on experience in appliance troubleshooting, maintenance, repair, and DIY diagnostics. His professional focus lies in combining practical repair knowledge with simple, easy-to-follow solutions, helping homeowners understand common appliance problems and confidently identify potential causes at home. As an author at ApplianceWhy, Ethan shares practical knowledge on home appliance repair, DIY appliance diagnostics, maintenance, troubleshooting, appliance care, and everyday solutions for common household appliance issues.
Education
Portland Community College (Portland, USA)
Associate Degree in Appliance Technology & Residential Systems
- Focused on residential appliance systems, electrical fundamentals, mechanical components, and appliance troubleshooting.
- Developed practical skills in appliance diagnostics, component testing, electrical safety, and repair procedures.
- Gained hands-on experience working with refrigerators, washing machines, dryers, dishwashers, ovens, ranges, and other household appliances.
Oregon Institute of Technology (Klamath Falls, USA)
Bachelor’s in Applied Electronics & Technology
- Specialized in electrical systems, electronic controls, sensors, motors, and residential equipment.
- Studied diagnostic techniques for identifying electrical, mechanical, and component-related appliance problems.
- Completed practical projects involving appliance control systems, troubleshooting methods, preventive maintenance, and repair fundamentals.
Publications and Impact
Through ApplianceWhy, Ethan shares practical insights into home appliance repair, DIY diagnostics, maintenance, troubleshooting, and appliance care. His writing focuses on turning confusing appliance problems into simple, understandable steps that homeowners can follow safely.
Ethan covers everything from diagnosing a refrigerator that is not cooling and a washing machine that will not drain to troubleshooting dryers, dishwashers, ovens, microwaves, and other common household appliances. His content helps readers understand appliance symptoms, identify possible causes, perform basic diagnostic checks, and determine when professional repair may be necessary.
Through his work, Ethan aims to bridge the gap between professional appliance repair knowledge and everyday homeowners—making appliance troubleshooting more approachable, practical, and accessible to everyone who wants to diagnose smarter, maintain better, and keep their appliances running longer.