

Pull out your oven racks, and you’ll probably wince. Baked-on grease, blackened drips, that sticky film that no amount of dish soap seems to touch. It’s grim.
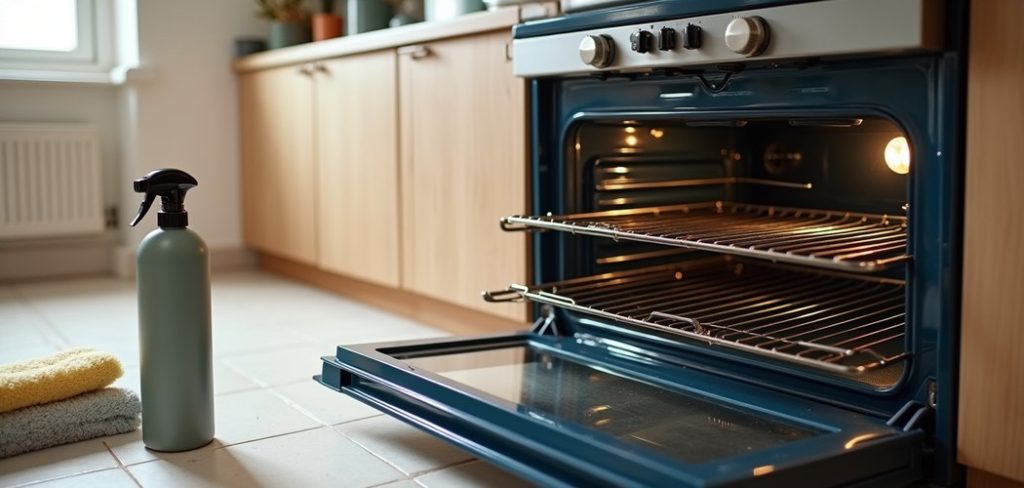
Here’s the reassuring part. Learning how to clean oven racks with oven cleaner turns that dreaded chore into a fairly hands-off job. The cleaner does the heavy lifting while you mostly wait.
Below, I’ll walk you through prepping a safe workspace, applying the cleaner properly, and rinsing off every last streak. By the end, your racks should slide smoothly and look almost new again.
Understanding How Oven Cleaner Cuts Through Grease
Before you spray anything, it helps to know why this method works so well. A little background makes the whole process feel safer and easier.
Oven cleaner is built for one job. It breaks down the kind of stubborn, carbonized gunk that regular cleaning simply can’t shift.
What Makes Oven Cleaner Effective
The active ingredients in oven cleaner attack grease, carbon, and hardened food at a chemical level. They loosen the bond between the grime and the metal.
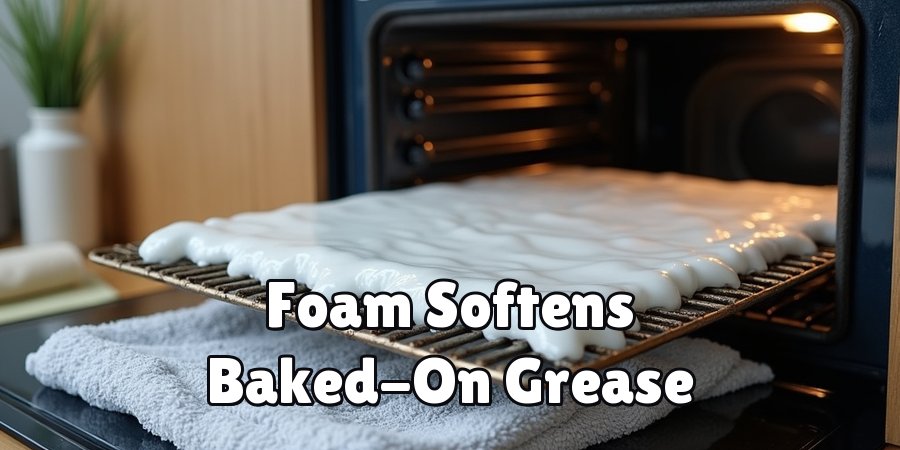
That’s the key difference. Instead of scrubbing until your arm aches, you let the foam soften everything first, then wipe it away with far less effort.
Spray Foam Versus Fume-Free Options
Walk the cleaning aisle, and you’ll spot two main types. Traditional spray foam works fast and hits hard, but it comes with strong fumes that demand good ventilation.
Fume-free versions trade a bit of speed for comfort. They’re gentler on your nose and better suited to tight spaces, though they may need a longer sit time. Pick the one that matches your setup and your patience.
When Oven Cleaner Is the Right Choice
Not every mess calls for the heavy stuff. For light residue, warm soapy water or a baking soda paste usually does fine.
Oven cleaner earns its place when buildup has been baking on for months. If you’re staring at black, crusty layers that laugh at a scrub pad, this is the tool for the job.
Tools and Materials You Will Need
Gathering everything first saves you from a frantic mid-job search with cleaner-covered gloves. A quick setup keeps things calm.
The list is short, and you likely own most of it already.
The Cleaner and Basics
Start with your chosen oven cleaner, obviously. Then grab a large trash bag or a few old towels to protect whatever surface sits beneath the racks.
You’ll want a spot where drips won’t matter. A garage floor, a bathtub, or a well-covered patch outside all work nicely.
Scrubbing and Rinsing Supplies
A non-scratch scrub pad handles the loosened grime without gouging the metal. An old toothbrush earns its keep on tight corners and joints where the pad can’t reach.
You’ll also need somewhere to rinse. A large sink, a bathtub, or an outdoor hose all give full-size racks the space they need.
Cleanup Extras
Keep paper towels within reach for wiping away sludge as you go. A damp cloth helps with the final pass, clearing off any residue the rinse leaves behind.
None of this is fancy. It’s just the practical kit that keeps the mess contained.
Safety Steps Before You Begin
Oven cleaner is powerful, and that power cuts both ways. A little care upfront keeps the whole job trouble-free.
Skip these steps, and you might trade a clean rack for irritated skin or a fume headache. Not worth it.
Protecting Your Skin and Eyes
Wear rubber gloves the entire time. Oven cleaner can sting bare skin quickly, and the sensation is not one you’ll forget.
Eye protection matters just as much. Foam has a habit of flicking back when you spray, so a pair of safety glasses guards against splashes.
Ventilating Your Workspace
Fresh air is your friend here. Open windows, switch on a fan, or better yet, work outdoors where fumes disperse on their own.
For traditional foam cleaners especially, this isn’t optional. Breathing that in a closed room could leave you lightheaded, so give the fumes somewhere to go.

Shielding Floors and Surfaces
Lay down that trash bag or those towels before you spray a thing. Oven cleaner can strip finishes and stain surfaces it wasn’t meant to touch.
Protect counters, flooring, and anything nearby. A few minutes of covering up now saves you scrubbing a second mess later.
How to Clean Oven Racks With Oven Cleaner: Step-by-Step Guide
Here’s the heart of it. You’re only a handful of steps away from racks that gleam, so take your time and let the cleaner work.
None of this demands muscle or skill. Mostly it asks for patience.
Step 1: Remove the Racks and Prep Your Space
Slide the racks out of a cool oven and carry them to your prepared spot. Lay them flat on the trash bag or towels indoors, or set them on the ground in a ventilated area like a garage.
Good prep keeps the mess where you want it. It’s tempting to rush this, but a contained workspace makes everything afterward smoother.
Step 2: Apply the Oven Cleaner Evenly
Spray a full, even coat across both sides of each rack. Cover every bar, corner, and joint, since the spots you miss are the spots that stay dirty.
Be generous. A thick layer of foam gives the cleaner enough to work with, doing the hard part so you don’t have to.
Step 3: Let the Cleaner Sit and Work
Now comes the easy bit. Walk away and let the foam do its thing for the time listed on the product label, usually somewhere between 15 and 30 minutes.
Patience pays off here more than anywhere. The longer the cleaner loosens the grime, the less scrubbing you’ll face when you return.
Step 4: Scrub Away the Loosened Grime
Come back and work over each rack with your non-scratch pad. The buildup should lift with steady, gentle pressure rather than brute force.
Switch to the toothbrush for stubborn corners and where bars cross. If a patch resists, don’t fight it yet. We’ll deal with those trouble spots shortly.
Step 5: Rinse the Racks Thoroughly
Rinse every bar under warm water until no cleaner or residue remains. Run your hand along the metal to check for any slick, filmy patches you might have missed.
Leftover cleaner isn’t something you want near your food. So rinse longer than feels necessary, then rinse again.
Step 6: Dry and Return the Racks
Wipe the racks dry with a clean towel. Drying matters more than people think, since damp metal can develop rust over time.
Once they’re fully dry, slide them back into the oven. Then take a moment to enjoy the before-and-after, because it’s genuinely satisfying.
What to Do With Stubborn Baked-On Spots
Sometimes a few patches refuse to budge, no matter how long the foam sat. Don’t panic, and definitely don’t scrub yourself raw.
A second round almost always finishes the job.
Reapplying Cleaner to Trouble Areas
Focus a fresh coat of cleaner directly on the worst spots. Give it a little extra dwell time, maybe ten minutes beyond the first round.
That targeted second application usually softens whatever held on the first time. Then a gentle scrub clears it.
Using a Soak for Extra Help
For truly stubborn carbon, a warm soak works wonders alongside the cleaner. Lay the rack in a tub of hot water and let it sit.
Heat and moisture loosen baked-on grime that dry scrubbing can’t reach. It’s slow, but it’s effective.
Gentle Tools for Tight Corners
Where a pad simply won’t fit, reach for the toothbrush or a plastic scraper. These get into the joints and crevices without scratching the metal.
Go easy with any scraper. The goal is to lift grime, not carve grooves into your racks.
Rinsing, Drying, and Finishing Up
The job isn’t done until nothing lingers on the metal. A rushed finish can leave residue that smokes or smells the next time you bake.
One careful final pass settles it.
Making Sure No Residue Remains
Run your hand along each bar and feel for any slick or filmy spots. If something feels off, rinse that section again.
Cleaner residue burns off with a nasty smell once the oven heats. So a thorough rinse now spares you an unpleasant surprise later.
Drying to Prevent Rust
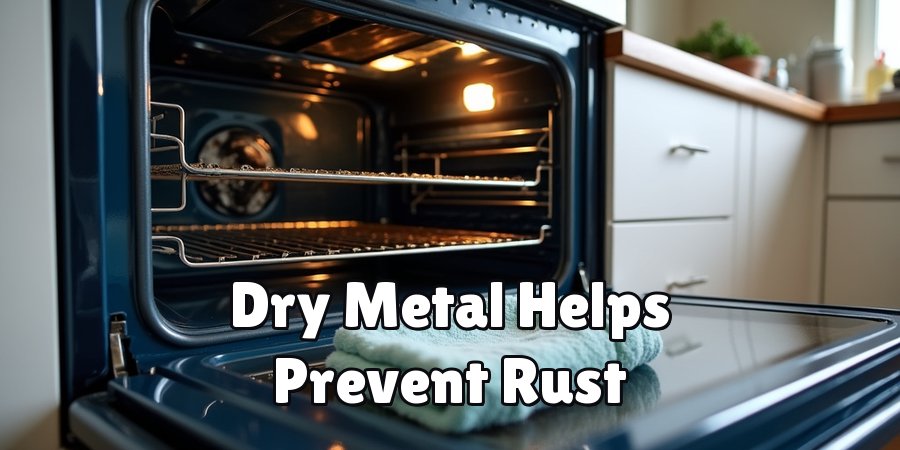
Dry the racks fully before returning them. Water left sitting on bare metal invites rust, which undoes all your hard work.
A quick towel-dry does the trick. For extra insurance, let them air-dry a few minutes before sliding them home.
Tips to Keep Oven Racks Cleaner for Longer
A deep clean feels great, but wouldn’t it be nice to do it less often? A couple of small habits stretch that fresh result much further.
Prevention beats scrubbing every single time.
Catching Spills Early
Wipe up drips soon after they happen, while the residue is still soft. Once it bakes on a few more times, it hardens into the exact gunk you just fought.
A quick wipe when the oven cools takes seconds. Ignoring it costs you a full cleaning session down the road.
Using Liners and Trays
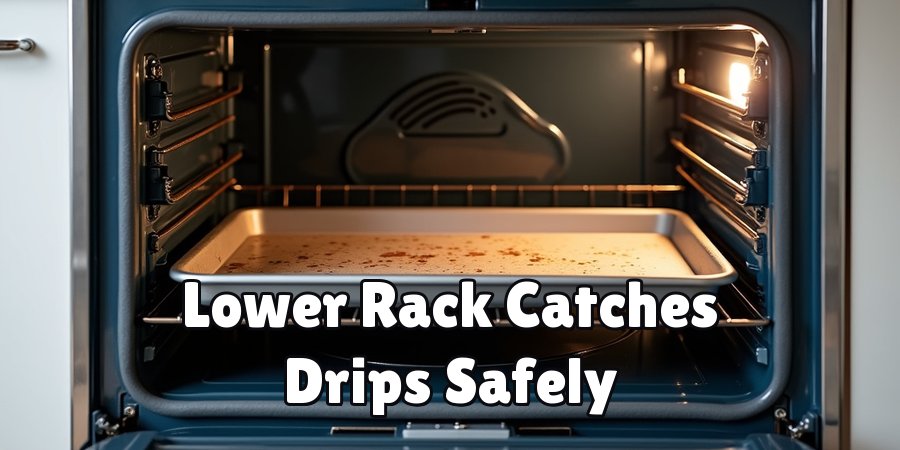
Slide a baking sheet or oven liner onto a lower rack to catch drips before they reach the metal below. It intercepts the mess at the source.
Just keep liners off the oven floor itself, where they can block heat or airflow. A lower rack is the safer home for them.
Frequently Asked Questions
A few questions come up again and again, so let’s clear them up plainly.
How Long Should I Leave the Cleaner On?
Follow the product label, which typically suggests 15 to 30 minutes. Heavier buildup benefits from the longer end of that range.
When in doubt, longer is usually safer than shorter. The foam keeps working the whole time it sits.
Can I Clean Racks Inside the Oven?
You can, but I’d advise against it. Cleaning them separately gives you better access, more thorough results, and far less mess to manage.
Spraying inside the oven also risks coating parts that shouldn’t be sprayed. Removing the racks first is simply cleaner and safer.
Is Oven Cleaner Safe for All Rack Types?
Most standard chrome and enamel-coated racks handle oven cleaner fine. Some finishes, though, may react or discolor.
If your racks have a special coating or you’re unsure, test a small hidden spot first. When they seem delicate, a baking soda paste offers a gentler route.
Conclusion
So there it is. Figuring out how to clean oven racks with oven cleaner comes down to prepping a safe space, coating the racks generously, letting the foam work, then scrubbing and rinsing every bar clean.
The real secret? Patience. Let the cleaner handle the heavy lifting, and your part shrinks to a light scrub and a good rinse.
My honest suggestion is to grab your gloves and tackle it this weekend, while you’ve got the time and a bit of fresh air. Fresh, gleaming racks are only a short project away, and your next roast will thank you for it.

About
Ethan Wrenford is a dedicated home appliance specialist with years of hands-on experience in appliance troubleshooting, maintenance, repair, and DIY diagnostics. His professional focus lies in combining practical repair knowledge with simple, easy-to-follow solutions, helping homeowners understand common appliance problems and confidently identify potential causes at home. As an author at ApplianceWhy, Ethan shares practical knowledge on home appliance repair, DIY appliance diagnostics, maintenance, troubleshooting, appliance care, and everyday solutions for common household appliance issues.
Education
Portland Community College (Portland, USA)
Associate Degree in Appliance Technology & Residential Systems
- Focused on residential appliance systems, electrical fundamentals, mechanical components, and appliance troubleshooting.
- Developed practical skills in appliance diagnostics, component testing, electrical safety, and repair procedures.
- Gained hands-on experience working with refrigerators, washing machines, dryers, dishwashers, ovens, ranges, and other household appliances.
Oregon Institute of Technology (Klamath Falls, USA)
Bachelor’s in Applied Electronics & Technology
- Specialized in electrical systems, electronic controls, sensors, motors, and residential equipment.
- Studied diagnostic techniques for identifying electrical, mechanical, and component-related appliance problems.
- Completed practical projects involving appliance control systems, troubleshooting methods, preventive maintenance, and repair fundamentals.
Publications and Impact
Through ApplianceWhy, Ethan shares practical insights into home appliance repair, DIY diagnostics, maintenance, troubleshooting, and appliance care. His writing focuses on turning confusing appliance problems into simple, understandable steps that homeowners can follow safely.
Ethan covers everything from diagnosing a refrigerator that is not cooling and a washing machine that will not drain to troubleshooting dryers, dishwashers, ovens, microwaves, and other common household appliances. His content helps readers understand appliance symptoms, identify possible causes, perform basic diagnostic checks, and determine when professional repair may be necessary.
Through his work, Ethan aims to bridge the gap between professional appliance repair knowledge and everyday homeowners—making appliance troubleshooting more approachable, practical, and accessible to everyone who wants to diagnose smarter, maintain better, and keep their appliances running longer.