

A kitchen fire is one of those moments that gets your heart racing. When you grab that fire extinguisher and spray, you’re doing exactly the right thing to keep your home and family safe.
But once the flames are out and the panic fades, you’re often left staring at a messy oven coated in a strange powdery film.
That dry chemical residue can look intimidating, and if you don’t handle it correctly, it can damage your appliance and even affect the food you cook later.
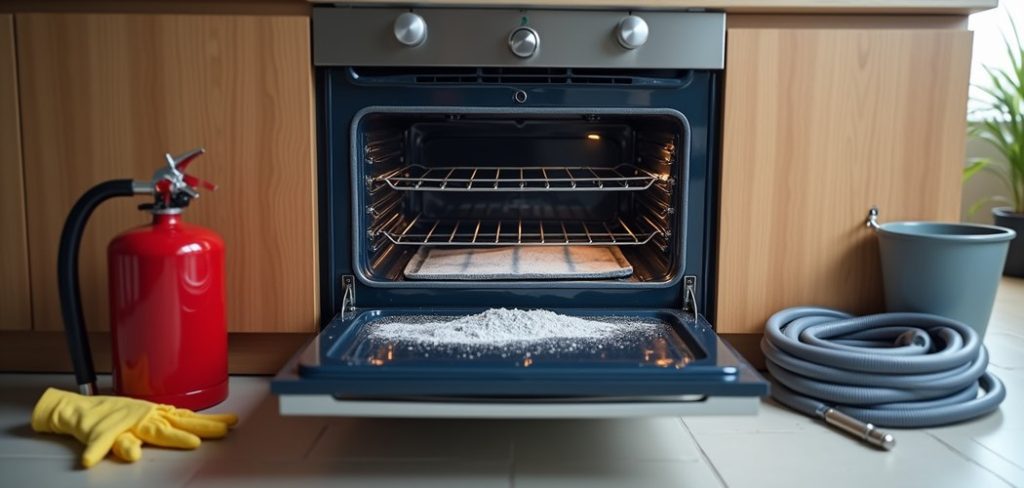
The good news? Cleaning your oven after using a fire extinguisher isn’t as hard as it seems. With the right tools, a bit of patience, and a clear plan, you can get your oven back to sparkling condition.
This guide on how to clean oven after fire extinguisher walks you through everything, from why it matters to a simple 10-step process. Let’s roll up our sleeves and get that oven fresh again.
What Are the Benefits?
You might be tempted to just wipe the powder away and move on. But taking the time to clean your oven properly after a fire extinguisher discharge brings some real advantages.
First, it protects your health. Most household fire extinguishers use a dry chemical powder called monoammonium phosphate or sodium bicarbonate. When heated, this residue can release fumes you don’t want to breathe in. Cleaning it fully means safer air and safer food.
Second, it keeps your oven working longer. That fine powder is mildly corrosive. Left alone, it can eat away at metal surfaces, damage heating elements, and cause rust over time. A thorough cleaning helps your appliance last for years.
Third, it improves the taste of your food. Nobody wants a chemical flavor in tonight’s dinner. Removing every trace of powder means your meals taste the way they should.
Finally, a clean oven simply gives you peace of mind. You’ll cook with confidence, knowing your appliance is safe, fresh, and ready to use.
What Will You Need?
Before you start, gather your supplies. Having everything within reach makes the whole job faster and smoother. Here’s your checklist:
Once you’ve got these items ready, you’re set to begin.
- Rubber gloves to protect your hands from the chemicals
- A dust mask or respirator to avoid breathing in fine powder
- Safety goggles to shield your eyes
- A vacuum cleaner with a hose attachment
- Warm water in a bucket or basin
- Dish soap or a mild all-purpose cleaner
- White vinegar for cutting through residue
- Baking soda for stubborn spots
- Several microfiber cloths or soft rags
- A non-abrasive sponge
- A spray bottle for water or vinegar solution
- Paper towels for quick wipe-ups
- A small brush or old toothbrush for tight corners
- A trash bag for disposing of waste
10 Easy Steps on How to Clean Oven After Fire Extinguisher
Step 1: Ensure the Area Is Safe
Before you touch anything, make sure the fire is completely out and the oven is fully cool. Never start cleaning a hot appliance, as this can cause burns or spread residue further.
Unplug the oven from the wall or switch off the circuit breaker if it’s a hardwired unit. For gas ovens, turn off the gas supply valve.
This step keeps you safe from electrical shocks and gas leaks while you work. Open the windows and turn on a fan to bring fresh air into the kitchen.
Ventilation matters a lot here, since the fine powder can float and irritate your lungs. Give the space a few minutes to air out before moving on.
Step 2: Put On Your Protective Gear
Now suit up. Slip on your rubber gloves, dust mask, and safety goggles. The chemical residue from fire extinguishers is irritating to skin, eyes, and lungs, so this gear is not optional.
If you have a respirator instead of a basic dust mask, even better. Wearing long sleeves also helps protect your arms. This small step prevents itching, coughing, and discomfort during the cleanup.
Once you’re covered, you can handle the residue without worry.
Step 3: Remove Loose Powder With a Vacuum
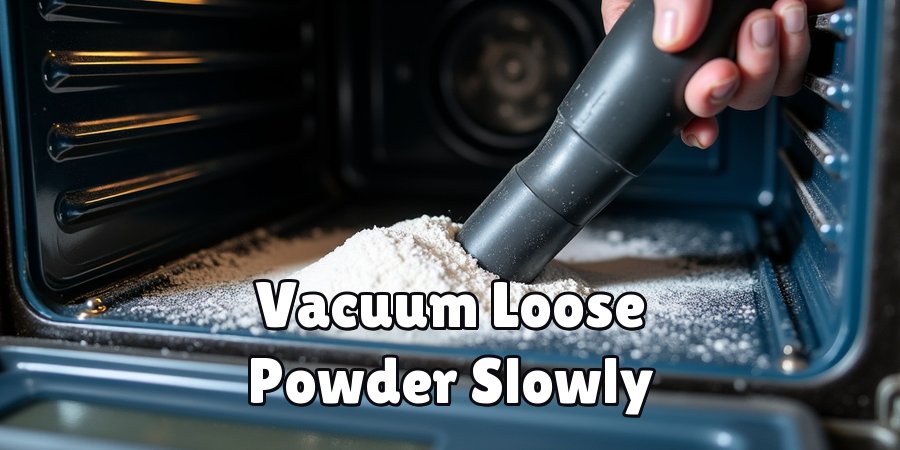
Grab your vacuum cleaner and attach the hose. Gently vacuum up as much of the loose powder as you can from the oven’s interior, racks, and surrounding surfaces.
Work slowly so you don’t blow the powder into the air. Avoid using a broom or dry cloth first, since sweeping just scatters the fine particles everywhere.
The vacuum captures the bulk of the mess in one pass. Pay attention to corners, the door seal, and any vents where powder likes to collect.
This step makes the rest of the job far easier.
Step 4: Take Out the Racks and Removable Parts
Pull out the oven racks, trays, and any other removable pieces. Set them aside in your sink or a large basin. These parts often collect a thick layer of residue, and cleaning them separately gives you better access to every surface.
Removing them also lets you reach the back and bottom of the oven, where powder tends to settle. Handle each piece carefully, and try not to shake off powder as you go.
Keep them near your washing station for the next step.
Step 5: Wash the Racks and Parts
Fill your sink or basin with warm water and a good squirt of dish soap. Soak the racks and removable parts for 15 to 20 minutes to loosen the residue. Then scrub them with a non-abrasive sponge.
For stubborn spots, sprinkle a little baking soda and scrub gently. Rinse each piece thoroughly under running water until no soap or powder remains. Dry them completely with a clean cloth.
Leaving moisture behind can cause rust, so make sure they’re fully dry before you put them back.
Step 6: Wipe Down the Oven Interior
Mix warm water with a few drops of dish soap in your bucket. Dip a microfiber cloth in the solution, wring it out, and wipe down every interior surface.
Start from the top and work your way down so drips don’t undo your progress. Rinse your cloth often and change the water when it gets dirty.
This step lifts the remaining film that the vacuum couldn’t grab. Be thorough along the walls, ceiling, and floor of the oven cavity.
Take your time here, since this is where most of the chemical residue lingers.
Step 7: Tackle Stubborn Residue With Vinegar
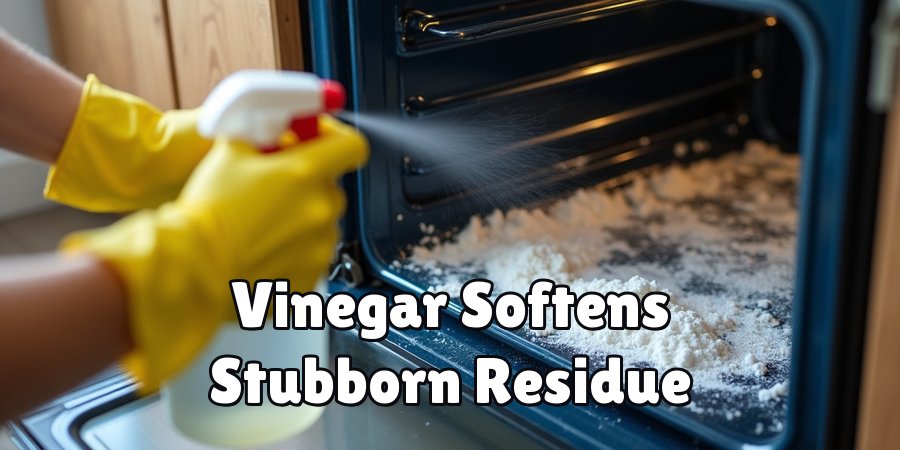
Some residue clings tightly and won’t budge with soap alone. That’s where vinegar shines. Fill your spray bottle with equal parts white vinegar and water.
Spray the stubborn areas and let the solution sit for five to ten minutes. The mild acid in vinegar breaks down the chemical powder and makes it easier to wipe away.
After it soaks, scrub gently with your sponge or a soft brush. For extra-tough spots, make a paste of baking soda and water, apply it, and let it work before wiping.
This combo handles almost any leftover grime.
Step 8: Clean the Oven Door and Glass
Don’t forget the door. Powder often coats the glass window and the door seal. Spray your vinegar solution on the glass and wipe it clean with a microfiber cloth for a streak-free shine.
Use your small brush or toothbrush to clean around the rubber gasket and hinges, where powder hides. Be gentle with the seal, since it’s important for keeping heat inside.
Wipe both the inside and outside of the door so it looks as good as new.
Step 9: Rinse and Dry Everything
After all that scrubbing, you need to remove any cleaning solution left behind. Dampen a fresh cloth with clean water and wipe down every surface you cleaned.
Repeat this a couple of times to be sure no soap, vinegar, or residue remains. Then take a dry microfiber cloth and dry the entire interior.
Moisture left in the oven can lead to rust or odd smells, so dry it well. This final rinse guarantees your food won’t pick up any chemical taste later.
Step 10: Reassemble and Test
Once everything is clean and dry, put the racks and removable parts back in place. Plug the oven back in or restore the power and gas supply.
To clear out any lingering traces, run the oven empty at 300°F for about 15 to 20 minutes. Keep your kitchen ventilated during this burn-off. You might notice a faint smell, which is normal and should fade quickly.
After it cools, give the inside one last wipe. Your oven is now clean, safe, and ready to cook.
5 Things You Should Avoid
Even with the best intentions, a few common mistakes can slow you down or cause harm. Steer clear of these pitfalls.
- Don’t skip protective gear. The chemical powder irritates your skin, eyes, and lungs. Working without gloves, goggles, and a mask puts your health at risk.
- Don’t use the oven before cleaning it. Turning on a residue-coated oven can release harmful fumes and bake the powder onto surfaces, making it much harder to remove.
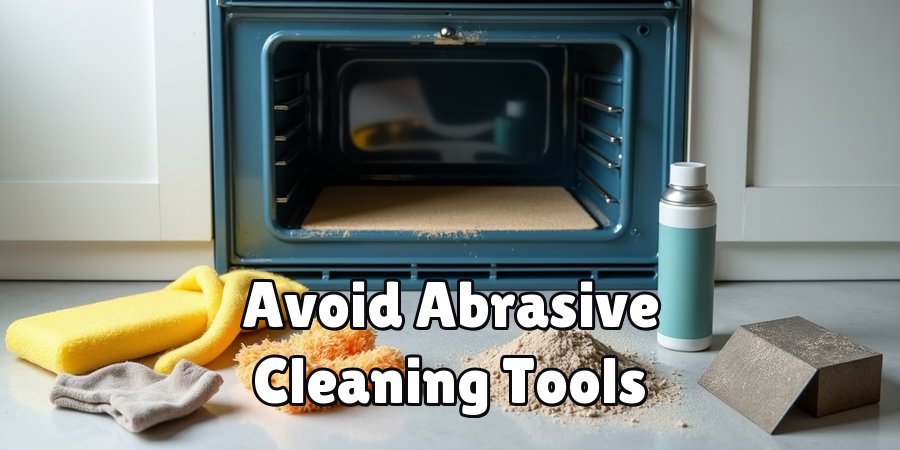
- Don’t use abrasive scrubbers on delicate surfaces. Steel wool or harsh scouring pads can scratch the interior coating and glass, leaving permanent damage.
- Don’t sweep or blow the powder around. This just spreads the fine particles into the air and across your kitchen. Always vacuum first.
- Don’t leave moisture behind. Water trapped in the oven or on the racks leads to rust and unpleasant odors. Dry everything completely before reassembling.
Conclusion
How to clean oven after fire extinguisher is stressful, but cleaning up afterward doesn’t have to be.
By following these ten simple steps, you can remove every trace of fire extinguisher residue and get your oven back to its best.
Remember to protect yourself with gloves and a mask, vacuum before you wipe, and dry everything completely when you’re done. Each step brings you closer to a fresh, safe, and fully working appliance.
Most importantly, you handled an emergency the right way by putting out the fire first. Now you have the knowledge to finish the job with confidence. Grab your supplies, take it one step at a time, and soon you’ll be cooking your favorite meals again in a clean, worry-free oven. You’ve got this.

About
Ethan Wrenford is a dedicated home appliance specialist with years of hands-on experience in appliance troubleshooting, maintenance, repair, and DIY diagnostics. His professional focus lies in combining practical repair knowledge with simple, easy-to-follow solutions, helping homeowners understand common appliance problems and confidently identify potential causes at home. As an author at ApplianceWhy, Ethan shares practical knowledge on home appliance repair, DIY appliance diagnostics, maintenance, troubleshooting, appliance care, and everyday solutions for common household appliance issues.
Education
Portland Community College (Portland, USA)
Associate Degree in Appliance Technology & Residential Systems
- Focused on residential appliance systems, electrical fundamentals, mechanical components, and appliance troubleshooting.
- Developed practical skills in appliance diagnostics, component testing, electrical safety, and repair procedures.
- Gained hands-on experience working with refrigerators, washing machines, dryers, dishwashers, ovens, ranges, and other household appliances.
Oregon Institute of Technology (Klamath Falls, USA)
Bachelor’s in Applied Electronics & Technology
- Specialized in electrical systems, electronic controls, sensors, motors, and residential equipment.
- Studied diagnostic techniques for identifying electrical, mechanical, and component-related appliance problems.
- Completed practical projects involving appliance control systems, troubleshooting methods, preventive maintenance, and repair fundamentals.
Publications and Impact
Through ApplianceWhy, Ethan shares practical insights into home appliance repair, DIY diagnostics, maintenance, troubleshooting, and appliance care. His writing focuses on turning confusing appliance problems into simple, understandable steps that homeowners can follow safely.
Ethan covers everything from diagnosing a refrigerator that is not cooling and a washing machine that will not drain to troubleshooting dryers, dishwashers, ovens, microwaves, and other common household appliances. His content helps readers understand appliance symptoms, identify possible causes, perform basic diagnostic checks, and determine when professional repair may be necessary.
Through his work, Ethan aims to bridge the gap between professional appliance repair knowledge and everyday homeowners—making appliance troubleshooting more approachable, practical, and accessible to everyone who wants to diagnose smarter, maintain better, and keep their appliances running longer.