

Your microwave works harder than you might think, and every time you heat a meal, its vents pull air through to keep the machine cool and clear out steam and smoke.
Over time, grease and grime build up on those vent filters and grilles, slowing airflow and leaving your kitchen smelling stale.
Knowing how to clean microwave vents is a simple skill that keeps your appliance running smoothly and your cooking space fresh.
The good news is that this task is beginner-friendly and takes only a few common supplies you probably already own.
You do not need special training or expensive gear, just a little time and the right steps to follow.
In this guide, we will walk through why vent cleaning matters, then break the process into seven clear steps anyone can handle. We will also answer the most common questions people ask along the way.
By the end, you will feel confident tackling the job yourself and enjoy a quieter, cleaner, better-performing microwave that handles everyday cooking with ease.
Why Cleaning Microwave Vents Matters
Clean vents do far more than look tidy. They protect your microwave from overheating by letting air flow freely, which extends the life of the appliance and helps it work efficiently. When grease clogs the filters, the motor strains harder and your kitchen fills with lingering odors and smoke that should have been carried away.
There are real safety benefits too. A grease-heavy filter is a fire hazard, especially in over-the-range models that sit close to your cooktop. Keeping vents clear reduces that risk and improves air quality while you cook.
On top of that, regular cleaning saves you money by preventing costly repairs and early replacements.
With just a bit of upkeep, you gain a safer kitchen, better performance, and the satisfaction of maintaining your own appliance.

Step-By-Step Guide To How To Clean Microwave Vents
Step 1: Gather Your Supplies
Before you begin, collect everything you need so the job flows without interruptions.
You will want warm water, dish soap, a degreasing cleaner or baking soda, a soft cloth, an old toothbrush, and a bucket or sink for soaking.
Having these items ready helps you move through each step smoothly and keeps you from stopping mid-task to hunt for tools.
Take a quick look at your microwave model too, since over-the-range units have removable grease filters while countertop models have vent grilles built into the casing. Knowing which type you own shapes how you approach the work. A little preparation now makes the whole process faster, easier, and far less messy.
Step 2: Unplug And Prepare The Area
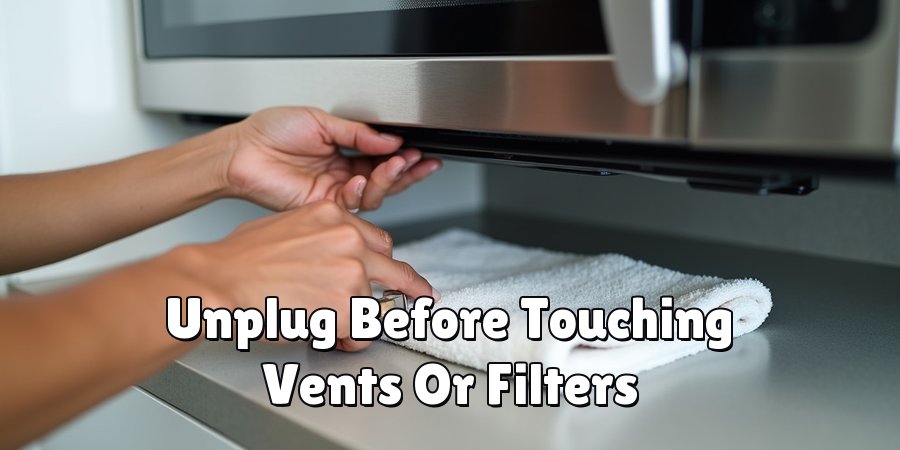
Safety comes first, so unplug your microwave before touching any vents or filters. This simple habit protects you from electric shock and keeps the appliance from turning on while your hands are inside. If your unit is hardwired or mounted above the stove, switch off the power at the breaker to be completely sure.
Next, clear the surrounding area and lay down a towel to catch drips and loosened grease.
Give the machine a few minutes to cool if you recently used it, since warm surfaces can burn and hot grease is harder to handle.
A calm, prepared workspace sets you up to clean thoroughly without rushing or worrying about accidents.
Step 3: Learn On The Exterior Grille
Start with the visible vent grille on the outside of your microwave, usually found along the top or front. Wipe it down with a soft cloth dampened in warm, soapy water to lift surface grease and dust. For stubborn spots, a gentle degreasing spray works wonders without scratching the finish.
Use your old toothbrush to reach into the narrow slots where grime loves to hide. Work slowly and let the cleaner sit for a minute on tough buildup so it loosens before you scrub.
This exterior pass makes a big visual difference right away and prepares the surface for deeper cleaning of the filters underneath, which we will tackle in the next steps.
Step 4: Remove The Grease Filter
If you have an over-the-range microwave, locate the metal grease filter on the underside of the appliance.
Most slide out easily once you push a small tab or pull a latch, so check your manual if the release point is not obvious.
These filters trap airborne grease from your cooktop, which is why they get so clogged over time.
Slide the filter out gently and set it aside for cleaning. Countertop models usually do not have a removable filter, so if that describes your unit, you can skip ahead to the interior wiping steps. Handling this part carefully protects the delicate mesh and keeps the filter working well once it goes back in place.
Step 5: Soak And Scrub The Filter
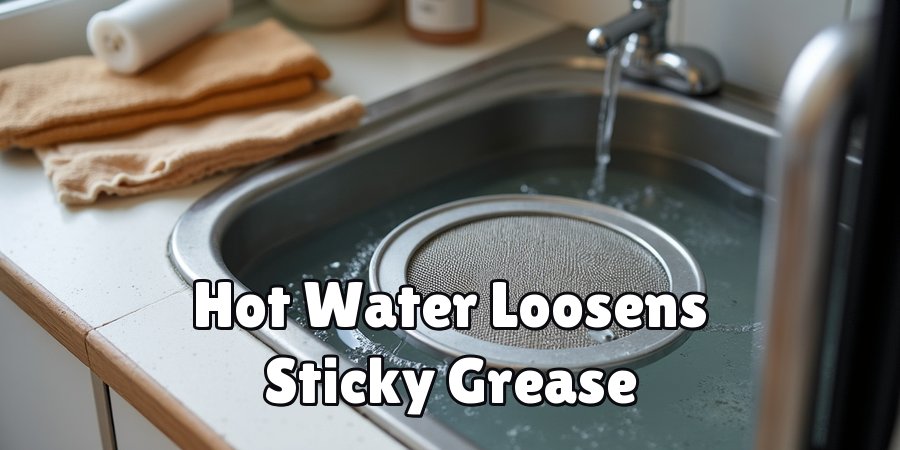
Fill your sink or a bucket with hot water and add a generous squirt of dish soap along with a few tablespoons of baking soda.
Submerge the grease filter fully and let it soak for around ten minutes, which loosens the sticky buildup trapped in the mesh. This soaking step does most of the hard work for you.
After soaking, use your toothbrush to gently scrub both sides of the filter, working the bristles into the fine grid to dislodge remaining grease.
Rinse it thoroughly under running water until it looks clean and the water runs clear. Set the filter on a towel to air dry completely before you reinstall it, since trapped moisture can cause odors.
Step 6: Master Clean Vents On The Interior
With the filter out or the exterior done, turn your attention to the interior vent openings and surrounding surfaces. Dampen a soft cloth with warm, soapy water and wipe around the vent slots inside the microwave and along the underside where air passes through. Grease often collects in these hidden spots without you noticing.
For tighter areas, dip your toothbrush in the soapy solution and gently work it into the grooves. Avoid soaking any electrical components, and never spray liquid directly into the vents.
Instead, apply cleaner to your cloth first, then wipe. Take your time here so you reach every corner. A clean interior keeps airflow strong and prevents odors from building back up quickly.
Step 7: Dry, Reassemble, And Test
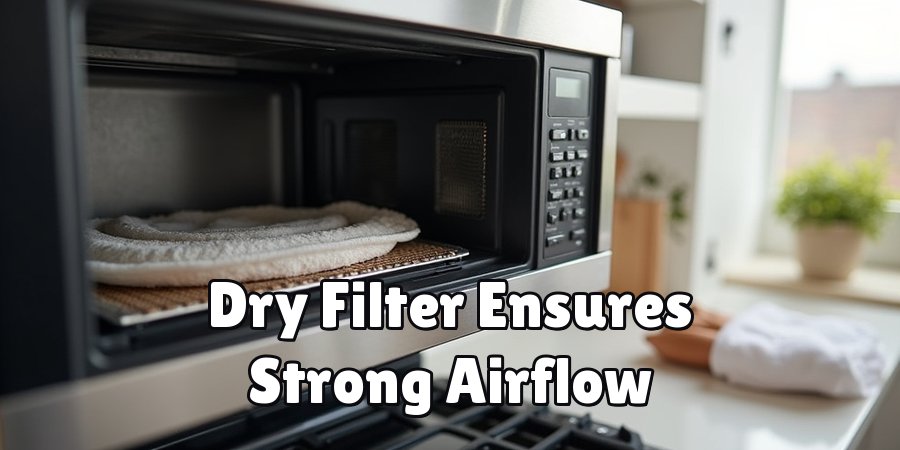
Once every part is clean, make sure the grease filter and any surfaces are completely dry. Reinstalling a damp filter can trap moisture and lead to mildew or unpleasant smells, so patience here pays off. Slide the dry filter back into its slot until it clicks or seats firmly in place.
Plug the microwave back in or restore power at the breaker, then run the vent fan for a minute to confirm everything works and airflow feels strong.
Listen for smooth, quiet operation, which tells you the vents are clear. Give the exterior one final wipe for a polished finish, and enjoy your refreshed, efficient appliance ready for daily use.
Frequently Asked Questions
How Often Should I Clean My Microwave Vents?
For most households, cleaning the vents every one to three months keeps everything running well. If you cook often, fry foods, or use an over-the-range model daily, aim for the shorter end of that range.
Light users can stretch it a little longer. A quick monthly check of the grease filter helps you spot buildup early and decide when a full cleaning is due.
Can I Put The Grease Filter In The Dishwasher?
Many metal mesh grease filters are dishwasher safe, but always check your manual first to be sure. Run it on a normal cycle without other dishes so grease does not spread.
That said, hand washing with hot soapy water and baking soda often gives better results for heavy buildup. Whichever method you choose, let the filter dry fully before putting it back in place.
What If My Microwave Still Smells After Cleaning?
Lingering odors usually mean grease remains somewhere you missed or the filter went back in slightly damp. Recheck the interior vents and give the filter another soak if needed.
You can also run the microwave with a bowl of water and lemon slices for a minute to freshen the inside. Making sure everything dries completely before reassembly prevents most stubborn smells from returning.
Is It Safe To Use Chemical Degreasers?
Mild degreasing sprays are fine for the exterior grille and removable filters, as long as you rinse well and keep them away from electrical parts.
For the interior, gentler options like dish soap or a baking soda paste are safer and just as effective.
Always apply cleaner to a cloth rather than spraying directly into vents, and avoid harsh abrasives that could scratch or damage surfaces.
Do Countertop Microwaves Need Vent Cleaning Too?
Yes, countertop models have vent openings that collect dust and grease even without a removable filter.
Wipe the exterior grille regularly and clean the interior vent slots with a soft, damp cloth and a toothbrush for tight spots.
Since these units usually sit away from a cooktop, they gather grease more slowly, but routine wiping still keeps airflow strong and helps the appliance last longer.
Conclusion
Keeping your microwave vents clean is one of those small maintenance habits that pays off in big ways.
By gathering your supplies, unplugging safely, wiping the exterior grille, soaking and scrubbing the filter, clearing the interior vents, and drying everything before reassembly, you protect your appliance from overheating, reduce fire risk, and banish stubborn kitchen odors.
Each step builds on the last, and none of them require special skills, just a little care and patience.
Now that you understand how to clean microwave vents from start to finish, the best next move is to set aside twenty minutes and give it a try.
Start with the exterior, work through the filter, and finish with a fresh wipe-down. You will notice quieter operation, better airflow, and a cleaner-smelling kitchen almost right away.
Make this a regular part of your routine, and your microwave will reward you with reliable performance for years to come. Trust the process, take it one step at a time, and enjoy the results.

About
Ethan Wrenford is a dedicated home appliance specialist with years of hands-on experience in appliance troubleshooting, maintenance, repair, and DIY diagnostics. His professional focus lies in combining practical repair knowledge with simple, easy-to-follow solutions, helping homeowners understand common appliance problems and confidently identify potential causes at home. As an author at ApplianceWhy, Ethan shares practical knowledge on home appliance repair, DIY appliance diagnostics, maintenance, troubleshooting, appliance care, and everyday solutions for common household appliance issues.
Education
Portland Community College (Portland, USA)
Associate Degree in Appliance Technology & Residential Systems
- Focused on residential appliance systems, electrical fundamentals, mechanical components, and appliance troubleshooting.
- Developed practical skills in appliance diagnostics, component testing, electrical safety, and repair procedures.
- Gained hands-on experience working with refrigerators, washing machines, dryers, dishwashers, ovens, ranges, and other household appliances.
Oregon Institute of Technology (Klamath Falls, USA)
Bachelor’s in Applied Electronics & Technology
- Specialized in electrical systems, electronic controls, sensors, motors, and residential equipment.
- Studied diagnostic techniques for identifying electrical, mechanical, and component-related appliance problems.
- Completed practical projects involving appliance control systems, troubleshooting methods, preventive maintenance, and repair fundamentals.
Publications and Impact
Through ApplianceWhy, Ethan shares practical insights into home appliance repair, DIY diagnostics, maintenance, troubleshooting, and appliance care. His writing focuses on turning confusing appliance problems into simple, understandable steps that homeowners can follow safely.
Ethan covers everything from diagnosing a refrigerator that is not cooling and a washing machine that will not drain to troubleshooting dryers, dishwashers, ovens, microwaves, and other common household appliances. His content helps readers understand appliance symptoms, identify possible causes, perform basic diagnostic checks, and determine when professional repair may be necessary.
Through his work, Ethan aims to bridge the gap between professional appliance repair knowledge and everyday homeowners—making appliance troubleshooting more approachable, practical, and accessible to everyone who wants to diagnose smarter, maintain better, and keep their appliances running longer.