

You open your dishwasher expecting sparkling plates, but instead you find cloudy glasses, a chalky white film, and crusty deposits around the spray arms.
That stubborn buildup is limescale, a mineral residue left behind when hard water dries. It forms from calcium and magnesium in your tap water, and over time it clings to heating elements, filters, and jets.
Left alone, it makes your machine work harder, clean worse, and even fail sooner.
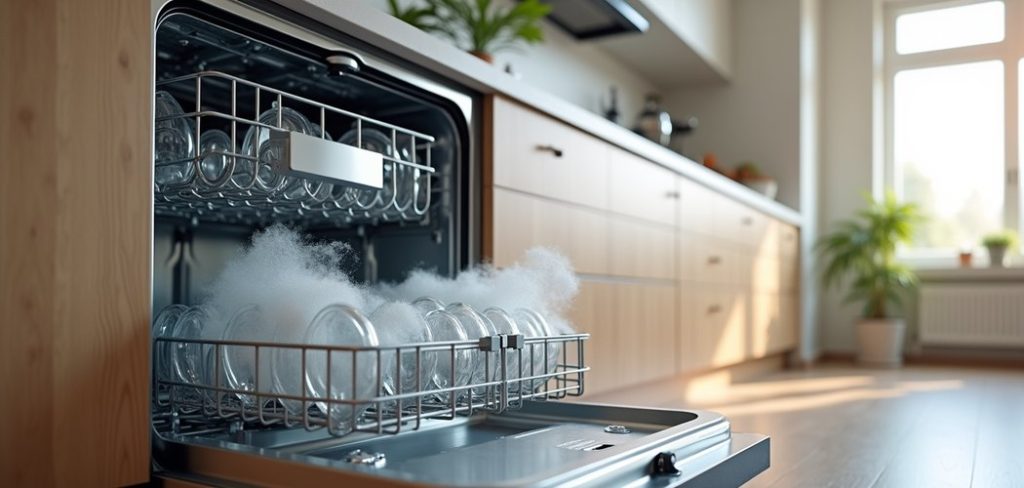
The good news is that you do not need a technician or fancy products to fix it.
Learning how to clean limescale from dishwasher parts is a simple, low-cost skill that anyone can master, no matter your experience level.
This friendly guide breaks everything down into clear, manageable steps you can follow at your own pace. We will explain why limescale matters, walk through seven easy stages, and answer the questions people ask most.
By the end, your machine will run smoother and your dishes will shine again. Let’s get started.
Why Cleaning Limescale From Your Dishwasher Matters
Limescale is more than an eyesore. When it coats the heating element, your dishwasher needs extra energy to warm the water, which pushes up your electricity bill.
Clogged spray arms and filters also block water flow, so your dishes come out dirty even after a full cycle. Over time, this strain shortens your machine’s lifespan and invites costly repairs.
Clearing it out brings real, noticeable benefits. Your dishes rinse cleaner, your glasses regain their sparkle, and unpleasant odors fade fast.
A descaled machine runs quieter and more efficiently too, saving you money month after month. Best of all, regular cleaning puts you in control, turning a dreaded chore into a quick habit.
With a little know-how, you keep your appliance healthy and your kitchen running smoothly for years to come.
Step-By-Step Guide To How To Clean Limescale From Dishwasher
Step 1: Empty And Inspect The Machine
Start with a completely empty dishwasher, since dishes and cutlery only get in your way. Pull out both racks and set them aside so you have clear access to every corner.
Now take a good look inside. Shine a light on the spray arms, the base, and the door seal to spot where the white, chalky buildup clusters most.
This quick inspection tells you exactly where to focus your effort. Notice any thick crusts near the heating element or around the jets, because these areas usually need extra attention. A minute of looking now saves you time later and helps you clean smarter, not harder.
Step 2: Remove And Rinse The Filter
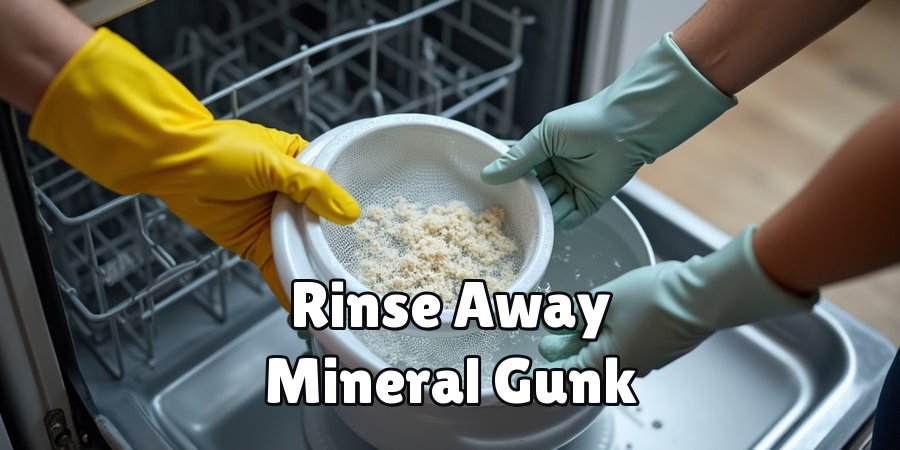
The filter sits at the bottom of the tub and traps food particles, but it also collects mineral gunk. Twist it counterclockwise to unlock it, then lift it out gently. Most filters pop free with a simple turn, so there is no need to force anything or grab tools.
Rinse the filter under warm running water to wash away loose debris. If you spot hardened deposits, soak it in a bowl of warm water mixed with a splash of white vinegar for ten minutes.
Use a soft brush, such as an old toothbrush, to scrub the mesh clean. A clear filter lets water flow freely and keeps your machine cleaning at its best.
Step 3: Clear The Spray Arms And Jets
The spray arms fling water across your dishes, but their tiny holes clog easily with limescale. Detach each arm by unscrewing the cap or gently pulling it upward, depending on your model. Check your manual if you are unsure, since a quick reference prevents mistakes and builds your confidence.
Hold each arm up to the light and look through the jets. Blocked holes will look cloudy or crusted.
Poke them clear with a toothpick or a thin wire, then rinse the arms under the tap. If deposits stay stubborn, soak the arms in warm vinegar for fifteen minutes.
Clean jets mean even water coverage and spotless results every cycle.
Step 4: Wipe Down Seals, Edges, And The Interior
Limescale loves hiding along the rubber door seal and the tub’s edges, where water pools and dries. Mix warm water with a little white vinegar, dip a soft cloth, and wipe these areas thoroughly.
Fold the cloth into crevices around the door gasket, since grime builds up there and can cause leaks or odors if ignored.
Learning how to clean limescale from dishwasher surfaces means being gentle but thorough. Avoid harsh scourers that could scratch the interior. For tight corners, an old toothbrush works wonders.
Take your time here, because a clean seal keeps the door sealing tightly and stops mold from taking hold. Your effort pays off with a fresher, healthier machine.
Step 5: Run A Vinegar Rinse Cycle
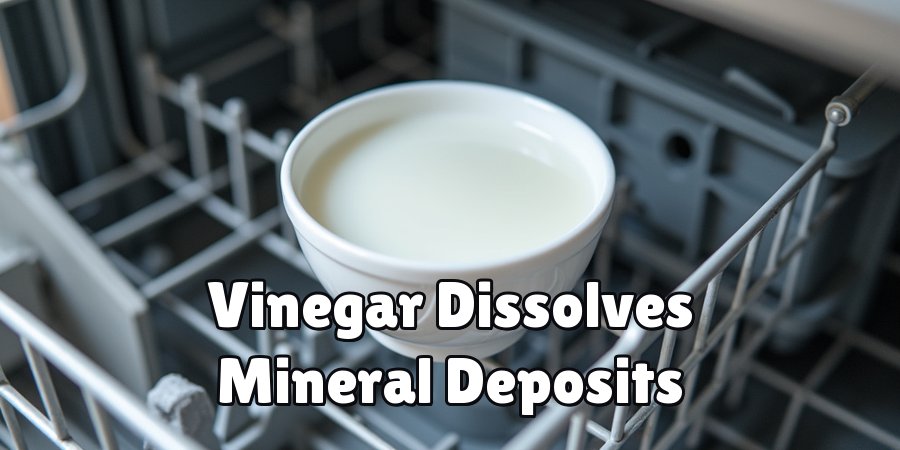
With the parts back in place, it is time for a deep internal clean. Pour two cups of white vinegar into a dishwasher-safe bowl and set it upright on the top rack.
Do not add detergent for this step, since the vinegar does the heavy lifting on its own by dissolving mineral deposits throughout the machine.
Run the hottest cycle your dishwasher offers. The heat helps the vinegar break down limescale on the heating element, hidden pipes, and interior walls you cannot easily reach by hand. This simple trick tackles buildup deep inside the system. When the cycle ends, open the door and enjoy the fresh, clean smell that greets you.
Step 6: Follow Up With A Baking Soda Cycle
Vinegar loosens the deposits, and baking soda finishes the job by scrubbing away lingering residue and neutralizing odors.
Sprinkle one cup of baking soda across the bottom of the empty tub, spreading it evenly so it can work across the whole surface.
This gentle abrasive is safe for your machine and kind to the environment too.
Run a short, hot cycle to let the baking soda circulate. Together with the earlier vinegar rinse, this two-part method knows how to clean limescale from dishwasher interiors without any harsh chemicals. When it finishes, your machine will look brighter, smell fresher, and feel genuinely renewed. It is a satisfying result for such little effort.
Step 7: Dry, Reassemble, And Prevent Future Buildup
Once the cycles finish, leave the door open for an hour so everything air-dries fully. Slide the racks back in, lock the filter into place, and confirm the spray arms spin freely. Give the interior one final wipe to catch any leftover moisture or residue that settled during drying.
To keep limescale from returning, use a rinse aid and consider a water softener salt if your area has very hard water.
Running a vinegar rinse once a month keeps deposits from ever gaining a foothold.
These small habits protect your hard work and mean you will rarely face a heavy buildup again, saving you time and effort down the road.

Frequently Asked Questions
How Often Should I Descale My Dishwasher?
For most households, a thorough descale once a month keeps your machine running smoothly. If you live in a hard water area, you may notice buildup faster, so aim for every two to three weeks.
Watch for warning signs like cloudy glasses or a white film, since these tell you it is time. Regular light cleaning is far easier than tackling heavy, hardened deposits later on.
Can I Use Lemon Juice Instead Of Vinegar?
Yes, lemon juice makes a great natural alternative because its citric acid dissolves mineral deposits much like vinegar does. Pour half a cup into a bowl on the top rack and run a hot cycle.
It leaves behind a fresh, pleasant scent too. Both options work well, so choose whichever you have on hand. Just avoid mixing cleaning agents together, since combining products can create fumes or reduce their effectiveness.
Is Limescale Harmful To My Dishwasher?
Limescale will not ruin your machine overnight, but it does cause real problems over time. It coats the heating element, forcing your dishwasher to use more energy and money to warm water.
It also clogs jets and filters, leaving dishes dirty. Left unchecked, this strain can lead to breakdowns and expensive repairs.
Cleaning it regularly protects your appliance and keeps everything working efficiently, so it is well worth the effort.
Will Commercial Descalers Work Better Than Vinegar?
Commercial descalers are formulated for tough buildup and can be effective, especially in very hard water areas. That said, white vinegar and baking soda handle most everyday limescale beautifully at a fraction of the cost.
For a friendly, budget-conscious approach, start with the natural method. If you face extremely stubborn deposits, a dedicated product makes a helpful backup. Always follow the label instructions carefully to protect your machine and yourself.
Why Are My Glasses Still Cloudy After Cleaning?
Cloudy glasses often mean limescale lingers in the spray arms or on the glass itself. Double-check that the jets are fully clear and water flows freely.
Hard water etching can also cause permanent cloudiness, which cleaning cannot reverse. Using a rinse aid helps prevent new spots from forming.
If the film wipes off with vinegar, it is limescale, so another rinse cycle should restore that sparkle you are after.
Conclusion
Tackling mineral buildup turns out to be far simpler than you might expect.
From emptying and inspecting the machine, to clearing the filter and spray arms, wiping down the seals, and running vinegar and baking soda cycles, each step builds on the last to leave your appliance fresh and efficient.
You do not need special tools or harsh chemicals, just a little time, a few pantry staples, and the confidence that comes with knowing exactly what to do.
Now that you understand how to clean limescale from dishwasher parts, the best move is to put it into practice today. Pick a free afternoon, gather your vinegar and baking soda, and give your machine the care it deserves.
Then make a simple monthly habit of it to keep deposits from ever returning. Your dishes will shine brighter, your machine will run smoother, and you will feel great knowing you handled it yourself.
Go ahead and get started, one easy step at a time.

About
Ethan Wrenford is a dedicated home appliance specialist with years of hands-on experience in appliance troubleshooting, maintenance, repair, and DIY diagnostics. His professional focus lies in combining practical repair knowledge with simple, easy-to-follow solutions, helping homeowners understand common appliance problems and confidently identify potential causes at home. As an author at ApplianceWhy, Ethan shares practical knowledge on home appliance repair, DIY appliance diagnostics, maintenance, troubleshooting, appliance care, and everyday solutions for common household appliance issues.
Education
Portland Community College (Portland, USA)
Associate Degree in Appliance Technology & Residential Systems
- Focused on residential appliance systems, electrical fundamentals, mechanical components, and appliance troubleshooting.
- Developed practical skills in appliance diagnostics, component testing, electrical safety, and repair procedures.
- Gained hands-on experience working with refrigerators, washing machines, dryers, dishwashers, ovens, ranges, and other household appliances.
Oregon Institute of Technology (Klamath Falls, USA)
Bachelor’s in Applied Electronics & Technology
- Specialized in electrical systems, electronic controls, sensors, motors, and residential equipment.
- Studied diagnostic techniques for identifying electrical, mechanical, and component-related appliance problems.
- Completed practical projects involving appliance control systems, troubleshooting methods, preventive maintenance, and repair fundamentals.
Publications and Impact
Through ApplianceWhy, Ethan shares practical insights into home appliance repair, DIY diagnostics, maintenance, troubleshooting, and appliance care. His writing focuses on turning confusing appliance problems into simple, understandable steps that homeowners can follow safely.
Ethan covers everything from diagnosing a refrigerator that is not cooling and a washing machine that will not drain to troubleshooting dryers, dishwashers, ovens, microwaves, and other common household appliances. His content helps readers understand appliance symptoms, identify possible causes, perform basic diagnostic checks, and determine when professional repair may be necessary.
Through his work, Ethan aims to bridge the gap between professional appliance repair knowledge and everyday homeowners—making appliance troubleshooting more approachable, practical, and accessible to everyone who wants to diagnose smarter, maintain better, and keep their appliances running longer.