

Open your freezer, and you might find a thick layer of white ice creeping across the walls, coating your food, and taking up precious space. That frosty buildup is more than just an eyesore.
It quietly steals room from your groceries, wears down your appliance, and can even ruin the taste and texture of your favorite meals.
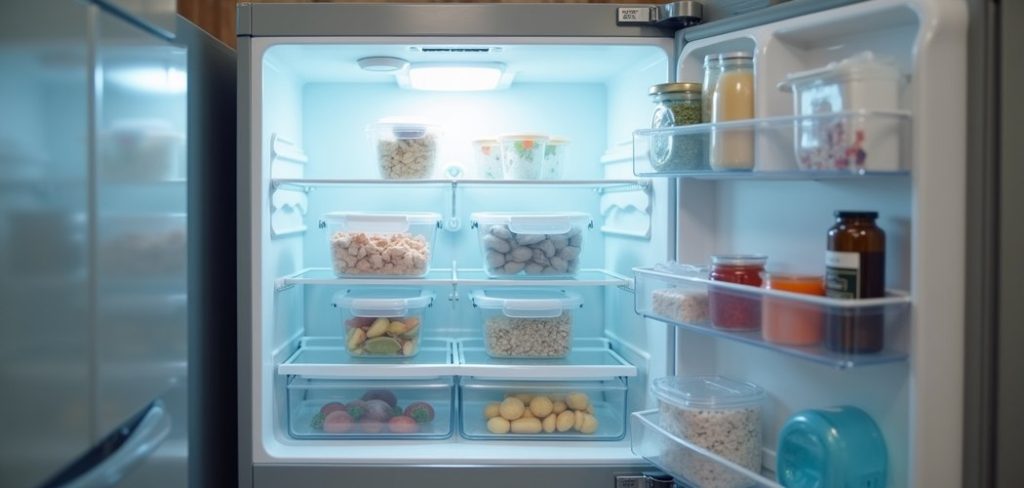
Freezer frost forms when moisture in the air turns into ice inside your freezer. Warm, humid air sneaks in through open doors, worn seals, or improperly stored food. Once inside, that moisture freezes onto the coldest surfaces. Over time, small ice crystals grow into thick sheets that are tough to remove.
The good news? Frost is almost always preventable. With a few simple habits and the right approach, you can keep your freezer clean, efficient, and frost-free.
This guide on how to avoid freezer frost walks you through everything you need to know, from the benefits of a frost-free freezer to the exact steps you can follow today. Let’s get started.
The Benefits of Avoiding Freezer Frost
Keeping frost out of your freezer does more than make it look tidy. Here are the biggest reasons it’s worth the effort.
- Better food quality. Frost draws moisture out of your food, leading to freezer burn. That’s the dry, grayish patches you sometimes see on meat or vegetables. When you stop frost, your food keeps its flavor, texture, and nutrients for much longer.
- Lower energy bills. A frosty freezer has to work harder to stay cold. That extra effort uses more electricity. In fact, even a quarter-inch of frost can force your appliance to run less efficiently. A frost-free freezer keeps your energy costs down month after month.
- Longer appliance life. When your freezer strains to fight frost, its motor and compressor take a beating. Reducing frost eases that workload, helping your appliance last for years longer before it needs repairs or replacement.
- More storage space. Thick ice layers eat into the room you have for food. A clean freezer gives you every inch of usable space back, so you can stock up without cramming.
- Less cleaning hassle. Nobody enjoys chipping away at ice or defrosting for hours. Prevent frost in the first place, and you skip those messy, time-consuming chores entirely.
What Will You Need?
Preventing freezer frost doesn’t require fancy gear. Most of these items are things you probably already own.
Having these on hand makes it easy to build good habits and respond quickly if frost starts to appear.
- A clean, dry cloth or towel for wiping down surfaces and drying containers
- Airtight containers and freezer bags to seal food and lock out moisture
- A freezer thermometer to keep an eye on the temperature
- A soft brush or vacuum for cleaning the coils and vents
- Baking soda or mild soap for cleaning the interior
- A rubber spatula or plastic scraper for gentle frost removal, if needed
- Weatherstripping or a replacement door seal if your current one is worn
- Labels and a marker to date and organize your food
10 Easy Steps on How to Avoid Freezer Frost
Step 1: Set the Right Temperature
Your freezer works best at 0°F (-18°C). This is cold enough to keep food safely frozen without overworking the appliance. If the temperature swings too high, food starts to thaw slightly and releases moisture, which then freezes as frost.
Use a freezer thermometer to check the reading, since built-in dials aren’t always accurate. Adjust the setting and let the freezer stabilize for 24 hours before checking again.
Keeping a steady, correct temperature is one of the simplest ways to stop frost before it forms.
Step 2: Keep the Door Closed as Much as Possible
Every time you open the freezer, warm and humid air rushes in. That moisture is the main ingredient for frost. Try to grab everything you need in one trip instead of opening the door again and again.
Decide what you want before you open it, and close it quickly once you’re done. Teach everyone in your household to do the same.
The less warm air that enters, the less frost you’ll see building up on the walls and shelves.
Step 3: Check and Maintain the Door Seal
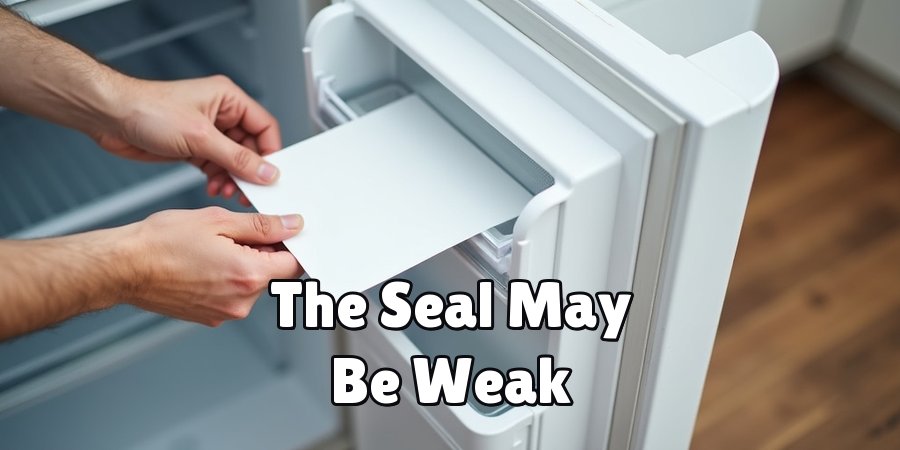
The rubber gasket around your freezer door keeps cold air in and warm air out. Over time, seals can crack, loosen, or collect grime, letting humid air leak inside. Test your seal by closing the door on a piece of paper.
If you can pull it out easily, the seal may be weak. Clean the gasket regularly with warm, soapy water so it stays flexible and tight. If it’s damaged, replace it.
A good seal is your first line of defense against frost.
Step 4: Cool Food Before Freezing
Placing hot or warm food straight into the freezer adds heat and moisture to the air inside. That moisture quickly turns to frost. Always let cooked food cool to room temperature first.
You can speed this up by dividing large portions into smaller containers. Once cool, move the food into the freezer.
This small habit protects your other frozen items too, since a sudden burst of warmth can cause them to partially thaw and refreeze.
Step 5: Store Food in Airtight Containers
Uncovered or loosely wrapped food releases moisture into the freezer. Sealing everything tightly keeps that moisture trapped where it belongs. Use airtight containers, heavy-duty freezer bags, or proper freezer wrap.
Press out as much air as you can before sealing bags. Not only does this prevent frost, but it also protects your food from freezer burn and keeps flavors from mixing.
Well-sealed food stays fresher and helps your freezer stay dry.
Step 6: Don’t Overfill or Underfill
Balance matters. A packed freezer blocks air from circulating, creating cold and warm spots where frost can gather.
But a nearly empty freezer has lots of open air that warms up fast whenever you open the door. Aim to keep your freezer about three-quarters full.
If you don’t have enough food, fill the extra space with containers of water or ice packs. Good airflow keeps temperatures even and frost at bay.
Step 7: Organize for Airflow
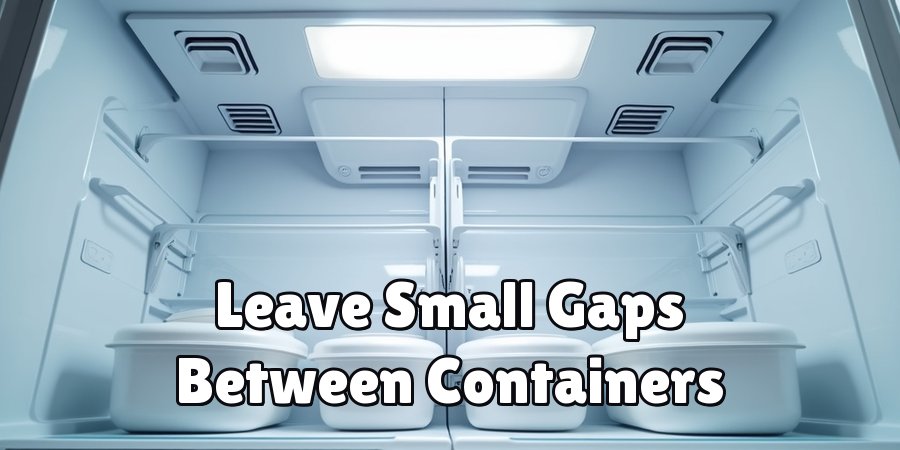
Give cold air room to move. Avoid pushing items right up against the vents or back wall, since blocked vents lead to uneven cooling and frost pockets.
Leave small gaps between containers so air can flow freely. Group similar items together so you can find them fast and close the door sooner.
An organized freezer isn’t just easier to use; it also stays more consistent in temperature, which keeps frost from settling.
Step 8: Control the Humidity Around Your Freezer
Frost often starts with excess moisture in the air. If your kitchen or garage is very humid, that dampness makes its way into the freezer every time you open it. Use a dehumidifier in especially damp spaces.
Keep the freezer away from heat sources like ovens or direct sunlight, which raise the surrounding temperature and humidity. Wipe up any spills or condensation near the appliance right away.
A drier environment means a drier, frost-free freezer.
Step 9: Clean the Coils and Vents Regularly
Dust and grime on the condenser coils force your freezer to work harder and cool less efficiently. That extra strain can lead to temperature swings and frost.
Every few months, unplug the appliance and gently clean the coils with a soft brush or vacuum. Check that vents inside and outside are clear of debris.
Clean coils help your freezer maintain a steady temperature with less effort, keeping both frost and energy bills in check.
Step 10: Defrost When You Need To
If your freezer isn’t frost-free, plan to defrost it before ice gets thicker than a quarter inch. Once frost builds up, it invites even more frost and reduces efficiency.
To defrost, empty the freezer, unplug it, and let the ice melt naturally. Place towels below to catch water. Dry every surface completely before plugging it back in and restocking.
Regular defrosting resets the interior and keeps your freezer running smoothly all year.
5 Things You Should Avoid
1. Leaving the door open too long. Standing with the freezer door open while you decide what to eat lets warm air pour in. This is one of the fastest ways to create frost. Make your choices quickly and shut the door.
2. Storing warm food inside. Hot leftovers raise the temperature and add moisture. Always cool food first before it goes into the freezer.
3. Ignoring a worn door seal. A cracked or loose gasket quietly lets humid air seep in day after day. Don’t put off checking or replacing it.
4. Using metal tools to scrape frost. Sharp metal scrapers, knives, or ice picks can puncture the freezer walls and damage the cooling system. Stick to plastic scrapers or let the ice melt naturally.
5. Overpacking the freezer. Cramming in too much food blocks airflow and creates frosty hot spots. Leave room for air to circulate freely.

Conclusion
Freezer frost might seem like a small annoyance, but it affects your food, your energy bills, and the life of your appliance. The best part is that stopping it comes down to a handful of easy habits you can start today.
Set your freezer to 0°F, keep the door closed, and check that seal often. Cool your food before freezing it, store everything in airtight containers, and leave room for air to flow.
Clean the coils, watch the humidity, and defrost when you need to. Each of these steps works together to keep frost from ever getting a foothold.
Hopefully, this article on how to avoid freezer frost has given you a better understanding of what frost is, why it forms, and how to prevent it in your freezer.
By following these simple tips and making small changes to your routine, you can save yourself time, money, and frustration in the long run. Your freezer will thank you for it!

About
Ethan Wrenford is a dedicated home appliance specialist with years of hands-on experience in appliance troubleshooting, maintenance, repair, and DIY diagnostics. His professional focus lies in combining practical repair knowledge with simple, easy-to-follow solutions, helping homeowners understand common appliance problems and confidently identify potential causes at home. As an author at ApplianceWhy, Ethan shares practical knowledge on home appliance repair, DIY appliance diagnostics, maintenance, troubleshooting, appliance care, and everyday solutions for common household appliance issues.
Education
Portland Community College (Portland, USA)
Associate Degree in Appliance Technology & Residential Systems
- Focused on residential appliance systems, electrical fundamentals, mechanical components, and appliance troubleshooting.
- Developed practical skills in appliance diagnostics, component testing, electrical safety, and repair procedures.
- Gained hands-on experience working with refrigerators, washing machines, dryers, dishwashers, ovens, ranges, and other household appliances.
Oregon Institute of Technology (Klamath Falls, USA)
Bachelor’s in Applied Electronics & Technology
- Specialized in electrical systems, electronic controls, sensors, motors, and residential equipment.
- Studied diagnostic techniques for identifying electrical, mechanical, and component-related appliance problems.
- Completed practical projects involving appliance control systems, troubleshooting methods, preventive maintenance, and repair fundamentals.
Publications and Impact
Through ApplianceWhy, Ethan shares practical insights into home appliance repair, DIY diagnostics, maintenance, troubleshooting, and appliance care. His writing focuses on turning confusing appliance problems into simple, understandable steps that homeowners can follow safely.
Ethan covers everything from diagnosing a refrigerator that is not cooling and a washing machine that will not drain to troubleshooting dryers, dishwashers, ovens, microwaves, and other common household appliances. His content helps readers understand appliance symptoms, identify possible causes, perform basic diagnostic checks, and determine when professional repair may be necessary.
Through his work, Ethan aims to bridge the gap between professional appliance repair knowledge and everyday homeowners—making appliance troubleshooting more approachable, practical, and accessible to everyone who wants to diagnose smarter, maintain better, and keep their appliances running longer.