

To wash clothes in a washing machine, check the care labels first, then sort your laundry by color and fabric type.
Load the drum without packing it tightly, add the right amount of detergent, and pick a cycle and water temperature that suit the load.
Start the machine, and pull your clothes out as soon as the cycle ends.
Washing clothes looks easy. Push a button, walk away, come back to clean laundry. And yet people mess it up constantly. Faded colors, a favorite sweater that now fits a child, socks that smell faintly of mildew hours after the cycle finished—these usually trace back to a handful of small errors nobody thinks twice about.
The fixes are almost embarrassingly simple. A few habits, picked up once, tend to stick for life.
This guide on how to wash clothes in washing machine step by step covers the whole process, from decoding the little tags inside your collar to sidestepping the mistakes that quietly wreck your clothes.
Maybe you’re doing your own laundry for the first time. Maybe you’ve been washing wrong for years and never realized it. Either way, what follows should give you cleaner results with less fuss.
Check Clothing Care Labels
Before anything goes near the machine, read the care label stitched into each garment. Those small tags spell out water temperature, drying method, and whether the item needs handling with kid gloves. Skip them, and you’re gambling with your clothes.
The labels speak in a mix of symbols and short text. A little tub with a number inside tells you the highest wash temperature the fabric can take.
A symbol with an X through it means don’t—don’t tumble dry, don’t bleach, whatever the picture shows. Silk, wool, and lace tend to demand a gentle cycle or a trip to the sink for hand washing.
Reading the tag now may save you an expensive lesson later.
Sort Clothes Before Washing
Sorting is the step most people skip, usually because they’re in a hurry. That’s a shame, because separating your laundry properly stops colors from bleeding, shields delicate fabrics, and lets each type of item get the wash it actually needs.
Give it a few minutes before you start the load.
Tools And Materials
- Hampers or laundry baskets
- Laundry sorting bin
- Washing machine
- Detergent
7 Simple Steps on How to Wash Clothes in Washing Machine Step by Step
Step 1: Sort and Prepare Your Laundry
Split the load by color and fabric type, then check every pocket—a forgotten tissue or pen can turn a whole wash into a disaster. Look for stains and dab them with remover before the item goes in. Turn dark and printed pieces inside out, which helps the color and any graphics survive the tumbling.
Step 2: Choose the Right Detergent
Match the detergent to your load and your machine. High-efficiency machines need HE detergent; the regular stuff produces too many suds and won’t rinse away cleanly. Measure carefully. Pouring in extra doesn’t make things cleaner—it just leaves a film on your clothes and gunk in the drum.
Step 3: Load the Machine Correctly
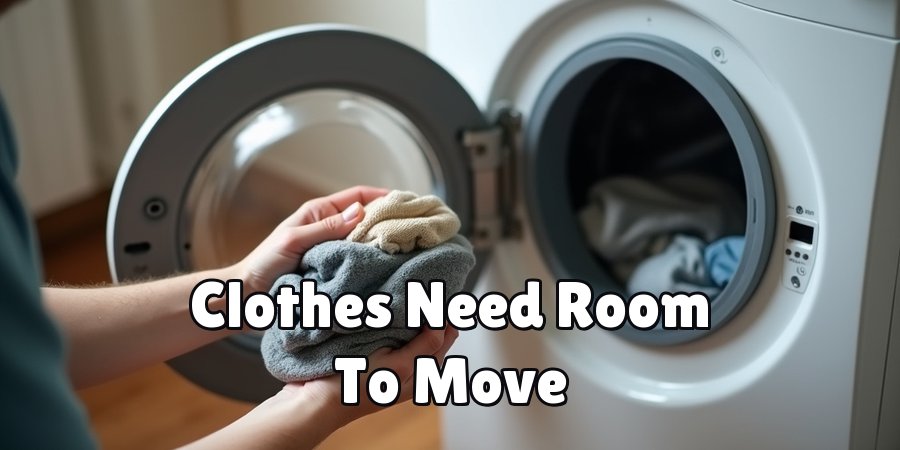
Drop the clothes in loosely. Don’t stuff the drum. When it’s crammed, water and detergent can’t circulate, so nothing gets properly clean, and the strain shortens the machine’s life. A decent rule of thumb: your clothes should have room to move around freely during the cycle.
Step 4: Add Detergent and Softener
Detergent goes into its dispenser, or straight into the drum, depending on how your machine is built. Fabric softener has its own compartment, so use it. Don’t pour detergent and softener into the same slot—combined, they cancel each other out, and you lose the benefit of both.
Step 5: Select the Right Cycle and Temperature
Pick a cycle that fits the fabric. Fragile things want the delicate setting; everyday wear does fine on normal. Cold water handles most loads without trouble and is easier on colors. Save warm or hot water for heavily soiled items and whites that need the extra cleaning power.
Step 6: Start the Machine
Shut the door or lid firmly and hit start. Take a second to confirm the settings before it kicks off. Many machines offer a pre-soak or an extra rinse, and either can be worth it when you’re fighting a stubborn stain.
Step 7: Remove and Dry Promptly
Pull the clothes out the moment the cycle ends. Leave them sitting, and you get wrinkles plus that damp, musty smell nobody wants. Hang or lay flat anything that shouldn’t see a dryer, and glance at the care label one more time before machine drying. Quick removal keeps things fresh and cuts down on ironing.
Seven steps on how to wash clothes in washing machine step by step, worked through in order. Each one leans on the one before it, so resist the urge to jump around.
Common Washing Machine Mistakes to Avoid
Even people who’ve done laundry for decades slip up in ways that quietly damage clothes or leave them less clean. Overloading tops the list—jam the drum full, and water simply can’t reach everything. Too much detergent is another frequent offender, coating fabric in a sticky residue that dulls the material and can irritate your skin.
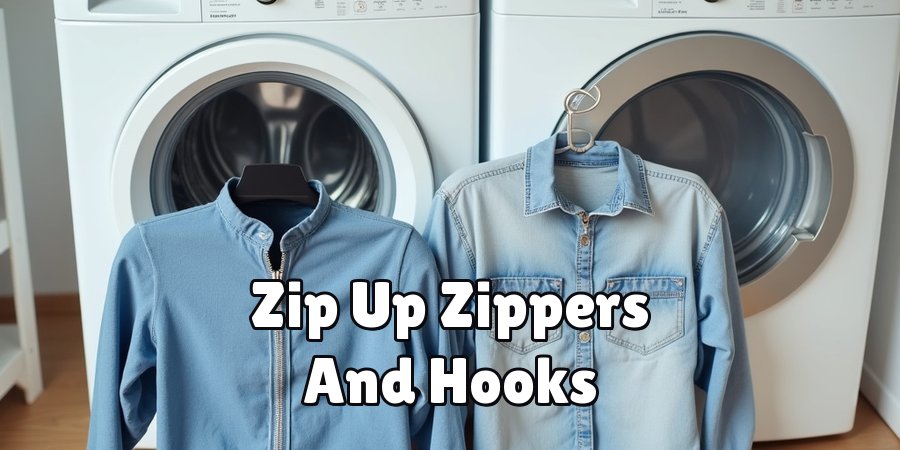
Then there’s the habit of washing everything hot, which shrinks fabric and fades color over time. Zippers left open and buttons left undone snag and tear other garments.
And clothes abandoned in the machine for hours? That’s an open invitation to mildew and sour smells. None of these are hard to fix.
A small tweak here and there and your laundry looks and feels noticeably better.
How Often Should You Wash Different Clothes?
Not everything needs a wash after a single wear. Underwear, socks, and workout gear should go in after every use—they trap sweat and bacteria, and no amount of airing out changes that. T-shirts and anything worn right against the skin also do better with frequent washing.
Plenty of items can wait, though. Jeans, sweaters, and jackets often survive several wears before they need cleaning, and holding off actually helps them keep their shape and color. Washing less often when you can is easier on your water bill, your energy use, and the clothes themselves, which tends to stretch their lifespan.
Tips for Better Washing Results
Small habits pay off more than you’d expect. Zip up zippers and fasten hooks so nothing snags mid-cycle. Turn delicate and printed items inside out for a layer of protection. Pre-treat stains before the wash—your odds of getting them out completely go way up.
Give the machine some attention too. Run an empty hot cycle with vinegar or a dedicated machine cleaner once a month to clear out buildup and keep your laundry smelling clean.
Beyond that, the basics carry most of the weight: don’t overload, measure detergent with a bit of care, and match the cycle to the fabric.
Frequently Asked Questions
Q1: Can I Wash Colored And White Clothes Together?
Washing whites and colors separately is the safer bet, since it prevents dye transfer. New or brightly colored garments in particular can bleed onto lighter items, and those stains rarely come out. If circumstances force you to combine them, use cold water and keep the cycle short.
Q2: How Much Detergent Should I Use Per Load?
Start with the guidelines on the detergent packaging, then adjust for how big and how dirty the load is. A medium load usually needs somewhere around one to two tablespoons of liquid detergent. More than that won’t clean better—it’ll just leave residue behind.
Q3: Why Do My Clothes Smell Bad After Washing?
The usual culprits are wet clothes left sitting in the machine too long, or a machine that’s dirty inside. Take the laundry out promptly, clean the machine monthly, and avoid overloading. Do those three things and the smell tends to disappear.
Q4: How Can I Keep My Washing Machine Clean?
To keep your washing machine clean, start by wiping down the door and gasket after each use.
Then, run a cleaning cycle once a month using white vinegar or bleach to disinfect and deodorize the machine.
It’s also important to check the lint filter regularly and clean it out if necessary, as well as leaving the lid or door open between uses to allow air to circulate and prevent mold growth.
Conclusion
Washing clothes well isn’t complicated once the basics click into place. Read the care labels, sort the pile, and move through a clear sequence of steps—that’s most of the battle right there. The little things, like measuring detergent and pulling clothes out on time, quietly add up to a real difference.
Try these habits on your next laundry day and see how much smoother it goes. A bit of care and some consistency, and your clothes stay fresh and hold their shape for years.
Good laundry habits cost almost nothing and pay you back with every single wash. Thanks for reading this guide on how to wash clothes in washing machine step by step.

About
Ethan Wrenford is a dedicated home appliance specialist with years of hands-on experience in appliance troubleshooting, maintenance, repair, and DIY diagnostics. His professional focus lies in combining practical repair knowledge with simple, easy-to-follow solutions, helping homeowners understand common appliance problems and confidently identify potential causes at home. As an author at ApplianceWhy, Ethan shares practical knowledge on home appliance repair, DIY appliance diagnostics, maintenance, troubleshooting, appliance care, and everyday solutions for common household appliance issues.
Education
Portland Community College (Portland, USA)
Associate Degree in Appliance Technology & Residential Systems
- Focused on residential appliance systems, electrical fundamentals, mechanical components, and appliance troubleshooting.
- Developed practical skills in appliance diagnostics, component testing, electrical safety, and repair procedures.
- Gained hands-on experience working with refrigerators, washing machines, dryers, dishwashers, ovens, ranges, and other household appliances.
Oregon Institute of Technology (Klamath Falls, USA)
Bachelor’s in Applied Electronics & Technology
- Specialized in electrical systems, electronic controls, sensors, motors, and residential equipment.
- Studied diagnostic techniques for identifying electrical, mechanical, and component-related appliance problems.
- Completed practical projects involving appliance control systems, troubleshooting methods, preventive maintenance, and repair fundamentals.
Publications and Impact
Through ApplianceWhy, Ethan shares practical insights into home appliance repair, DIY diagnostics, maintenance, troubleshooting, and appliance care. His writing focuses on turning confusing appliance problems into simple, understandable steps that homeowners can follow safely.
Ethan covers everything from diagnosing a refrigerator that is not cooling and a washing machine that will not drain to troubleshooting dryers, dishwashers, ovens, microwaves, and other common household appliances. His content helps readers understand appliance symptoms, identify possible causes, perform basic diagnostic checks, and determine when professional repair may be necessary.
Through his work, Ethan aims to bridge the gap between professional appliance repair knowledge and everyday homeowners—making appliance troubleshooting more approachable, practical, and accessible to everyone who wants to diagnose smarter, maintain better, and keep their appliances running longer.