

That exposed heating coil sitting at the bottom of your oven can feel intimidating when it’s time for a deep clean. You want your oven spotless, but you also don’t want to damage that delicate element or accidentally break something expensive.
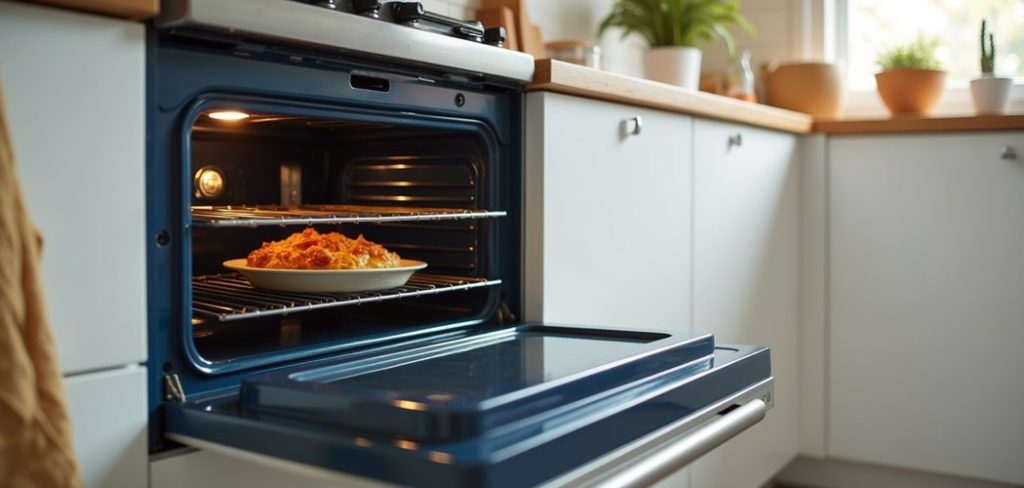
Ovens with exposed bottom heating elements are common in older ranges and some budget-friendly models. The coil heats up to cook your food, but it also collects grease, food splatter, and burnt-on residue over time.
If you ignore that buildup, you’ll deal with smoke, bad smells, and even uneven cooking. Worse, all that grime can become a fire hazard.
In this guide on how to clean oven with heating element on bottom, you’ll learn a simple, safe method that gets your oven sparkling again. Let’s get that oven looking brand new.
Benefits of Cleaning Your Oven Regularly
Keeping your oven clean isn’t just about appearances. Regular cleaning brings real, practical rewards that make cooking safer and more enjoyable. Here are the key benefits:

- Better-tasting food. Old grease and burnt crumbs create smoke and odors that cling to your meals. A clean oven means your food tastes the way it should.
- Improved safety. Grease buildup near an exposed heating element is a genuine fire risk. Cleaning removes that danger and gives you peace of mind.
- More even cooking. A dirty element and grimy oven walls can affect how heat spreads. Clean surfaces help your oven heat evenly, so your dishes cook properly.
- Longer appliance life. Removing corrosive grease and food acids protects your oven’s interior and heating element, helping it last for years.
- Lower energy use. A clean oven heats up faster and holds temperature better, which can trim your energy bills over time.
- Fewer bad smells. No more that burning smell every time you preheat. Your kitchen stays fresh instead.
- Easier future cleaning. When you clean regularly, grime never gets a chance to bake on hard. Each cleaning becomes quicker and simpler.
What Will You Need?
Before you start, gather everything so you’re not searching mid-task. Most of these items are already in your kitchen. Here’s your checklist:
Optional: a commercial oven cleaner for very heavy buildup, though the natural method usually works fine.
- Baking soda – Your natural cleaning powerhouse for cutting grease.
- White vinegar – Helps dissolve residue and reacts with baking soda.
- Dish soap – Grease-fighting soap for racks and stubborn spots.
- Spray bottle – For applying vinegar or a water-soap mix.
- Rubber gloves – Protect your hands from grime and cleaners.
- Microfiber cloths – Soft cloths that clean without scratching.
- Sponge (non-abrasive) – For wiping surfaces gently.
- Old toothbrush – Perfect for tight corners and around the element.
- Plastic or silicone scraper – Lifts stuck-on food without damage.
- Warm water – For rinsing and mixing solutions.
- Bucket or large bowl – To soak racks and mix cleaner.
- Paper towels – For quick wipe-ups and drying.
- Small brush or vacuum with hose – To collect loose crumbs.
10 Easy Steps on How to Clean Oven with Heating Element on Bottom
Step 1: Turn Off and Cool the Oven Completely
Safety comes first. Make sure your oven is fully turned off and completely cool before you touch anything. If you’ve used it recently, wait at least a few hours.
For electric ovens, it’s smart to unplug the unit or switch off the breaker so there’s zero chance of the element heating up while you work.
That exposed coil can stay hot longer than you expect, and it can also carry an electric charge. Never start cleaning a warm oven.
A cool oven protects you from burns and keeps the heating element safe from sudden temperature changes that could crack it.
Step 2: Remove the Oven Racks
Slide out all the racks and set them aside. These are much easier to clean outside the oven where you have room to scrub. Removing them also gives you full access to the interior walls, floor, and the heating element.
Place the racks on an old towel or newspaper to protect your floor. If your oven has any other removable parts, like a bottom tray or side panels that lift out, take those out too.
Just be careful not to bump the exposed heating element as you pull things out.
Step 3: Clear Out Loose Debris
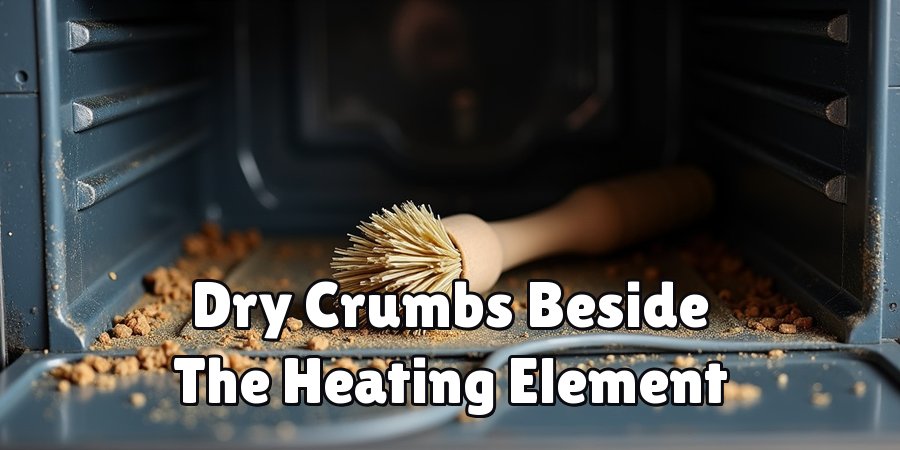
Before applying any cleaner, remove all the loose crumbs, food bits, and ash from the bottom of the oven. Use a small brush or a vacuum with a hose attachment to gather everything up.
Work gently around the heating element, sweeping debris away from the coil rather than into it. This step matters because wet cleaner mixed with loose crumbs turns into a muddy mess that’s harder to wipe up.
Getting rid of dry debris first makes the whole job faster and cleaner.
Step 4: Protect the Heating Element
This is the most important part when cleaning an oven with a bottom element. You must keep water and cleaning paste off the coil itself.
Water can damage the element or cause it to short out later. Cover the heating element with aluminum foil, or simply take great care to clean around it.
If you can gently lift the element (many models let you raise it slightly), do so carefully to reach the floor beneath. Never soak, scrub hard, or pour liquid directly onto the coil.
Keep it dry throughout the cleaning.
Step 5: Make a Baking Soda Paste
In a small bowl, mix baking soda with a little warm water until you get a spreadable paste. Aim for a texture like toothpaste, not too runny and not too dry.
Baking soda is a gentle abrasive that lifts grease and burnt-on food without scratching your oven’s surface. It’s also non-toxic, so you won’t breathe in harsh fumes.
This simple paste is the backbone of a natural oven cleaning method, and it works surprisingly well on tough grime.
Step 6: Apply the Paste to the Oven Interior
Using your gloved hands or a sponge, spread the baking soda paste across the oven’s interior walls, floor, door, and any greasy spots. Avoid the heating element entirely.
Focus on areas with the heaviest buildup, applying a thicker layer where the grime is worst. The paste may turn brown as it makes contact with grease, which means it’s working. Coat the inside thoroughly, then leave it alone.
Don’t rush this part, because the paste needs time to do its job.
Step 7: Let It Sit
Patience pays off here. Let the baking soda paste sit for at least 30 minutes, though leaving it overnight gives the best results for heavy buildup.
During this time, the baking soda breaks down grease and loosens stuck-on food, making it far easier to wipe away later. If you’re cleaning a lightly soiled oven, 30 minutes to an hour is plenty.
For an oven that hasn’t been cleaned in a long while, let the paste work its magic for several hours or overnight.
Step 8: Wipe Away the Paste
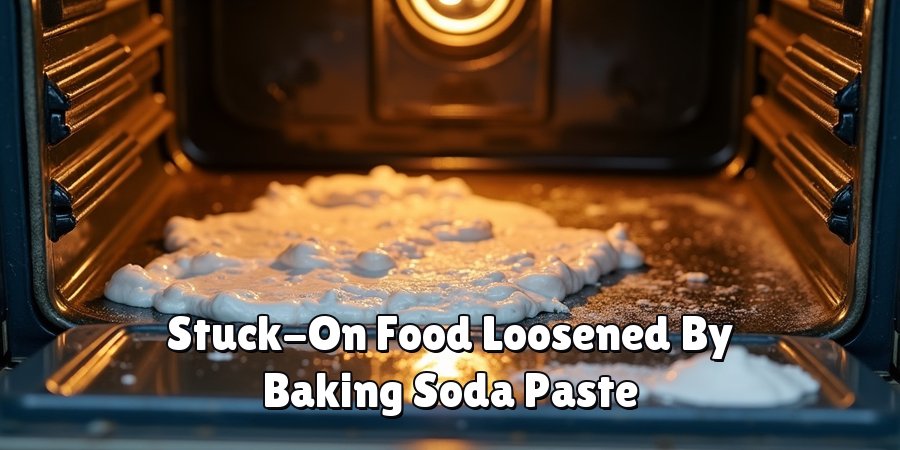
Once the paste has done its work, dampen a microfiber cloth with warm water and start wiping down the interior. The grime should lift off much more easily now.
For stubborn spots, use a plastic or silicone scraper to gently lift the residue, then wipe again. Use your old toothbrush to get into corners and tight spaces. Keep rinsing your cloth and changing your water as it gets dirty.
Wipe carefully near the element, keeping your damp cloth away from the coil.
Step 9: Spray Vinegar for a Final Shine
Fill your spray bottle with white vinegar and lightly mist the interior. When vinegar meets any leftover baking soda, it fizzes and helps loosen the last traces of residue. This reaction also leaves your oven fresh and streak-free.
Wipe everything down one more time with a clean, damp cloth until no paste or grime remains. Again, keep the spray away from the heating element.
Finish by drying the interior with a clean cloth or paper towels so no moisture lingers.
Step 10: Clean the Racks and Reassemble
While the oven interior dries, tackle those racks. Soak them in warm, soapy water in your sink or bathtub for 30 minutes to an hour. Scrub them with a sponge or brush, then rinse and dry completely.
For extra-dirty racks, sprinkle baking soda and spray vinegar, then scrub after the fizz settles. Once the racks are clean and dry, slide them back into place. Return any other parts you removed, plug the oven back in, and you’re done.
Your oven is now clean and ready to use.
5 Things You Should Avoid
Cleaning an oven with a bottom heating element takes a little extra care. Steer clear of these common mistakes to protect your appliance and yourself.
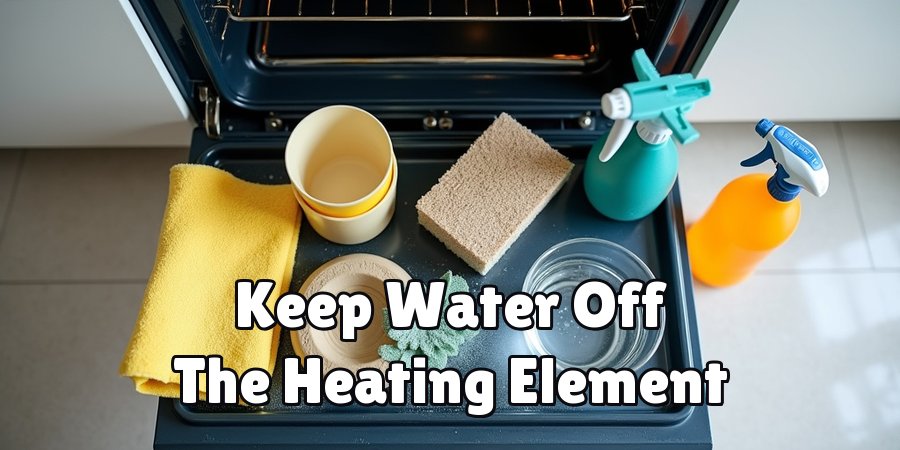
- Don’t get the heating element wet. Water on the coil can cause damage, short circuits, or even sparking the next time you turn on the oven. Always keep the element dry and cover it if needed.
- Don’t use abrasive tools on the element. Steel wool, wire brushes, or harsh scrubbers can scratch or break the delicate coil. Stick to gentle cloths and soft brushes, and never scrub the element directly.
- Don’t clean a hot oven. Working on a warm or hot oven risks serious burns and can crack the heating element with sudden temperature shifts. Always let it cool fully first.
- Don’t use excessively harsh chemicals. Strong commercial cleaners can leave toxic fumes that linger and taint your food. If you must use one, ventilate well and rinse thoroughly. The natural baking soda method is safer.
- Don’t skip the drying step. Leaving moisture inside can lead to rust and lingering odors. Dry the interior completely before using the oven again.
Conclusion
How to clean oven with heating element on bottom doesn’t have to be a chore you dread. With the right approach, you can get your oven sparkling clean while keeping that delicate coil safe.
The secret is simple: work on a cool oven, protect the heating element from water and abrasion, and let baking soda do the heavy lifting.
By following the ten easy steps in this guide, you’ll remove grease, burnt-on food, and odors without harsh chemicals or expensive tools. Most of what you need is already sitting in your kitchen. A little patience while the paste soaks makes the wiping stage quick and satisfying.
Grab your baking soda, set aside an hour or two, and enjoy the results. A fresh, clean oven makes every meal better, and you’ll feel great knowing you did it the safe, smart way.

About
Ethan Wrenford is a dedicated home appliance specialist with years of hands-on experience in appliance troubleshooting, maintenance, repair, and DIY diagnostics. His professional focus lies in combining practical repair knowledge with simple, easy-to-follow solutions, helping homeowners understand common appliance problems and confidently identify potential causes at home. As an author at ApplianceWhy, Ethan shares practical knowledge on home appliance repair, DIY appliance diagnostics, maintenance, troubleshooting, appliance care, and everyday solutions for common household appliance issues.
Education
Portland Community College (Portland, USA)
Associate Degree in Appliance Technology & Residential Systems
- Focused on residential appliance systems, electrical fundamentals, mechanical components, and appliance troubleshooting.
- Developed practical skills in appliance diagnostics, component testing, electrical safety, and repair procedures.
- Gained hands-on experience working with refrigerators, washing machines, dryers, dishwashers, ovens, ranges, and other household appliances.
Oregon Institute of Technology (Klamath Falls, USA)
Bachelor’s in Applied Electronics & Technology
- Specialized in electrical systems, electronic controls, sensors, motors, and residential equipment.
- Studied diagnostic techniques for identifying electrical, mechanical, and component-related appliance problems.
- Completed practical projects involving appliance control systems, troubleshooting methods, preventive maintenance, and repair fundamentals.
Publications and Impact
Through ApplianceWhy, Ethan shares practical insights into home appliance repair, DIY diagnostics, maintenance, troubleshooting, and appliance care. His writing focuses on turning confusing appliance problems into simple, understandable steps that homeowners can follow safely.
Ethan covers everything from diagnosing a refrigerator that is not cooling and a washing machine that will not drain to troubleshooting dryers, dishwashers, ovens, microwaves, and other common household appliances. His content helps readers understand appliance symptoms, identify possible causes, perform basic diagnostic checks, and determine when professional repair may be necessary.
Through his work, Ethan aims to bridge the gap between professional appliance repair knowledge and everyday homeowners—making appliance troubleshooting more approachable, practical, and accessible to everyone who wants to diagnose smarter, maintain better, and keep their appliances running longer.