

To change a GE microwave filter, unplug the unit, slide out the old charcoal or grease filter from beneath or behind the vent grille, fit the new filter that matches your model number, and reassemble. The whole thing takes roughly 10 minutes, and you won’t need special tools.
Your GE microwave puts in more effort than most people give it credit for. Cook anything on the stove below it, and the unit is busy pulling smoke, steam, and grease out of the air. Two filters make that possible. One is a grease filter that catches the sticky residue from cooking. The other is a charcoal filter that soaks up smells. Neither lasts forever. Both clog up eventually.
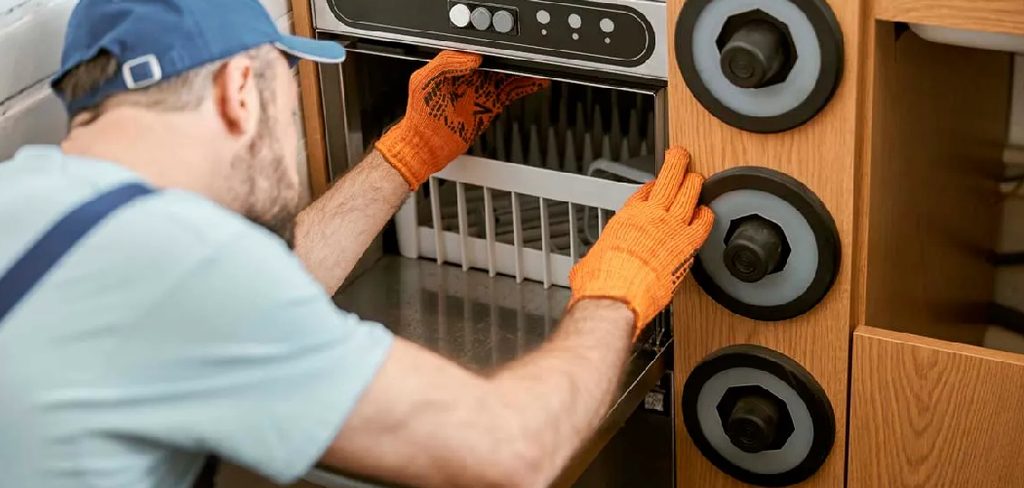
A clogged filter is more than an eyesore. It makes the microwave strain, chokes off airflow, and can leave your kitchen smelling faintly of last week’s dinner. Here’s the reassuring part. Replacing either filter might be the simplest bit of appliance upkeep you’ll ever tackle. No service call. No headache.
What follows walks you through the actual swap, the handful of things you’ll want nearby, and the small errors that catch people out. I’ll also get into what it costs, when a pro is genuinely worth calling, and the questions homeowners raise again and again. Let’s sort out your microwave. In this guide on how to change GE microwave filter, we’ll cover the steps to replace both your charcoal and grease filters.
Understanding GE Microwave Filters
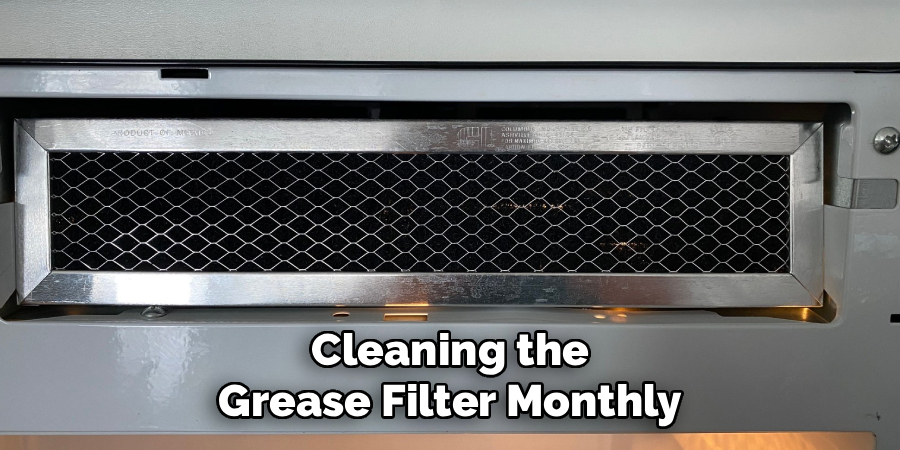
GE over-the-range microwaves rely on two filters, and telling them apart genuinely matters. The grease filter is a metal mesh screen tucked on the underside of the unit, sitting right over your cooktop. As steam rises off your pans, this screen grabs grease and stray food particles. It’s washable, which means you can rinse it clean again and again long before replacement ever enters the picture.
The charcoal filter plays by different rules. You’ll find it behind the vent grille near the top front, and its job is absorbing smoke and odors in models that push air back into the kitchen rather than sending it outdoors. Washing it does nothing but harm. Once it’s saturated, the only fix is a new one. GE suggests swapping the charcoal filter about every six months and cleaning the grease filter monthly, though how often you cook may shift those numbers a little.
Tools and Materials Needed
Leave the toolbox in the garage. This job asks for barely anything beyond your hands and the right part. Gathering what you need beforehand still smooths the whole process, so here’s the short list.
Replacement Filter
Order the filter built for your specific model. Find your microwave’s model number—it’s usually on a sticker inside the door frame or around the back—and cross-reference it against the GE part number. Grease filters and charcoal filters sell separately, so double-check which one you actually need.
Phillips Screwdriver
A few GE models hold the vent grille or filter housing in place with a screw or two. A standard Phillips screwdriver takes care of those. Plenty of models skip screws entirely, but it’s the kind of thing you want within reach rather than hunting for mid-job.
Clean Cloth and Mild Detergent
Cleaning the grease filter instead of replacing it? Then warm water, a squirt of dish soap, and a soft cloth will do. That same cloth comes in handy for wiping down the vent area while you’ve got everything open.
User Manual (Optional)
The GE manual pinpoints exactly where your model’s filters live. Misplaced it? GE’s website lets you pull down a copy once you enter your model number.
7 Simple Steps on How to Change GE Microwave Filter
Step 1: Unplug the Microwave
Safety comes before everything else. Cut the power before your fingers go anywhere near the vent. If the unit is hardwired or the plug sits somewhere impossible to reach, flip the breaker that feeds it. This one step rules out any chance of the microwave springing to life while your hand is inside.
Step 2: Locate the Filter You Need to Replace
Figure out which filter you’re dealing with. The grease filter hides beneath the microwave, directly above the stovetop. The charcoal filter sits behind the vent grille up top. A quick check here spares you fumbling around later.
Step 3: Remove the Grease Filter
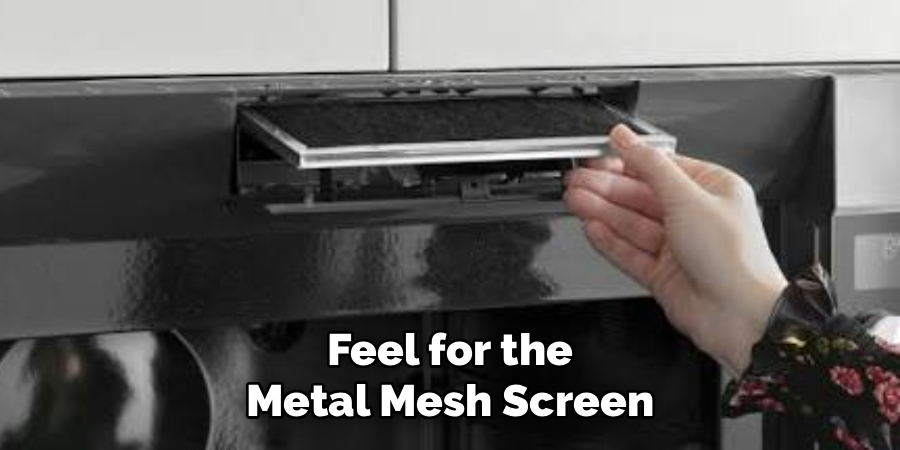
Reach under the microwave and feel for the metal mesh screen. Push the filter’s tab toward the back of the unit, then draw the bottom edge down and out. It should come away without much fight. If it does dig in, coax it loose with a gentle wiggle rather than yanking.
Step 4: Access the Charcoal Filter
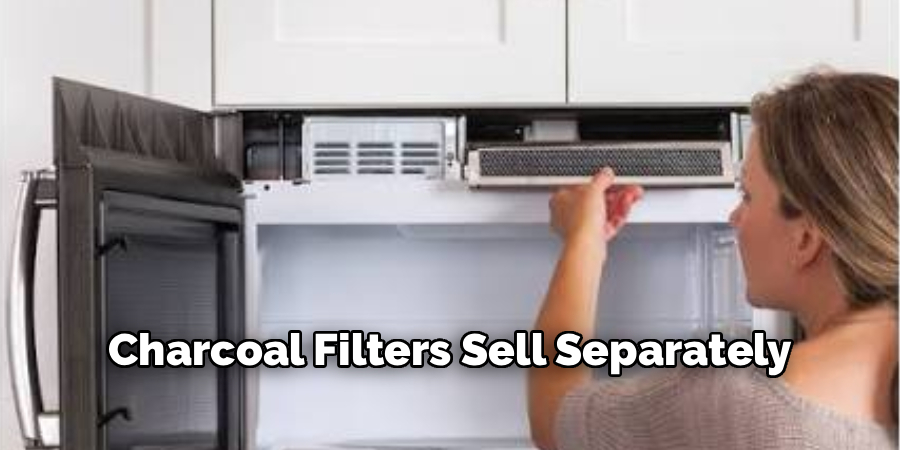
For the charcoal filter, swing the microwave door open first—it gives you room to work—then take off the vent grille up top. Some models want a Phillips screwdriver here; others just unclip by hand. Whatever comes loose, park the grille and screws somewhere they won’t wander off.
Step 5: Remove the Old Charcoal Filter
With the grille out of the way, the charcoal filter reveals itself behind it. Slide it out of its slot. A clogged one tends to look dark and might give off a noticeable smell, which is really the appliance telling you this change was overdue. Toss the old filter.
Step 6: Insert the New Filter
Unwrap the new filter. Ease the charcoal filter into the exact slot the old one vacated and make sure it sits flush. Working with the grease filter instead? Angle the top into place first, then push the bottom up and forward until the tab clicks and catches. A filter seated properly stays quiet—no rattle.
Step 7: Reassemble and Restore Power
Refit the vent grille and drive home any screws you took out. Give both filters a final press to confirm they’re snug. Plug the microwave back in, or throw the breaker, and run the vent fan for a couple of seconds to check it all comes to life. That’s the job finished.
Work through these in order. The steps on how to change GE microwave filter shift a little depending on whether you’re after the grease filter or the charcoal one, so I’ve flagged the differences where they crop up.
Common Mistakes to Avoid
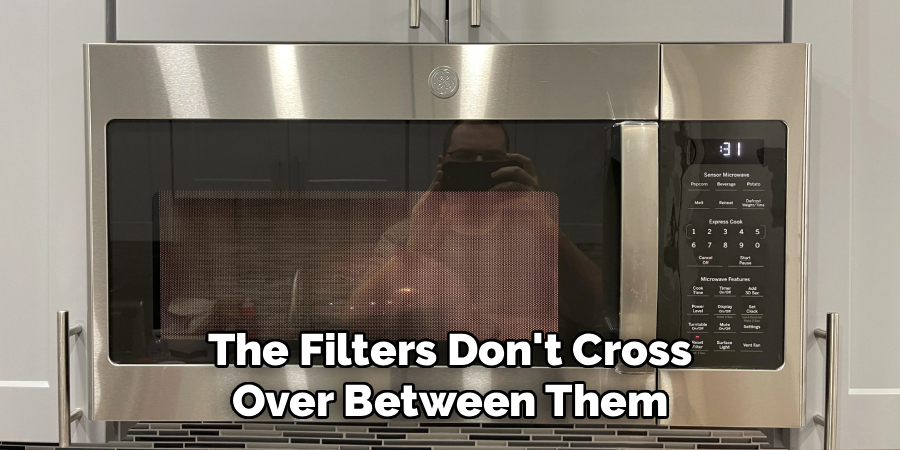
The error that trips up the most people is ordering the wrong filter. GE builds a lot of microwave models, and the filters don’t cross over between them. Confirm your model number before you buy, and hang onto the packaging until you’ve watched the new filter slide into place. Skipping the unplug step is another one—a tiny thing that keeps you out of harm’s way.
Loose or backwards installation is a quieter mistake, but it wrecks airflow and undoes the whole point of the swap. Spend the extra second making sure each filter clicks or slides all the way home. And whatever you do, resist the urge to wash a charcoal filter to stretch its life. Water ruins the charcoal, leaving your microwave unable to scrub odors the way it should.
Do You Need To Use Professional Support?
For most folks, no. Changing a GE microwave filter is a real do-it-yourself job—ten minutes, no technical know-how required. If you can slot a part in and out and manage a screwdriver, you’ve got everything this takes, and you’ll pocket the money you’d have spent on a call-out.
There are exceptions, though. A microwave mounted in a cramped or awkward spot changes things. So does a vent grille that’s jammed or cracked. And if you spot something more serious—a fan that stays silent even with a fresh filter, say—that may suggest a fault worth handing to a technician. When you’re genuinely unsure, a short service visit protects both the appliance and your peace of mind.
How Much Will It Cost?
Filters won’t dent your wallet much. A GE charcoal filter usually runs somewhere between $10 and $25, and a replacement grease filter lands around $10 to $20, depending on your model and where you shop. Buying straight from GE or a trusted appliance parts retailer means you get a genuine part that actually fits.
Bringing in a professional shifts the math considerably. On top of the part, you’re looking at a service call fee that often sits between $75 and $150, sometimes more depending on where you live. For a task this straightforward, handling it yourself is the clear winner for the average homeowner.
Frequently Asked Questions
Q1: How Often Should I Replace My GE Microwave Charcoal Filter?
A1: GE recommends replacing the charcoal filter roughly every six months under normal use. Cook a lot, or catch a whiff of lingering odors, and you may want to change it ahead of that schedule. The grease filter is a different story—it’s washable and only needs replacing once it’s damaged or worn out.
Q2: Can I Clean the Charcoal Filter Instead of Replacing It?
A2: No. Charcoal filters are made to absorb odors, and they can’t be washed or reused. Rinsing one under water destroys the charcoal inside and stops it from working altogether. The metal grease filter is the only washable one—give it a monthly clean with warm, soapy water.
Q3: How Do I Find the Right Filter for My GE Microwave?
A3: Track down your microwave’s model number, typically printed on a sticker inside the door frame or on the back of the unit. Match that number to the correct GE filter part, either on GE’s website or through an appliance parts retailer. Don’t assume filters swap between models, because they rarely do.
Keep Your Kitchen Fresh with Regular Filter Care
Changing your GE microwave filter is a small task that pays back well beyond the effort. A clean grease filter and a fresh charcoal filter keep the air in your kitchen clear, the appliance running the way it should, and cooking smells from overstaying their welcome. And you can wrap it up in minutes without spending much or waiting on anyone.
Fold filter care into your routine. Wash the grease filter monthly, replace the charcoal filter twice a year, and the microwave rewards you with steadier performance and a longer life. Your kitchen stays fresh no matter what’s on the stove. Pick up the right replacement, follow the seven steps above, and you’ll likely finish before your next meal hits the table. Thanks for reading this guide on how to change GE microwave filter.

About
Ethan Wrenford is a dedicated home appliance specialist with years of hands-on experience in appliance troubleshooting, maintenance, repair, and DIY diagnostics. His professional focus lies in combining practical repair knowledge with simple, easy-to-follow solutions, helping homeowners understand common appliance problems and confidently identify potential causes at home. As an author at ApplianceWhy, Ethan shares practical knowledge on home appliance repair, DIY appliance diagnostics, maintenance, troubleshooting, appliance care, and everyday solutions for common household appliance issues.
Education
Portland Community College (Portland, USA)
Associate Degree in Appliance Technology & Residential Systems
- Focused on residential appliance systems, electrical fundamentals, mechanical components, and appliance troubleshooting.
- Developed practical skills in appliance diagnostics, component testing, electrical safety, and repair procedures.
- Gained hands-on experience working with refrigerators, washing machines, dryers, dishwashers, ovens, ranges, and other household appliances.
Oregon Institute of Technology (Klamath Falls, USA)
Bachelor’s in Applied Electronics & Technology
- Specialized in electrical systems, electronic controls, sensors, motors, and residential equipment.
- Studied diagnostic techniques for identifying electrical, mechanical, and component-related appliance problems.
- Completed practical projects involving appliance control systems, troubleshooting methods, preventive maintenance, and repair fundamentals.
Publications and Impact
Through ApplianceWhy, Ethan shares practical insights into home appliance repair, DIY diagnostics, maintenance, troubleshooting, and appliance care. His writing focuses on turning confusing appliance problems into simple, understandable steps that homeowners can follow safely.
Ethan covers everything from diagnosing a refrigerator that is not cooling and a washing machine that will not drain to troubleshooting dryers, dishwashers, ovens, microwaves, and other common household appliances. His content helps readers understand appliance symptoms, identify possible causes, perform basic diagnostic checks, and determine when professional repair may be necessary.
Through his work, Ethan aims to bridge the gap between professional appliance repair knowledge and everyday homeowners—making appliance troubleshooting more approachable, practical, and accessible to everyone who wants to diagnose smarter, maintain better, and keep their appliances running longer.