

Cleaning your freezer or reorganizing your frozen dinners usually means getting the drawer out first. That’s where people hesitate. Nobody wants to hear that dreaded crack of plastic. But here’s the thing—it’s rarely as tricky as it looks, provided you don’t rush it.
Maybe you’re defrosting the whole appliance. Maybe a container of soup leaked, and you need to reach the mess underneath. Or perhaps there’s a forgotten bag of peas wedged so far back you can’t grab it. Whatever brought you here, pulling the drawer out gives you the room to actually get things done. This guide on how to remove freezer drawer walks through how to take out your freezer drawer without damaging it, which tools might come in handy, and the slip-ups that tend to trip people up.
Before Removing the Freezer Drawer
Prep first. It only takes a minute and saves a lot of grief later.
Empty the drawer completely before you touch anything else. A loaded drawer is heavier, more likely to spill, and it hides how the whole thing connects to the appliance. Clearing it out fixes all three problems at once. While you’re at it, consider switching off or unplugging the freezer—almost essential if a cleaning session is on the agenda.
Then study how the drawer actually sits. Some glide along rails. Others rest on plain tracks or snap into clips. Knowing which setup you’re dealing with tends to save time and spares you an accidental snap of something you’d rather keep intact. And if your freezer has serious frost buildup, that ice may have locked the drawer in place, so a defrost might need to come first.
Tools and Supplies You May Need
Plenty of freezer drawers slide right out with nothing but your two hands. Still, a few odds and ends nearby can smooth things over, particularly when a drawer sticks or you’re planning to give everything a scrub.
Clean Towels or Cloths
Melting ice, drips, condensation—these appear the moment you start. Keep something absorbent within reach.
A Flathead Screwdriver
Handy for coaxing loose a stubborn clip or track, assuming your model relies on them.
Warm Water and Mild Detergent
For the actual cleaning, once the drawer is free and clear.
A Flashlight
The back of a freezer is dim. A little light helps you spot the rails and whatever’s hiding behind them.
Gloves
Not required, though they’ll keep your fingers from going numb and give you a firmer hold on cold plastic.
7 Simple Steps on How to Remove Freezer Drawer
Step 1: Empty the Drawer Completely
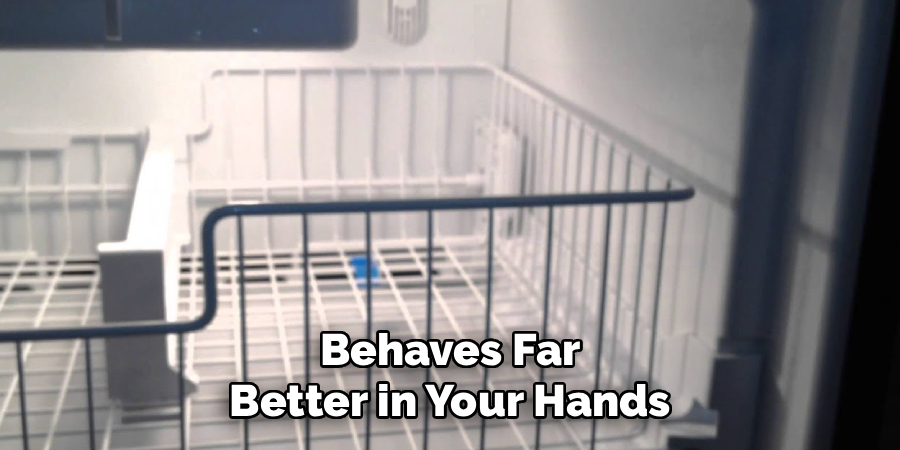
Move every frozen item into a cooler or a second freezer so nothing starts thawing on you. An empty drawer weighs far less and behaves far better in your hands.
Step 2: Turn Off or Unplug the Freezer
Kill the power. This matters most if cleaning or defrosting is part of the plan, and it’s simply safer while your hands are in the machine.
Step 3: Pull the Drawer Out as Far as It Goes
Ease it toward you until it hits its natural stop. Resist the urge to force it. Resistance usually means a clip or lock is still doing its job, and shoving harder rarely ends well.
Step 4: Locate the Release Mechanism
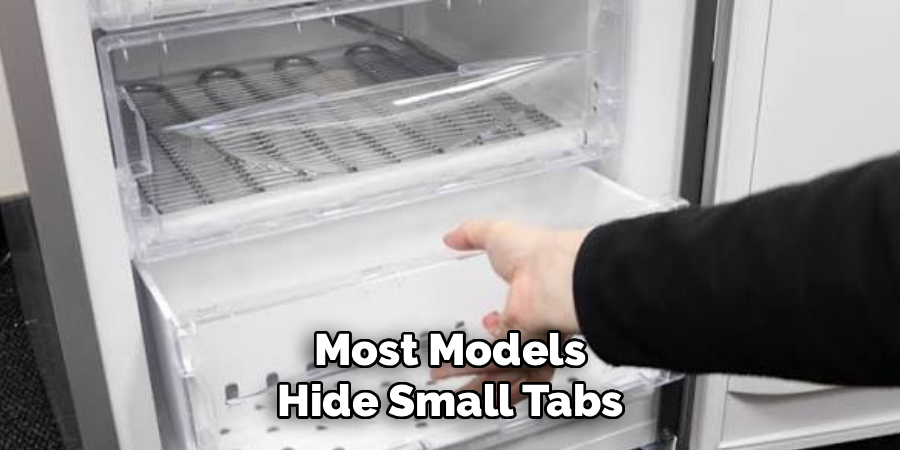
Scan the sides of the drawer and the rails. Most models hide small tabs, levers, or clips that anchor the drawer to the track. Find them before you pull any further—this one step prevents a surprising number of cracked drawers.
Step 5: Release the Clips or Tabs
Press or lift the release tabs on both sides at once. Some drawers rely on screws or clips that won’t cooperate; that’s where the flathead screwdriver earns its place. Ease them loose rather than prying.
Step 6: Lift and Slide the Drawer Free
Tabs released, tilt the drawer up a touch and draw it straight out. Keep both sides moving together. Uneven pressure is what bends rails, and bent rails make reassembly miserable.
Step 7: Clean and Inspect
With the drawer out, wipe down the rails and the freezer’s interior. Wash the drawer in warm water with a mild detergent, then dry it thoroughly. Any leftover moisture can refreeze and glue the drawer back into place.
Work through these steps on how to remove freezer drawer in order. It’s the surest way to get the drawer out with nothing broken. Then you can clean it up and slip it back in smoothly. Keeping your freezer clean and tidy will help keep your food fresh, so don’t put off cleaning out the drawer any longer.
Common Mistakes to Avoid
The classic error? Forcing a drawer that flatly refuses to move. When it won’t budge, yanking harder tends to crack the plastic or warp the metal rails. Stop and look for the real culprit instead—usually a stubborn patch of ice or a clip you haven’t spotted yet. A bit of patience here protects a pricey appliance.
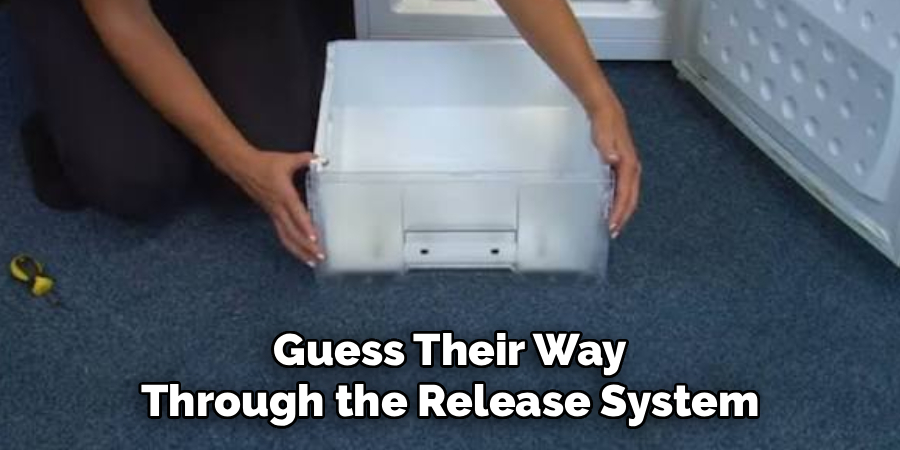
People also tend to skip the manual and guess their way through the release system. That’s a gamble. Freezer drawers aren’t standardized, and pressing the wrong spot can damage the very mechanism you’re trying to unlock. Ten extra seconds spent hunting for the tabs beats an afternoon spent ordering replacement parts.
Safety Precautions
Working around any appliance calls for a little caution. Unplugging the freezer removes the risk of electric shock, which becomes a real concern once water enters the picture during cleaning. If you’re chipping away at frost, put the knife down—sharp tools can puncture the interior lining or, worse, the coolant lines running behind it.
Mind your lifting, too. A full-size freezer drawer often turns out heavier and more awkward than you’d guess, so use both hands and move deliberately. Should the drawer still be frozen in place, let it thaw on its own. Wrestling with it in that state may crack something you can’t easily replace.
When to Check the Manufacturer’s Instructions?
If the drawer refuses to come out the way this guide describes, that’s your cue to dig out the manual. Brands like Samsung, LG, Whirlpool, and Frigidaire each favor their own locking systems, and the manual will point you to the exact release points. Newer models with more elaborate rail designs make this doubly worth the effort.
Reach for the manual again if you spot damaged rails, broken clips, or a drawer that refuses to settle properly after cleaning. Sticking to the manufacturer’s guidance keeps your warranty intact and lowers the odds of doing accidental harm during removal or reassembly.
Additional Tips for Proper Cleaning and Maintenance
- Always refer to the manufacturer’s manual or website for specific instructions on how to properly clean and maintain your refrigerator.
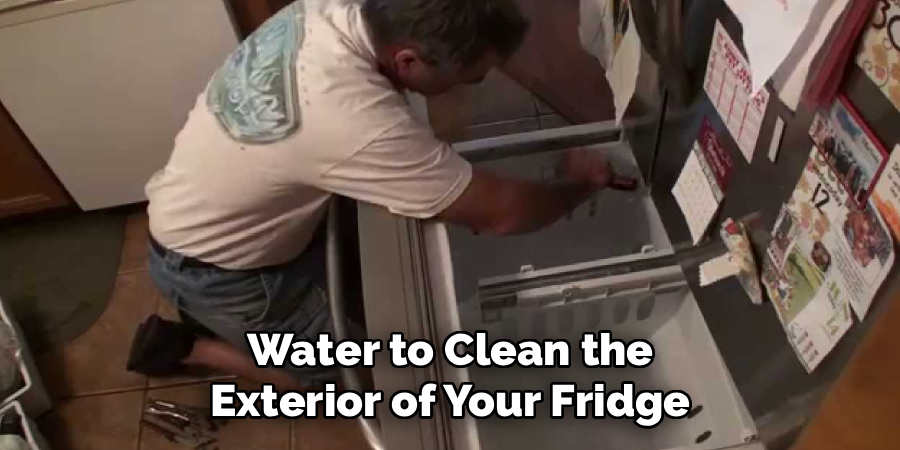
- Use a soft, non-abrasive cloth or sponge with mild soap and water to clean the exterior of your fridge. Avoid using harsh chemicals or abrasive materials, as they may damage the surface.
- For tough stains, try using a mixture of equal parts water and vinegar.
- Clean spills and messes immediately to prevent them from drying and becoming harder to remove.
- Keep the interior of your fridge organized by regularly checking for expired items and wiping down shelves and drawers.
- Defrost your freezer regularly if it does not have an automatic defrost feature.
- Use airtight containers or sealed bags to store food in the fridge to prevent odors and cross-contamination.
- Regularly check the temperature of your fridge to ensure it is at or below 40°F (4°C) to keep food safe from bacterial growth.
- Keep an open box of baking soda in your fridge to absorb any unwanted odors.
- Avoid overstocking your fridge as this can block air circulation and cause uneven cooling.
- Consider investing in refrigerator liners or mats to make cleaning up spills and messes easier.
Frequently Asked Questions
Q1: How Do I Remove a Freezer Drawer That Is Stuck?
A stuck drawer usually comes down to one of two things: ice buildup or a clip that hasn’t been released yet. Switch off the freezer and give any frost time to melt, then check both sides for locking tabs. Forcing it may crack the drawer or bend the rails, so hold off on brute force.
Q2: Do I Need Tools to Remove a Freezer Drawer?
In most cases, no—the drawer slides out by hand. That said, a flathead screwdriver can help with stubborn clips or screws on certain models. Look over your appliance’s design before you apply any pressure.
Q3: Can I Wash the Freezer Drawer With Water?
Yes. Once it’s out, wash the drawer with warm water and a mild detergent. Dry it completely before sliding it back, since any lingering moisture can freeze and leave the drawer stuck all over again.
Q4: How Often Should I Defrost My Freezer?
It depends on the manufacturer’s instructions and your usage habits. Some freezers only require defrosting every few months, while others may need it more frequently. Check your appliance manual for specific guidelines.
Q5: Do I Need to Clean the Inside of My Freezer?
Yes, regularly cleaning the inside of your freezer is important for maintaining its efficiency and preventing odors. You can use warm water and a mild detergent to wipe down the interior, making sure to remove any spills or debris. It’s also recommended to periodically empty out your freezer and deep clean it with a mixture of equal parts water and vinegar.
Final Thoughts
Taking out a freezer drawer sounds more daunting than it actually is. Empty it, cut the power, get a feel for how your particular model releases, and the whole job wraps up in a few minutes.
The real secret is a gentle touch—nothing that feels jammed should ever be forced.
Follow these seven steps on how to remove freezer drawer, keep the safety notes in mind, and make cleaning or defrosting your freezer stop feeling like a chore you’d rather avoid. When something doesn’t add up, the manufacturer’s manual tends to have the answer. It’ll steer you through your specific model and help the appliance last well into the future.

About
Ethan Wrenford is a dedicated home appliance specialist with years of hands-on experience in appliance troubleshooting, maintenance, repair, and DIY diagnostics. His professional focus lies in combining practical repair knowledge with simple, easy-to-follow solutions, helping homeowners understand common appliance problems and confidently identify potential causes at home. As an author at ApplianceWhy, Ethan shares practical knowledge on home appliance repair, DIY appliance diagnostics, maintenance, troubleshooting, appliance care, and everyday solutions for common household appliance issues.
Education
Portland Community College (Portland, USA)
Associate Degree in Appliance Technology & Residential Systems
- Focused on residential appliance systems, electrical fundamentals, mechanical components, and appliance troubleshooting.
- Developed practical skills in appliance diagnostics, component testing, electrical safety, and repair procedures.
- Gained hands-on experience working with refrigerators, washing machines, dryers, dishwashers, ovens, ranges, and other household appliances.
Oregon Institute of Technology (Klamath Falls, USA)
Bachelor’s in Applied Electronics & Technology
- Specialized in electrical systems, electronic controls, sensors, motors, and residential equipment.
- Studied diagnostic techniques for identifying electrical, mechanical, and component-related appliance problems.
- Completed practical projects involving appliance control systems, troubleshooting methods, preventive maintenance, and repair fundamentals.
Publications and Impact
Through ApplianceWhy, Ethan shares practical insights into home appliance repair, DIY diagnostics, maintenance, troubleshooting, and appliance care. His writing focuses on turning confusing appliance problems into simple, understandable steps that homeowners can follow safely.
Ethan covers everything from diagnosing a refrigerator that is not cooling and a washing machine that will not drain to troubleshooting dryers, dishwashers, ovens, microwaves, and other common household appliances. His content helps readers understand appliance symptoms, identify possible causes, perform basic diagnostic checks, and determine when professional repair may be necessary.
Through his work, Ethan aims to bridge the gap between professional appliance repair knowledge and everyday homeowners—making appliance troubleshooting more approachable, practical, and accessible to everyone who wants to diagnose smarter, maintain better, and keep their appliances running longer.