

Filling a hot water heater sounds like the kind of job you’d rather hand off to a plumber. It isn’t. Most homeowners can manage it without much fuss. Maybe you’ve just installed a new unit. Maybe you drained the tank for maintenance, or shut the water off before a long trip. Either way, learning to refill it correctly can spare you a service call—and the bill that comes attached.
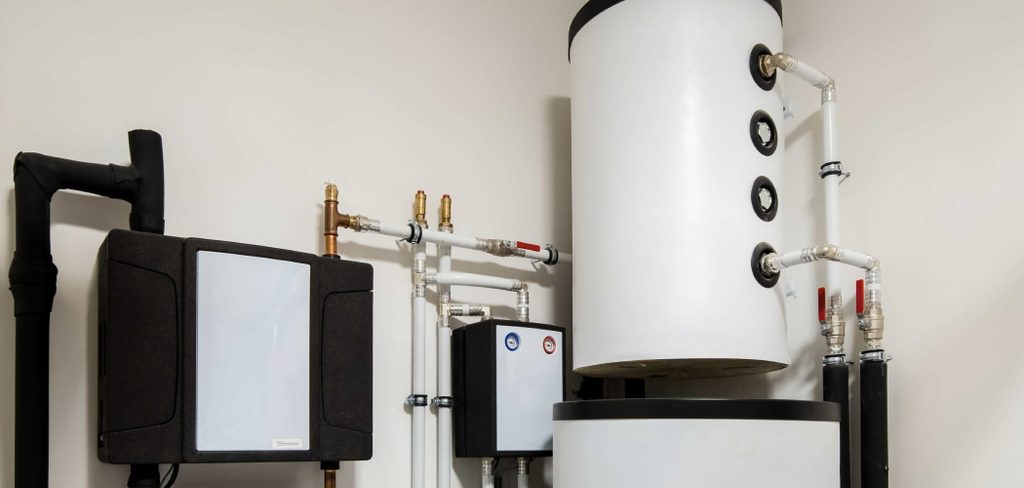
What matters most here is sequence. Get the order wrong, and you could damage the heating elements, trap air somewhere in your lines, or end up with pressure so weak your morning shower turns into a trickle. None of that is inevitable, though. This guide on how to fill hot water heater covers the whole thing, from how your water heater actually works to the eight steps that fill it safely. By the time you reach the end, the guesswork should be gone. You’ll know exactly what to do and why, so you can get hot water flowing again without the emergency service call and extra costs.
Understanding Your Hot Water Heater
It helps to know what sits behind that metal casing before you touch a valve. A standard tank-style heater holds somewhere between 30 and 80 gallons, keeping the water hot and ready. Cold water comes in through the dip tube, drops to the bottom, and warms up—either from a gas burner or a set of electric heating elements. Draw off hot water and cold flows in to take its place, so the tank stays full the whole time.
Why does filling order matter so much? It comes back to those elements. On an electric heater, they need to be fully underwater before the power goes back on. Heat them while they’re sitting in air—plumbers call this “dry firing”—and they can burn out in seconds. Gas units tend to be more forgiving, though they still want a full tank and decent airflow to run safely. Once this part clicks, the rest of the job feels a lot less daunting.
8 Simple Steps on How to Fill Hot Water Heater
Step 1: Turn Off the Power Supply
Start with safety. For an electric unit, flip off the breaker that controls it at your main panel. Got a gas heater instead? Turn the gas control valve to “pilot” or “off.” The point is to stop the heater from firing up against an empty or half-filled tank, which is a fast way to wreck the components.
Step 2: Close the Drain Valve
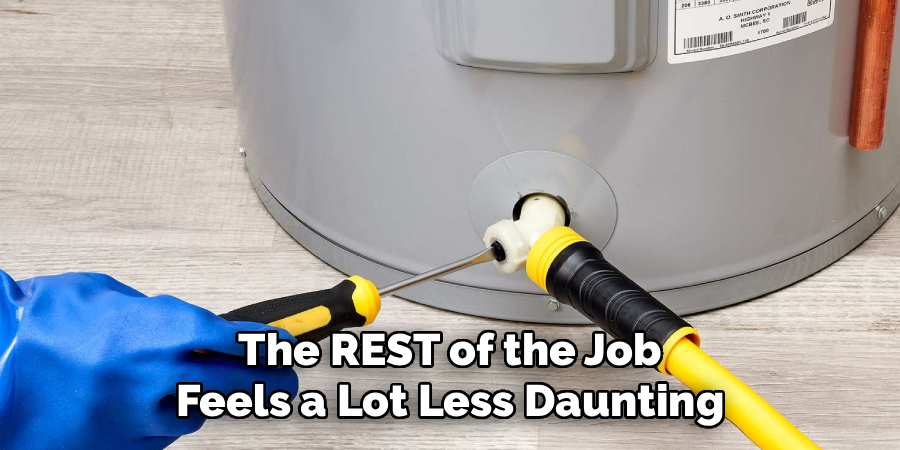
Look for the drain valve near the bottom of the tank. If you’ve drained the heater recently, it’ll still be open. Turn it clockwise until it’s shut tight. A garden hose still attached? You can leave it hooked up for now—just make sure the valve itself is fully closed so nothing escapes as the tank fills.
Step 3: Open a Hot Water Faucet
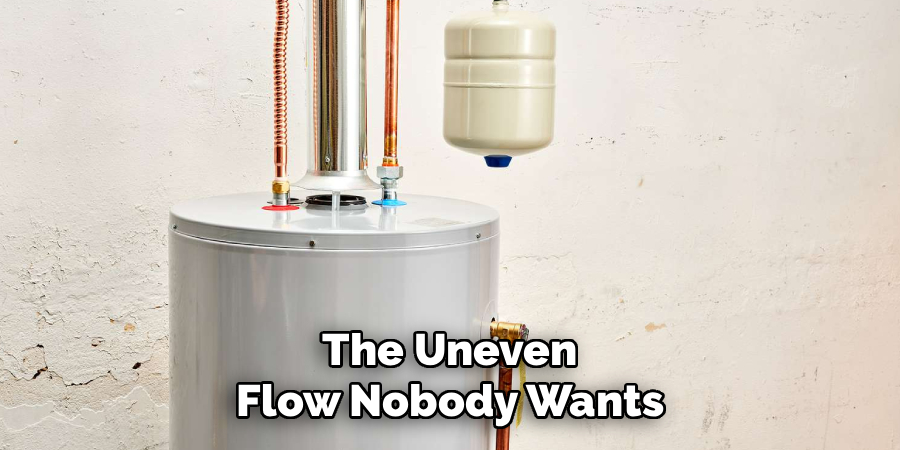
Go to the nearest sink or tub and turn on the hot side. Nothing will come out, and that’s the point. An open faucet gives trapped air somewhere to go once water starts rushing in. Skip this step and air pockets tend to build up, which is what causes that sputtering, the noisy pipes, and the uneven flow nobody wants.
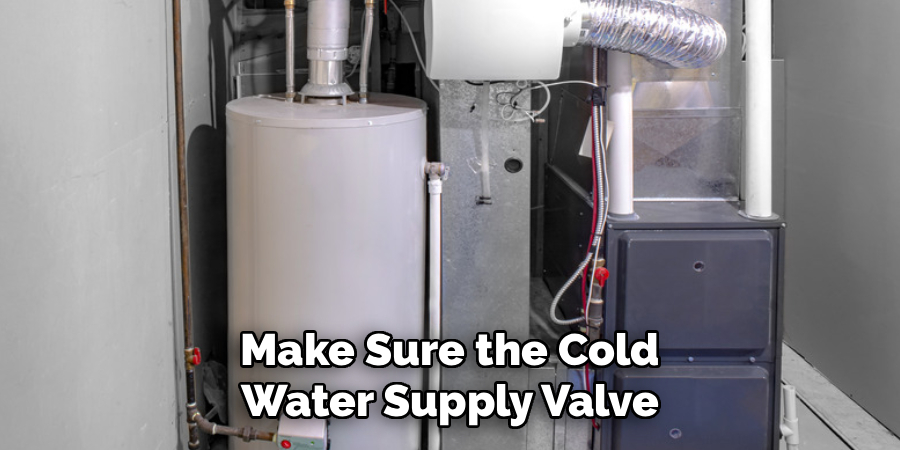
Step 4: Open the Cold Water Supply Valve
Find the cold water inlet valve on top of the heater and turn it open—slowly. You should hear water start moving into the tank. Opening it bit by bit rather than all at once eases the pressure shock and keeps you in control of the whole thing.
Step 5: Let the Tank Fill Completely
Now wait. Depending on tank size and your home’s water pressure, this can take several minutes. Listen as the sound of running water slows and finally stops. That faucet you opened back in Step 3 will sputter for a moment, then settle into a steady stream once the tank is full and the air has worked its way out.
Step 6: Close the Faucet and Check for Air
When water runs smoothly from that open hot tap, turn it off. Then move through the house, opening each hot water faucet briefly, one at a time, to clear any air still sitting in the lines. Once every tap runs clear without spitting, your system is filled, and the air pockets are gone.
Step 7: Inspect for Leaks
Hold off on restoring power for a minute. Check around the tank, the drain valve, and every connection point. You’re looking for drips, damp spots, or water starting to pool. A small leak caught now is far cheaper than the mess it might become later. Snug up any loose fittings—but go easy, since overtightening can crack a connection.
Step 8: Restore Power and Heat the Water
Tank full, no leaks in sight? You’re clear to turn the power back on. Flip the breaker for an electric unit, or return the gas valve to its normal setting and relight the pilot if yours needs it. Then give it time. Most tanks take somewhere between 30 minutes and an hour and a half to heat up, so don’t expect hot water at the taps right away.
Work through these steps on how to fill hot water heater in order. Don’t rush. A little patience now protects your equipment and gives you a clean, leak-free result at the end.
Common Mistakes to Avoid
The single most common error? Turning the power back on before the tank is full. On an electric heater, that pretty much guarantees a burned-out element and a repair bill you didn’t plan for. Confirm water flows steadily from an open faucet before you go near the breaker or gas valve.
Then there’s the open-faucet step, which people skip more often than you’d think. Leave it out and air gets trapped in the plumbing, which brings the sputtering taps and the banging pipes right back. Rushing causes trouble too. Move too fast, and you might miss a small leak that a slower pass would have caught. So take the extra few minutes, follow each step in sequence, and let the tank fill at its own pace.
Frequently Asked Questions
Q1: How Long Does It Take to Fill a Hot Water Heater?
Most tank-style heaters fill in about 20 to 30 minutes, though that shifts with tank size and household water pressure. An 80-gallon tank, or a home running on low pressure, may need a while longer. The tank is full when water flows in a steady stream from an open hot water faucet, with no sputtering.
Q2: Can I Turn On the Power Before the Tank Is Full?
No—and this may be the most important rule on the list. On an electric heater, powering up before the elements are fully underwater overheats them, and they can burn out within seconds. Wait until water runs steadily from an open faucet, which tells you the tank is full, before you restore power.
Q3: Why Is Air Coming Out of My Faucets After Filling?
A little air in the lines right after filling is normal, and it usually clears on its own. Open each hot water tap one at a time and let it run until the flow smooths out. If the sputtering keeps up after a few minutes, air could still be trapped in the tank, so double-check that the cold water supply valve is all the way open.
Q4: How Do I Prevent Air from Coming Out of My Faucets While Filling?
To prevent air from coming out of your faucets while filling, make sure the cold water supply valve is fully open before turning on the power to the hot water heater. This will allow for a steady flow of water into the tank fand minimize the amount of air that gets trapped inside. Additionally, you can try opening all of your hot water taps one at a time after filling to help release any remaining trapped air in the lines. If the problem persists, it may be an issue with your plumbing system, and you should consult a professional plumber for assistance. Regular maintenance and flushing of your hot water heater can also help prevent air from getting trapped in the lines.
Refill With Confidence
Filling a hot water heater really comes down to two things: patience and the right sequence. Cut the power first. Open a faucet to let the air out. Let the tank fill all the way, then check for leaks before you restore power. Do that, and you’ve protected your equipment along with your wallet. It’s a manageable job, and it saves you the cost and hassle of a plumber’s visit.
Tuck this guide on how to fill hot water heater away for the next time you drain the tank or come home from a stretch away. A bit of care here keeps a water heater running well for years. And if something feels off—a leak that won’t quit, odd noises, no hot water after several hours—that’s the moment to call a licensed professional for a proper look.

About
Ethan Wrenford is a dedicated home appliance specialist with years of hands-on experience in appliance troubleshooting, maintenance, repair, and DIY diagnostics. His professional focus lies in combining practical repair knowledge with simple, easy-to-follow solutions, helping homeowners understand common appliance problems and confidently identify potential causes at home. As an author at ApplianceWhy, Ethan shares practical knowledge on home appliance repair, DIY appliance diagnostics, maintenance, troubleshooting, appliance care, and everyday solutions for common household appliance issues.
Education
Portland Community College (Portland, USA)
Associate Degree in Appliance Technology & Residential Systems
- Focused on residential appliance systems, electrical fundamentals, mechanical components, and appliance troubleshooting.
- Developed practical skills in appliance diagnostics, component testing, electrical safety, and repair procedures.
- Gained hands-on experience working with refrigerators, washing machines, dryers, dishwashers, ovens, ranges, and other household appliances.
Oregon Institute of Technology (Klamath Falls, USA)
Bachelor’s in Applied Electronics & Technology
- Specialized in electrical systems, electronic controls, sensors, motors, and residential equipment.
- Studied diagnostic techniques for identifying electrical, mechanical, and component-related appliance problems.
- Completed practical projects involving appliance control systems, troubleshooting methods, preventive maintenance, and repair fundamentals.
Publications and Impact
Through ApplianceWhy, Ethan shares practical insights into home appliance repair, DIY diagnostics, maintenance, troubleshooting, and appliance care. His writing focuses on turning confusing appliance problems into simple, understandable steps that homeowners can follow safely.
Ethan covers everything from diagnosing a refrigerator that is not cooling and a washing machine that will not drain to troubleshooting dryers, dishwashers, ovens, microwaves, and other common household appliances. His content helps readers understand appliance symptoms, identify possible causes, perform basic diagnostic checks, and determine when professional repair may be necessary.
Through his work, Ethan aims to bridge the gap between professional appliance repair knowledge and everyday homeowners—making appliance troubleshooting more approachable, practical, and accessible to everyone who wants to diagnose smarter, maintain better, and keep their appliances running longer.